It was the third quarter of the biggest rivalry game of the year, and I was standing in a parking lot that smelled like charcoal, stale beer, and wet grass. My stomach was growling louder than the marching band, and I realized with horror that I had forgotten to bring dessert. The guy next to me was holding a plate of store-bought brownies that looked like they’d been driving around in the back of a pickup truck for three hours. Dry. Crumbly. Sad.
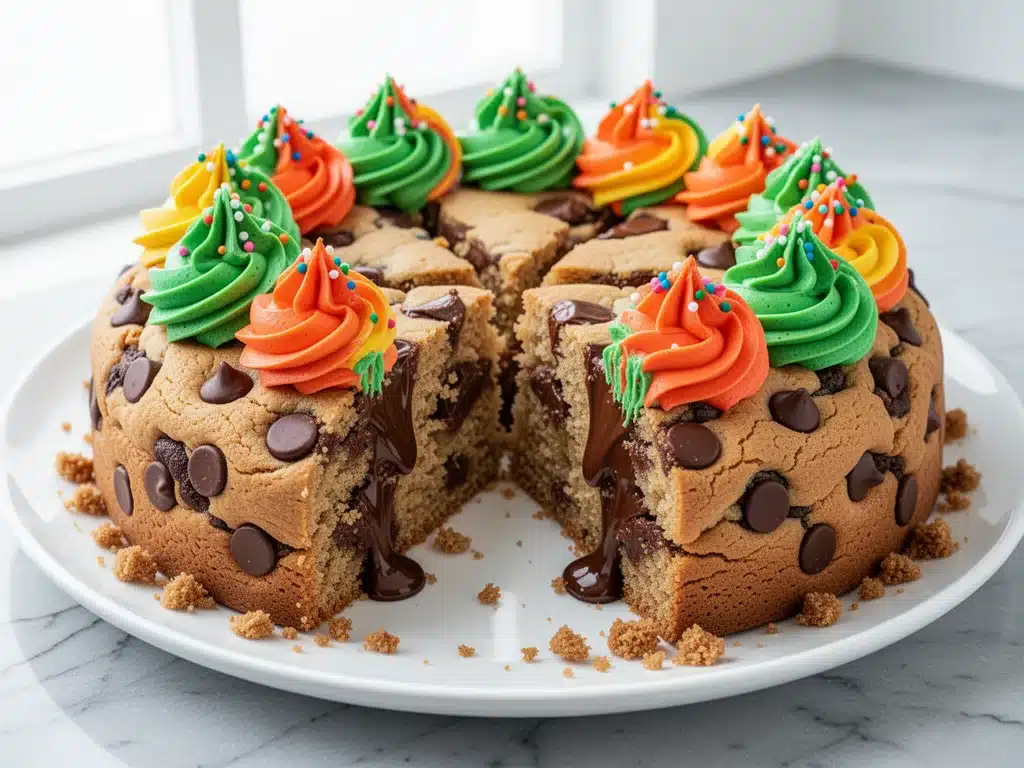
That’s when I decided I needed a better plan. I needed something that could survive the wind, the cold, and the chaotic shuffle of a hundred hungry people, but still taste like it came from a high-end bakery. Enter the tailgate chocolate chip cookie cake with team color buttercream. It’s thick, it’s sturdy, it’s easy to slice into squares (no messy triangles), and it looks absolutely stunning when you pipe the frosting in your school’s colors.
I’ve made this for Super Bowl parties, college football weekends, and even my kid’s end-of-season banquet. It’s become my secret weapon for crowd-pleasing. Unlike M&M cookie bars which are great but specific to holidays, this recipe is universal. It’s just chocolate chip cookies, but bigger, flatter, and topped with a swirl of fun. And honestly? It’s easier than making individual cookies because you don’t have to worry about spacing them out on the pan. One pan, one mix, one huge win.
Why You’ll Love This Tailgate Dessert
There are about ten reasons I keep making this, but here are the big ones that keep it in my regular rotation.
It’s Built for the Outdoors — Seriously, this isn’t delicate. I’ve served this in 40-degree weather, and it held up fine. The dense cookie base doesn’t get soggy or fall apart like a cake might. It’s sturdy enough to be eaten with one hand while holding a drink in the other. That’s the tailgate dream.
Team Spirit in a Pan — This is where the magic happens. You can dye the buttercream any color you want. I did navy blue and silver for a championship game, and gold and black for another. It looks professional, like you spent hours decorating, but it’s just vanilla buttercream with a drop of gel food coloring. It instantly makes your table look festive.
Zero Cookie-Shape Anxiety — Let’s be real. I hate when cookies spread unevenly. Some are too thin, some are too thick. With this method, you press the dough into a pan. It’s uniform. Every single bite is consistent. No more picking out the perfect cookie for the guest of honor.
Stupid Simple Ingredients — You probably have everything in your pantry already. Butter, sugar, eggs, flour, chocolate chips, and a stick of butter for the frosting. If you can make simple 5-ingredient cookies, you can make this. It’s just a scaled-up version of your favorite chocolate chip cookie recipe.
Makes Amazing Leftovers — Okay, can leftovers survive a tailgate? Maybe not. But if you have some, they keep beautifully. The frosting actually gets better after sitting for a day or two. I usually eat the leftovers straight out of the pan with a spoon at 2 AM. Don’t judge me.
This is my go-to when I need a dessert that says “I care” without saying “I spent all day in the kitchen.” It’s reliable, delicious, and looks incredible.
Ingredients You’ll Need
Here’s the best part: you probably have most of this already. I’m particular about three ingredients here, and I’ll tell you exactly why.
For the Cookie Base
Unsalted butter (1 cup / 226g, softened) — This needs to be soft but not melted. If it’s melted, your cookies will spread too thin. I take mine out of the fridge about an hour before mixing. If you’re in a rush, cut it into cubes and microwave in 5-second bursts.
Light brown sugar (1 cup / 200g) — Don’t skip this for white sugar. The molasses in brown sugar gives that chewy, caramel-like texture that makes a cookie cake feel rich. I use light brown sugar; dark brown is too intense for this.
Granulated sugar (½ cup / 100g) — This helps with the crisp edges. You need the balance of both sugars.
Eggs (2 large, room temperature) — Room temp eggs emulsify better. Cold eggs can make the batter grainy. I keep a couple in a bowl of warm water while I prep the rest.
Vanilla extract (2 teaspoons) — Use real vanilla. The fake stuff tastes medicinal in buttercream and cookies. I use McCormick or Nielsen-Massey.
All-purpose flour (2 ¼ cups / 280g) — Spoon and level this. Don’t scoop straight from the bag or you’ll get dense, dry cookies. I weigh mine to be safe.
Baking soda (1 teaspoon) — This is what helps it rise slightly. Don’t confuse it with baking powder.
Salt (1 teaspoon) — Essential for flavor balance. It makes the chocolate taste more chocolatey.
Semi-sweet chocolate chips (2 cups / 340g) — I use Ghirardelli or Toll House. You can do a mix of chips and chopped chocolate bars for a more gourmet look, but chips hold their shape better during transport.
For the Team Color Buttercream
Unsalted butter (1 cup / 226g, softened) — Again, soft but cool. If it’s warm, the frosting will be oily.
Powdered sugar (4-5 cups / 480-600g) — You need a lot of this. Sift it if it’s lumpy. Lumpy frosting is a mood killer.
Heavy cream or milk (2-3 tablespoons) — Just enough to get the right consistency. Start with 2 tablespoons.
Vanilla extract (1 teaspoon) — Keep it simple.
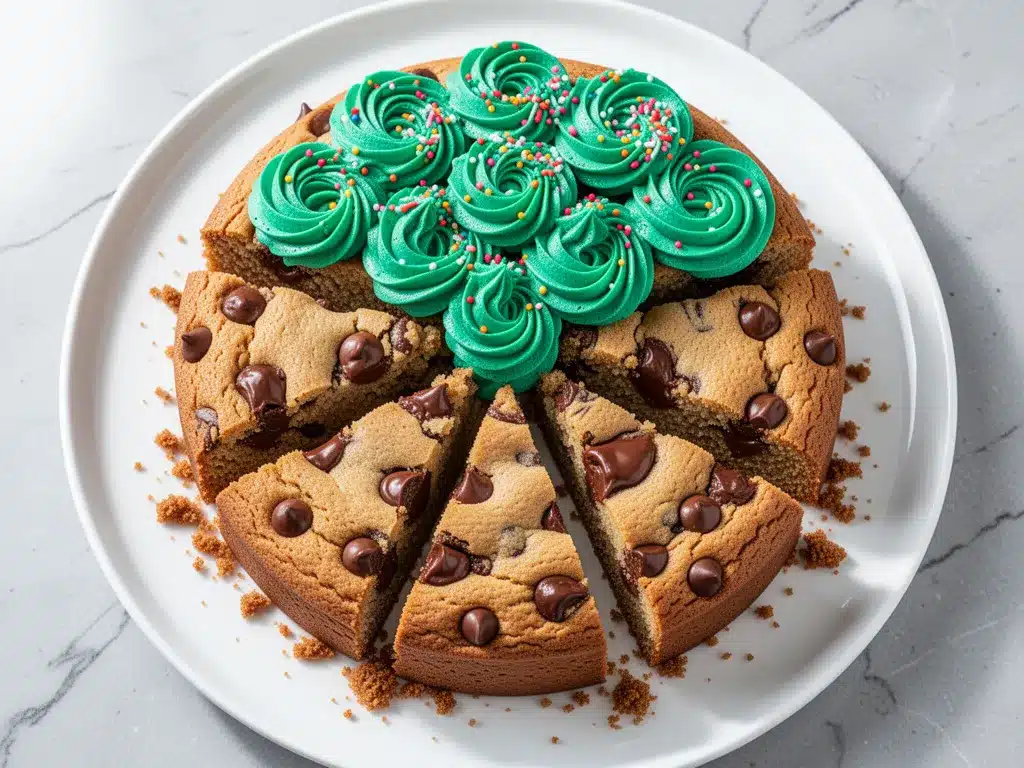
Gel food coloring — This is crucial. Liquid food coloring will make your frosting runny and taste weird. Gel paste gives intense color without changing the texture. I love Americolor for this.
Optional: Sprinkles — If you’re going all out, add some nonpareils or jimmies in your team colors on top.
Equipment Needed
You don’t need fancy equipment for this. Here’s what I actually use.
12-inch round cake pan or 9×13 inch baking dish — I prefer the round cake pan for that classic “cookie cake” look. But if you’re feeding a huge crowd, the 9×13 gives you more surface area and thinner cookies (which some people prefer). Grease it well!
Electric mixer — Hand mixer or stand mixer. You need to cream the butter and sugar properly. Doing this by arm is possible but painful.
Spatula — A sturdy silicone spatula for scraping the bowl and spreading the dough.
Piping bags or ziplock bags — If you want to do decorative borders, pipe the frosting. If you’re lazy (like me on game day), just spread it with a knife.
Offset spatula — Makes frosting the top so much easier. If you don’t have one, a regular butter knife works.
Small bowls — For mixing the food coloring into the frosting.
How to Make It: Step-by-Step
Alright, let’s make this! I’m walking you through exactly how I do it, including the little tricks I’ve picked up.
Step 1: Prep Your Pan and Oven (5 minutes)
Preheat your oven to 350°F (175°C). Grease your 12-inch round cake pan (or 9×13 dish) generously with butter or non-stick spray. I like to dust it with a little flour after greasing to ensure it doesn’t stick. Set aside.
Step 2: Cream the Butter and Sugars (3-4 minutes)
In a large bowl, beat the softened unsalted butter with the brown sugar and granulated sugar. Use your electric mixer on medium-high speed. You want this to look pale, fluffy, and light. This takes about 3 minutes. Don’t rush this step—it’s what gives the cookies their texture. Scrape down the sides of the bowl with your spatula.
Step 3: Add Wet Ingredients (1 minute)
Beat in the eggs one at a time, mixing well after each addition. Add the vanilla extract. Mix until just combined. The mixture should look smooth.
Step 4: Mix Dry Ingredients (1 minute)
In a separate medium bowl, whisk together the flour, baking soda, and salt. Slowly add this to the wet mixture on low speed. Mix just until the flour disappears. Overmixing develops gluten, which makes tough cookies. Stop as soon as you see no more white streaks.
Step 5: Fold in Chocolate Chips (1 minute)
Use your spatula to fold in the chocolate chips. Make sure they’re distributed evenly. You want chips in every bite.
Step 6: Press Into Pan (5 minutes)
This is the fun part. Dump the dough into your prepared pan. Use your hands (lightly greased) or a spatula to press the dough evenly into the pan. Aim for an even thickness. If you’re using a round pan, try to get the dough into the corners. If using a 9×13, spread it out to the edges. It doesn’t need to be perfect—just even.
Step 7: Bake (15-20 minutes)
Bake for 15-20 minutes. For a 12-inch round pan, check at 15 minutes. For a 9×13, it might take closer to 20. The edges should be golden brown, and the center should look set but still slightly soft. It will firm up as it cools. Do not overbake, or you’ll have rock-hard cookies.
Step 8: Cool Completely (1 hour)
Let the cookie cake cool in the pan for 10 minutes, then transfer to a wire rack to cool completely. This is crucial. If you frost it while it’s warm, the buttercream will melt and slide right off. I usually bake this in the morning or the day before.
Step 9: Make the Buttercream (10 minutes)
While the cookie cools, make the frosting. Beat the 1 cup of softened butter until creamy. Gradually add the powdered sugar, one cup at a time, mixing on low. Once all sugar is added, add the vanilla and 2 tablespoons of heavy cream. Beat on high for 3 minutes until fluffy. If it’s too stiff, add another tablespoon of cream. If too runny, add more sugar.
Step 10: Color and Frost (10 minutes)
Divide the frosting into bowls. Add gel food coloring to each bowl until you reach your team colors. Mix well. Spread the frosting over the completely cooled cookie cake. Use a piping bag for borders if you want to look fancy, or just smooth it out with a spatula. Add sprinkles if desired.
Total Time: About 1 hour 30 minutes (plus cooling time)
Expert Tips & Tricks
Here’s everything I’ve learned from making this dozens of times. These tips will save you from my mistakes.
Don’t Skip the Cooling
I know it’s tempting. But warm cookie + cold frosting = soup. Wait until it’s room temperature. If you’re in a hurry, put it in the fridge for 30 minutes, but make sure it’s not cold from the fridge when you frost it—cold buttercream cracks.
Use Gel Coloring, Not Liquid
Liquid food coloring adds water to your frosting, which can make it seize or become too thin. Gel paste is concentrated and keeps the texture perfect. A little goes a long way.
Chill Before Serving
If you’re transporting this, chill the frosted cookie cake in the fridge for 30 minutes before loading it into the car. It sets the frosting so it doesn’t smear against the container. Bring it to room temperature before serving for the best texture.
Double the Chocolate
For an extra indulgent version, add ½ cup of chopped nuts (pecans or walnuts) to the dough. Or swap half the chips for white chocolate chips. It’s a crowd-pleaser.
Make-Ahead Strategy
You can make the cookie base up to 3 days ahead. Wrap it tightly in plastic wrap at room temperature. Make the frosting the day of. This is my preferred method because it takes the stress out of game day.
Variations & Substitutions
Once you’ve nailed the basic version, here’s how you can mix it up. I’ve tried all of these.
Red Velvet Team Cake
Add 2 tablespoons of cocoa powder and 1 teaspoon of red food coloring to the dough (before baking). Frost with cream cheese buttercream tinted red and white. Perfect for Valentine’s Day or red team games.
Double Chocolate
Replace ¼ cup of flour with cocoa powder. Add chocolate chips AND white chocolate chips. Frost with chocolate buttercream. For the chocoholics.
Gluten-Free Option
Use a 1:1 gluten-free flour blend. The texture is slightly different but still delicious. I’ve used Bob’s Red Mill and it worked great.
Dairy-Free
Use vegan butter sticks (not tub margarine) for both the cookie and frosting. Use dairy-free chocolate chips. The frosting might be slightly softer, so chill it longer.
Mini Cookie Cakes
Divide the dough into muffin tins. Bake for 10-12 minutes. Frost each mini cake with a tiny swirl of colored frosting. Great for party favors.
Serving & Storage
How to Serve:
Slice into squares or triangles. I use a sharp knife and wipe it clean between cuts for neat slices. Serve at room temperature. It pairs well with coffee or milk, or even a scoop of vanilla ice cream if you’re feeling fancy.
Side Dishes:
This is a dessert, so save room! But if you need more food, these protein shakes are a good quick option, or stick to savory tailgate foods like crispy onion rings or loaded baked potato soup before you dig into the sweet stuff.
Storage Instructions:
Store in an airtight container at room temperature for up to 4 days. If it’s hot outside, keep it in the fridge, but let it come to room temperature before eating for the best texture. Do not freeze frosted cookie cakes—the frosting texture suffers when thawed. Freeze the plain cookie base if needed.
Nutrition Information
I’m not a nutritionist, but here’s the breakdown if you’re tracking. This is a rich dessert, so portions matter.
Per Serving (based on 12 slices from a 12-inch pan):
- Calories: 450
- Protein: 5g
- Carbs: 62g
- Fiber: 2g
- Sugar: 42g
- Fat: 22g
- Saturated Fat: 13g
It’s sweet, it’s rich, and it’s worth it. If you want to lighten it up, reduce the sugar in the cookie dough by ¼ cup, but you’ll lose some chewiness. I usually just enjoy a square and call it a day.
Final Thoughts
So that’s my go-to tailgate chocolate chip cookie cake! I’ve probably talked your ear off at this point, but when you make a recipe this often, you have a lot to say about it.
This has saved my tailgates more times than I can count. It’s my answer to “what’s for dessert?” when I’m tired, don’t want to bake individual cookies, and still want something that looks impressive. My friends are happy, my kids are happy, and I’m happy because I’m not stressed about cooking.
Make it yours! Try different team colors, add sprinkles, or switch up the chocolate. The best recipes are the ones you adapt to your crowd’s tastes.
If you make this, drop a comment and let me know what team colors you used! I love hearing how recipes turn out in your kitchen. And if something doesn’t work, tell me that too—I’m here to help troubleshoot.
Happy tailgating! And I hope your parking lot smells half as good as my kitchen does right now.
Frequently Asked Questions
Can I use a square pan instead of round?
Absolutely. A 9×13 inch pan works great and gives you more cookies (or thinner ones). The baking time might increase by 2-3 minutes. Just keep an eye on the edges—they brown faster in square pans.
Why did my cookie cake crack on top?
Usually, this means the oven was too hot or you overmixed the dough. Make sure your oven is calibrated. Also, don’t overwork the dough after adding the flour. Gentle folding is key.
Can I freeze the cookie base?
Yes! Wrap the cooled, unfrosted cookie cake tightly in plastic wrap and then foil. Freeze for up to 3 months. Thaw overnight in the fridge, then frost. The texture stays good.
How do I transport this without it breaking?
Chill it first! Let the frosting set in the fridge for 30 minutes. Then cover it tightly with plastic wrap. Place it in the car on a flat surface. If you’re driving on bumpy roads, put a towel around the pan to cushion it. Never transport a warm frosted cookie cake.
Can I make the frosting ahead of time?
Yes, store it in an airtight container in the fridge for up to 3 days. Let it come to room temperature and re-whip it with your mixer before frosting. It might need a splash of cream to loosen it up again.
What if I don’t have gel food coloring?
You can use liquid, but add it drop by drop and mix well. It will take more coloring to get a vibrant hue, and the frosting might be slightly softer. Gel is definitely preferred for stability.
Can I use melted butter for the cookie dough?
I don’t recommend it. Melted butter changes the texture, making the cookies cakier or denser rather than chewy. Softened (room temp) butter is the sweet spot for that perfect tailgate cookie texture.
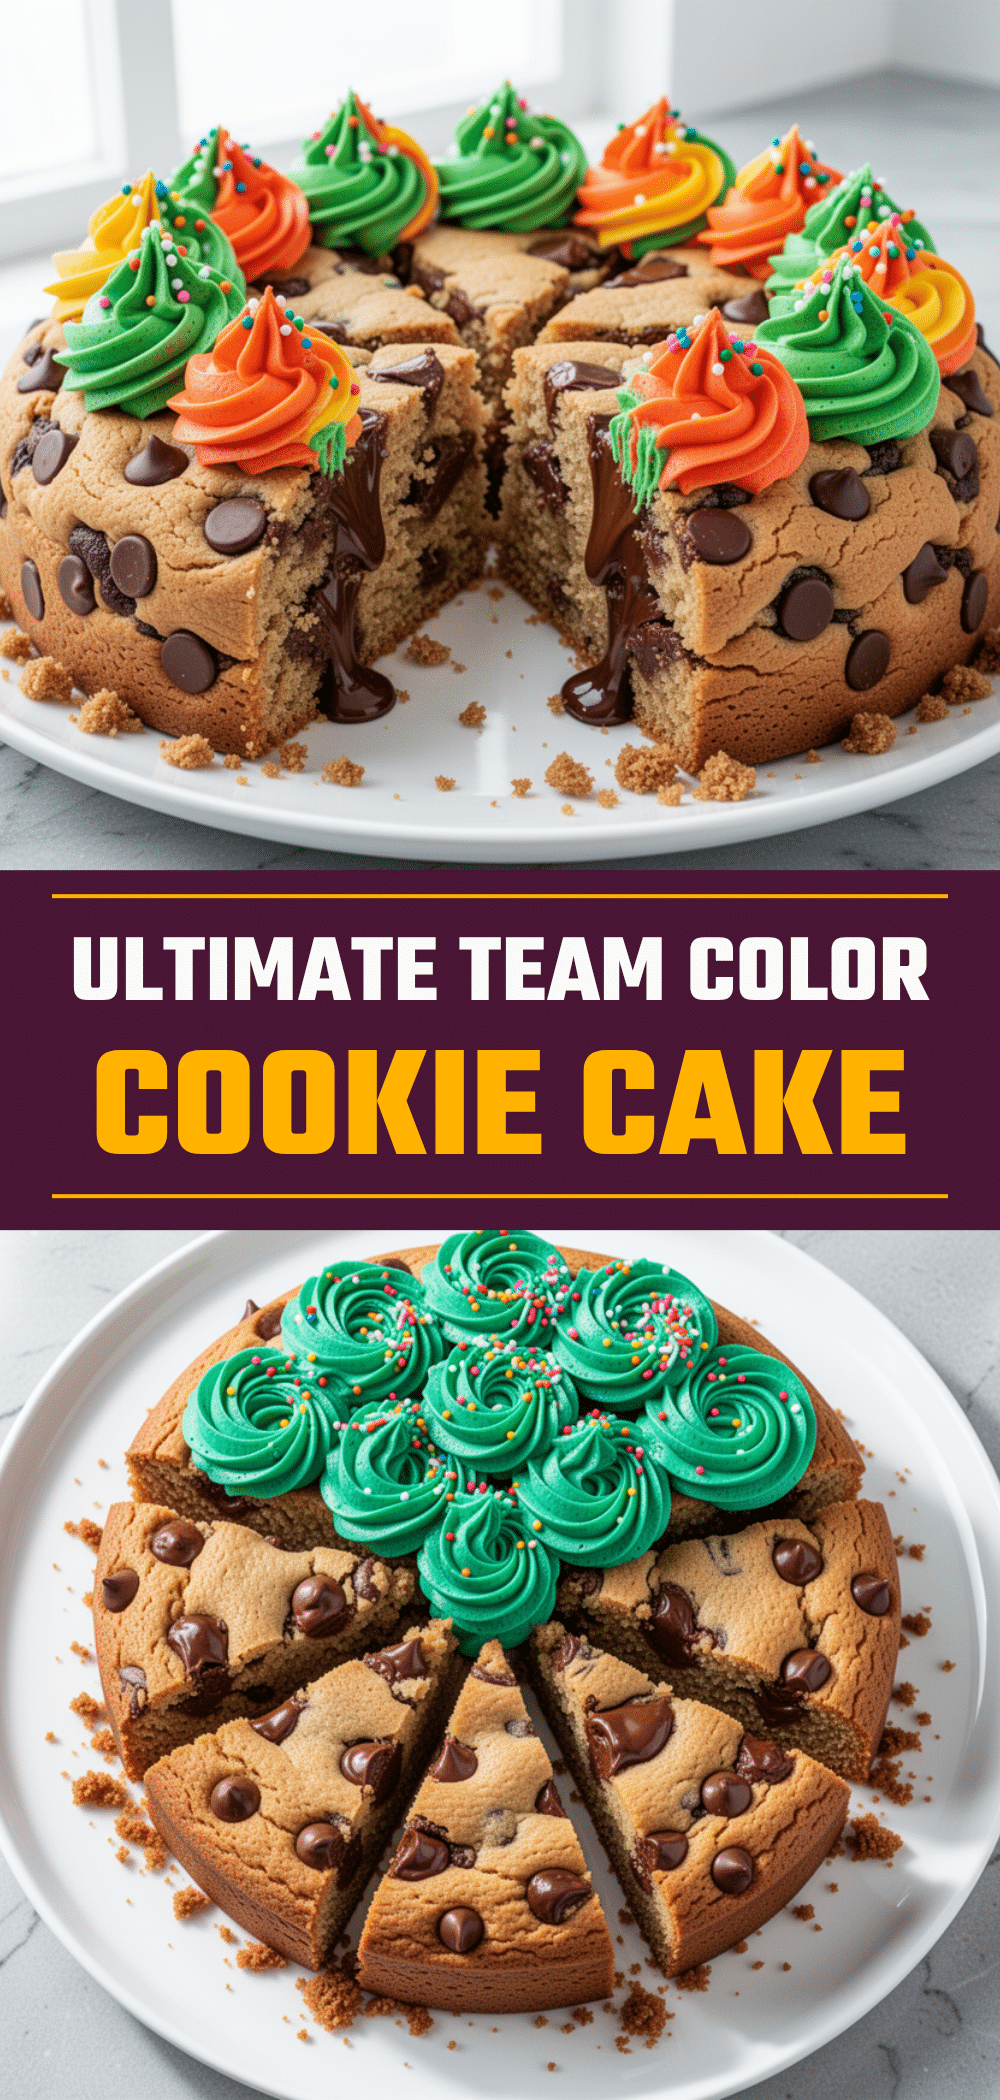
Pin This Recipe!
Tailgate Chocolate Chip Cookie Cake
- Total Time: 1 hour 30 minutes
- Yield: 12 servings 1x
Description
A sturdy, crowd-pleasing chocolate chip cookie cake topped with team-colored buttercream, designed to survive outdoor tailgating conditions while delivering bakery-quality taste.
Ingredients
- 1 cup (226g) unsalted butter, softened
- 1 cup (200g) light brown sugar
- ½ cup (100g) granulated sugar
- 2 large eggs, room temperature
- 2 teaspoons vanilla extract
- 2 ¼ cups (280g) all-purpose flour
- 1 teaspoon baking soda
- 1 teaspoon salt
- 2 cups (340g) semi-sweet chocolate chips
- 1 cup (226g) unsalted butter, softened (for frosting)
- 4–5 cups (480-600g) powdered sugar
- 2–3 tablespoons heavy cream or milk
- 1 teaspoon vanilla extract (for frosting)
- Gel food coloring
- Optional: Sprinkles
Instructions
- Preheat oven to 350°F (175°C). Grease a 12-inch round cake pan or 9×13 inch baking dish generously and dust with flour.
- In a large bowl, beat softened butter with brown sugar and granulated sugar on medium-high speed until pale and fluffy (about 3 minutes). Scrape down sides.
- Beat in eggs one at a time, then add vanilla extract. Mix until smooth.
- In a separate bowl, whisk together flour, baking soda, and salt. Add to wet mixture on low speed and mix just until flour disappears.
- Fold in chocolate chips with a spatula until evenly distributed.
- Press dough evenly into the prepared pan, aiming for uniform thickness.
- Bake for 15-20 minutes until edges are golden brown and center is set but slightly soft.
- Cool in pan for 10 minutes, then transfer to a wire rack to cool completely.
- While cookie cools, beat 1 cup softened butter until creamy. Gradually add powdered sugar, then add vanilla and heavy cream. Beat on high until fluffy.
- Divide frosting into bowls and mix in gel food coloring to achieve team colors.
- Spread colored frosting over completely cooled cookie cake. Add sprinkles if desired.
Notes
Ensure the cookie cake is completely cool before frosting to prevent the buttercream from melting. Use gel food coloring instead of liquid to maintain frosting texture. For best results, chill the frosted cake for 30 minutes before transporting to set the frosting.
- Prep Time: 30 minutes
- Cook Time: 20 minutes
- Category: Dessert
- Cuisine: American
Nutrition
- Serving Size: 1 square slice
- Calories: 450
- Sugar: 42
- Fat: 22
- Saturated Fat: 13
- Carbohydrates: 62
- Fiber: 2
- Protein: 5
Keywords: tailgate dessert, chocolate chip cookie cake, team color buttercream, football party food, easy cookie recipe, crowd pleasing dessert


