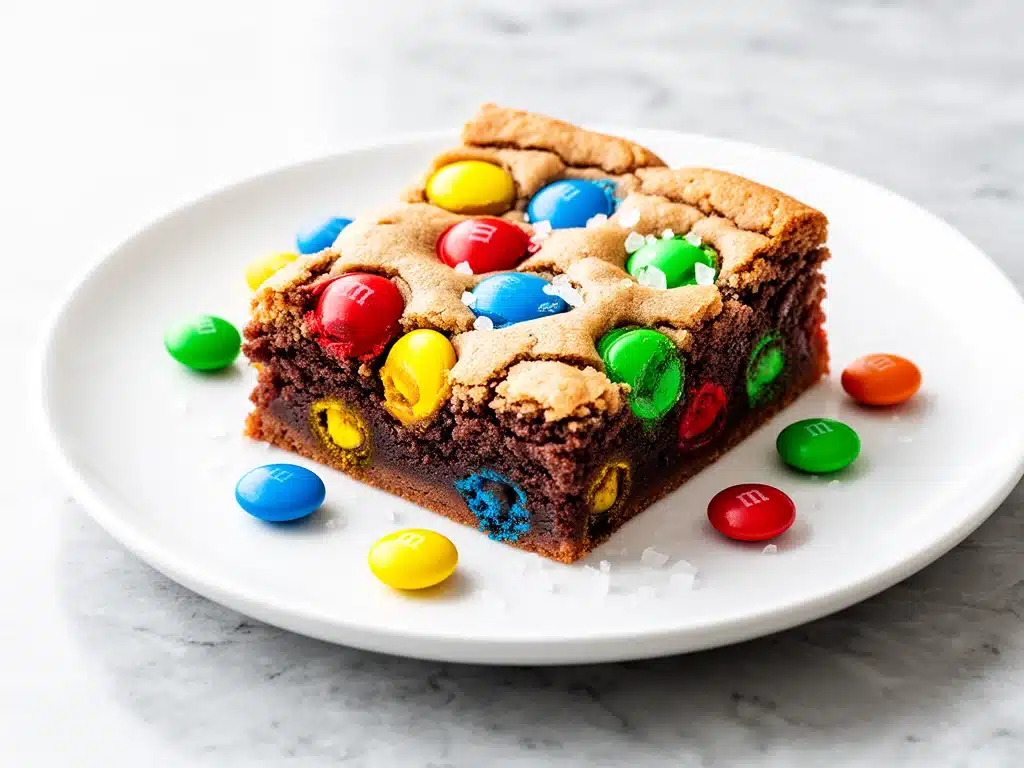
There was a Tuesday evening last month when I was staring at the clock, knowing I had dinner on the line in twenty minutes, and my kids were already asking if we were getting dessert. I didn’t have time to cream butter and sugar, I didn’t have the energy to wash a dozen bowls, and I definitely didn’t want to deal with scooping individual cookies onto a baking sheet. So I did what any desperate but determined home cook does: I grabbed a single mixing bowl, dumped everything in, stirred it until it looked like chocolate chip chaos, and threw it in the oven.
I expected a disaster. What I got was the best thing to come out of my kitchen all week. These chewy M&M cookie bars came out of the oven golden, gooey in the center, and impossible to resist. My kids devoured them before they even cooled, which is usually a bad sign because it means they’re too hot, but in this case, it just meant they were that good. I’ve made this one bowl recipe at least eight times since that chaotic Tuesday, and every single time, the result is the same: pure, chewy, chocolate-loaded perfection.
If you’ve ever felt overwhelmed by the idea of baking cookies from scratch but still craved that fresh-baked comfort, you need to try these bars. They’re not just easier; they’re better. The bars stay softer longer than individual cookies because they’re baked in a pan, trapping in moisture and creating that irresistible chewy texture that makes you keep going back for “just one more bite.” It’s the ultimate hack for busy parents, last-minute guests, or anyone who just wants a sweet treat without the fuss.
I’m not exaggerating when I say this recipe has completely changed my dessert game. It’s become my go-to answer for “What’s for dessert?” when I’m tired, stressed, or just don’t feel like doing dishes. And the best part? You only need one bowl. One. Bowl. Let me walk you through why these bars are worth the five minutes of effort, and how you can make them your new favorite.
Why You’ll Love This One Bowl Recipe
Look, I love baking cookies. I really do. But I also love having my life back. This chewy M&M cookie bars recipe strikes the perfect balance between homemade quality and zero hassle. Here’s why I keep making it on repeat:
- Stupid Simple — Seriously, if you can stir, you can make this. I’ve walked my teenage son through it over FaceTime while I was stuck in traffic. There’s no creaming, no folding, no fancy techniques. Just dump and stir.
- Lightning Fast — From start to finish, it’s about 25 minutes. Ten minutes of prep, fifteen minutes in the oven. I make this on weeknights when I get home at 7pm and need something sweet immediately.
- Less Cleanup — One mixing bowl. That’s it. No separate bowls for dry and wet ingredients, no stand mixer to wash, no dozen cookie sheets to scrub. This is the dream for lazy Sundays.
- Crowd-Pleaser — I’ve served these to my vegetarian sister, my gluten-free neighbor (with a quick swap), and my picky nephew who usually turns his nose up at anything with chocolate chips. Everyone loved them. The M&Ms add that colorful, fun factor that kids (and adults) can’t resist.
- Makes Amazing Leftovers — Actually, let’s be real: there are rarely leftovers. But if there are, these bars taste even better the next day as they continue to soften. I deliberately make extra for lunch throughout the week, and they travel well in a lunchbox.
- Budget-Smart — Feeds 9-12 people for under $5. That’s less than a box of store-bought brownie mix, and it tastes infinitely better. I keep the key ingredients stocked just so I can make this on a whim.
This is my go-to when I need dessert to just work. No complicated techniques, no weird ingredients, just reliable, delicious food that makes everyone happy. And if you’re looking for other easy treats, these pair perfectly with my no-bake peanut butter banana energy bites for a snack spread that covers all the bases.
Ingredients You’ll Need
Here’s the best part: you probably have most of this already in your pantry. This chewy M&M cookie bars recipe relies on basic, everyday ingredients. I’m particular about three things here, and I’ll tell you exactly why.
For the Base
Unsalted butter (½ cup / 113g) — Softened is key. If you’re in a rush, microwave it in 5-second bursts until it’s soft to the touch but not melted. Melted butter makes the bars cakey; softened butter keeps them chewy.
Granulated sugar (½ cup / 100g) — This provides that slight crisp edge. Don’t substitute with brown sugar alone if you want that chewy center; the white sugar helps with texture.
Light brown sugar (½ cup / 100g, packed) — This is the secret to the chew. The molasses in brown sugar keeps the bars moist. If you’re out, you can use all granulated sugar, but they’ll be slightly crisper.
Vanilla extract (1 teaspoon) — Use real vanilla, not imitation. It makes a huge difference in flavor depth. I keep a bottle in my pantry at all times.
For the Structure
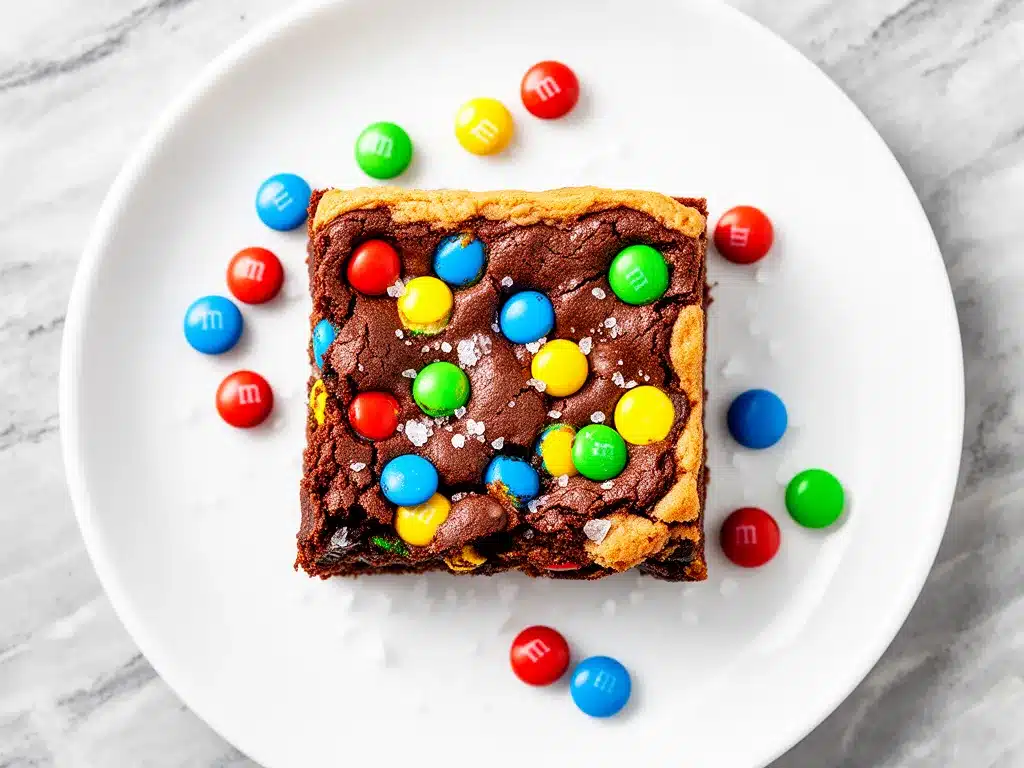
All-purpose flour (1¾ cups / 220g) — Don’t scoop and dump! Spoon the flour into your measuring cup and level it off. Scooping packs the flour down, leading to dry, tough bars. If you don’t have AP flour, you can use a 1:1 gluten-free flour blend, though the texture will be slightly different.
Baking soda (½ teaspoon) — This helps the bars spread and brown. Make sure it’s not expired. I test mine by dropping a little in vinegar—if it fizzes, it’s good.
Salt (½ teaspoon) — Even though these are sweet, salt balances the flavor. Don’t skip it. It makes the chocolate taste more chocolatey.
The Star: M&Ms
M&M’s candies (1½ cups / about 250g) — Use the classic milk chocolate ones for the best balance of sweetness and crunch. You can use mini M&Ms for more distribution, or regular-sized for bigger chocolate bursts. I usually buy the bulk bag and mix colors for a festive look.
Optional: Chocolate Chips (½ cup) — I often add a half-cup of semi-sweet chocolate chips along with the M&Ms for extra gooeyness. It’s like getting two desserts in one.
Pro Tip: I always buy the store-brand M&Ms for baking. They melt the same way as the name brand but cost half as much. Save your money for the good vanilla extract!
Equipment Needed
You don’t need fancy equipment for this. Here’s what I actually use:
Large mixing bowl — A standard 4-quart bowl works perfectly. I use a ceramic one because it’s heavy and doesn’t slide around when I’m stirring vigorously.
Fork or wooden spoon — For creaming the butter and sugars together. A fork works great because it helps incorporate air, which aids in the chewy texture.
9×9-inch baking pan — This is the standard size for this recipe. I use a glass Pyrex pan because it browns the edges nicely. You can use a metal pan, but keep an eye on it—metal heats faster.
Parchment paper — I line my pan with parchment, leaving an overhang on the sides. This is non-negotiable for me. It makes lifting the bars out of the pan effortless and means zero scrubbing afterward.
Cooling rack — Optional but recommended. Letting the bars cool on a rack prevents the bottom from getting soggy from steam.
Knife or bench scraper — For cutting the bars. A sharp knife gives clean edges, while a bench scraper helps lift them out.
How to Make It: Step-by-Step
Alright, let’s make this! I’m walking you through exactly how I do it, including the little tricks I’ve picked up to ensure those bars are perfectly chewy every time.
Step 1: Prep Your Pan (2 minutes)
Preheat your oven to 350°F (175°C). Line your 9×9-inch baking pan with parchment paper. I like to leave a little overhang on the long sides so you can lift the bars out once they’re done. Spray the parchment lightly with non-stick spray just to be safe, though it’s usually not needed.
Step 2: Cream the Butter and Sugars (3 minutes)
In your large mixing bowl, combine the softened butter, granulated sugar, and brown sugar. Use a fork or wooden spoon to mix them together. You want to mash the butter into the sugars until the mixture looks smooth and slightly fluffy. This step takes about 2-3 minutes. Don’t rush it—well-creamed butter and sugar create a better texture. If your butter is too cold, it won’t mix evenly, and you’ll end up with pockets of butter in your final product.
Step 3: Add Vanilla (1 minute)
Stir in the vanilla extract. Mix it until it’s fully incorporated. The aroma will start to fill your kitchen, which is always a nice bonus while you wait.
Step 4: Mix in the Dry Ingredients (2 minutes)
Add the flour, baking soda, and salt to the bowl. Mix on low speed if you’re using a mixer, or stir by hand until just combined. Be careful not to overmix here. Once you see no more streaks of flour, stop. Overmixing develops gluten, which leads to tough, cakey bars instead of chewy ones. The dough will look thick and slightly crumbly at this stage—that’s normal.
Step 5: Fold in the M&Ms (2 minutes)
Now for the fun part. Add the M&Ms (and chocolate chips, if using) to the dough. Use a spatula to fold them in gently. You want to distribute them evenly without breaking the candies. Some people prefer to press half the M&Ms into the dough and save the rest for the top. I do this because it looks pretty and ensures you get a candy in every bite.
Step 6: Press into Pan (2 minutes)
Transfer the dough to your prepared baking pan. Use your hands or the back of a spoon to press it evenly into the corners. It should be a uniform layer, about ¾ inch thick. If you have leftover M&Ms, press them into the top now. This gives that bakery-style appearance.
Step 7: Bake (15-18 minutes)
Place the pan in the preheated oven. Bake for 15-18 minutes. Here’s the trick: you want the edges to be lightly golden, but the center should still look slightly underbaked. It will firm up as it cools. If you bake it until the center is fully set, the bars will be dry. I usually pull them out at 16 minutes and check. If the edges are golden and the center is still soft, they’re done.
Step 8: Cool and Cut (30 minutes)
Let the bars cool in the pan for at least 15 minutes. Then, lift them out using the parchment paper overhang and transfer to a cooling rack. Let them cool completely before cutting. This is the hardest part—waiting—but cutting them warm will result in messy, gooey blobs. Once cool, cut into 9 or 12 squares. Dust with a little flaky sea salt if you want to elevate it (trust me, the salt + chocolate combo is addictive).
Total Time: About 25 minutes (5 minutes prep, 15-18 minutes bake, 30 minutes cool)
Expert Tips & Tricks
Here’s everything I’ve learned from making these bars dozens of times. These tips will save you from my mistakes.
Don’t Overbake — This is the #1 mistake people make. The bars continue to cook on the hot pan after you take them out of the oven. Pull them when the center looks just barely set. They will firm up as they cool. Overbaked bars are dry bars, and nobody wants that.
Use Softened Butter — If your butter is melted, your bars will be cakey. If it’s too hard, it won’t mix well. Aim for butter that yields to gentle pressure but doesn’t leave a deep indent. If you forget to soften it, microwave it for 5-second intervals until it’s just right.
Measure Flour Correctly — I cannot stress this enough. Spoon the flour into the cup and level it off. Scooping directly from the bag packs the flour, leading to dry, dense bars. If you want to be precise, weigh your flour (220g for AP flour).
Chill the Dough (Optional) — If you have time, chill the dough in the fridge for 30 minutes before baking. This helps the flavors meld and prevents the bars from spreading too much. However, it’s not strictly necessary. I often skip this step when I’m in a hurry, and the results are still great.
Customize Your Mix-Ins — While M&Ms are classic, you can add chopped nuts (pecans or walnuts work well), white chocolate chips, or even crushed pretzels for a sweet-and-salty twist. I’ve tried adding a handful of toasted coconut, and it was amazing.
Storage is Key — Store your bars in an airtight container at room temperature for up to 5 days. If you live in a humid climate, add a slice of bread to the container to keep them soft. The bread absorbs excess moisture and keeps the bars chewy.
Variations & Substitutions
Once you’ve nailed the basic version, here’s how you can mix it up. I’ve tried all of these, and they all work.
Chocolate Chip Cookie Bars — Skip the M&Ms and use 2 cups of semi-sweet chocolate chips. It’s a classic for a reason. You can also mix M&Ms and chips for the best of both worlds.
Red Velvet Bars — Add 1 tablespoon of cocoa powder and 1 teaspoon of red food coloring to the wet ingredients. Use white M&Ms for decoration. These are festive and delicious.
Peanut Butter M&M Bars — Swap ¼ cup of the flour for creamy peanut butter. Add ½ cup of chopped peanuts for crunch. This pairs beautifully with the chocolate.
Gluten-Free Version — Use a 1:1 gluten-free flour blend. The texture will be slightly more tender, but still chewy. Make sure your M&Ms are certified gluten-free (some contain wheat starch).
Dairy-Free — Use dairy-free butter sticks (not margarine) and dairy-free chocolate chips/M&Ms (Lindt makes a good dairy-free chocolate). The result is surprisingly close to the original.
Vegan Version — Use vegan butter and vegan chocolate chips/M&Ms. You may need to chill the dough longer to prevent spreading. The result is moist and chewy, though slightly less rich.
Serving & Storage
How to Serve
I usually serve these straight from the cooling rack, warm and gooey. But here are other ways I’ve enjoyed them:
- With Coffee or Milk — A warm glass of milk or a cup of coffee is the perfect accompaniment.
- With Ice Cream — Top a warm bar with a scoop of vanilla ice cream for a dessert that feels fancy.
- At Parties — Cut them into smaller squares for finger food. They hold up well on a dessert table.
Storage Instructions
Room Temperature: Store in an airtight container for up to 5 days. Keep them away from direct sunlight to prevent the M&Ms from melting.
Refrigerator: You can refrigerate them for up to 2 weeks, but they may firm up. Let them come to room temperature before eating for the best texture.
Freezing: Yes, you can freeze these! Wrap the entire pan (or individual bars) in plastic wrap and then foil. They’ll keep for up to 3 months. Thaw at room temperature before eating. I often freeze half the batch to have a dessert ready for unexpected guests.
Reheating: To get that fresh-baked taste, microwave a bar for 10-15 seconds. It will be warm and gooey again. You can also warm them in a 300°F oven for 5 minutes.
Nutrition Information
I’m not a nutritionist, but here’s the breakdown if you’re tracking. Please note that nutrition values are estimates and will vary based on specific ingredients used.
Per Serving (based on 9 bars):
- Calories: 320
- Protein: 4g
- Carbs: 48g
- Fiber: 1g
- Sugar: 32g
- Fat: 14g
- Saturated Fat: 8g
- Cholesterol: 30mg
- Sodium: 180mg
What’s Good:
- Quick and easy to make
- Uses simple pantry staples
- Can be customized with add-ins
What to Know:
- High in sugar and calories (it’s a dessert, after all!)
- Contains gluten and dairy
- Moderate sodium content
My Take:
Look, these are treat bars. They’re sweet, rich, and delicious. They’re not a health food. But they’re way better than store-bought brownies, and making them at home gives you control over the ingredients. When I want to make them slightly lighter, I reduce the sugar by ¼ cup and add more M&Ms for flavor. But usually? I just enjoy a square or two and savor every bite.
Final Thoughts
So that’s my go-to chewy M&M cookie bars recipe! I’ve probably talked your ear off at this point, but when you make a recipe this often, you have a lot to say about it. This has saved my dessert game more times than I can count. It’s my answer to “What’s for dessert?” when I’m tired, don’t want to make a fuss, and still want something that tastes really good. My kids are happy, my husband is happy, and I’m happy because I’m not stressed about cooking.
Make it yours! Try different mix-ins, swap in your favorite candies, or adjust the sugar to your taste. The best recipes are the ones you adapt to your family’s tastes. If you make this, drop a comment and let me know what you think! I love hearing how recipes turn out in your kitchen. And if something doesn’t work, tell me that too—I’m here to help troubleshoot.
Happy baking! And I hope your kitchen smells half as good as mine does right now.
Frequently Asked Questions
Can I use a different size pan?
You can, but the baking time will change. If you use a 9×13-inch pan, the bars will be thinner, so reduce the baking time to 12-15 minutes. If you use a smaller pan, like 8×8-inch, the bars will be thicker, so increase the baking time to 20-25 minutes. Keep an eye on them to avoid overbaking.
Why did my bars turn out cakey instead of chewy?
This usually happens if you overmix the dough or use melted butter. Overmixing develops gluten, which leads to a cakey texture. Also, melted butter makes the bars spread more and become denser. Make sure you’re using softened butter and mixing just until combined.
Can I make this recipe ahead of time?
Yes! You can mix the dough and refrigerate it for up to 2 days. Let it come to room temperature before pressing it into the pan and baking. Alternatively, you can bake the bars and store them in an airtight container for up to 5 days.
Can I freeze the dough?
Absolutely. Scoop the dough into balls or press it into the pan, wrap tightly in plastic wrap and foil, and freeze for up to 3 months. Thaw in the fridge overnight before baking. Note that frozen dough may need a few extra minutes in the oven.
Do I have to use M&Ms?
No! You can use any chocolate chips, chopped candy bars, or even nuts. M&Ms are popular because they hold their shape well during baking, but chocolate chips will melt and create a gooey texture. Try both to see which you prefer.
How do I know when the bars are done?
The edges should be lightly golden, and the center should still look slightly soft. They will firm up as they cool. If the center looks fully set in the oven, they will be dry once cooled. It’s better to underbake slightly than overbake.
Can I make these gluten-free?
Yes, use a 1:1 gluten-free flour blend. Make sure your M&Ms are certified gluten-free. The texture will be slightly more tender, but still chewy. You may need to chill the dough longer to prevent spreading.
Pin This Recipe!
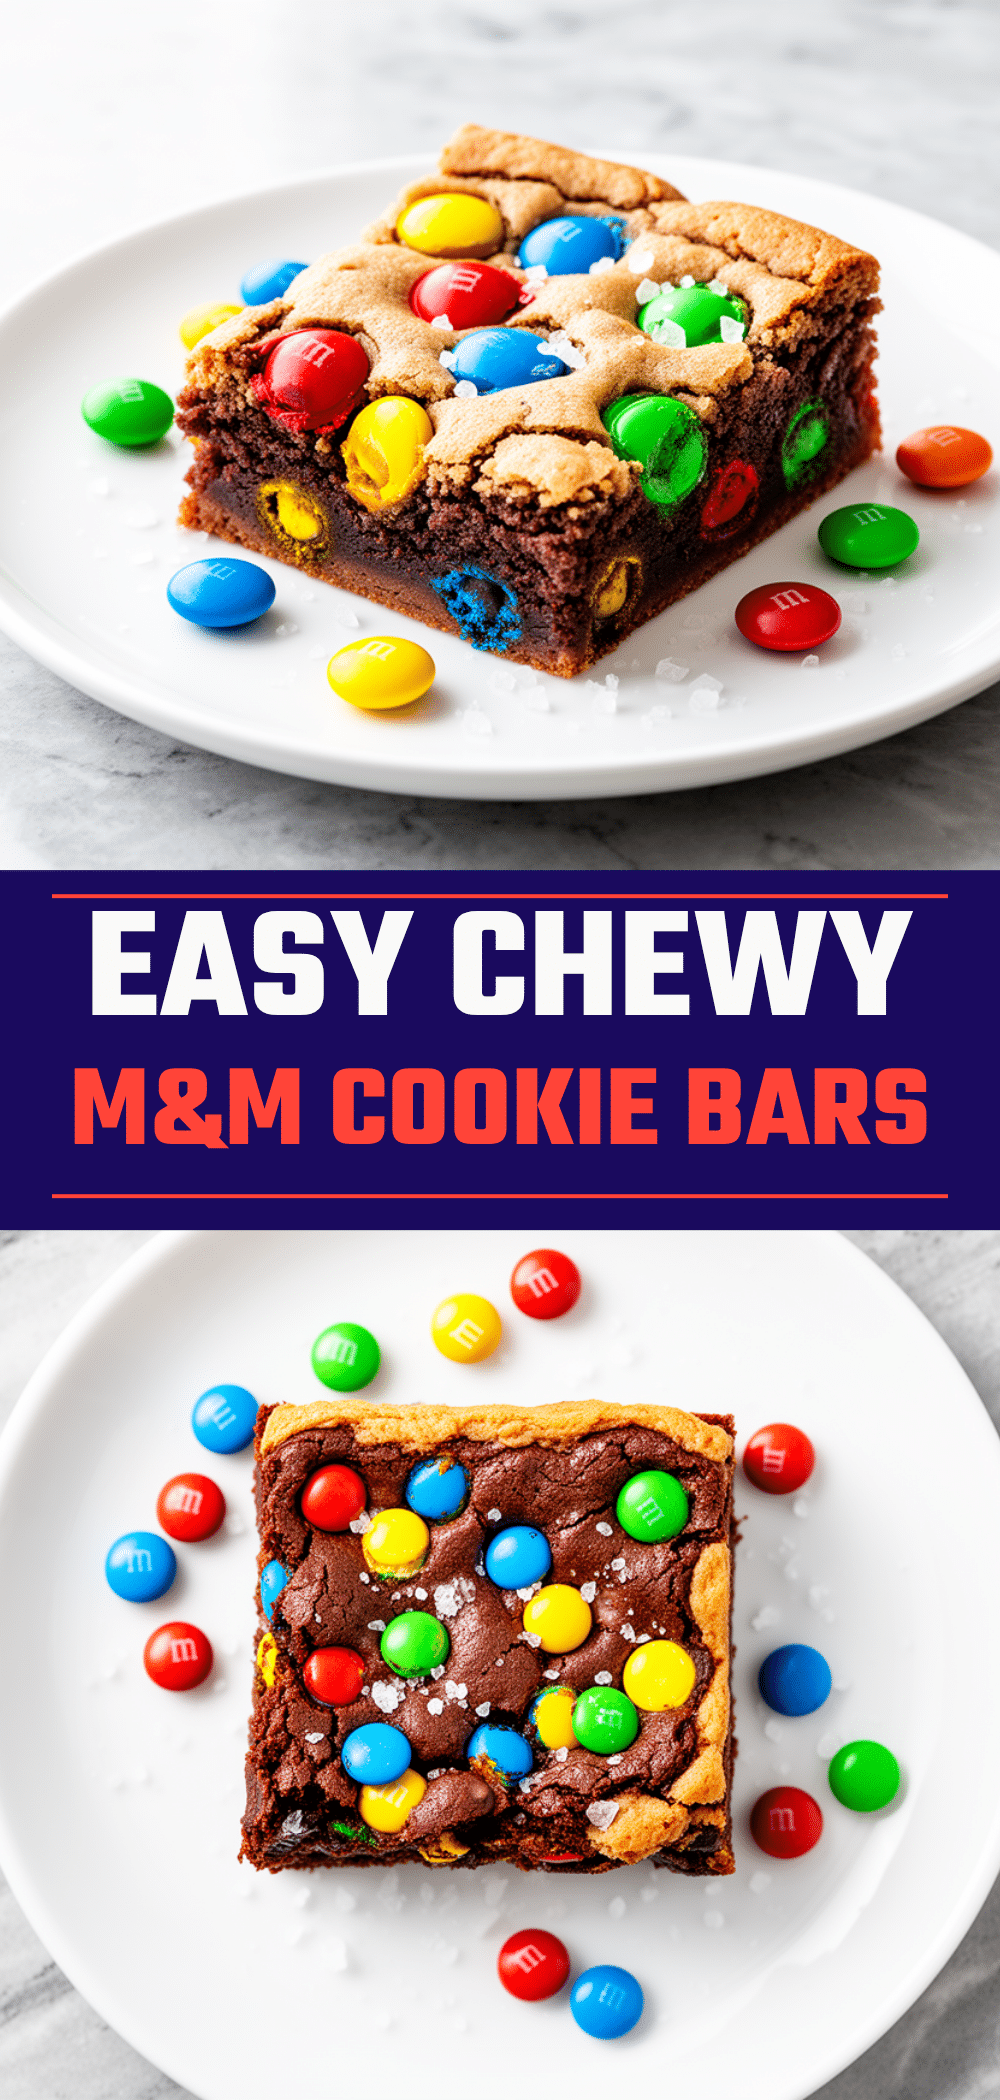
Chewy M&M Cookie Bars: Easy One Bowl Recipe
- Total Time: 25 minutes (plus 30 minutes cooling)
- Yield: 9-12 servings 1x
Description
These chewy M&M cookie bars are the ultimate one-bowl dessert, requiring no mixer and minimal cleanup. They bake up golden with a gooey center, making them perfect for busy weeknights or last-minute treats.
Ingredients
- ½ cup (113g) unsalted butter, softened
- ½ cup (100g) granulated sugar
- ½ cup (100g) light brown sugar, packed
- 1 teaspoon vanilla extract
- 1¾ cups (220g) all-purpose flour
- ½ teaspoon baking soda
- ½ teaspoon salt
- 1½ cups (250g) M&M’s candies
- ½ cup semi-sweet chocolate chips (optional)
Instructions
- Preheat oven to 350°F (175°C). Line a 9×9-inch baking pan with parchment paper, leaving an overhang on the sides.
- In a large mixing bowl, combine softened butter, granulated sugar, and brown sugar. Mix with a fork or wooden spoon until smooth and slightly fluffy (about 2-3 minutes).
- Stir in the vanilla extract until fully incorporated.
- Add the flour, baking soda, and salt to the bowl. Mix on low speed or by hand until just combined. Do not overmix.
- Fold in the M&M’s (and chocolate chips, if using) gently with a spatula to distribute evenly.
- Press the dough evenly into the prepared pan, creating a uniform layer about ¾ inch thick. Press remaining M&M’s into the top if desired.
- Bake for 15-18 minutes, or until edges are lightly golden but the center still looks slightly underbaked.
- Let the bars cool in the pan for at least 15 minutes, then lift out using the parchment overhang and transfer to a cooling rack to cool completely.
- Cut into 9 or 12 squares before serving.
Notes
Use softened butter, not melted, to ensure a chewy texture rather than cakey. Measure flour by spooning it into the cup and leveling it off to avoid dry bars. The bars continue to cook on the hot pan after removal from the oven, so pull them when the center looks slightly soft. Store in an airtight container at room temperature for up to 5 days.
- Prep Time: 10 minutes
- Cook Time: 15-18 minutes
- Category: Dessert
- Cuisine: American
Nutrition
- Serving Size: 1 square (approx. 1/
- Calories: 320
- Sugar: 32
- Sodium: 180
- Fat: 14
- Saturated Fat: 8
- Carbohydrates: 48
- Fiber: 1
- Protein: 4
Keywords: M&M cookie bars, one bowl recipe, chewy cookies, easy dessert, no mixer, weeknight baking, chocolate bars


