It was 5:15 PM on a Tuesday, and my kitchen looked like a disaster zone from the weeknight dinner rush. I had just managed to scrape the last of the cheesy baked spaghetti with garlic butter crust into serving bowls (that one’s a lifesaver, by the way), but the kids were still hovering. They weren’t asking for vegetables. They weren’t asking for more pasta. They were asking for cookies.
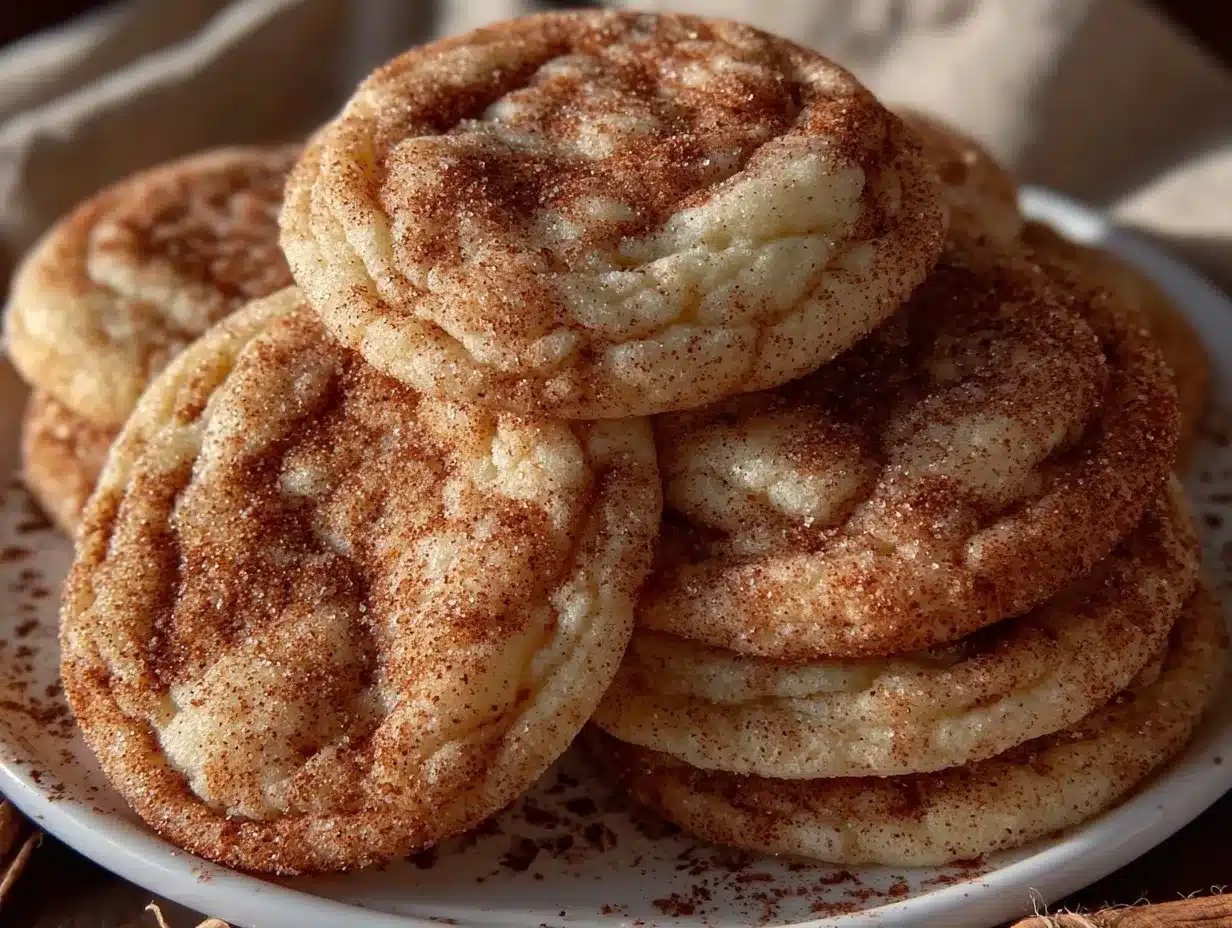
Not chocolate chip. Not brownies. Snickerdoodles. The ones with the crackly, cinnamon-sugar tops and the soft, pillowy centers that taste like a warm hug.
Normally, I’d say, “We’re out, sweetie,” or “How about some fruit?” But I’m tired. And I know that saying no to dessert when you’re already in the middle of a chaotic dinner routine is a battle you will lose by 7 PM. So I looked at the clock, looked at the pantry, and decided to make soft batch snickerdoodle cookies perfect for busy weeknights right then and there.
I’ve made these cookies at least twenty times in the last six months. Sometimes when I’m actually baking for a party, and sometimes—like last Tuesday—when I’m running on three hours of sleep and just need to keep the peace. And here’s the thing: they don’t take hours. You don’t need to chill the dough overnight. You don’t need to whip up a complicated frosting like you would for a soft carrot cake with cream cheese frosting. You just mix, roll, and bake.
These cookies are my secret weapon. They’re sweet but not cloying, soft but not cakey, and they smell like heaven within ten minutes of being in the oven. If you’re staring at the clock right now wondering how to salvage your evening with a little something sweet, this is it. Let’s get baking.
Why You’ll Love This Recipe
I know what you’re thinking. “Snickerdoodles? Isn’t that a weekend project?” Not anymore. I’ve stripped down the traditional recipe to its absolute essentials and optimized it for the 5 PM panic. Here’s why these soft batch snickerdoodle cookies perfect for busy weeknights have replaced every other dessert in my rotation:
- Zero Chill Time — Seriously. Most cookie recipes demand you chill the dough for an hour or two. I don’t have an hour. I don’t even have ten minutes. This dough goes straight from bowl to oven. The texture comes from the butter temperature and the cream of tartar, not patience.
- Pantry Staples Only — You probably have everything for these right now. Flour, sugar, butter, eggs, cream of tartar, baking soda, cinnamon. If you don’t have cream of tartar, I’ll tell you what to do in a sec. But usually, it’s sitting in the back of your spice rack next to the cumin you never use.
- 15 Minutes Active Time — From mixing to the first warm cookie in your mouth is about 20 minutes. That’s it. That’s less time than it takes to order takeout and wait for delivery. I’ve timed it. I’m competitive.
- Perfect Texture Every Time — These aren’t crisp snickerdoodles that break your teeth. They’re soft, chewy, and slightly cakey in the best way. The outside gets that classic sugary crunch, while the inside stays moist for days. Seriously, I’ve had these for three days and they’re still soft.
- Kid-Approved (Even the Picky Ones) — My youngest is a texture snob. He hates chewy things. He loves these. Why? Because they’re soft. He also loves the cinnamon sugar, which is basically candy to him. It’s a win-win.
This is my go-to when I need dessert to just work. No fancy equipment, no weird ingredients, no stress. Just reliable, delicious food that makes everyone happy. If you like gooey cinnamon roll cookies, you’re going to lose your mind over these.
Ingredients You’ll Need
Here’s the best part: you probably have most of this already. This isn’t a recipe that requires a special trip to the grocery store at 6 PM. It’s built for the reality of a busy weeknight.
For the Dough
Unsalted butter (1 cup / 226g) — Softened. Not melted. Not hard as a rock. You should be able to press your thumb into it easily. If you’re in a rush, cut it into cubes and microwave for 15-20 seconds. It doesn’t need to be room temp, just soft enough to cream.
Granulated sugar (1 cup / 200g) — For the dough. This provides structure and sweetness. Don’t swap this for brown sugar unless you want a different texture. We want that classic snickerdoodle snap.
Light brown sugar (1/2 cup / 100g) — Packed. This adds moisture and that slight caramel note. It helps keep the cookies soft. If you’re out, you can use all granulated, but the brown sugar is better for the “soft batch” goal.
Large egg (1) — Room temperature is ideal, but cold works fine for this recipe since the butter is soft. Crack it, beat it slightly, and add it.
Vanilla extract (2 teaspoons) — Use the real stuff. The cheap imitation vanilla tastes chemical in these. Since there are only a few ingredients, the vanilla flavor shines through.
All-purpose flour (2 1/4 cups / 280g) — Spoon and level. Don’t scoop directly from the bag, or you’ll pack it down and get dry cookies. I weigh my flour because I’m obsessive, but if you scoop, fluff it first, spoon it into the cup, and knife off the top.
Cream of tartar (2 teaspoons) — This is the secret ingredient. It gives snickerdoodles their tang and helps them spread just right. It also reacts with the baking soda for lift. Do not skip this. If you absolutely cannot find it, see the substitutions below.
Baking soda (1/2 teaspoon) — Fresh. If your baking soda is older than six months, toss it. Test it by dropping a little in vinegar—if it doesn’t fizz, it’s dead.
Salt (1/2 teaspoon) — To balance the sweetness. Don’t skip it.
For the Cinnamon Sugar Coating
Granulated sugar (1/2 cup / 100g) — For rolling.
Ground cinnamon (2 teaspoons) — Freshly ground is best, but ground is fine. Just make sure it’s not old. If it smells like dust, replace it.
Butter (2 tablespoons, melted) — Optional but recommended. Dipping the dough balls in melted butter before rolling in cinnamon sugar helps the coating stick better and adds a little extra richness.
Equipment Needed
You don’t need fancy equipment for this. Here’s what I actually use:
Large mixing bowl — A big one. 5-quart or larger. You need room to cream the butter and sugars without making a mess.
Electric hand mixer or stand mixer — I use a hand mixer because it’s faster to grab and clean. A stand mixer works too, but you have to clean the bowl afterwards. If you’re mixing by hand, you’ll need about 3 minutes of elbow grease to get the butter creamy.
Baking sheets — Two standard half-sheet pans. If you only have one, that’s fine. You’ll bake in batches.
Parchment paper — Line your baking sheets. Cleanup is way easier, and the cookies don’t stick. I don’t grease the pans if I use parchment.
Mesh strainer or small bowl — For mixing the cinnamon and sugar coating.
Cooling rack — Optional. I usually just let them cool on the pan for 5 minutes, then move them to a plate. But a rack is nice if you’re impatient.
How to Make It: Step-by-Step
Alright, let’s make this! I’m walking you through exactly how I do it, including the little tricks I’ve picked up so you don’t end up with flat, crispy cookies.
Step 1: Prep Your Oven and Pans (2 minutes)
Preheat your oven to 350°F (175°C). Line your baking sheets with parchment paper. If you don’t have parchment, grease the pans lightly with butter or non-stick spray, but parchment is better for even baking.
Step 2: Cream the Butter and Sugars (3-4 minutes)
In your large bowl, combine the softened butter, granulated sugar, and brown sugar. Beat on medium-high speed for about 3 minutes. You want this mixture to look pale, fluffy, and combined. This step is crucial. It incorporates air into the butter, which helps the cookies rise and stay soft. If you skip this, your cookies will be dense.
Step 3: Add Wet Ingredients (1 minute)
Crack the egg into the bowl and add the vanilla extract. Beat on medium speed until combined. Scrape down the sides of the bowl with a spatula to make sure nothing is stuck in the corners. You want everything smooth.
Step 4: Mix Dry Ingredients (1 minute)
In a separate medium bowl (or just use the same one if you’re lazy, but separate is better for even distribution), whisk together the flour, cream of tartar, baking soda, and salt. Whisking ensures the leavening agents are spread out so you don’t get bitter bites of baking soda.
Step 5: Combine Dough (2 minutes)
Turn your mixer to low speed. Gradually add the dry ingredients to the wet ingredients. Mix just until the flour disappears. Do not overmix. Once you see no more streaks of flour, stop. Overmixing develops gluten, which makes cookies tough. We want soft and tender.
Step 6: Make the Cinnamon Sugar Coating
In a small bowl, mix the 1/2 cup granulated sugar and the cinnamon. If you’re using the melted butter dip, pour that into a shallow dish or plate.
Step 7: Roll and Bake (15 minutes)
Scoop about 1.5 tablespoons of dough (a medium cookie scoop is perfect, but a tablespoon works) and roll it into a ball. If you’re using the melted butter dip, roll the ball in the butter first, then roll it in the cinnamon sugar until fully coated. Place the balls on the prepared baking sheets, about 2 inches apart. They will spread.
Bake for 9-11 minutes. Here’s the trick: you want the edges to be just set and lightly golden, but the centers should still look soft and slightly undercooked. They will firm up as they cool. If you bake them until they look done in the oven, they’ll be hard when they cool.
Step 8: Cool and Serve (5 minutes)
Let the cookies sit on the baking sheet for 5 minutes. This is important. They are very delicate when hot. If you try to move them now, they’ll break. After 5 minutes, transfer them to a cooling rack or plate. They should be soft, chewy, and covered in that crackly cinnamon sugar.
Total Time: About 25 minutes (10 minutes prep, 15 minutes bake).
Expert Tips & Tricks
Here’s everything I’ve learned from making these dozens of times. These tips will save you from my mistakes.
Don’t Overbake — This is the #1 mistake. Pull them out when they look slightly underdone. The residual heat will finish cooking them. I burned my first batch because I waited for them to look “done.” They were crispy rocks. Lesson learned.
Chill if You Can (But Don’t Have To) — If you have time, chill the dough for 30 minutes. It makes the cookies thicker and chewier. But for busy weeknights, the straight-from-the-bowl method works great. Just don’t use warm dough.
Use a Cookie Scoop — I know, it’s an extra tool. But it ensures uniform size, which means even baking. If you scoop by hand, try to make them all the same size. One giant cookie and one tiny cookie won’t bake at the same rate.
Rotate Your Pans — If your oven has hot spots (most do), rotate the baking sheet halfway through baking. This ensures even browning. I learned this the hard way with a cookie that was dark on one side and pale on the other.
Fresh Cream of Tartar — It loses potency over time. If your cookies aren’t spreading or rising right, check your cream of tartar. It should be white and powdery, not clumpy or yellowish.
Don’t Skip the Salt — It might seem like a cookie, so why salt? Salt enhances flavor. Without it, the cookies taste flat and overly sweet. It’s the difference between “good” and “amazing.”
Variations & Substitutions
Once you’ve nailed the basic version, here’s how you can mix it up. I’ve tried all of these.
No Cream of Tartar? — You can substitute with 1 teaspoon of lemon juice or white vinegar. It won’t be exactly the same tang, but it will react with the baking soda to help them rise. Or, use 1/2 teaspoon baking powder and 1/2 teaspoon baking soda instead of the baking soda alone.
Chocolate Chip Snickerdoodles — Add 1 cup of semi-sweet chocolate chips to the dough after mixing. It’s like a cross between a snickerdoodle and a chocolate chip cookie. My kids love this version.
Peanut Butter Snickerdoodles — Substitute 1/2 cup of the flour with creamy peanut butter. It adds a nice salty contrast to the cinnamon sugar. Just make sure the peanut butter is at room temperature.
Gluten-Free — Use a 1:1 gluten-free flour blend. Most brands work well in cookies. Add 1/4 teaspoon xanthan gum if your blend doesn’t include it. The texture might be slightly more crumbly, but still good.
Dairy-Free — Use dairy-free butter sticks (not tub margarine, which has higher water content) and ensure your sugar is vegan (some sugars are processed with bone char). The rest is naturally dairy-free.
Spicy Snickerdoodles — Add a pinch of cayenne pepper to the cinnamon sugar. It sounds weird, but it adds a nice warmth that complements the cinnamon. Great for fall.
Serving & Storage
How to Serve: — I usually serve these warm, right off the baking sheet. There’s nothing better than a warm snickerdoodle with a cold glass of milk. But they’re also great at room temperature for lunchboxes or potlucks. If you’re serving them for a dinner party, pair them with a Labor Day watermelon mint sangria or a simple creamy mango pineapple tropical smoothie for a refreshing contrast.
Storage: — Store in an airtight container at room temperature for up to 5 days. They actually get softer over the first day, which is perfect. If you want them soft, keep them in the container with a slice of bread. The bread releases moisture, which keeps the cookies soft.
Freezing: — You can freeze the dough balls. Scoop them, freeze on a baking sheet until solid, then transfer to a freezer bag. Bake from frozen, adding 1-2 minutes to the bake time. Or, freeze baked cookies for up to 3 months. Thaw at room temperature.
Reheating: — If you want them warm, microwave for 10-15 seconds. They’ll be soft and gooey. Don’t over-microwave or they’ll get tough.
Nutrition Information
I’m not a nutritionist, but here’s the breakdown if you’re tracking. Keep in mind, these are estimates based on standard ingredients.
Per Cookie (makes about 24 cookies):
- Calories: 140
- Protein: 2g
- Carbs: 22g
- Fiber: 1g
- Sugar: 14g
- Fat: 6g
- Saturated Fat: 4g
- Cholesterol: 20mg
- Sodium: 110mg
What’s Good: — They’re not a health food, but they’re not terrible. You get some protein from the egg and butter. The cinnamon has antioxidants. And they’re portion-controlled (if you don’t eat the whole batch).
What to Know: — Higher in sugar and saturated fat. Use them as a treat, not a breakfast. If you’re watching sugar, reduce the cinnamon sugar coating by half.
My Take: — Look, this is a cookie. It’s supposed to taste good. It’s not a salad. Enjoy it, share it, and don’t stress about the numbers. When I make these, I’m making memories, not counting macros.
Final Thoughts
So that’s my go-to soft batch snickerdoodle cookies perfect for busy weeknights! I’ve probably talked your ear off at this point, but when you make a recipe this often, you have a lot to say about it.
This has saved dinner time more times than I can count. It’s my answer to “what’s for dessert” when I’m tired, don’t want to order out, and still want something that tastes homemade. My kids are happy, my husband’s happy, and I’m happy because I’m not stressed about cooking.
Make it yours! Try different add-ins, swap in your favorite spices, or just enjoy them plain. The best recipes are the ones you adapt to your family’s tastes. If you make this, drop a comment and let me know what you think! I love hearing how recipes turn out in your kitchen. And if something doesn’t work, tell me that too—I’m here to help troubleshoot.
Happy baking! And I hope your kitchen smells half as good as mine does right now.
Frequently Asked Questions
Q: Can I use brown sugar instead of granulated sugar in the dough?
A: You can, but the texture will change. More brown sugar means chewier, darker cookies. For the classic snickerdoodle taste and texture, stick with the granulated sugar in the dough. You can use all brown sugar in the cinnamon coating if you want a deeper flavor.
Q: Why did my cookies spread too much?
A: This usually means the butter was too warm or melted. Make sure your butter is softened, not liquid. Also, check your baking soda and cream of tartar—they need to be fresh to provide the right lift. If your dough is too warm, chill it for 15 minutes before baking.
Q: Why did my cookies turn out cakey instead of soft and chewy?
A: You might have overmixed the dough, or used too much flour. Remember to spoon and level your flour, don’t scoop. Also, make sure you’re not overbaking. Pull them out when they look slightly underdone.
Q: Can I make these ahead of time?
A: Yes! Scoop the dough balls and freeze them. When you’re ready to bake, just pop them in the oven. You can also bake them and store them in an airtight container for up to 5 days.
Q: What if I don’t have cream of tartar?
A: You can substitute with 1 teaspoon of lemon juice or white vinegar. It won’t be exactly the same, but it will help with the texture. Or, use 1/2 teaspoon baking powder and 1/2 teaspoon baking soda instead of the baking soda alone.
Q: How do I store leftover cookies?
A: In an airtight container at room temperature for up to 5 days. If you want them soft, add a slice of bread to the container. They will stay soft for days.
Q: Can I double this recipe?
A: Absolutely! Just double all the ingredients. You’ll need more baking sheets and might need to bake in more batches. The cooking time stays the same.
Pin This Recipe!
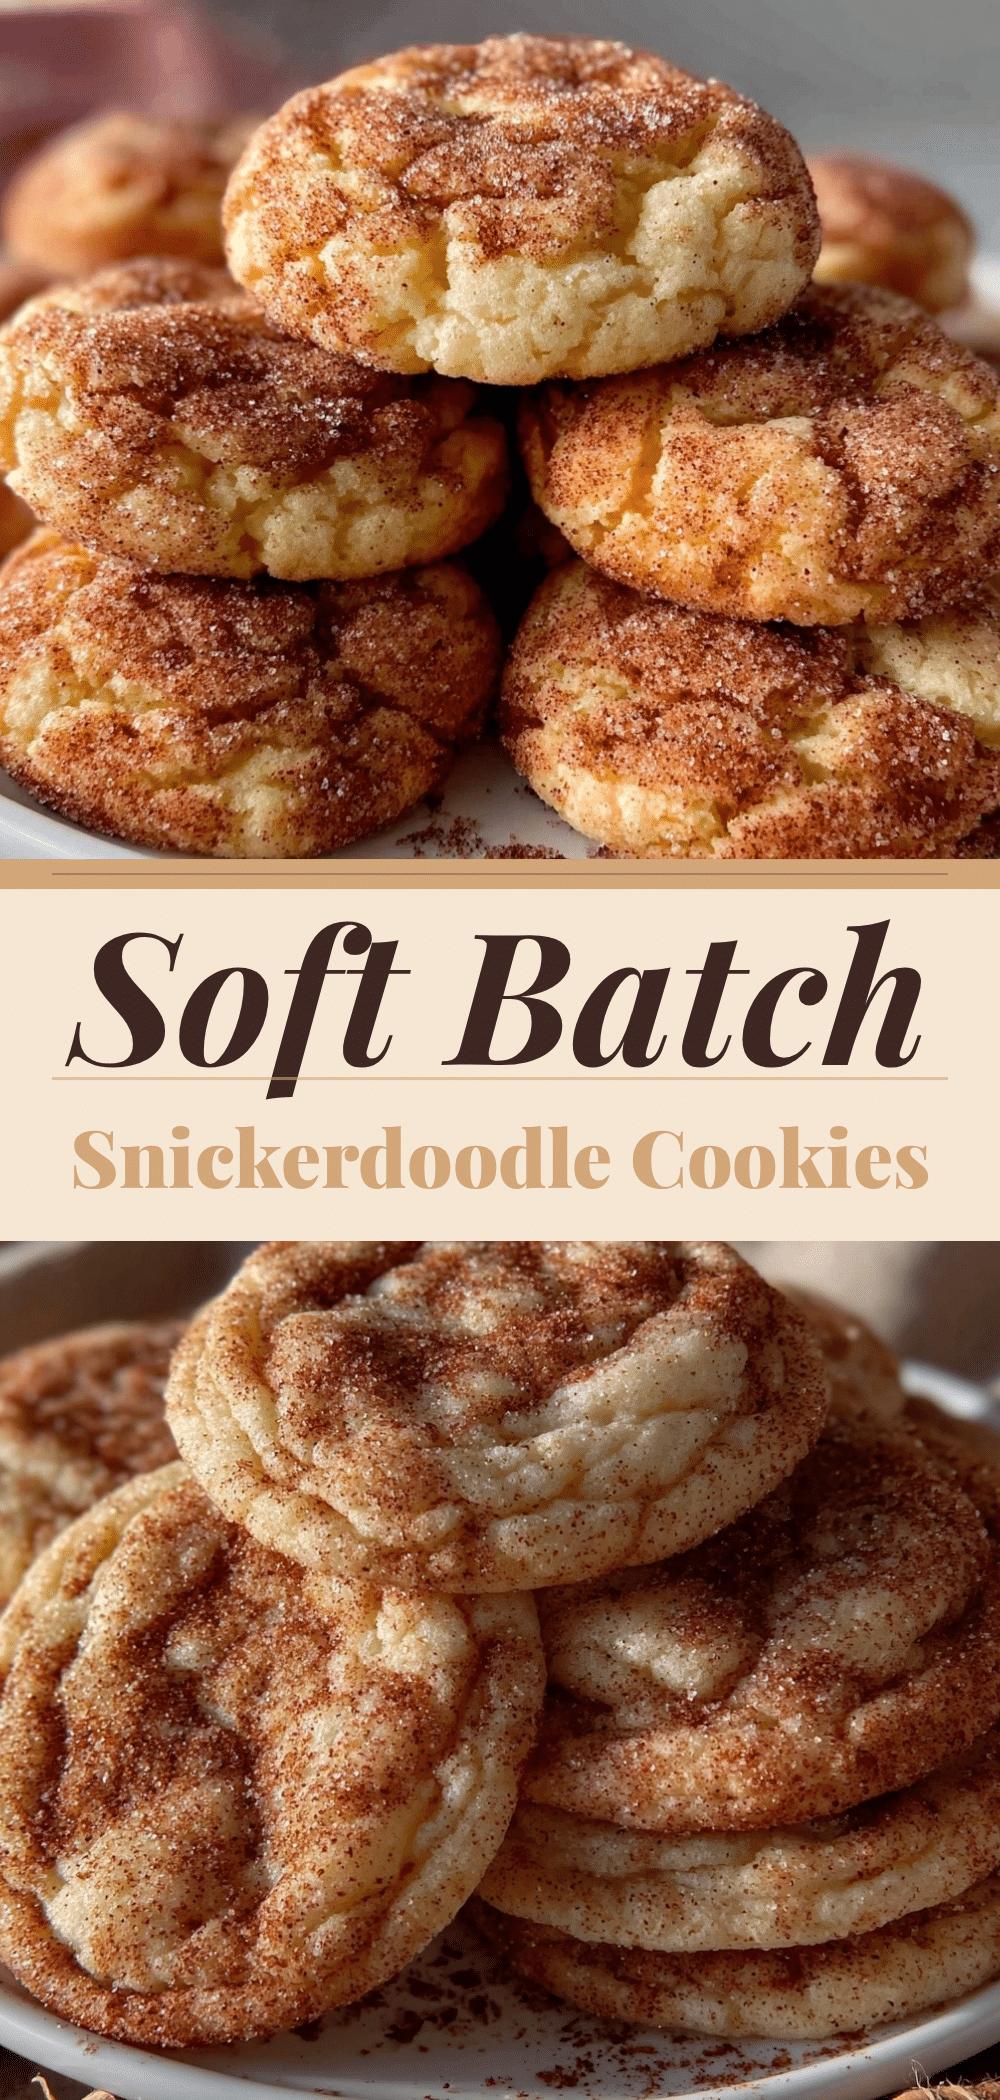

Soft Batch Snickerdoodle Cookies: 5pm Dinner Savior
- Total Time: 25 minutes
- Yield: 24 cookies 1x
Description
These soft batch snickerdoodle cookies are the perfect weeknight dessert, requiring zero chill time and just pantry staples. They feature crackly cinnamon-sugar tops and pillowy, soft centers that come together in about 20 minutes.
Ingredients
- 1 cup (226g) unsalted butter, softened
- 1 cup (200g) granulated sugar, for dough
- 1/2 cup (100g) light brown sugar, packed
- 1 large egg, room temperature
- 2 teaspoons vanilla extract
- 2 1/4 cups (280g) all-purpose flour, spooned and leveled
- 2 teaspoons cream of tartar
- 1/2 teaspoon baking soda
- 1/2 teaspoon salt
- 1/2 cup (100g) granulated sugar, for coating
- 2 teaspoons ground cinnamon
- 2 tablespoons butter, melted (optional, for coating)
Instructions
- Preheat oven to 350°F (175°C) and line baking sheets with parchment paper.
- In a large bowl, cream the softened butter, granulated sugar, and brown sugar on medium-high speed for 3 minutes until pale and fluffy.
- Add the egg and vanilla extract, beating on medium speed until combined. Scrape down the sides of the bowl.
- In a separate bowl, whisk together the flour, cream of tartar, baking soda, and salt.
- Turn mixer to low and gradually add dry ingredients to wet ingredients. Mix just until flour disappears; do not overmix.
- In a small bowl, mix the coating sugar and cinnamon. If using, pour melted butter into a shallow dish.
- Scoop 1.5 tablespoons of dough and roll into a ball. Dip in melted butter (if using) and roll in cinnamon sugar to coat.
- Place dough balls on baking sheets, 2 inches apart.
- Bake for 9-11 minutes until edges are set and lightly golden, but centers still look soft.
- Let cookies cool on the baking sheet for 5 minutes before transferring to a plate or cooling rack.
Notes
Do not overbake; cookies will firm up as they cool. For best texture, ensure butter is softened, not melted. If you don’t have cream of tartar, substitute with 1 teaspoon lemon juice or white vinegar, or use 1/2 tsp baking powder and 1/2 tsp baking soda. Store in an airtight container with a slice of bread to keep soft for up to 5 days.
- Prep Time: 10 minutes
- Cook Time: 15 minutes
- Category: Dessert
- Cuisine: American
Nutrition
- Serving Size: 1 cookie
- Calories: 140
- Sugar: 14
- Sodium: 110
- Fat: 6
- Saturated Fat: 4
- Carbohydrates: 22
- Fiber: 1
- Protein: 2
Keywords: snickerdoodle cookies, soft batch cookies, weeknight dessert, easy cookies, cinnamon sugar cookies, no chill cookies, kid-friendly dessert