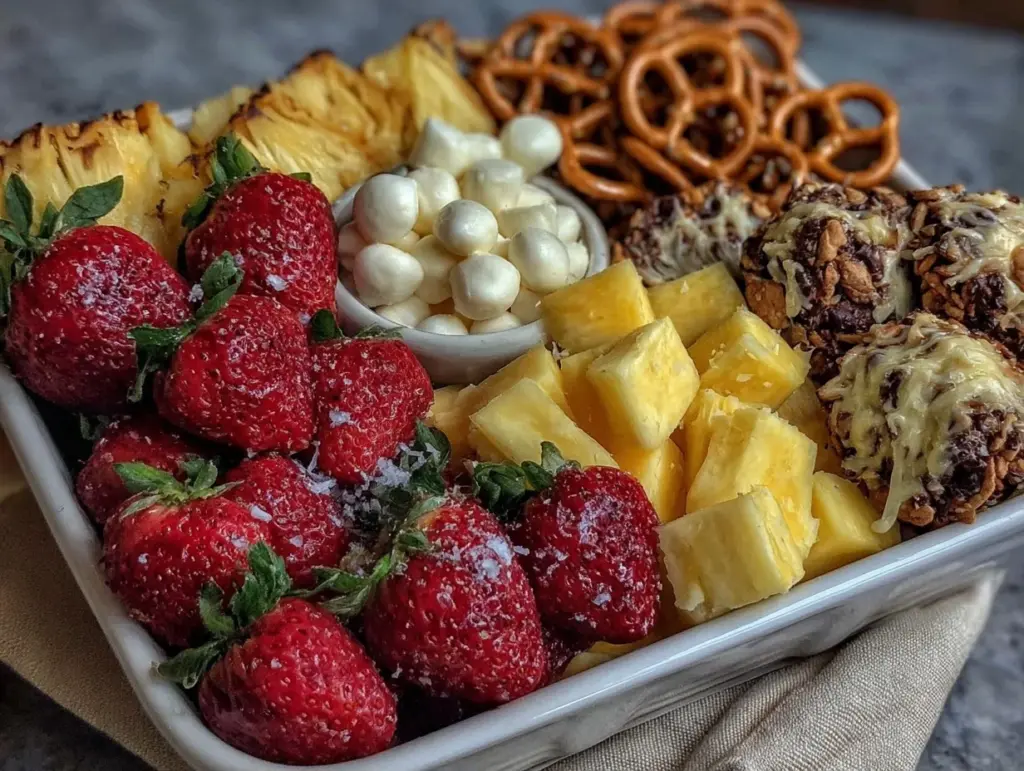
Last Tuesday, I was staring at the clock. It was 4:45 PM. My kids had just trudged in from school, backpacks dragging, faces scrunched up in that specific way that says, “I am starving and I do not care what you serve me.” I opened the fridge. Nothing. Well, nothing good. Just a sad lemon, three eggs, and a jar of pickles. No time to cook dinner. No time to drive to the store. And definitely no time to deal with the inevitable “I don’t like it” tantrum that comes with fast food.
So I did what any desperate parent does: I raided the pantry and the crisper drawer. I grabbed some crackers, a block of sharp cheddar, some sliced turkey, a handful of grapes, and a few almonds. I arranged them on a plate. And then, something magical happened. They actually ate it. They loved it. It was basically a homemade version of those classic Lunchable kits, but with way better ingredients and zero preservatives.
That was the birth of my Homemade Lunchable Snack Boxes with Fruit for Kids. Since that chaotic Tuesday, this has become our go-to “5pm win.” It’s the answer to “what’s for dinner” when I’m exhausted, the pantry is bare, and the kids are hangry. It’s not a full meal in the traditional sense, but it’s a complete, satisfying snack-box meal that takes about five minutes to put together. And honestly? It’s saved my sanity more times than I can count.
Why You’ll Love This Recipe
If you’re thinking, “Wait, just a plate of random stuff?” Yes. And no. There is a method to the madness, and that method is pure genius. This isn’t just leftovers scattered on a plate; it’s a curated experience for picky eaters and busy parents alike. Here’s why this Homemade Lunchable Snack Box with Fruit has earned a permanent spot in our weekly rotation:
- Zero Cooking Required — Seriously. If you can open a package of crackers and slice a piece of cheese, you can make this. No stove, no oven, no cleanup. Just assembly. It’s the ultimate low-effort meal.
- Customizable for Any Picky Eater — My son loves crackers but hates bread. My daughter is allergic to nuts (so we skip the almonds) but loves cheese sticks. Because you build it yourself, you can swap ingredients in seconds. It’s like a build-your-own pizza, but for snacks.
- Protein-Packed Energy — Unlike a bag of chips that leaves them hungry an hour later, this combo has protein (turkey, cheese, nuts) and carbs (crackers, fruit). It keeps their blood sugar stable and their bellies full until real dinner is ready.
- Under $5 Per Box — Store-bought Lunchables are expensive and full of sodium. Making your own costs pennies more than the boxed version, but you get real food. Real cheese. Real fruit. Real turkey. Your wallet will thank you.
- Teaches Independence — I let my kids build their own boxes after school. It gives them a sense of control over what they eat (which reduces arguing) and teaches them basic food combining. Plus, it’s fun for them.
This is my secret weapon for those days when I have no energy left. It feels like a treat, but it’s actually just smart, simple food. And the best part? They think they’re getting away with something, but they’re actually eating pretty well.
Ingredients You’ll Need
Here’s the best part: you probably have 80% of these items in your kitchen right now. This recipe is all about flexibility. You don’t need a special shopping trip. You need the basics that you likely already stock for quick snacks or lunches.
For the Base (The Crunch Factor)
Crackers (1 sleeve / approx. 10-12 pieces) — I usually grab Whole Wheat Thins or Triscuits for a bit of fiber, but my kids prefer the buttery Goldfish or Cheez-Its for pure joy. It doesn’t matter what type, just pick what they’ll actually eat. The goal is the crunch.
Flatbread or Tortilla Chips (2-3 pieces) — Sometimes crackers aren’t enough. I’ll add a piece of whole wheat flatbread or a couple of sturdy tortilla chips. It adds variety in texture and keeps them interested.
For the Protein (The Satisfying Part)
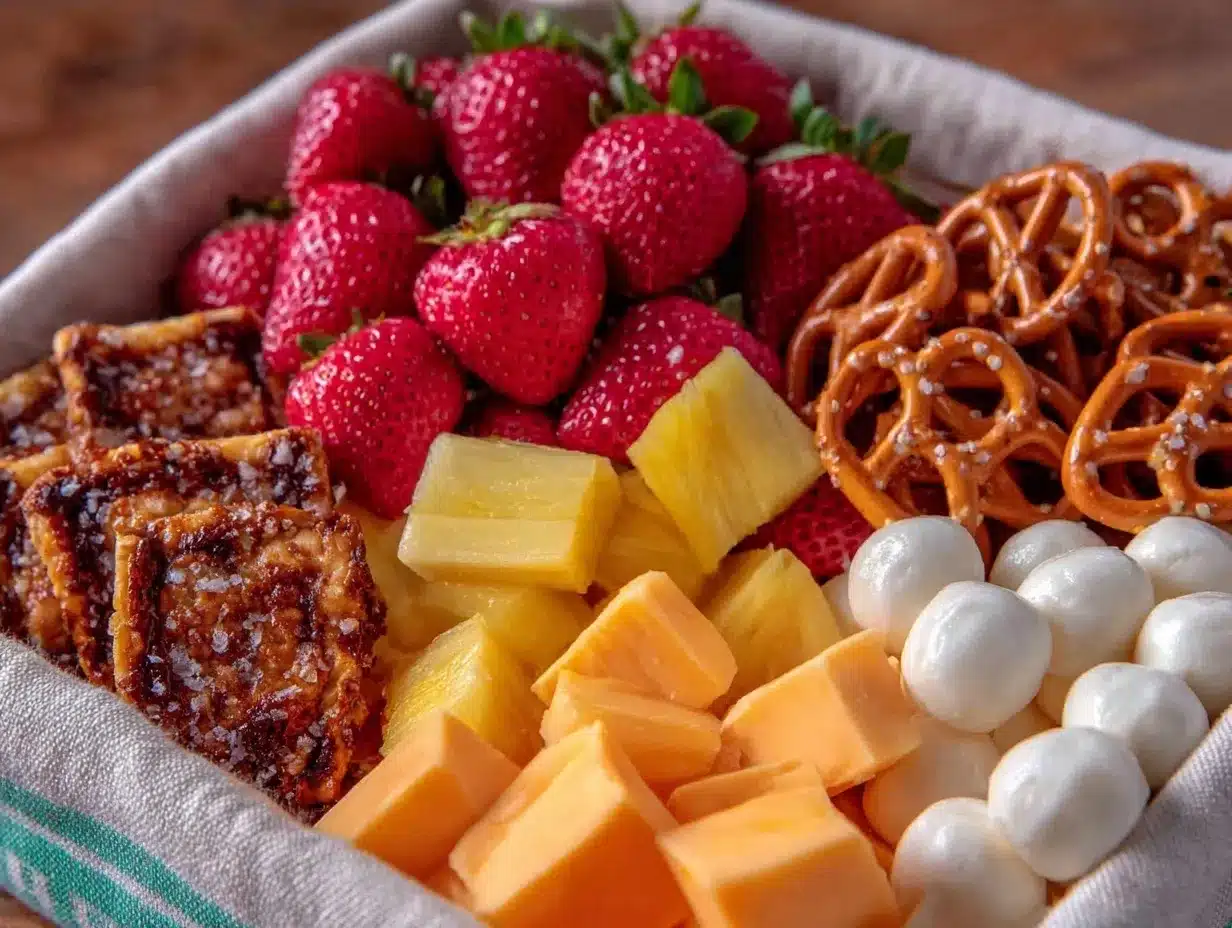
Sliced Deli Turkey or Ham (3-4 slices / approx. 3 oz) — Fold these into little rosettes or just lay them flat. Turkey is my default because it’s lean, but ham adds a nice salty kick. If you want something different, bang bang shrimp leftovers work great here too, just chopped small. But usually, it’s just deli meat.
Cheese (1 oz / approx. 4-6 cubes or slices) — Sharp cheddar is the gold standard for flavor. But string cheese sticks are a lifesaver for younger kids who don’t want to chew cubes. You can also use pepper jack for a spicy kick if your kids are brave. I keep a block of cheddar in the fridge and cube it when I have five minutes to spare.
For the Freshness (The Fruit & Veggie)
Grapes or Berries (1/2 cup) — Grapes are the easiest. Just wash them and leave them whole for little kids, or halve them for older ones. Strawberries or blueberries are great for variety. The sweetness balances the salty cheese and crackers perfectly.
Mini Carrots or Cucumber Slices (5-6 pieces) — I know, I know. Getting kids to eat veggies is a battle. But mini carrots are sweet and crunchy enough that they often get eaten. If they’re refusing veggies, swap this for more fruit. No judgment here.
Dried Fruit or Nuts (1 small handful) —raisins, dried cranberries, or a few almonds add a chewy texture that contrasts with the crunchy crackers. I use this sparingly because it’s calorie-dense, but it makes the box feel fancy.
For the Dip (The Secret Weapon)
Hummus or Ranch (2 tablespoons) — A dip makes everything better. I keep single-serve hummus cups in the fridge for this exact purpose. If I’m being lazy, I’ll just use a little ranch dressing. The dip acts as the “glue” that makes the crackers and veggies exciting.
Equipment Needed
You don’t need fancy tools for this. Here’s what I actually use. If you don’t have these, don’t worry—everything has a substitute.
Small Plates or Divided Containers — I use small ceramic plates with sections, or just regular dinner plates. If you’re packing these for school or on the go, bento-style boxes are perfect. They keep the wet fruit from making the crackers soggy.
Small Knife — For cutting cheese cubes or slicing grapes. A dull knife is frustrating, so make sure yours is sharp enough to glide through the cheese without crushing it.
Small Spoon — For portioning out the hummus or dip. A teaspoon works fine.
Knife for Slicing Deli Meat — Usually, the deli meat is pre-sliced. If it’s thick, just fold it. If you’re using a block of cheese, you’ll need that knife. If you’re using string cheese, you need nothing.
Colander — If you’re washing fruit, a small colander is handy. Or just use a bowl and a paper towel to dry them off. Wet fruit makes soggy boxes.
How to Make It: Step-by-Step
Alright, let’s make this! I’m walking you through exactly how I do it, including the little tricks I’ve picked up to make assembly faster and less messy.
Step 1: Prep Your Components (2 minutes)
Before you start assembling, get everything out. Wash your fruit and pat it dry with a paper towel. Moisture is the enemy of good crackers. If you’re using a block of cheese, cube it now. If you’re using deli meat, take it out of the package. Having everything within arm’s reach makes the assembly feel like a game, not a chore.
Step 2: Lay the Foundation (1 minute)
Take your plate or container. Start with the crackers. Place them on one side, leaving room for the other items. Don’t pile them too high, or they’ll break. I usually place them in a neat row. This is the base of the box, so it needs to be stable. If you’re adding flatbread, fold it into a triangle and tuck it in beside the crackers.
Step 3: Add the Protein (1 minute)
Next, add the meat. I like to fold the turkey slices into little fans or rosettes. It looks nicer than just laying them flat, and it makes them easier to pick up. Place them next to the crackers. If you’re using cheese cubes, arrange them in a neat row or cluster. Color contrast helps—yellow cheese next to white crackers looks appealing.
Step 4: Toss in the Fresh Stuff (1 minute)
Add the fruit and veggies. Grapes go in a cluster. Berries scatter nicely. Mini carrots can be lined up like soldiers. This is the part where you can get creative with patterns. My kids love it when I make a “face” out of the food, but honestly, I usually just aim for “not touching each other too much.” If you’re adding nuts or dried fruit, sprinkle them in the gaps.
Step 5: The Dip (1 minute)
Finally, add the dip. If you’re using a container with a small compartment, fill that with hummus or ranch. If you’re using a regular plate, put the dip in a small ramekin or even a tiny plastic cup. Place it in a corner. The dip is optional, but it’s the secret to getting them to eat the veggies. I’ve seen carrot sticks disappear when ranch is involved. It’s science.
Step 6: Serve Immediately
Send it off. Ideally, serve it right away so the crackers stay crisp. If packing for later, keep the dip separate until the last minute. Enjoy the silence while they eat.
Expert Tips & Tricks
Here’s everything I’ve learned from making these boxes dozens of times. These tips will save you from my mistakes and ensure your kids actually eat the veggies.
Keep It Dry
The number one reason these boxes fail is soggy crackers. Always dry your fruit thoroughly. If using grapes, pat them with a paper towel. If using berries, don’t wash them until right before packing. Moisture is the enemy of crunch.
Color Matters
Kids eat with their eyes. Try to include at least three colors: green (veggies/grapes), yellow/orange (cheese/crackers), and red (strawberries/turkey). A colorful box feels more like a treat than a meal. It’s psychology, but it works.
Portion Control
Don’t overfill the box. It’s supposed to be a snack, not a Thanksgiving dinner. Too much food overwhelms picky eaters. A little bit of everything is better than a mountain of one thing they hate. Aim for a handful of each item.
Prep Ahead
On Sundays, I cube a block of cheddar and put it in a container. I also wash and dry grapes. This cuts the assembly time down to literally 60 seconds during the week. When you’re tired at 5 PM, those prep steps are gold.
Use Toothpicks
For older kids, skewer the cheese, meat, and crackers onto a toothpick. It makes it fun and easier to eat. Just supervise younger kids to prevent choking hazards. It turns eating into a game.
Variations & Substitutions
Once you’ve nailed the basic version, here’s how you can mix it up. I’ve tried all of these, and they all work.
The “Pizza” Box
Swap the turkey for pepperoni slices. Use mozzarella cheese instead of cheddar. Add a side of marinara sauce for dipping. Use pizza crackers or breadsticks. This is a huge hit with my son. It’s basically a deconstructed pizza.
The “Breakfast for Dinner” Box
Swap the crackers for English muffin halves. Use scrambled eggs (cooled) or bacon bits. Add cheese cubes. Swap fruit for orange segments. It’s savory, salty, and satisfying. I make this when I want something different.
The “Veggie Lover” Box
Double the veggies. Add bell pepper strips, cherry tomatoes, and snap peas. Use a robust dip like spinach dip or guacamole. The guacamole makes the veggies taste amazing. I won’t lie, my kids still pick out the peppers, but they eat the tomatoes and carrots.
The “Sweet Tooth” Box
Swap the deli meat for peanut butter or sunflower seed butter. Use pretzels instead of crackers. Add apple slices with a side of caramel dip. This is more of a dessert box, but it’s great for a mid-afternoon snack. Just watch the sugar content.
Dietary Modifications:
– Gluten-Free: Use gluten-free crackers or rice cakes. Everything else is naturally gluten-free. I use simple rice crackers for this.
– Nut-Free: Skip the nuts and dried fruit. Use seeds like pumpkin or sunflower instead. Most schools are nut-free, so this is important for lunchbox versions.
– Dairy-Free: Skip the cheese or use a dairy-free alternative. Use hummus or avocado slices for creaminess. It’s less rich, but still tasty.
Serving & Storage
How to Serve:
I serve these straight from the counter. No heating required. Just grab a plate and go. I usually put it in front of them while I start cooking dinner. It keeps them occupied and fed until the real meal is ready.
Side Dishes:
These boxes are usually enough on their own. But if you want to add something, a glass of milk or a homemade mango pineapple smoothie works great. The smoothie adds hydration and extra vitamins. Or just stick to water. Simple is best.
Storage Instructions:
These boxes are best made fresh. Crackers lose their crunch if they sit in a sealed container for too long. If you’re packing for school, pack the dry items in one container and the fruit/dip in another. Combine them right before eating. The fruit can be pre-cut and stored in the fridge for up to 2 days, but pat it dry before packing.
Reheating:
No reheating needed. This is a cold meal. If you’re adding hot items like bacon, let them cool first so they don’t wilt the lettuce or make the crackers soggy.
Nutrition Information
I’m not a nutritionist, but here’s the breakdown if you’re tracking. Keep in mind, this varies based on the specific brands and portions you choose.
Per Box (approximate):
– Calories: 350-450
– Protein: 15-20g
– Carbs: 30-40g
– Fiber: 4-6g
– Fat: 15-20g
– Sugar: 10-15g (from fruit)
– Sodium: 400-600mg (varies by deli meat and crackers)
What’s Good:
– Decent protein from the meat and cheese.
– Fiber from the whole grain crackers and veggies.
– Vitamins from the fresh fruit.
– No processed additives if you use real ingredients.
What to Know:
– Sodium can be high in deli meat and crackers. Choose low-sodium options if possible.
– Sugar is natural from the fruit, but watch out for dried fruit which is concentrated sugar.
– It’s not a low-calorie meal, but it’s balanced. It’s a snack-box meal, not a diet food.
My Take:
Look, this is comfort food in snack form. It’s not a salad. But it’s way better than a bag of chips, and it’s way healthier than fast food. When I want to make it lighter, I use turkey breast instead of regular turkey, and add more veggies. But usually? I just enjoy the fact that they’re eating real food without a fight.
Final Thoughts
So that’s my Homemade Lunchable Snack Box with Fruit! I’ve probably talked your ear off at this point, but when you make a “recipe” this often, you have a lot to say about it. This has saved weeknight dinners more times than I can count. It’s my answer to “what’s for dinner” when I’m tired, don’t want takeout, and still want something that tastes really good. My kids are happy, my husband’s happy, and I’m happy because I’m not stressed about cooking.
Make it yours! Try different add-ins, swap in your favorite vegetables, adjust the dips. The best recipes are the ones you adapt to your family’s tastes. If you make this, drop a comment and let me know what you think! I love hearing how recipes turn out in your kitchen. And if something doesn’t work, tell me that too—I’m here to help troubleshoot.
Happy cooking! And I hope your kitchen smells half as good as mine does right now (well, it probably smells like turkey and cheese, but still).
Frequently Asked Questions
Can I use cheese sticks instead of cubes?
Absolutely. Cheese sticks are actually easier for little hands to handle. Just cut them into smaller pieces if they’re too big. String cheese adds a fun texture and is less messy than cubes.
My kids won’t eat the veggies. What do I do?
Swap them for more fruit or crackers. Don’t force it. Sometimes, if you hide the veggies under the crackers or mix them into the dip, they’ll eat them without noticing. Or just skip the veggies for that day. Not every meal has to be a vegetable explosion.
Can I pack this for school?
Yes, but pack it carefully. Use a bento box with compartments to keep the dry and wet items separate. Keep the dip in a small sealed container. Make sure the box fits in their lunch bag. Also, check your school’s nut policy before adding nuts or nut butter.
How long do these last in the fridge?
The components can be prepped up to 2 days in advance. But the assembled box should be eaten within a few hours to keep the crackers crisp. If you pack it for school, it’ll last until lunch, but the crackers might get a bit soft if the fruit is wet.
Can I use peanut butter instead of turkey?
Yes, but make sure you’re not in a nut-free environment. Peanut butter is a great protein source. Spread it on the crackers or use it as a dip for apple slices. It’s a delicious variation.
What’s the best dip for this box?
Hummus is my top choice because it’s healthy and flavorful. Ranch is a crowd-pleaser. Marinara works for the pizza variation. Guacamole is great for a creamy, savory option. Try different dips to see what your kids like.
Can I add hot food to this box?
Not really. The goal is cold, quick assembly. If you want hot food, consider a one-pot garlic butter chicken and rice or a warm soup instead. This box is specifically for cold, no-cook meals.
Pin This Recipe!
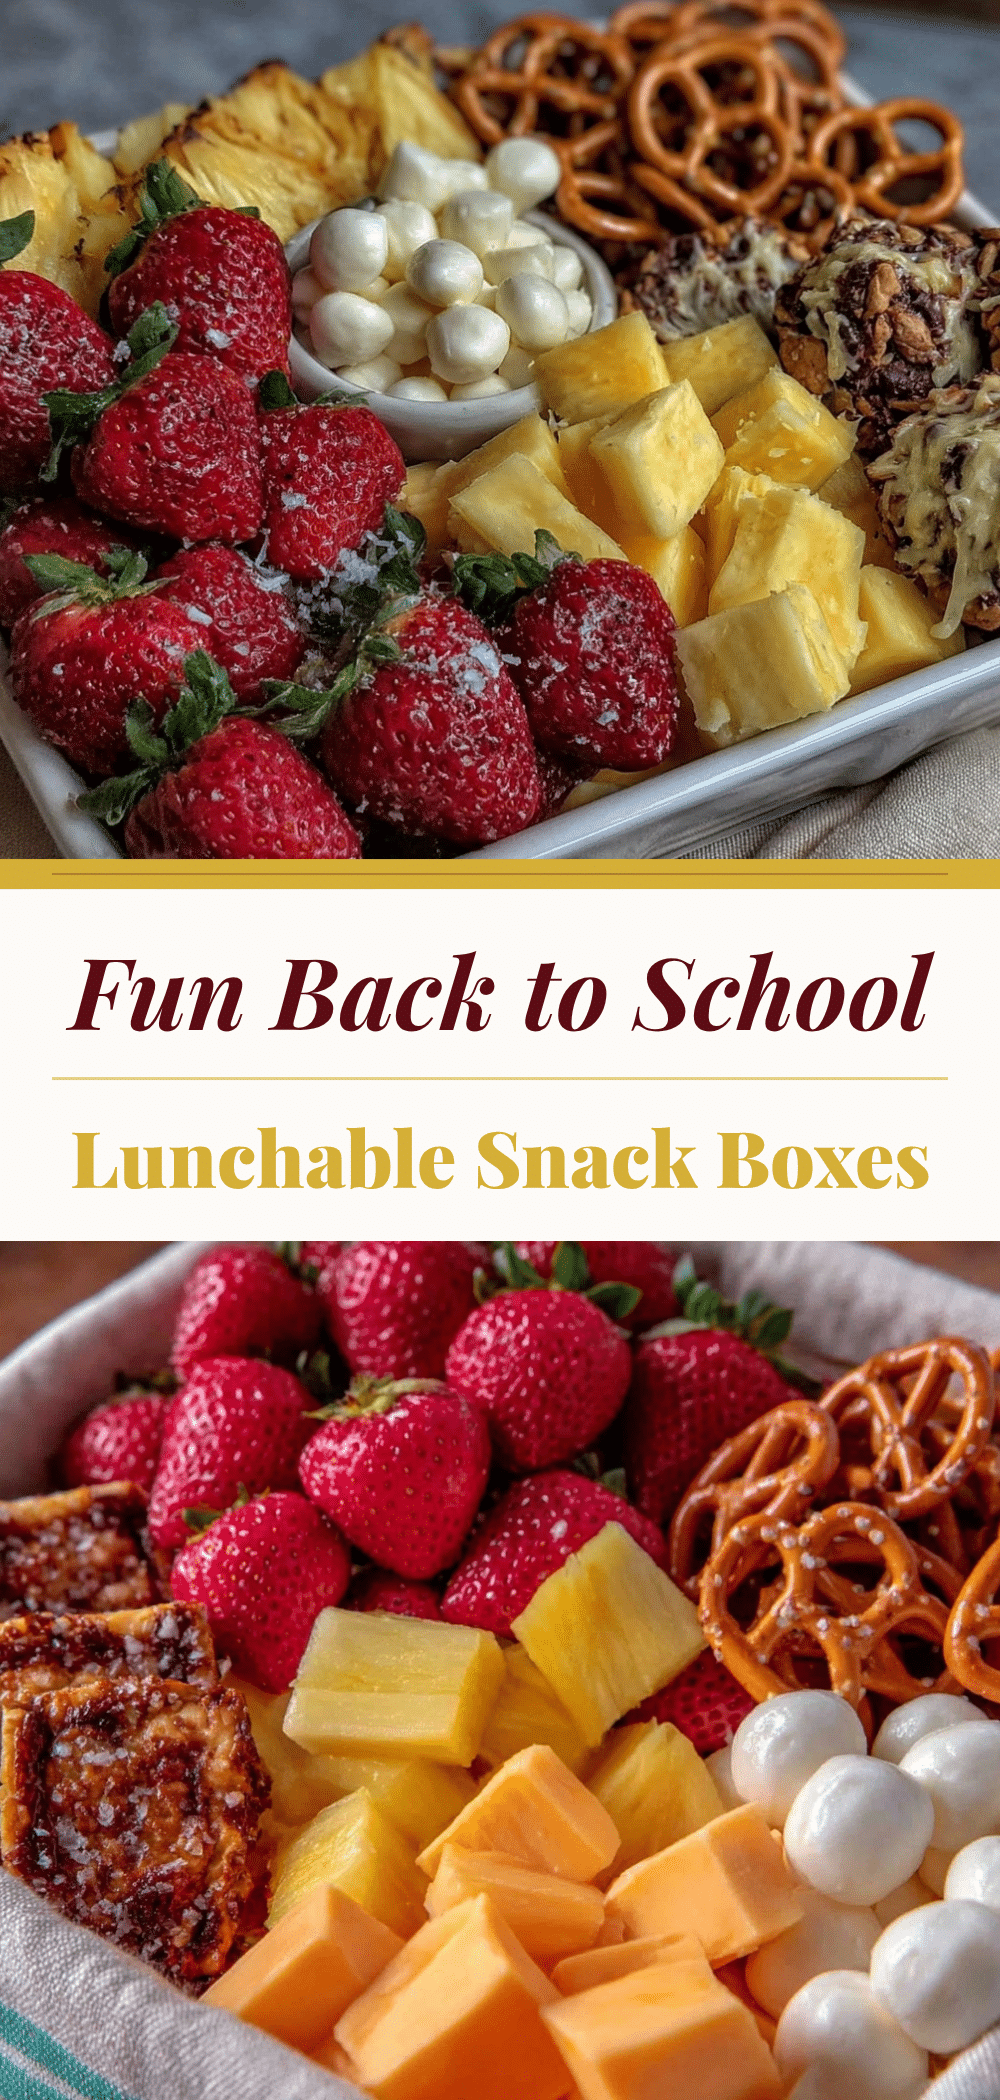

Homemade Lunchable Snack Boxes with Fruit for Kids
- Total Time: 5 minutes
- Yield: 1 serving 1x
Description
A quick, no-cook snack box meal perfect for busy parents and picky eaters. This customizable combination of crackers, protein, fruit, and dip provides a satisfying energy boost in just five minutes.
Ingredients
- 1 sleeve crackers (approx. 10–12 pieces, e.g., Whole Wheat Thins, Triscuits, Goldfish, or Cheez-Its)
- 2–3 pieces flatbread or tortilla chips (optional)
- 3–4 slices sliced deli turkey or ham (approx. 3 oz)
- 1 oz cheese (sharp cheddar cubes, slices, or string cheese)
- 1/2 cup grapes or berries
- 5–6 mini carrots or cucumber slices
- 1 small handful dried fruit or nuts (e.g., raisins, almonds)
- 2 tablespoons hummus or ranch dressing
Instructions
- Wash fruit and pat it completely dry with a paper towel to prevent soggy crackers.
- Cube cheese if using a block, or prepare deli meat by folding into rosettes or fans.
- Place crackers on one side of a plate or divided container to form the base.
- Add the folded deli meat and cheese cubes next to the crackers.
- Arrange fruit and veggies in clusters or lines, aiming for color variety.
- Sprinkle dried fruit or nuts in the gaps if desired.
- Place hummus or ranch in a small compartment or ramekin on the side.
- Serve immediately to maintain cracker crispness.
Notes
Keep components dry to prevent soggy crackers. Prep cheese and wash fruit in advance to save time. For school lunches, pack dry and wet items separately. Check school nut policies before adding nuts.
- Prep Time: 5 minutes
- Cook Time: 0 minutes
- Category: Snack
- Cuisine: American
Nutrition
- Serving Size: 1 snack box
- Calories: 350450
- Sugar: 1015
- Sodium: 400600
- Fat: 1520
- Carbohydrates: 3040
- Fiber: 46
- Protein: 1520
Keywords: kids snacks, lunchable alternative, no cook dinner, picky eater meals, quick snacks, healthy snacks for kids, 5pm dinner, homemade lunchable


