I still remember the exact Tuesday in February when I almost gave up on winter. It was that gray, slushy time of year when the sun sets at 5 PM and my kids are cranky before dinner even starts. I was exhausted, the house was a mess, and I really didn’t have the energy to wrestle with a complicated dessert. But then my eight-year-old looked at me with those big, pleading eyes and asked if we could have “store-bought frozen hot chocolate.” You know the kind—the thick, sweet, chocolatey sludge from the gas station that tastes like pure sugar and regret.
I said yes, but only because I had twenty minutes before my husband got home. I threw some ice, chocolate syrup, milk, and a splash of vanilla in the blender. The result? It was good. But it wasn’t great. It tasted a bit thin, and the chocolate flavor was kinda flat. That night, while scraping the blender jar, I realized I was doing this drink a disservice. We make homemade meals for dinner. We bake cookies from scratch on weekends. Why was I settling for a mediocre, sugary drink when I could make something actually creamy and rich?
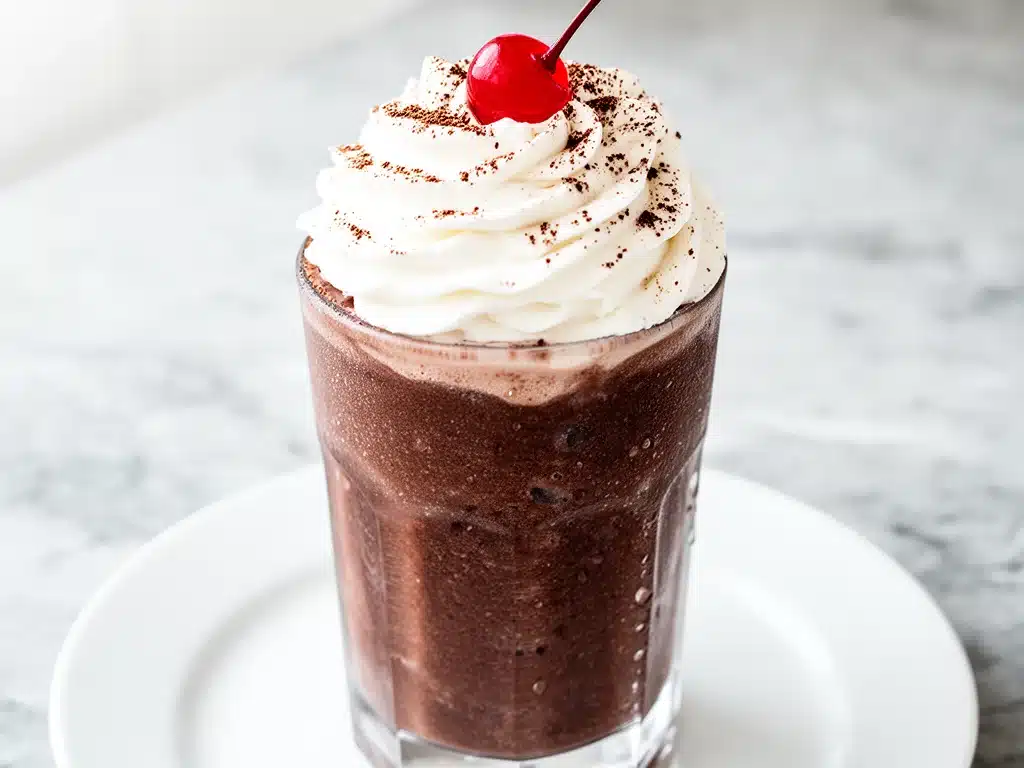
So, I tweaked the ratio. I swapped the syrup for real cocoa powder. I added a secret ingredient that changes everything. And I tested it three more times that week (yes, three times in one week). The result is this Homemade Frozen Hot Chocolate. It’s thick, it’s velvety, and it tastes like a chocolate bar melted into ice cream. Best of all? It takes literally five minutes. No cooking. No melting chocolate on the stove. Just toss it in the blender and pour.
I’ve made this drink so many times that it’s become our family’s emergency comfort food. When the kids have a bad day, when I need a pick-me-up at 3 PM, or when we just want a treat that feels indulgent but comes together faster than ordering takeout, this is what we make. It’s the perfect balance of nostalgia and actually being good for you (okay, maybe not “healthy,” but definitely better than the boxed stuff). If you’re tired of spending $4 at the coffee shop for a drink that’s mostly ice and foam, you need to try this. It’s easier than making a no-bake peanut butter banana energy bite, and it tastes way better.
Why You’ll Love This Homemade Frozen Hot Chocolate
There are about ten reasons I keep making this drink, but let’s be honest—you probably just want to know why it’s better than what you’re used to. Here’s the real talk.
It’s Actually Creamy — Most frozen hot chocolate recipes use just milk and ice, which makes it watery. Mine uses a mix of whole milk and a splash of heavy cream (or half-and-half). The fat content creates that rich, milkshake-like texture that coats your tongue. It’s not thin. It’s not icy. It’s smooth.
Real Chocolate Flavor — I use unsweetened cocoa powder and a touch of maple syrup or honey. This means you get the deep, earthy taste of real chocolate, not the artificial cherry-vanilla flavor of chocolate syrup. You can adjust the sweetness, so it’s not cloying. It tastes like a grown-up treat.
Five Minutes or Less — Seriously. From grabbing the blender to pouring the drink, it’s five minutes. I’ve made this after a long day at work when I’m too tired to chop vegetables for dinner. It’s the ultimate low-effort, high-reward recipe. If you can boil water, you can make this.
Customizable for Everyone — My husband likes it extra chocolatey with a dash of espresso powder. My kids like it sweeter with whipped cream. I like it with a pinch of sea salt on top. Because it’s homemade, you control exactly what goes in. No weird preservatives. No high-fructose corn syrup. Just good, honest ingredients.
Great for Meal Prep (Sort Of) — While you can’t freeze the finished drink (it’ll turn to soup), I often prep the dry ingredients in small bags. Just dump the cocoa, sugar, and spices into a baggie. When you want a treat, you just add milk and ice and blend. It’s almost as easy as grabbing a pre-made snack like these make-ahead breakfast muffin cups.
Ingredients You’ll Need
Here’s the best part: you probably have most of this already in your fridge and pantry. This isn’t a recipe that requires a special trip to the grocery store. It’s pantry-friendly and fridge-staple friendly.
Unsweetened Cocoa Powder (2 tablespoons / 10g) — This is the star. Use good quality here. I prefer Dutch-processed cocoa because it’s less acidic and has a deeper, richer flavor. Natural cocoa works too, but it’ll taste a bit brighter. Avoid “processed” cocoa blends with sugar in them; you want pure cocoa.
Whole Milk (1 cup / 240ml) — Don’t skim it. The fat is what gives this drink its creamy body. If you’re watching calories, you can use 2% milk, but it won’t be as luxurious. Almond milk or oat milk works, but the texture will be thinner. For that authentic hot chocolate mouthfeel, stick with dairy.
Heavy Cream (2 tablespoons / 30ml) — This is the secret weapon. It adds richness and helps emulsify the ice so you don’t get chunky ice cubes in your drink. If you don’t have heavy cream, half-and-half or even a tablespoon of cream cheese (blended until smooth) works. I keep a small carton of heavy cream just for this.
Ice (1.5 cups / roughly 150g) — Use fresh, cold ice. If your ice has been in the freezer for months and smells like old fish, it’ll ruin the drink. I actually freeze my milk in ice cube trays sometimes, so I use those instead. It keeps the drink cold without watering it down.
Maple Syrup or Honey (2-3 tablespoons / 30-45ml) — I prefer maple syrup because it adds a subtle warmth that pairs perfectly with chocolate. Honey works too, but it has a stronger floral taste. You can use white sugar or brown sugar, but liquid sweeteners blend smoother. Start with 2 tablespoons and taste. You can always add more.
Vanilla Extract (1 teaspoon / 5ml) — Pure vanilla, not imitation. It rounds out the chocolate flavor and makes it taste more complex. Don’t skip this.
Pinch of Salt — A tiny pinch of sea salt enhances the chocolate flavor. It sounds weird, but trust me. It cuts the sweetness and makes the chocolate taste more “chocolatey.”
Optional: Espresso Powder (½ teaspoon) — If you want a mocha vibe, add a teaspoon of instant espresso powder. It doesn’t make it taste like coffee; it just deepens the chocolate flavor. My husband adds this every time.
Equipment Needed
You don’t need fancy gadgets for this. Here’s what I actually use.
Blender — A standard countertop blender is perfect. I use my Vitamix, but any blender with a pulse function works. If you don’t have a blender, you can’t really make this “frozen” in the same way. A shaker bottle won’t crush the ice enough. You need power.
Measuring Cups and Spoons — Standard stuff. I use a 1-cup liquid measuring cup for the milk and a tablespoon for the cocoa and syrup.
Highball Glasses or Mugs — I like serving this in tall glasses so I can see the layers if I’m being fancy. But regular mugs work fine if you’re drinking it straight from the kitchen counter.
Spatula — To scrape the sides of the blender. It’s not strictly necessary, but it helps get every last drop of that creamy goodness.
Optional: Whipped Cream Dispenser — If you’re going for that coffee-shop look, a whipped cream canister is nice. But a can of aerosol whipped cream works too. Or skip it entirely. It’s delicious without it.
How to Make It: Step-by-Step
Alright, let’s make this! I’m walking you through exactly how I do it, including the little tricks I’ve picked up over the years.
Step 1: Prep Your Ingredients (1 minute)
Before you start, make sure your milk and heavy cream are cold. If they’re warm, your drink will be slushy rather than thick and creamy. Measure out your cocoa powder, sweetener, and vanilla. Have your ice ready. I like to use large ice cubes if I have them—they blend slower and create a smoother texture than small, crushed ice.
Step 2: Combine Wet and Dry (30 seconds)
Add the milk, heavy cream, cocoa powder, sweetener, vanilla, and salt to your blender. I put the liquids in first, then the powders, then the ice. This helps the blades spin freely without getting stuck. Pulse it once or twice just to mix the cocoa into the milk. You don’t want it fully blended yet, just incorporated.
Step 3: Blend Until Smooth (1-2 minutes)
Secure the lid tightly (this is important, or you’ll have chocolate on your ceiling). Start the blender on low speed and gradually increase to high. Blend for about 60-90 seconds. You’re looking for a thick, smooth, slushie-like consistency. The ice should be completely pulverized. If it’s too thick to blend, add a splash more milk. If it’s too thin, add a few more ice cubes and blend again.
Step 4: Taste and Adjust (30 seconds)
Pour a tiny splash into a cup (or just taste from the blender if you’re daring). Does it need more sweet? Add a teaspoon of maple syrup. Does it taste flat? Add a pinch more salt or a dash of espresso powder. This is where you make it yours.
Step 5: Serve Immediately (1 minute)
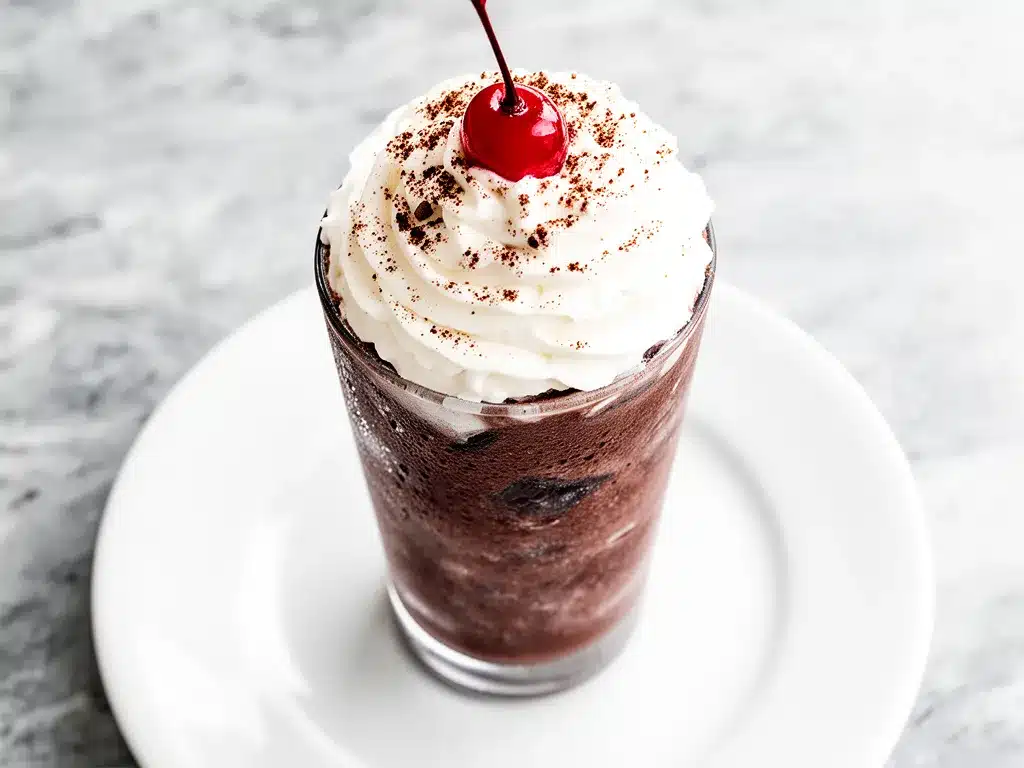
Pour into glasses. This drink starts to melt as soon as it’s poured, so serve it right away. Top with whipped cream if you’re feeling fancy, a dusting of cocoa powder, or a few chocolate chips. Drink while it’s cold and thick.
Total Time: About 5 minutes (1 minute prep, 4 minutes blending)
Expert Tips & Tricks
Here’s everything I’ve learned from making this dozens of times. These tips will save you from my mistakes.
Don’t Skimp on the Fat — I know, I know, “fat” isn’t the healthiest word. But fat equals flavor and texture. If you use skim milk, this will taste like chocolate ice water. Use whole milk and a splash of cream. It’s worth it.
Cold Ingredients Are Key — If your milk is warm, you’ll need more ice, which dilutes the flavor. Keep your milk in the fridge, not on the counter. If you’re making this ahead of time, freeze the milk in ice cube trays for the ultimate thick texture.
Cocoa Powder Quality Matters — I’ve used cheap cocoa powder and expensive cocoa powder. The difference is night and day. Cheap cocoa can taste dusty or metallic. Spend the extra dollar on a good brand. Ghirardelli or Droste are reliable choices.
Adjust Sweetness to Taste — Cocoa powder is bitter. If you’re using a very bitter cocoa, you might need more sweetener. Start with 2 tablespoons and add more if needed. It’s better to under-sweeten and adjust than to make it too sweet.
Use a High-Speed Blender — If you have a Vitamix or Blendtec, this will be perfect. If you have a cheaper blender, you might need to blend longer or use smaller ice cubes. Pulse it a few times to break up the ice before running it continuously.
Common Mistakes (and how to avoid them)
- Mistake: Drink is too watery. Fix: You didn’t use enough ice or your milk was too warm. Use cold milk and add more ice.
- Mistake: Drink is too thick to drink. Fix: Add a splash of milk and blend again. It’s easier to thin it out than to thicken it.
- Mistake: Lumps of cocoa powder. Fix: Pulse the dry ingredients with the liquid first to create a paste before adding ice.
Variations & Substitutions
Once you’ve nailed the basic version, here’s how you can mix it up. I’ve tried all of these.
Mocha Frozen Hot Chocolate — Add 1 teaspoon of instant espresso powder. This is my husband’s favorite. It gives it a coffee kick without tasting like coffee.
Peppermint Frozen Hot Chocolate — Add ½ teaspoon of peppermint extract and a few crushed candy canes on top. Perfect for the holidays.
Coconut Frozen Hot Chocolate — Substitute the milk with coconut milk (full fat) and use coconut cream instead of heavy cream. It’s dairy-free and tastes like a tropical treat.
White Chocolate Frozen Hot Chocolate — Swap the cocoa powder for melted white chocolate. It’s sweeter and creamier. Use ¼ cup of white chocolate chips, melted and cooled, instead of cocoa powder.
Strawberry Frozen Hot Chocolate — Add ½ cup of frozen strawberries. It turns it into a chocolate-strawberry swirl. My kids love this one.
Dietary Modifications:
- Dairy-Free: Use oat milk or almond milk and coconut cream. It won’t be as thick, but it’s still delicious.
- Gluten-Free: This recipe is naturally gluten-free. Just make sure your cocoa powder and vanilla are certified gluten-free.
- Low-Sugar: Use stevia or monk fruit sweetener instead of maple syrup. It’s less sweet, so you might need more cocoa powder to balance the flavor.
Serving & Storage
How to Serve:
I usually serve this straight from the blender in tall glasses. It looks rustic and refreshing. But here are other ways I’ve enjoyed it:
- With Whipped Cream: A dollop of whipped cream on top makes it feel like a dessert.
- With Chocolate Shavings: Grate a chocolate bar over the top for extra texture.
- With a Cookie: Pair it with a chocolate chip cookie or a graham cracker. It’s like a kid’s dream.
Storage Instructions:
Honestly, this drink is best made fresh. It doesn’t store well in the fridge because the ice melts and it becomes a thin chocolate milk. If you have leftovers, drink them within an hour. You can’t freeze it because the texture will separate and become grainy when thawed.
Make-Ahead Strategy:
You can prep the dry ingredients in a small jar or bag. Just mix the cocoa powder, sugar, and spices. When you want a drink, just add milk and ice to the blender. This cuts the prep time to 2 minutes.
Nutrition Information
I’m not a nutritionist, but here’s the breakdown if you’re tracking. Keep in mind this is a treat, not a health food.
Per Serving (based on 2 servings):
- Calories: 280
- Protein: 6g
- Carbs: 32g
- Fiber: 2g
- Sugar: 28g
- Fat: 14g
- Saturated Fat: 8g
- Cholesterol: 40mg
- Sodium: 150mg
What’s Good:
– It has some protein from the milk.
– Cocoa powder has antioxidants.
– You control the sugar, so it’s not as bad as store-bought versions.
What to Know:
– It’s higher in sugar and calories due to the cream and sweetener.
– Contains dairy.
– Moderate sodium (from the salt and milk).
My Take:
Look, this is a treat. It’s sweet, it’s rich, and it’s delicious. It’s not a diet recipe. But it’s way better than the gas station stuff, costs less, and I know exactly what’s in it. When I want to make it lighter, I use half-and-half and less sweetener. But usually? I just enjoy a glass and feel good about making it from scratch.
Final Thoughts
So that’s my go-to homemade frozen hot chocolate! I’ve probably talked your ear off at this point, but when you make a recipe this often, you have a lot to say about it.
This has saved weeknight treats more times than I can count. It’s my answer to “what’s for dessert?” when I’m tired, don’t want to bake, and still want something that tastes really good. My kids are happy, my husband’s happy, and I’m happy because I’m not stressed about cooking.
Make it yours! Try different add-ins, swap in your favorite sweetener, adjust the chocolate intensity. The best recipes are the ones you adapt to your family’s tastes.
If you make this, drop a comment and let me know what you think! I love hearing how recipes turn out in your kitchen. And if something doesn’t work, tell me that too—I’m here to help troubleshoot.
Happy drinking! And I hope your kitchen smells half as good as mine does right now.
Frequently Asked Questions
Can I use almond milk instead of whole milk?
You can, but the drink will be thinner and less creamy. Almond milk has less fat, so it won’t have that rich, milkshake texture. If you’re using almond milk, I recommend adding a tablespoon of coconut cream or a banana to thicken it. It still tastes good, just not as luxurious.
Why did my frozen hot chocolate turn out watery?
Usually, this means you didn’t use enough ice or your milk was too warm. The ice needs to be crushed finely to create that slushie texture. If you’re using large ice cubes, blend them longer. Also, make sure your milk is very cold. If it’s warm, it melts the ice too quickly.
Can I make this ahead for a party?
Not really. This drink is best made fresh. If you make it ahead, the ice melts and it becomes thin chocolate milk. For a party, I recommend prepping the dry ingredients in small jars or bags. Then, when guests arrive, you just add milk and ice and blend. It takes 2 minutes per batch.
Why did my drink have lumps of cocoa powder?
The cocoa powder didn’t fully dissolve into the liquid before the ice was added. To fix this, pulse the blender with just the milk, cocoa, and sweetener first. This creates a smooth chocolate paste. Then add the ice and blend. This ensures a smooth texture.
Can I use chocolate syrup instead of cocoa powder?
You can, but the flavor won’t be as deep. Chocolate syrup is mostly sugar and corn syrup, so it tastes artificial. If you must use it, reduce the amount of sweetener you add because the syrup is already sweet. I still recommend cocoa powder for the best flavor.
How do I store leftovers?
As I mentioned, this drink doesn’t store well. It’s best made fresh. If you have leftovers, drink them within an hour. You can’t freeze it because the texture will separate. The only way to “store” it is to prep the dry ingredients in advance.
Can I make this without a blender?
It’s difficult. You can try shaking milk, cocoa, and sweetener in a jar, then adding ice and shaking vigorously. But you won’t get the same smooth, slushie texture. A blender is really the best tool for this. If you don’t have one, you might want to stick to regular hot chocolate or a smoothie.
Pin This Recipe!
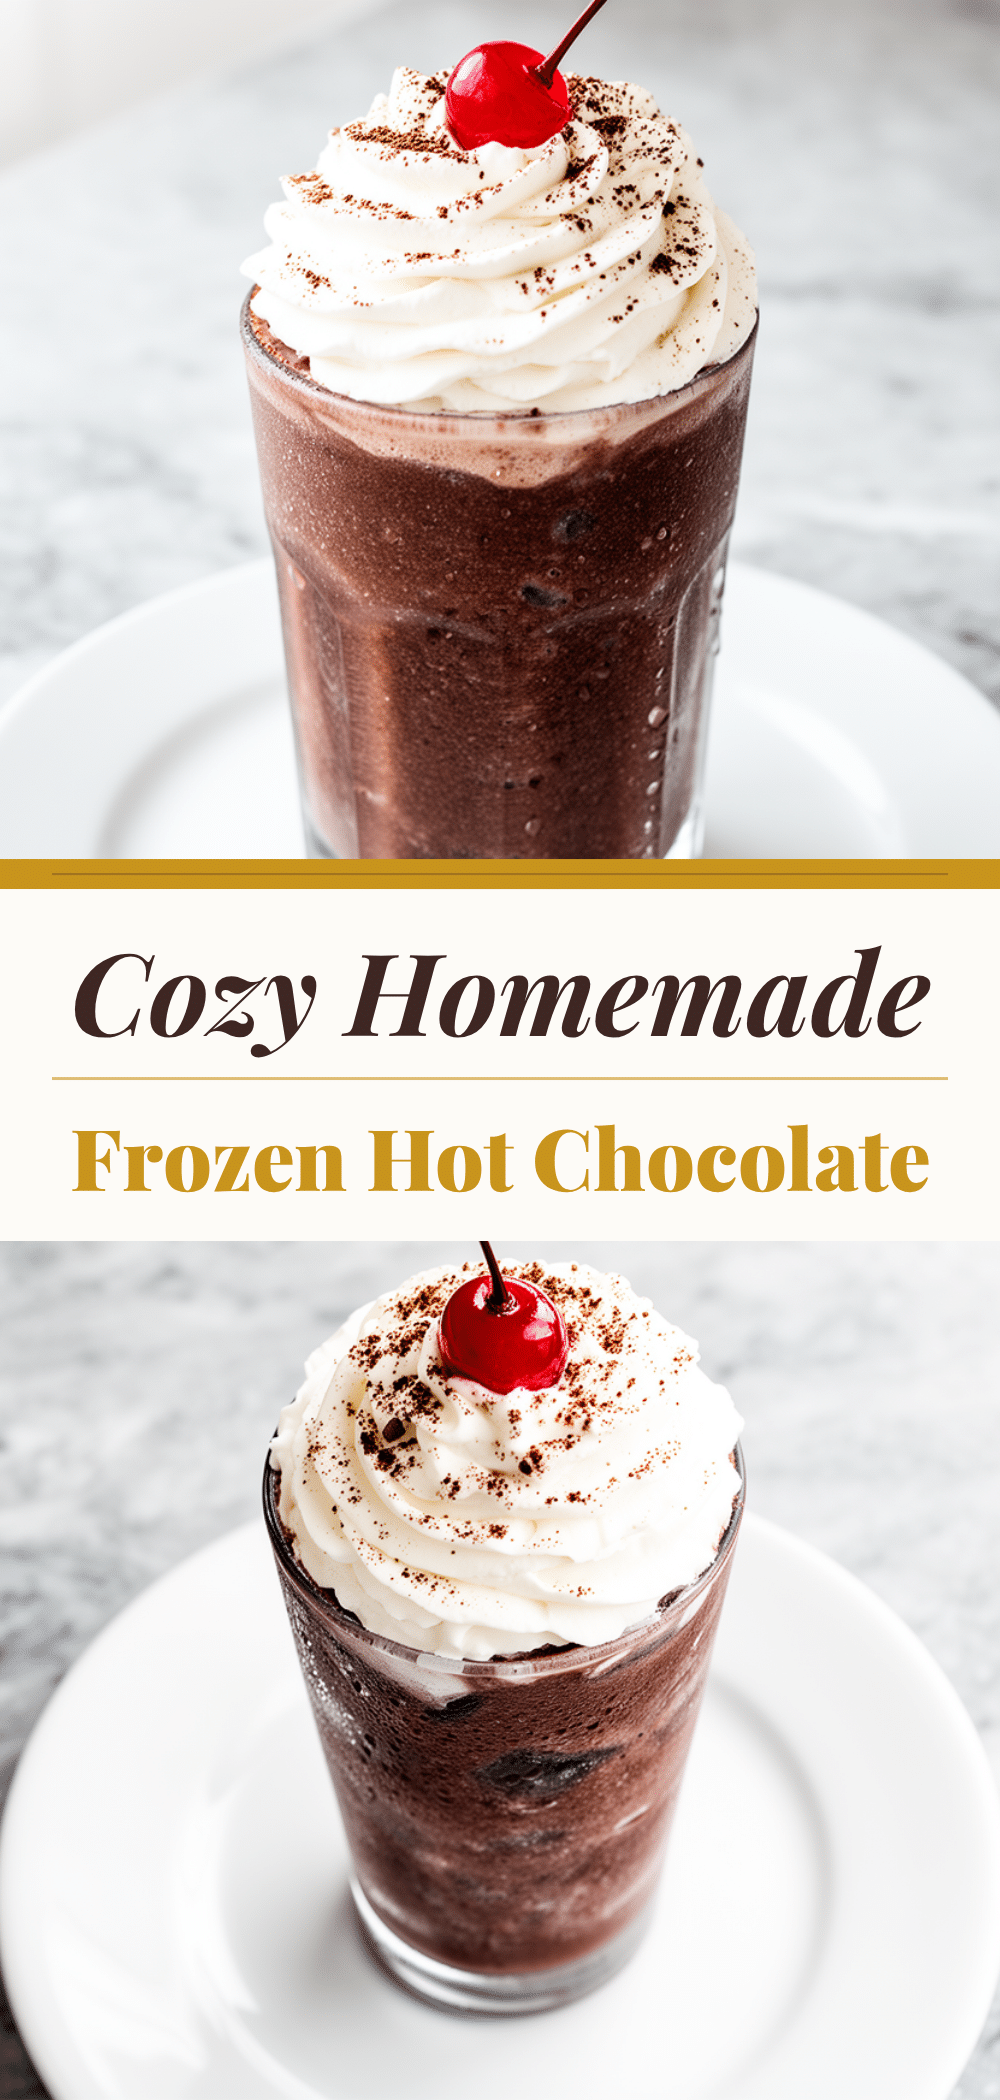
Homemade Frozen Hot Chocolate: 5-Minute Easy Drink
- Total Time: 5 minutes
- Yield: 2 servings 1x
Description
A thick, velvety, and rich frozen hot chocolate made with real cocoa powder, whole milk, and heavy cream. This easy 5-minute blender drink is a creamy alternative to store-bought versions.
Ingredients
- 2 tablespoons unsweetened cocoa powder
- 1 cup whole milk
- 2 tablespoons heavy cream
- 1.5 cups ice
- 2–3 tablespoons maple syrup or honey
- 1 teaspoon vanilla extract
- Pinch of sea salt
- Optional: ½ teaspoon espresso powder
Instructions
- Ensure milk and heavy cream are cold. Measure out cocoa powder, sweetener, vanilla, and ice.
- Add milk, heavy cream, cocoa powder, sweetener, vanilla, and salt to the blender.
- Pulse the blender once or twice to mix the cocoa into the liquid.
- Blend on low speed, gradually increasing to high, for 60-90 seconds until smooth and slushie-like.
- Taste and adjust sweetness or salt if needed.
- Pour immediately into glasses and serve.
Notes
For best results, use cold ingredients to prevent dilution. If the drink is too thick, add a splash of milk. If too thin, add more ice. This drink is best served immediately as it melts quickly.
- Prep Time: 1 minute
- Cook Time: 4 minutes
- Category: Dessert
- Cuisine: American
Nutrition
- Serving Size: 1 glass
- Calories: 280
- Sugar: 28
- Sodium: 150
- Fat: 14
- Saturated Fat: 8
- Carbohydrates: 32
- Fiber: 2
- Protein: 6
Keywords: frozen hot chocolate, homemade hot chocolate, 5 minute recipe, blender drink, winter treat, dairy dessert


