I have a confession to make. For years, I was the person who bought the box mix. You know the one—the blue box with the smiling chef on it. I’d stand in the kitchen, waiting for the water to boil, feeling that familiar mix of guilt and convenience. My kids loved them, sure. They were fluffy and sweet. But they lacked soul. They tasted like cardboard soaked in sugar water. And honestly? That’s not what I want for my family’s weekend mornings.
Everything changed last spring when I visited my aunt’s farm in Vermont. It was one of those mornings where the sun hadn’t quite burned off the dew, and the air smelled like wet earth and maple syrup. My aunt, a woman who has baked bread for three generations, pulled me into her kitchen before anyone else was awake. She didn’t use a box. She didn’t even use a scale. She just cracked eggs, poured milk, and stirred until the batter looked like thick clouds. She handed me a plate of pancakes that were so airy, so tender, that I actually stopped chewing for a second to process the texture.
“The secret,” she whispered, sliding a pat of butter onto the stack, “isn’t the flour. It’s the buttermilk. And it’s not touching the batter once it’s mixed.”
I came home determined. I spent the next six weekends testing batter ratios, experimenting with leavening agents, and burning more pancakes than I care to admit. I learned that overmixing is the enemy. I learned that resting the batter is non-negotiable. And I learned that the right topping makes all the difference.
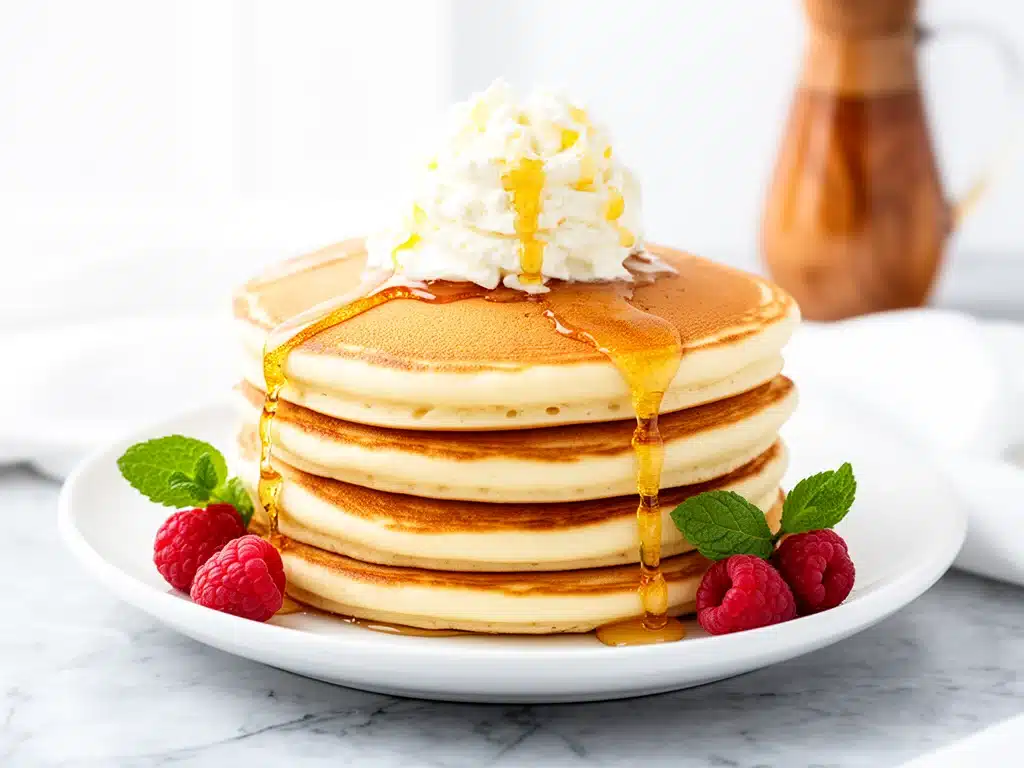
That’s how I landed on this recipe for Fluffy Buttermilk Pancakes with Whipped Honey Butter. It’s not just breakfast. It’s a ritual. It’s the dish that turns a rushed Saturday into a slow, lingering morning of laughter and sticky fingers. The pancakes are pillowy soft, tangy enough to balance the sweetness, and the whipped honey butter? It’s a game-changer. It melts into the crevices, creating a savory-sweet glaze that makes people ask for the recipe before they’ve even finished their first bite.
If you’ve ever felt like your homemade pancakes are dense bricks compared to the diner version, this is your fix. I’ve tested this method over 20 times, tweaking the buttermilk ratio and the resting time, until I hit the sweet spot. This isn’t just a recipe; it’s my answer to “what’s for brunch?” when I want to impress without stressing.
Why You’ll Love This Fluffy Buttermilk Pancakes Recipe
There are a hundred pancake recipes out there. Why this one? Because it actually works every single time, even if you’re a nervous beginner. Here’s why this Fluffy Buttermilk Pancakes with Whipped Honey Butter has taken over our weekend routine:
- Actually Fluffy (Not Dense) — The science is simple: buttermilk reacts with baking soda to create bubbles, and resting the batter lets those bubbles expand. The result? Pancakes that jiggle. If your pancakes don’t jiggle, you’re doing something wrong. These do. Perfectly.
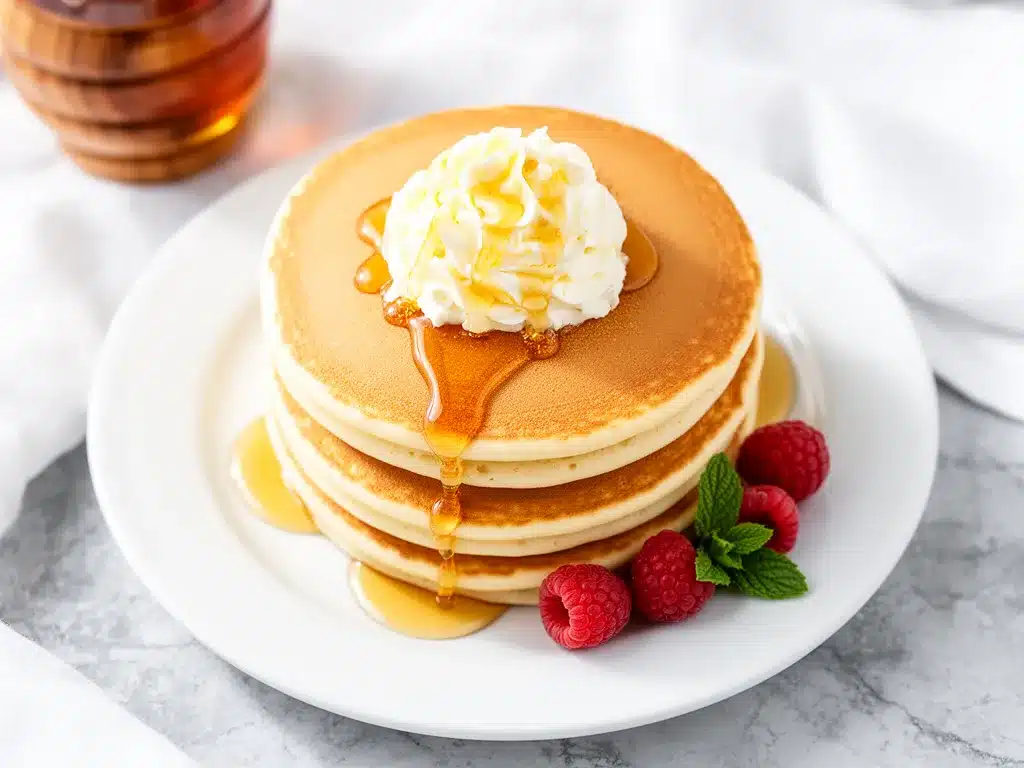
- Whipped Honey Butter is the Star — Regular butter is fine. But whipping it with honey and a pinch of salt creates a light, spreadable cloud that melts instantly. It’s richer than maple syrup but less cloying. My kids call it “magic butter.”
- Forgiving Batter — I know, I said overmixing is bad. But this batter is resilient. Lumps are good! They mean you haven’t developed too much gluten. It’s impossible to mess up if you follow the two-mix rule: dry in one bowl, wet in another, combine gently.
- Quick and Easy — You’re looking at 15 minutes of prep and 20 minutes of cooking. It’s faster than waiting for delivery, and infinitely tastier. Plus, you can prep the dry mix ahead of time if you’re a Sunday scranter.
- Brunch-Ready — This recipe scales up easily. I can double it for a crowd without the pancakes getting tough. It pairs beautifully with make-ahead breakfast muffin cups if you want a full spread that’s mostly done before you wake up.
This recipe has saved our brunches. It’s the reason my friends start planning their Saturday visits around my kitchen. It’s reliable, delicious, and makes your whole house smell like a cozy bakery. Once you try the whipped honey butter, you’ll never go back to plain butter again.
Ingredients You’ll Need
Let’s talk about what goes into the bowl. This list is short, which is part of the beauty. You probably have 80% of this in your pantry already. I’m particular about three things here: the quality of the buttermilk, the freshness of the baking soda, and the honey for the butter. Don’t cut corners on those.
For the Pancakes
All-purpose flour (2 cups / 250g) — This is your base. Don’t use cake flour; it’s too delicate. Don’t use bread flour; it’s too chewy. All-purpose gives that perfect tender crumb. Sift it if you’re feeling fancy, but spooning it into the cup is fine.
Baking soda (1 teaspoon) — Crucial. Not baking powder. Baking soda reacts with the acid in the buttermilk. If your baking soda is old (more than 6 months), it won’t work. Test it: drop a little in vinegar. If it fizzes, you’re good.
Salt (1 teaspoon) — Flavors the batter. Don’t skip it. It balances the sweetness.
Granulated sugar (2 tablespoons) — Just a touch. It helps with browning. You want golden pancakes, not pale ones.
Eggs (2 large, room temperature) — Room temp eggs emulsify better. Cold eggs can shock the batter. Take them out of the fridge 30 minutes before you start.
Buttermilk (1 ½ cups / 360ml) — The star of the show. If you don’t have buttermilk, make your own: add 1 tablespoon white vinegar or lemon juice to a measuring cup, then fill with regular milk to the 1 ½ cup line. Let it sit for 5 minutes until it curdles slightly. It works perfectly.
Unsalted butter (3 tablespoons, melted) — Adds richness. Let it cool slightly before adding so it doesn’t cook the eggs.
Vanilla extract (1 teaspoon) — For that warm, comforting aroma. Pure vanilla, not imitation.
For the Whipped Honey Butter
Unsalted butter (½ cup / 113g, softened) — This needs to be soft, not melted. If it’s too hard, you can’t whip it. If it’s melted, it won’t hold air. Leave it on the counter for an hour.
Honey (3 tablespoons) — Use a nice floral honey if you have it. Clover or orange blossom is great. Darker honey adds more flavor but might overpower the delicate butter.
Flaky sea salt (½ teaspoon) — This is the secret. The salt cuts the sweetness and makes the honey taste more complex. Maldon salt is my favorite, but any flaky salt works.
Vanilla extract (½ teaspoon) — Just a whisper to tie it all together.
Equipment Needed
You don’t need fancy gadgets. Here’s what I actually use:
Two mixing bowls — One large for dry ingredients, one medium for wet. Keeping them separate prevents overmixing.
Whisk — A balloon whisk is best for breaking up lumps in the flour and emulsifying the eggs and butter.
Measuring cups and spoons — Accuracy matters here. I use standard cups for flour and spoons for leavening.
Non-stick skillet or griddle — This is important. Cast iron is great if you season it well, but non-stick is more forgiving for beginners. I use a 10-inch non-stick pan.
Spatula — A thin, flexible silicone spatula is best for flipping without breaking the delicate pancakes.
Hand mixer or whisk — For the whipped butter. A hand mixer makes it quick, but a strong whisk works if you have arm strength.
Paper towels — Keep a stack nearby to wipe your griddle between batches. This ensures even cooking.
How to Make Fluffy Buttermilk Pancakes
Alright, let’s make this! I’m walking you through exactly how I do it, including the little tricks I’ve picked up from years of burnt edges and dense centers.
Step 1: Mix the Dry Ingredients (3 minutes)
In your large bowl, whisk together the flour, baking soda, salt, and sugar. I do this for a full minute. It sounds like a lot, but it aerates the flour and ensures the baking soda is evenly distributed. If you miss a spot of baking soda, you’ll get a bitter bite. Whisk until there are no lumps.
Step 2: Mix the Wet Ingredients (2 minutes)
In a separate bowl or large measuring cup, whisk the eggs, buttermilk, melted butter, and vanilla. The mixture will look slightly separated—that’s normal. The buttermilk might look curdled, and the butter might be in little globs. Don’t worry. We’re just combining them.
Step 3: Combine Gently (1 minute)
Pour the wet ingredients into the dry ingredients. Now, here’s the golden rule: Do not overmix. Use your whisk or a spoon to stir just until the flour is moistened. The batter will be lumpy. Thick. Weird. That is exactly what you want. If you mix until smooth, you develop gluten, and your pancakes will be rubbery. Stop when you still see streaks of flour. It takes about 10-15 strokes. That’s it.
Step 4: Let the Batter Rest (10-15 minutes)
This is the step most people skip, and it’s the reason their pancakes fail. Cover the bowl with a towel or plastic wrap and let it sit. During this time, the flour hydrates, and the baking soda creates bubbles. You’ll see the batter bubble up slightly. This resting period is what creates the light, airy texture. Set a timer. Do not ignore it.
Step 5: Prep Your Griddle
While the batter rests, heat your skillet over medium heat. To test if it’s ready, flick a few drops of water onto the surface. If they dance and evaporate quickly, it’s ready. If they just sit there, wait. If they burn instantly, it’s too hot. Medium heat is key. Too hot, and the outside burns before the inside cooks.
Step 6: Cook the Pancakes
Lightly grease the pan with butter or oil. I use a paper towel dipped in oil for even coverage. Pour about ¼ cup of batter per pancake. Don’t crowd the pan. Cook until you see bubbles forming on the surface and popping, leaving little holes. This usually takes 2-3 minutes. The edges should look set and dry.
Step 7: Flip and Finish
Flip carefully. Cook for another 1-2 minutes until golden brown. The second side cooks faster. Remove to a plate and cover with foil to keep warm. Repeat with remaining batter, greasing the pan as needed.
Expert Tips & Tricks for Perfect Pancakes
Here’s everything I’ve learned from making this dozens of times. These tips will save you from my mistakes.
Rest the Batter — I cannot stress this enough. 10-15 minutes is non-negotiable. I’ve tried skipping it, and the difference is night and day. Rested pancakes are taller and fluffier.
Don’t Press Down — When you flip a pancake, never press down on it with your spatula. You’re squeezing out the air bubbles you worked so hard to create. Let it be.
Keep Them Warm — If you’re making a big batch, preheat your oven to 200°F (95°C). Place cooked pancakes on a wire rack in the oven. This keeps them warm without steaming them (which makes them soggy). Stacking them on a plate traps steam and ruins the texture.
Control the Heat — If your pancakes are browning too fast, lower the heat. It’s better to cook them slowly and evenly than to rush them. I usually start at medium and drop to medium-low once I find my pan’s sweet spot.
Whipped Honey Butter Technique — For the best texture, beat the softened butter until it’s pale and fluffy. Then add the honey, vanilla, and salt. Beat for another 30 seconds. The whipped air makes it spread like a dream. It’s not just butter; it’s a topping.
Variations & Substitutions
Once you’ve nailed the basic version, here’s how you can mix it up. I’ve tried all of these.
Berry Pancakes — Toss 1 cup of fresh blueberries or raspberries into the batter right before cooking. Or, place berries on top of the pancake immediately after pouring the batter, so they cook inside. Warning: This adds moisture, so you might need a minute extra on the grill.
Chocolate Chip — Add ½ cup of chocolate chips to the batter. Classic for a reason.
Gluten-Free — Use a 1:1 gluten-free flour blend. The texture is slightly different (a bit more crumbly), but still delicious. Make sure your baking soda is certified GF.
Dairy-Free — Use oat milk or almond milk with vinegar for the buttermilk substitute. Use coconut oil or dairy-free butter for the melted butter. For the whipped topping, use a dairy-free butter alternative and maple syrup instead of honey (since honey isn’t vegan).
Protein Pancakes — Add 1 scoop of vanilla protein powder and an extra egg white. The batter will be thicker, so add a splash more milk. They’ll be denser but higher in protein.
Serving & Storage
How to serve these beauties:
The Stack — Stack three pancakes high. Top with a generous dollop of the Whipped Honey Butter. Drizzle with a little extra honey if you’re feeling indulgent. Add fresh berries on the side for color and acidity.
Sides — These pair well with no-bake peanut butter banana energy bites if you want a savory-sweet contrast, or with crispy bacon and sausage for a hearty brunch.
Storage — Leftover pancakes can be stored in an airtight container in the fridge for up to 3 days. Reheat them in a toaster or a 350°F oven for 5 minutes. They won’t be quite as fluffy as fresh, but they’re still good.
Freezing — These freeze beautifully! Cool them completely, then freeze in a single layer on a baking sheet before transferring to a freezer bag. They last up to 2 months. Toast straight from frozen.
Nutrition Information
I’m not a nutritionist, but here’s the breakdown if you’re tracking. This is comfort food, so enjoy it!
Per Serving (based on 1 pancake with 1 tbsp whipped honey butter):
- Calories: 280
- Protein: 6g
- Carbs: 35g
- Fat: 12g
- Fiber: 1g
These are richer than diet food, but they’re made with whole ingredients. The whipped honey butter adds healthy fats and natural sugars. If you want to lighten it up, reduce the butter in the batter to 1 tablespoon and skip the honey in the topping.
Final Thoughts
So that’s my go-to fluffy buttermilk pancake recipe! I’ve talked your ear off about resting batter and whipped butter, but when you make a recipe this often, you have a lot to say about it.
This has saved our weekend mornings. It’s my answer to “what’s for brunch?” when I want to treat my family to something special without spending hours in the kitchen. My kids are happy, my husband’s happy, and I’m happy because I’m not stressed about cooking.
Make it yours! Try different berries, swap the honey for maple syrup in the butter, or add a dash of cinnamon. The best recipes are the ones you adapt to your family’s tastes.
If you make this, drop a comment and let me know what you think! I love hearing how recipes turn out in your kitchen. And if something doesn’t work, tell me that too—I’m here to help troubleshoot.
Happy cooking! And I hope your kitchen smells half as good as mine does right now.
Frequently Asked Questions
Q: Can I use milk instead of buttermilk?
A: You can, but you need to make a substitute. Add 1 tablespoon of white vinegar or lemon juice to a measuring cup, then fill with regular milk to the required amount. Let it sit for 5-10 minutes until it curdles. This creates the acidity needed to react with the baking soda. Plain milk will make dense pancakes.
Q: Why are my pancakes flat?
A: Usually, this means your baking soda is old or expired, or you didn’t let the batter rest. Also, check your heat. If the pan is too cool, the pancakes spread before they set. If it’s too hot, they brown too fast. Test your pan with water drops.
Q: Can I make the batter ahead of time?
A: I don’t recommend it. Once the baking soda hits the buttermilk, the reaction starts. If you let it sit overnight, the bubbles will escape, and you’ll have flat pancakes. Mix the dry ingredients ahead, but combine wet and dry right before cooking.
Q: Why did my pancakes stick to the pan?
A: Your pan wasn’t hot enough, or it wasn’t greased enough. Flip the pancake when you see bubbles forming and popping. If it sticks, it’s not ready. Give it another minute.
Q: Can I freeze the whipped honey butter?
A: Yes! Store it in an airtight container in the fridge for up to 2 weeks. If you want to freeze it, it might separate slightly when thawed. Just let it come to room temperature and whip it again with a spoon or mixer to restore the texture.
Q: How do I keep pancakes warm for a crowd?
A: Preheat your oven to 200°F. Place a wire rack on a baking sheet and put the cooked pancakes on the rack. This allows air to circulate so they don’t get soggy. Keep them in the oven until everyone is ready to eat.
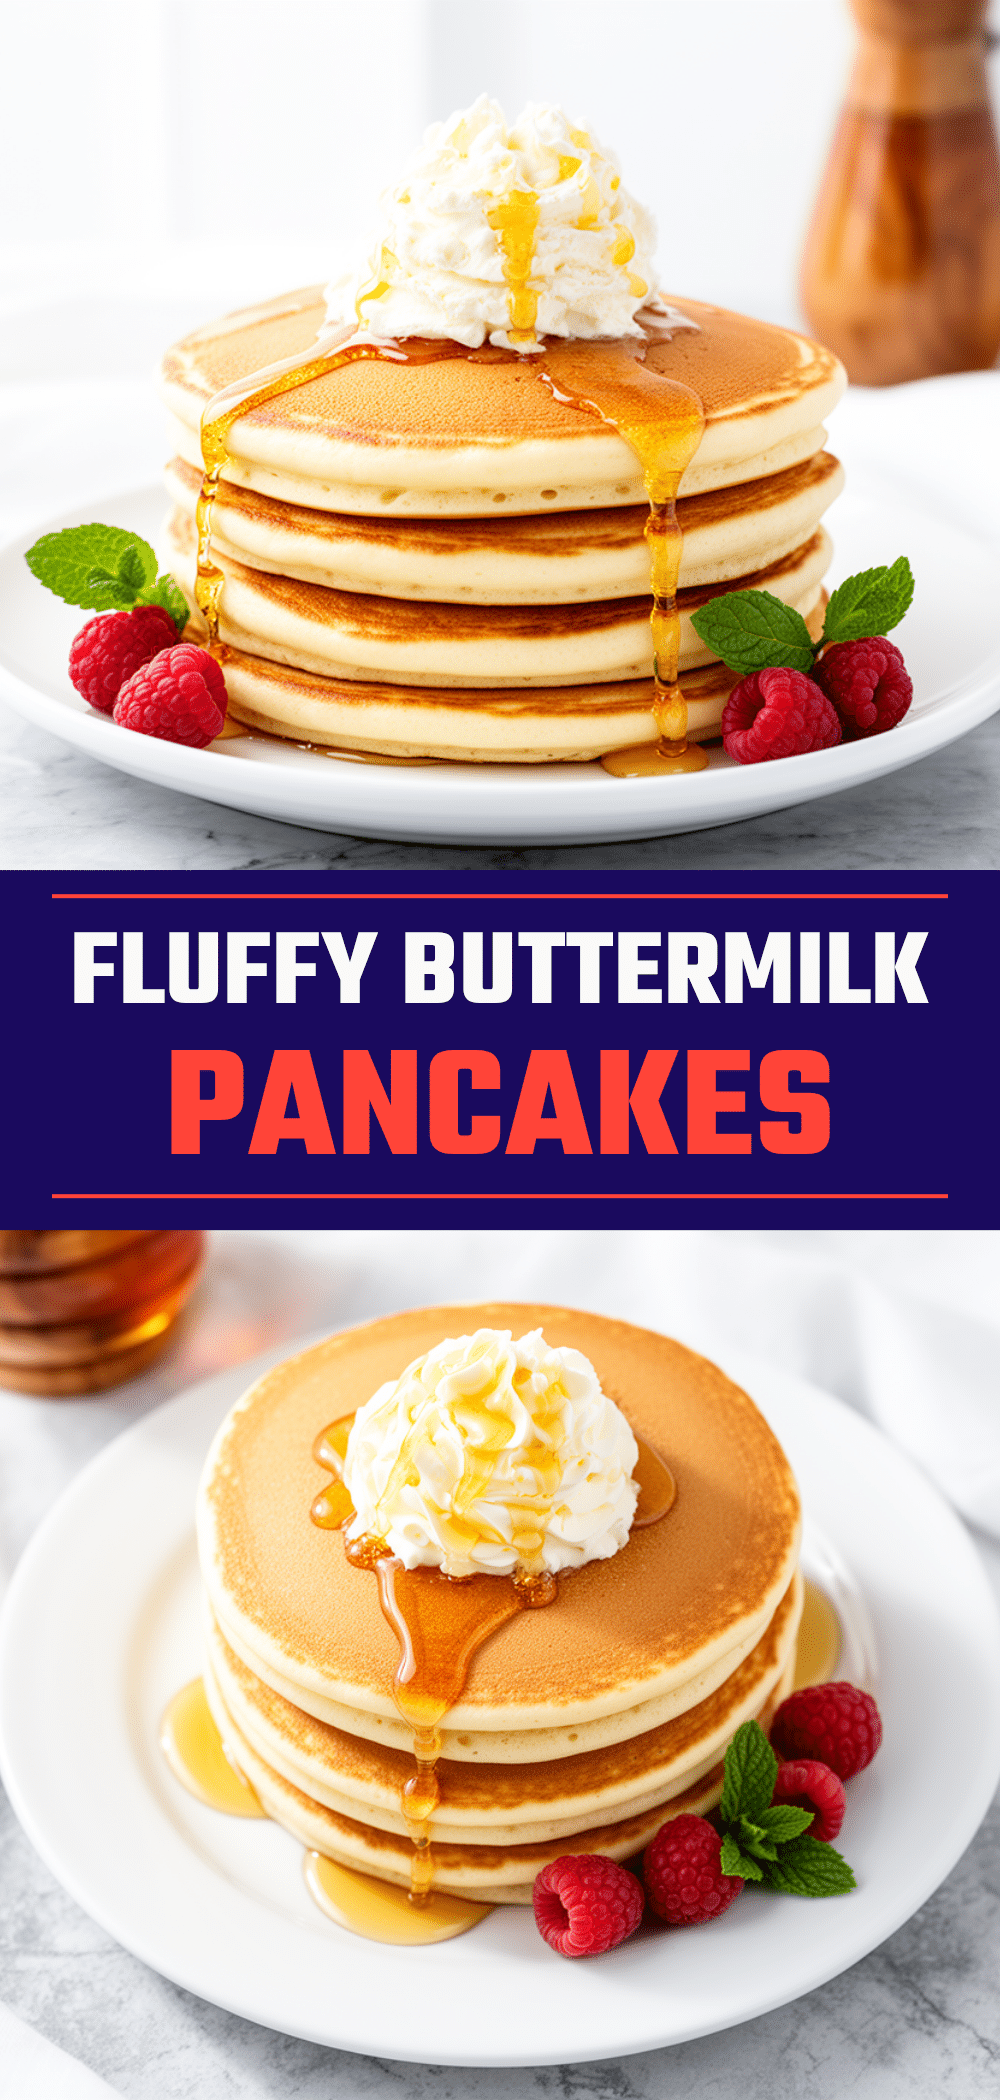
Pin This Recipe!
Fluffy Buttermilk Pancakes with Whipped Honey Butter
- Total Time: 35 minutes
- Yield: 4 servings 1x
Description
These pillowy soft buttermilk pancakes are tangy and tender, paired with a rich, spreadable whipped honey butter. A reliable weekend brunch recipe that yields fluffy, jiggly pancakes every time.
Ingredients
- 2 cups (250g) all-purpose flour
- 1 teaspoon baking soda
- 1 teaspoon salt
- 2 tablespoons granulated sugar
- 2 large eggs, room temperature
- 1 ½ cups (360ml) buttermilk
- 3 tablespoons unsalted butter, melted and slightly cooled
- 1 teaspoon vanilla extract
- ½ cup (113g) unsalted butter, softened (for whipped honey butter)
- 3 tablespoons honey
- ½ teaspoon flaky sea salt (for whipped honey butter)
- ½ teaspoon vanilla extract (for whipped honey butter)
Instructions
- In a large bowl, whisk together the flour, baking soda, salt, and sugar for one minute to aerate and distribute ingredients evenly.
- In a separate bowl or large measuring cup, whisk the eggs, buttermilk, melted butter, and vanilla extract until combined.
- Pour the wet ingredients into the dry ingredients. Stir gently with a whisk or spoon just until the flour is moistened. The batter should be lumpy; do not overmix.
- Cover the bowl and let the batter rest for 10-15 minutes to allow bubbles to form and flour to hydrate.
- While the batter rests, heat a non-stick skillet or griddle over medium heat. Test readiness by flicking water drops onto the surface; they should dance and evaporate quickly.
- Lightly grease the pan with butter or oil. Pour about ¼ cup of batter per pancake, avoiding crowding.
- Cook until bubbles form on the surface and pop, leaving small holes, and edges look set (2-3 minutes).
- Flip carefully and cook for another 1-2 minutes until golden brown. Remove to a plate and cover with foil to keep warm.
- For the whipped honey butter, beat the softened butter until pale and fluffy. Add honey, flaky sea salt, and vanilla extract, then beat for another 30 seconds until light and spreadable.
Notes
Do not overmix the batter; lumps are good. Resting the batter for 10-15 minutes is crucial for fluffiness. If making a large batch, keep cooked pancakes warm in a 200°F oven on a wire rack to prevent sogginess. For dairy-free, use oat milk with vinegar and dairy-free butter. For gluten-free, use a 1:1 gluten-free flour blend.
- Prep Time: 15 minutes
- Cook Time: 20 minutes
- Category: Breakfast
- Cuisine: American
Nutrition
- Serving Size: 1 pancake with 1 tbs
- Calories: 280
- Sugar: 14
- Sodium: 450
- Fat: 12
- Saturated Fat: 7
- Carbohydrates: 35
- Fiber: 1
- Protein: 6
Keywords: buttermilk pancakes, fluffy pancakes, weekend brunch, whipped honey butter, easy breakfast, homemade pancakes


