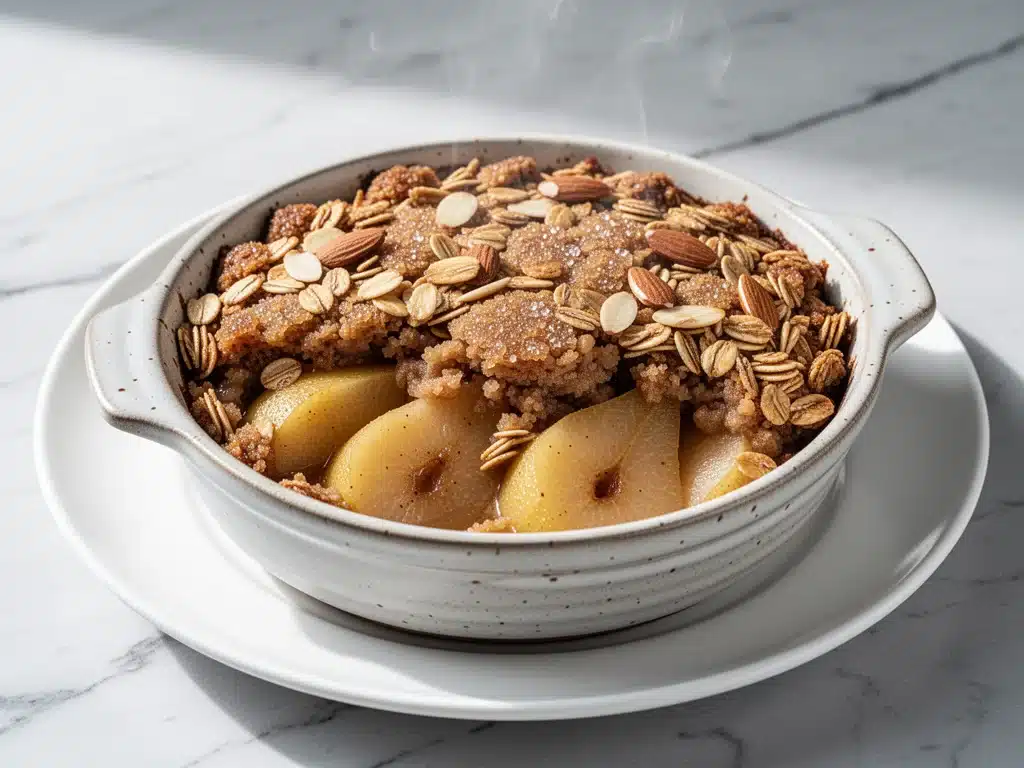
Last November, I was standing in my kitchen at 7:30 PM, staring at the clock with genuine panic. The kids had just eaten dinner, the dishes were done, and I was left with that familiar, heavy sigh that usually precedes ordering takeout. But I didn’t want takeout. I wanted something warm, something that smelled like autumn, and something I could actually make without turning my kitchen into a disaster zone. That night, I threw together what I thought would be a mediocre fruit crumble using some bruised pears I’d found in the back of the fridge.
I added a pinch more cinnamon than usual, swapped out the butter for coconut oil (because I was out), and sprinkled on some pecans I’d been hoarding for a “special occasion” that never came. Thirty minutes later, the house smelled like a bakery in Vermont, and my husband walked in, closed his eyes, and just breathed it in. He didn’t even ask what it was. He just asked for a second bowl.
That accidental dairy-free fall spiced pear crisp became a weekly ritual. It’s the kind of dessert that feels like a warm hug, especially when you’re trying to keep things lighter or avoid dairy for health reasons. I’ve tested this recipe about fifteen times over the last two years, tweaking the spice ratios and the crunch factor, until I landed on this version that is genuinely perfect. It’s sweet but not cloying, crunchy but tender, and it comes together in under 30 minutes. If you’re looking for a healthy dessert that doesn’t taste like diet food, this is it.
I love that this dairy-free fall spiced pear crisp feels indulgent. The coconut oil creates a buttery texture that rivals traditional butter, and the spices make it taste like it spent hours in the oven, even though it’s ready in the time it takes to watch one episode of your favorite show. It’s my go-to when I want to treat my family without the guilt or the hassle.
Why You’ll Love This Recipe
There are a lot of fruit crisps out there, but this one has completely changed how I handle weeknight desserts. I’ve made this for everything from casual Tuesday nights to impromptu dinner parties with friends who are lactose intolerant. Here’s why this dairy-free fall spiced pear crisp keeps earning a spot in my rotation:
- Stupid Simple Prep — Seriously, if you can slice a pear and mix oats with spices, you can make this. I’ve walked my teenage son through it over FaceTime while I was doing laundry. No fancy techniques, no tempering chocolate, just straightforward mixing and baking.
- Ready in 30 Minutes — From preheating the oven to scraping the last bit off the bowl, it’s 30 minutes flat. I make this on nights when I get home exhausted and just want to sit on the couch. The active time is maybe 10 minutes; the rest is hands-off baking.
- Actually Healthy — This isn’t a salad, but it’s way better than a slice of cake. It’s packed with fiber from the oats and pears, and the natural sweetness from the fruit means you don’t need a cup of sugar. It feels like a treat, but it’s fuel for your body.
- Dairy-Free Done Right — I was skeptical that coconut oil could mimic butter in a crisp. It can. When baked, it creates that same flaky, golden crunch. My dairy-free friends swear by this, and my non-dairy-free friends can’t tell the difference.
- Perfect Leftovers — This tastes incredible cold, too. I often make it on Sunday and eat a bowl for breakfast on Monday morning. It’s basically oatmeal with pears and crunch, which is a win in my book.
- Uses What You Have — You probably have all the dry ingredients in your pantry. The only thing you need to buy is pears and maybe some nuts if you’re out. It’s a pantry-friendly dessert that saves you from a grocery run.
This is my answer to “what’s for dessert?” when I want something homemade but don’t have the energy to bake a full pie. It’s reliable, delicious, and makes everyone happy.
Ingredients You’ll Need
Here’s the best part: you probably have most of this already. I’m particular about three ingredients here—the type of pear, the quality of the oats, and the coconut oil—but everything else is standard pantry fare.
For the Fruit Filling
Bosc or Anjou pears (4-5 medium, peeled and sliced) — I prefer Bosc pears because they hold their shape better and have a firmer, slightly spicier flavor. Anjou pears are softer and sweeter, which works too, but they get mushy faster. Avoid Red Anjou or Bartlett unless you want applesauce consistency. Peel them if you’re sensitive to the skin, but leaving the skin on adds great fiber and color.
Apple cider (2 tablespoons) — This adds a deep, autumnal sweetness that water just can’t match. It’s the secret ingredient that makes the filling taste complex. If you don’t have it, apple juice works, but cider is better.
Lemon juice (1 tablespoon) — Freshly squeezed. This prevents the pears from browning and balances the sweetness. Don’t skip it; it brightens the whole dish.
Ground cinnamon (1 teaspoon) — Use good quality cinnamon. The cheap stuff in the back of the cabinet tastes dusty. I like McCormick or a local spice shop blend.
Ground nutmeg (¼ teaspoon) — Just a pinch. It adds warmth without overpowering. Freshly grated nutmeg is best, but ground is fine.
Ground ginger (¼ teaspoon) — Optional, but I love the little kick it adds. If you’re not a fan of ginger, leave it out.
Maple syrup (2 tablespoons) — Pure maple syrup, not pancake syrup. It adds a rich, caramel-like flavor that pairs perfectly with pears. Honey works too, but maple is more traditional for this vibe.
For the Crunchy Topping
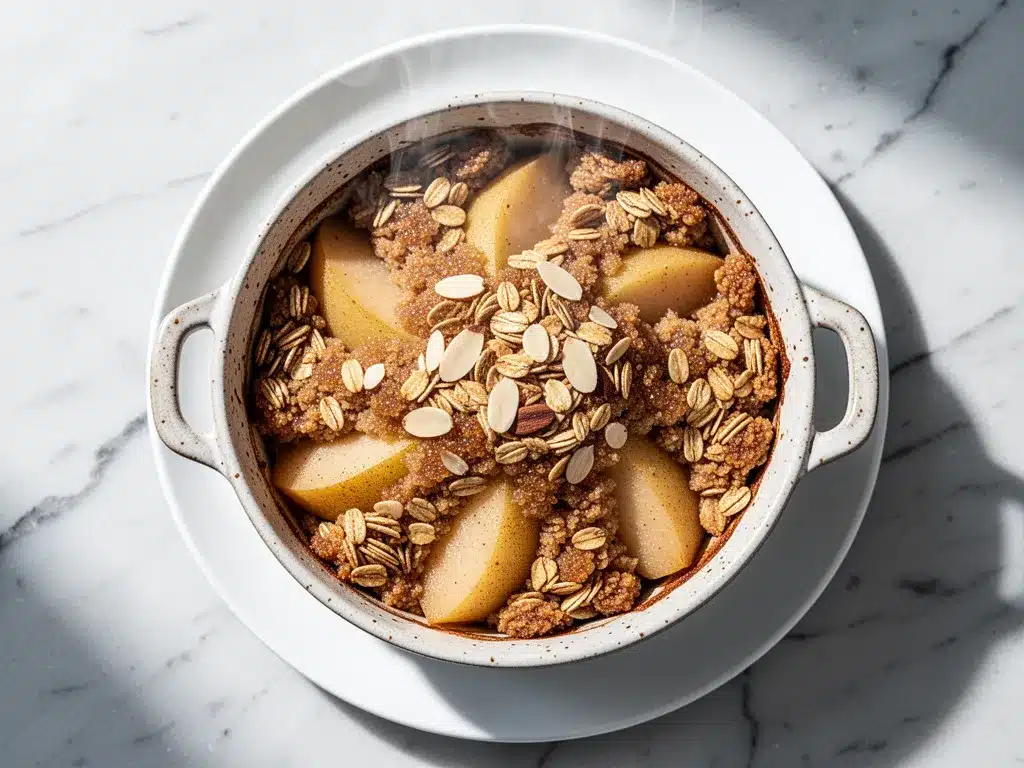
Old-fashioned rolled oats (1 cup) — Do not use instant oats or steel-cut oats. Old-fashioned oats give you that chewy, substantial crunch. Instant oats turn to mush. Steel-cut are too hard. This is non-negotiable.
Almond flour (½ cup) — This replaces some of the flour to keep it gluten-free friendly (if you use GF oats) and adds a nutty richness. You can use all-purpose flour if you’re not avoiding gluten, but almond flour makes it more tender.
Coconut oil (½ cup, melted) — Use refined coconut oil if you don’t want a coconut taste, or unrefined if you don’t mind a hint of coconut flavor. Refined is neutral and safer for picky eaters. It needs to be melted but not hot.
Maple syrup (3 tablespoons) — For the topping, this helps it caramelize and get golden brown.
Cinnamon (½ teaspoon) — Just a little more in the topping for that classic crumble smell.
Sea salt (¼ teaspoon) — Essential. It enhances the sweetness and balances the spices.
Chopped pecans or walnuts (½ cup, optional) — I always add nuts. They add texture and healthy fats. If you have a nut allergy, just skip them or use pumpkin seeds (pepitas). They work surprisingly well.
Dark chocolate chips (¼ cup, optional) — I sometimes add a handful of dairy-free dark chocolate chips. They melt into pockets of richness. It’s a nice twist if you’re feeling fancy.
Equipment Needed
You don’t need fancy equipment for this. Here’s what I actually use.
9×9 inch baking dish — I use a ceramic one because it distributes heat evenly. Glass works too, but keep an eye on the top; glass heats faster. A square dish is better than a round one for this amount of filling.
Mixing bowls — Two medium bowls. One for the fruit, one for the topping. I use plastic because they’re lightweight and easy to clean.
Sharp knife and cutting board — For slicing the pears. A serrated knife works well if the pears are hard.
Measuring cups and spoons — Standard stuff. Dollar store versions work fine.
Fork — To mix the topping. I use a fork to create those nice clumps.
Peeler — Optional, depending on if you peel the pears. I use a Y-peeler; it’s faster than a paring knife.
Spatula — For spreading the fruit evenly in the dish.
How to Make It: Step-by-Step
Alright, let’s make this! I’m walking you through exactly how I do it, including the little tricks I’ve picked up.
Step 1: Prep Your Oven and Dish (5 minutes)
Preheat your oven to 375°F (190°C). Grease your 9×9 inch baking dish with a little coconut oil or non-stick spray. This prevents sticking and helps the edges get crispy. While the oven heats, peel and slice your pears. Aim for uniform slices—about ¼ inch thick—so they cook evenly. Toss them in a large bowl with the lemon juice to prevent browning.
Step 2: Make the Fruit Filling (5 minutes)
To the bowl with the pears, add the apple cider, maple syrup, cinnamon, nutmeg, ginger, and a pinch of salt. Toss everything together until the pears are well coated. Pour the mixture into your prepared baking dish and spread it out evenly. It should look like a juicy, spiced pile. Don’t worry if it looks wet; that’s where the magic happens.
Step 3: Make the Topping (5 minutes)
In a separate bowl, combine the rolled oats, almond flour, cinnamon, and sea salt. Whisk them together with a fork. In a small microwave-safe bowl or saucepan, melt the coconut oil and maple syrup together. You want it liquid but not boiling. Pour the wet mixture over the dry ingredients. Use your fork to mix until you have coarse, crumbly clusters. Don’t overmix; you want distinct chunks, not a paste.
Step 4: Add Nuts and Chocolate (Optional)
If you’re using pecans, walnuts, or chocolate chips, fold them into the topping now. Spread the topping evenly over the fruit. Try to cover the fruit completely, but it’s okay if some pears peek through. Those exposed edges will get caramelized and delicious.
Step 5: Bake (20-25 minutes)
Place the dish in the preheated oven. Bake for 20-25 minutes. You’ll know it’s done when the topping is golden brown and the fruit is bubbling around the edges. The bubbles mean the filling has thickened. If the top is browning too fast, tent it loosely with foil for the last 5 minutes. Let it cool for at least 10 minutes before serving. This step is crucial—it lets the filling set so it’s not soupy.
Step 6: Serve
Serve warm. I usually scoop it into bowls and add a dollop of dairy-free whipped cream or a scoop of vanilla coconut ice cream. But honestly? It’s perfect on its own.
Expert Tips & Tricks
Here’s everything I’ve learned from making this dozens of times. These tips will save you from my mistakes.
- Choose the Right Pears — Bosc and Anjou are your best friends. They hold their shape. If you use Bartlett, reduce the baking time by 5 minutes so they don’t turn into mush.
- Don’t Skimp on Salt — Salt is not just for savory dishes. A pinch of salt in the topping and filling enhances the sweetness and spices. It’s the difference between “sweet” and “flavorful.”
- Melt the Coconut Oil Correctly — If you microwave it, do it in 15-second bursts. You don’t want it hot, just liquid. Hot oil can melt the oats prematurely, making the topping dense instead of crunchy.
- Let It Cool — I know it’s tempting to dig in immediately, but the filling is liquid hot. Letting it cool for 10-15 minutes allows the pectin in the pears to thicken the juices. Patience pays off.
- Customize the Spice — Love clove? Add a pinch. Love cardamom? Swap the nutmeg for cardamom. This is your canvas. I’ve made a version with chai spices that was incredible.
Variations & Substitutions
Once you’ve nailed the basic version, here’s how you can mix it up. I’ve tried all of these.
- Apple Crisp Version — Swap pears for Granny Smith apples. They’re tart and firm, perfect for crisps. You might need a little extra maple syrup because apples are less sweet than pears.
- Berry Swap — Use mixed berries (blueberries, raspberries, blackberries). They cook faster, so reduce baking time to 15-18 minutes. Add a tablespoon of cornstarch to the berries to thicken the juices.
- Gluten-Free — Use certified gluten-free rolled oats. The almond flour is naturally gluten-free, so this is already easy to make GF. Double-check your spice containers to ensure no cross-contamination.
- Nut-Free — Skip the almonds and nuts. Use sunflower seeds or just increase the oats. The texture will be slightly different but still crunchy.
- Lower Sugar — Reduce the maple syrup in the topping to 2 tablespoons and use unsweetened coconut flakes instead of chocolate chips. The pears provide plenty of sweetness.
Serving & Storage
How to Serve: I usually serve this straight from the baking dish at the dinner table. It looks rustic and stays warm. Pair it with a simple green salad or roasted vegetables if you want a complete meal feel. For dessert, it’s perfect with a hot cup of tea or coffee.
Storage: Store leftovers in an airtight container in the refrigerator for up to 4 days. The topping will soften slightly, but it’s still good. Reheat in the microwave for 30-60 seconds or in the oven at 350°F for 10 minutes to restore crunch.
Freezing: You can freeze this! Bake it, let it cool completely, then wrap it tightly in plastic wrap and foil. It freezes for up to 3 months. Thaw overnight in the fridge and reheat. It tastes almost as good as fresh.
Nutrition Information
I’m not a nutritionist, but here’s the breakdown if you’re tracking.
Per Serving (based on 6 servings):
- Calories: 220
- Protein: 3g
- Carbs: 32g
- Fiber: 4g
- Sugar: 18g
- Fat: 10g
- Saturated Fat: 8g
Look, this is a dessert. It has sugar and fat. But it’s also got fiber and fruit. It’s way better than a candy bar, and it feels wholesome. When I make it lighter, I reduce the coconut oil and oats slightly, but usually? I just enjoy a reasonable portion and move on.
Final Thoughts
So that’s my go-to dairy-free fall spiced pear crisp! I’ve probably talked your ear off at this point, but when you make a recipe this often, you have a lot to say about it. This has saved weeknight dinners more times than I can count. It’s my answer to “what’s for dessert?” when I’m tired, don’t want takeout, and still want something that tastes really good. My kids are happy, my husband’s happy, and I’m happy because I’m not stressed about cooking.
Make it yours! Try different add-ins, swap in your favorite vegetables, adjust the garlic (though more is always better in my opinion). The best recipes are the ones you adapt to your family’s tastes.
If you make this, drop a comment and let me know what you think! I love hearing how recipes turn out in your kitchen. And if something doesn’t work, tell me that too—I’m here to help troubleshoot.
Happy cooking! And I hope your kitchen smells half as good as mine does right now.
Frequently Asked Questions
Can I use frozen pears?
You can, but they’ll release more water. Thaw them first and drain the excess liquid before adding the spices. You might need to add an extra tablespoon of almond flour to the topping to absorb the extra moisture. Fresh pears are definitely better for texture, but frozen works in a pinch.
Why did my topping turn out soggy?
This usually happens if the coconut oil was too hot when mixed with the oats, or if the fruit was too watery. Make sure your coconut oil is just melted, not hot. Also, ensure your pears are uniform in size so they cook evenly. If you’re using very juicy pears, let them sit for 10 minutes after tossing with sugar/spices, then drain any excess liquid before baking.
Can I make this ahead for a dinner party?
Sort of. You can prep the fruit and topping separately and store them in the fridge for up to 8 hours. Assemble and bake right before serving. Baking it ahead and reheating works, but the topping loses some crunch. For best results, bake it fresh.
Is this recipe gluten-free?
Yes, if you use certified gluten-free rolled oats. Almond flour is naturally gluten-free. Double-check your spices and maple syrup to ensure they’re processed in a GF facility. This is a great option for GF guests.
Can I use butter instead of coconut oil?
Absolutely. If you’re not dairy-free, regular butter works perfectly and adds a classic flavor. Use the same amount (½ cup melted). Just note that the recipe will no longer be dairy-free.
How do I reheat leftovers without it getting dry?
Add a splash of water or almond milk to the dish if reheating in the oven. This creates steam and keeps the fruit moist. Microwave reheating is quicker but can dry it out; cover it with a damp paper towel to help.
Can I double this recipe?
Yes! Double everything and use a 9×13 inch baking dish. The cooking time might increase by 5 minutes. Keep an eye on the top to ensure it doesn’t burn.
Pin This Recipe!
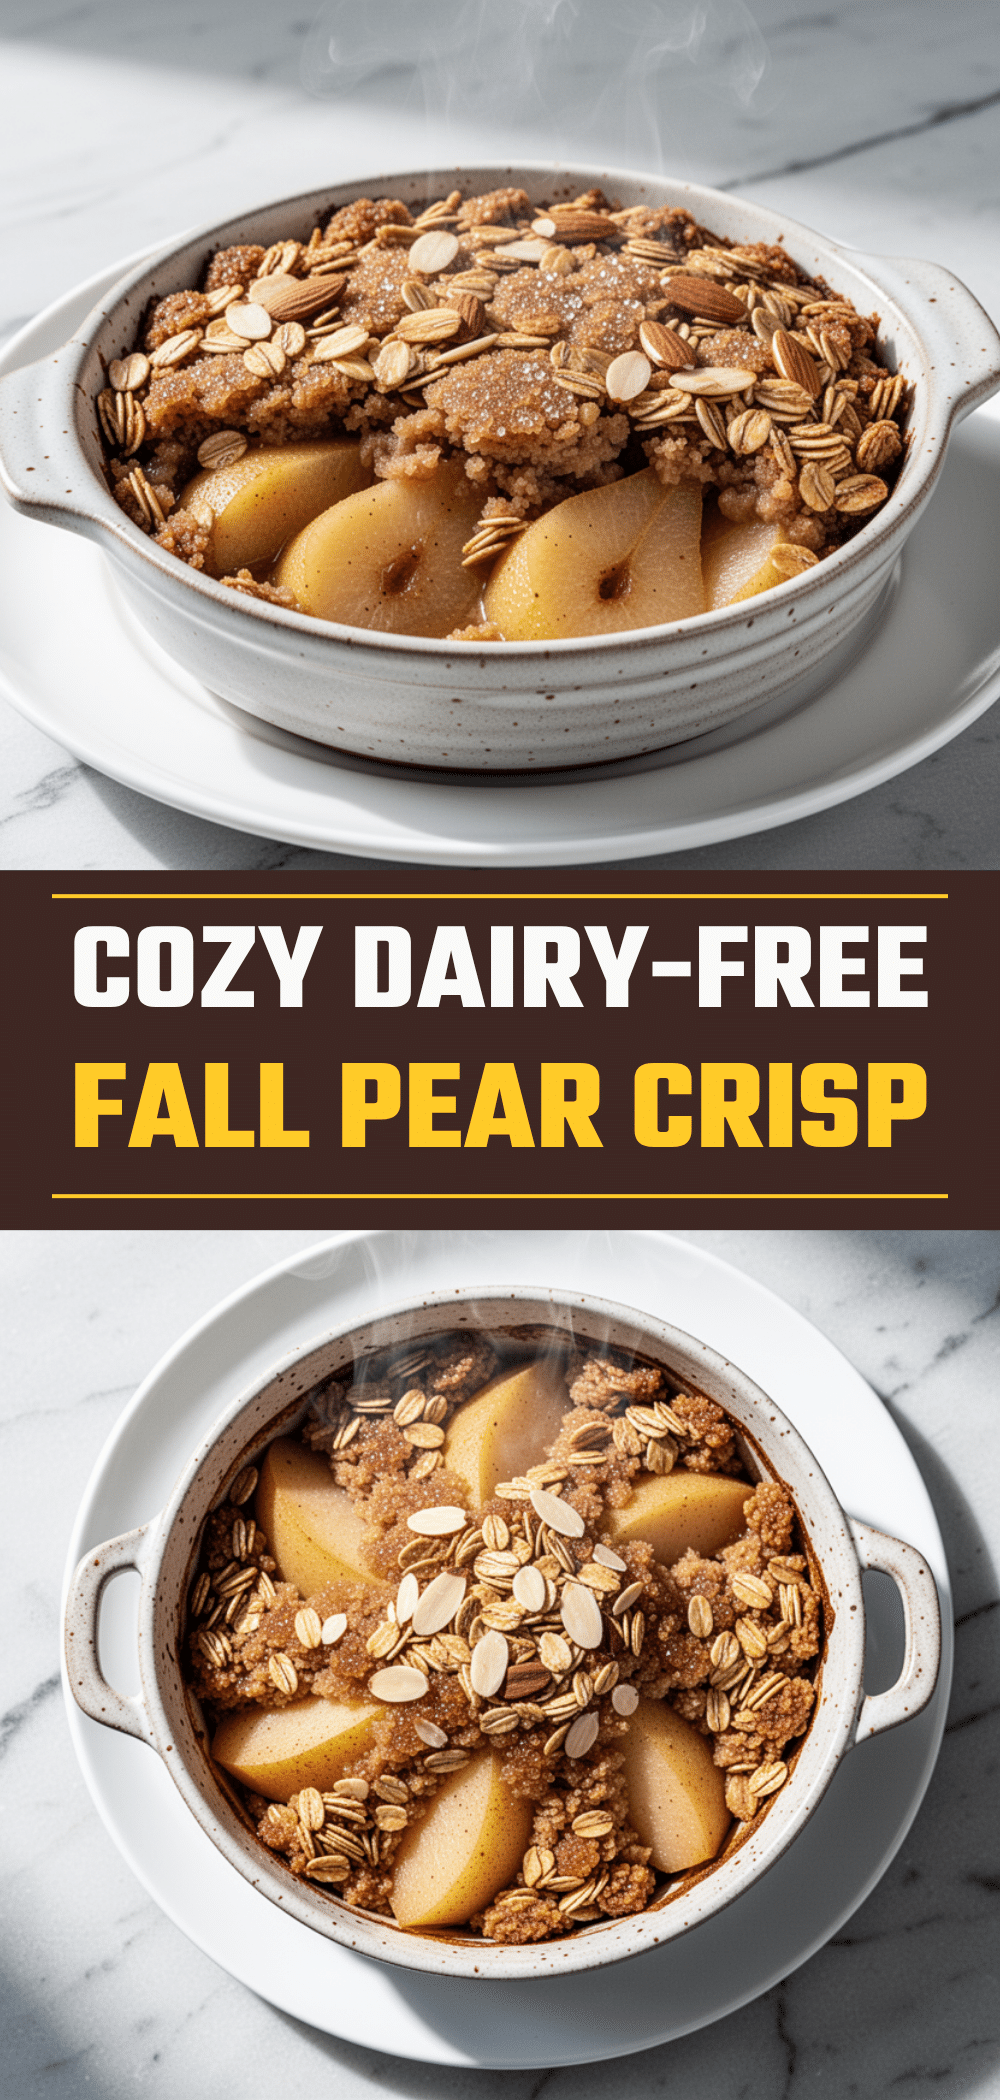
Dairy-Free Fall Spiced Pear Crisp
- Total Time: 30 minutes
- Yield: 6 servings 1x
Description
A healthy, dairy-free dessert that comes together in under 30 minutes. This crisp features tender spiced pears topped with a crunchy, nutty oat mixture made with coconut oil for a buttery texture without the dairy.
Ingredients
- 4–5 medium Bosc or Anjou pears, peeled and sliced
- 2 tablespoons apple cider
- 1 tablespoon lemon juice
- 1 teaspoon ground cinnamon
- 1/4 teaspoon ground nutmeg
- 1/4 teaspoon ground ginger
- 2 tablespoons pure maple syrup
- 1 cup old-fashioned rolled oats
- 1/2 cup almond flour
- 1/2 cup coconut oil, melted
- 3 tablespoons maple syrup
- 1/2 teaspoon cinnamon
- 1/4 teaspoon sea salt
- 1/2 cup chopped pecans or walnuts (optional)
- 1/4 cup dairy-free dark chocolate chips (optional)
Instructions
- Preheat oven to 375°F (190°C). Grease a 9×9 inch baking dish with coconut oil or non-stick spray.
- Peel and slice pears into 1/4 inch thick slices. Toss with lemon juice in a large bowl to prevent browning.
- Add apple cider, 2 tablespoons maple syrup, cinnamon, nutmeg, ginger, and a pinch of salt to the pears. Toss to coat evenly and pour into the prepared baking dish.
- In a separate bowl, whisk together rolled oats, almond flour, 1/2 teaspoon cinnamon, and sea salt.
- Melt coconut oil and 3 tablespoons maple syrup together until liquid but not hot. Pour over the dry ingredients and mix with a fork until coarse, crumbly clusters form.
- Fold in chopped nuts and/or chocolate chips if using. Spread the topping evenly over the fruit.
- Bake for 20-25 minutes until the topping is golden brown and the fruit is bubbling. If browning too quickly, tent with foil for the last 5 minutes.
- Let cool for at least 10 minutes before serving to allow the filling to set.
Notes
Choose firm pears like Bosc or Anjou to prevent mushiness. Ensure coconut oil is melted but not hot to maintain topping crunch. Letting the crisp cool for 10-15 minutes is crucial for the filling to thicken. Can be stored in the fridge for up to 4 days or frozen for up to 3 months.
- Prep Time: 15 minutes
- Cook Time: 20-25 minutes
- Category: Dessert
- Cuisine: American
Nutrition
- Serving Size: 1/6 of the crisp
- Calories: 220
- Sugar: 18
- Fat: 10
- Saturated Fat: 8
- Carbohydrates: 32
- Fiber: 4
- Protein: 3
Keywords: dairy-free, healthy dessert, pear crisp, fall recipe, gluten-free option, quick dessert, coconut oil, vegan dessert


