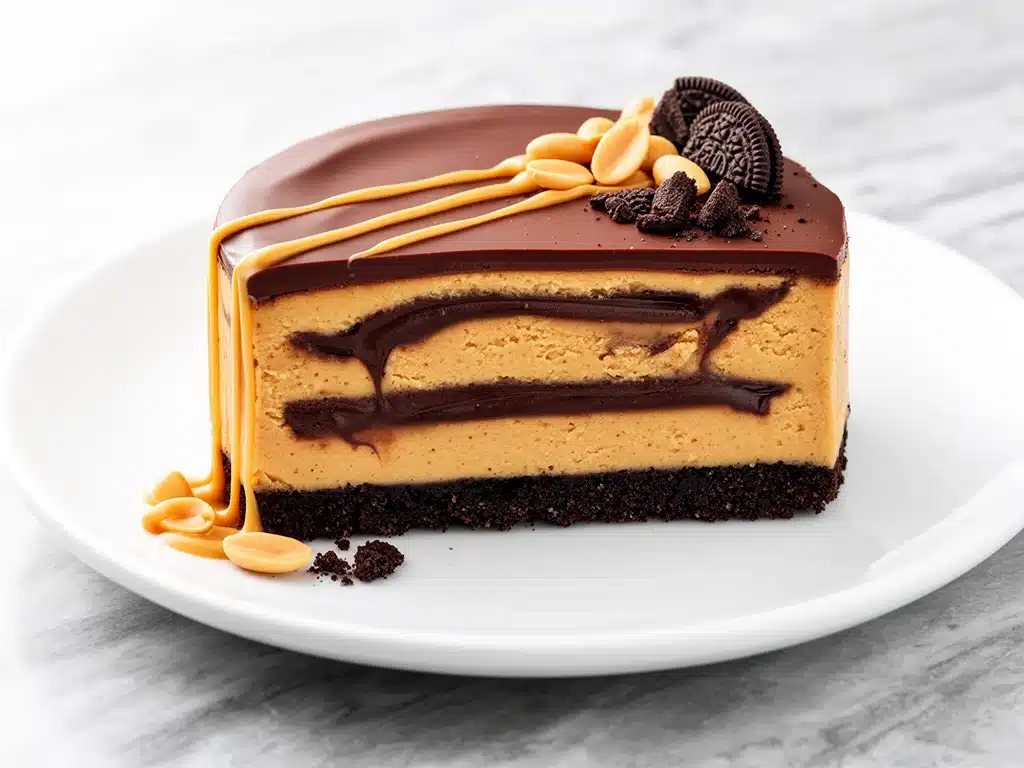
Let me tell you about the panic that struck me three days before our tenth anniversary. I had planned this elaborate, multi-course dinner at a fancy restaurant, but then my husband got called into work, the reservation got bumped, and suddenly we were stuck at home with zero plans and a serious craving for something sweet. I wanted to make him something special, but I also didn’t want to spend six hours standing over a hot oven on a humid July evening. So, I did what any stressed-out home cook does: I threw together what I thought would be a mediocre snack. I grabbed some chocolate, some peanut butter, and a block of cream cheese. I mixed them in a bowl, dumped it into a springform pan, and shoved it in the fridge.
Forty minutes later, I served a slice to my husband. He took one bite, closed his eyes, and said, “This is better than the restaurant dessert we usually get.” That’s when I knew I had struck gold. This creamy chocolate peanut butter no-bake cheesecake isn’t just a lazy hack; it’s a legitimate dessert that tastes like you spent all day in the kitchen, even though the active time is less than 20 minutes. I’ve made this for house parties, holiday gatherings, and late-night cravings, and it has never failed to impress. It’s rich, it’s tangy, it’s chocolatey, and it requires zero baking skills.
If you’re looking for a dessert that feels indulgent but plays nice with your schedule, this is it. I’ve tested this recipe at least a dozen times, tweaking the ratios until the crust held together perfectly and the filling was silky smooth. The best part? You don’t need any fancy equipment or hard-to-find ingredients. Just a blender, a springform pan, and a fridge. Let’s get into why this specific combination of chocolate and peanut butter is actually the ultimate comfort dessert.
Why You’ll Love This No-Bake Cheesecake
There are about ten reasons I keep making this chocolate peanut butter cheesecake, but here are the big ones that keep it in my regular rotation. It’s not just about the taste, though that’s definitely the main draw.
- Zero Baking Required — Seriously, if you can mix ingredients in a bowl, you can make this. No preheating, no watching for cracks, no cooling racks. This is my go-to when the weather is too hot to turn on the oven or when I’m too tired to deal with pastry dough.
- Make-Ahead Magic — This dessert actually needs time to set. I love making it the day before an event because it frees up my evening. The flavors meld together overnight, making the taste even better the next day. It’s the ultimate stress-free hostess gift.
- Rich and Decadent — Don’t let the “no-bake” label fool you. This tastes heavy, luxurious, and restaurant-quality. The cream cheese provides that classic tang, while the peanut butter adds a savory depth that balances the sweetness of the chocolate perfectly.
- Gluten-Free Friendly — If you use gluten-free graham crackers or digestive biscuits, this entire dessert is naturally gluten-free. I make this for my celiac friend often, and she’s never known the difference. It’s inclusive dessert making at its finest.
- Customizable Toppings — You can keep it simple with a chocolate drizzle, or go all out with whipped cream, crushed peanuts, and sea salt. It’s a blank canvas for your dessert dreams.
This is my answer to “what’s for dessert?” when I want to treat my family but don’t want the hassle. It’s reliable, delicious, and always disappears fast. I honestly think it rivals any baked cheesecake I’ve ever had, especially in the summer when you don’t want a hot oven heating up the house.
Ingredients You’ll Need
Here’s the best part: you probably have most of this already in your pantry or fridge. I’m particular about three ingredients here, and I’ll tell you exactly why they matter. The beauty of this recipe is its simplicity. You don’t need exotic spices or complicated techniques.
For the Crust
Graham crackers or Digestive Biscuits (1 ½ cups / 150g, crushed) — I prefer digestive biscuits for a slightly less sweet, more buttery crust, but traditional graham crackers work great too. You need them finely crushed. I use a food processor, but you can put them in a ziplock bag and smash them with a rolling pin if you’re feeling rustic.
Unsalted Butter (6 tablespoons / 85g, melted) — This binds the crust. Use good quality butter here. If you use margarine, the crust might not hold together as well. Melt it completely so it mixes evenly with the crumbs.
Sugar (2 tablespoons / 25g) — Optional, depending on how sweet your crackers are. I usually skip it if I’m using sweet graham crackers, but add it if using plain digestive biscuits.
Pinch of Salt — Just a tiny pinch to enhance the chocolate flavor later. Don’t skip this.
For the Filling
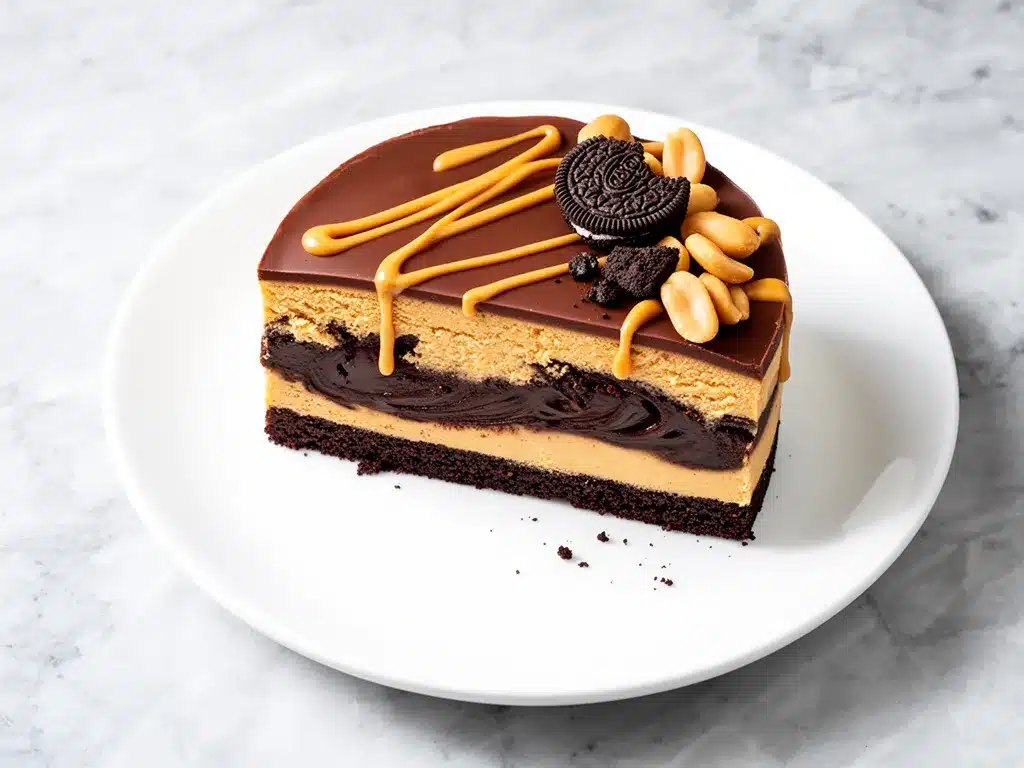
Cream Cheese (16 oz / 450g, full-fat, softened) — This is the star. You must use full-fat brick cream cheese, not the spreadable kind in a tub. The tub kind has too much air and moisture, and your cheesecake will be runny. Soften it at room temperature for at least an hour. If you’re impatient, microwave it in 10-second bursts, but don’t melt it.
Smooth Peanut Butter (½ cup / 128g) — I use creamy Skippy or natural peanut butter that has been stirred well. Avoid crunchy peanut butter for the filling unless you specifically want texture. Natural peanut butter can sometimes separate, so make sure you mix the oil back in thoroughly before measuring.
Powdered Sugar (1 cup / 120g) — Also known as icing sugar. This dissolves easily in the cold mixture. Granulated sugar won’t dissolve fully in a no-bake recipe, leaving you with a gritty texture. Sift it if it’s lumpy.
Heavy Cream (1 cup / 240ml, cold) — You need this whipped to stiff peaks to give the cheesecake its airy, fluffy structure. Don’t use half-and-half or milk; it won’t whip up properly.
Vanilla Extract (1 teaspoon) — Pure vanilla. It rounds out the peanut and chocolate flavors.
For the Chocolate Ganache Topping
Dark Chocolate Chips (½ cup / 85g) — Semi-sweet or dark chocolate works best to cut the sweetness of the peanut butter. Milk chocolate is too sweet for this combo.
Heavy Cream (2 tablespoons / 30ml) — Just enough to melt the chocolate into a smooth sauce.
Crushed Peanuts (for garnish) — Optional, but adds a nice crunch and visual appeal. I always sprinkle a little sea salt on top for that gourmet touch.
Equipment Needed
You don’t need fancy equipment for this. Here’s what I actually use. If you’re missing something, there’s almost always a workaround.
9-Inch Springform Pan — This is non-negotiable for a cheesecake. It allows you to remove the sides easily so you can slice it cleanly. If you don’t have one, you can use a regular round cake pan lined with parchment paper, but unmolding will be tricky.
Food Processor or Blender — For crushing the crackers. If you don’t have one, a ziplock bag and a rolling pin work, but it takes more elbow grease.
Mixer — A hand mixer or stand mixer is best for whipping the cream cheese and cream. Doing this by hand is possible but requires serious arm strength. I tried it once and almost gave up.
Spatula — A rubber spatula is essential for folding the whipped cream into the cheese mixture without deflating it. You want to keep those air bubbles in there.
Saucepan — For melting the chocolate ganache. A small one works fine.
Refrigerator — Obviously. You need space in the fridge for this to set. I usually make it the night before, so plan accordingly.
How to Make It: Step-by-Step
Alright, let’s make this! I’m walking you through exactly how I do it, including the little tricks I’ve picked up to ensure a smooth, creamy result every time.
Step 1: Prepare the Crust (5 minutes)
Start by crushing your graham crackers or digestive biscuits until they resemble fine sand. You want no large chunks. In a medium bowl, mix the crumbs with the melted butter, sugar (if using), and salt. The mixture should look like wet sand. When you pinch it, it should hold together. Press this mixture firmly into the bottom of your springform pan. Use the bottom of a measuring cup to pack it down tight. A loose crust leads to a messy slice. Chill this in the fridge while you make the filling.
Step 2: Whip the Cream (3 minutes)
In a large bowl, pour your cold heavy cream. Whip it with your mixer on high speed until you form stiff peaks. This means when you lift the beaters, the cream stands up straight and doesn’t droop. Be careful not to over-whip it into butter. Set this aside. This step is crucial for the fluffy texture.
Step 3: Mix the Cream Cheese Base (5 minutes)
In another large bowl, beat the softened cream cheese and powdered sugar until smooth and creamy. There should be no lumps. Add the peanut butter and vanilla extract. Mix on medium speed until everything is fully combined and silky. The mixture might look a bit thick at this stage, but that’s okay.
Step 4: Fold It Together (3 minutes)
This is the most important step for texture. Gently fold the whipped cream into the cream cheese mixture. Use your spatula to cut down through the center and fold over the top. Do this gently and slowly. You want to incorporate the air from the cream without knocking it out. Stop when you see no more white streaks. Don’t overmix, or your cheesecake will be dense.
Step 5: Assemble and Chill (4+ hours)
Pour the filling over the chilled crust. Smooth the top with your spatula. Tap the pan gently on the counter to remove any air bubbles. Cover the top with plastic wrap or foil and refrigerate for at least 4 hours, but overnight is best. The longer it chills, the firmer it sets and the better the flavors meld.
Step 6: Make the Ganache (5 minutes)
About 30 minutes before serving, make the chocolate topping. Heat the heavy cream in a small saucepan until it just starts to simmer. Pour it over the chocolate chips in a heatproof bowl. Let it sit for 2 minutes, then stir until smooth and glossy. Let it cool for a few minutes until it thickens slightly but is still pourable.
Step 7: Top and Serve
Pour the ganache over the set cheesecake. Use a spatula to spread it evenly, letting it drip down the sides a bit. Sprinkle with crushed peanuts and a pinch of flaky sea salt. Let it sit for 10 minutes so the ganache sets slightly, then slice with a warm knife for clean cuts.
Expert Tips & Tricks
Here’s everything I’ve learned from making this dozens of times. These tips will save you from my mistakes.
Room Temperature Cream Cheese is Non-Negotiable
If your cream cheese is cold, you’ll get lumps. I can’t stress this enough. Take it out of the fridge at least an hour before you start. If you’re in a hurry, cut it into cubes and microwave in 10-second intervals, checking frequently. It should be soft to the touch but not melted.
Don’t Skip the Sifting
Powdered sugar often has clumps. If you don’t sift it, you’ll end up with sweet sugar pockets in your cheesecake. Sift it into the bowl before mixing. It makes the texture perfectly smooth.
Warm Knife for Clean Slices
Cheesecake can be sticky. Run your knife under hot water and dry it off before each cut. This ensures clean, professional-looking slices. Wipe the blade clean between cuts too.
Balance the Sweetness
Peanut butter and chocolate are both sweet. The cream cheese provides the necessary tang. If you use sweetened peanut butter, reduce the powdered sugar by 2 tablespoons. Taste the mixture before pouring it into the pan if you’re unsure.
Storage is Key
This cheesecake must be stored in the fridge. It does not freeze well because the whipped cream can separate and become watery when thawed. Keep it covered for up to 5 days.
Variations & Substitutions
Once you’ve nailed the basic version, here’s how you can mix it up. I’ve tried all of these.
Chocolate Peanut Butter Cups
Chop up some mini peanut butter cups and fold them into the filling before pouring it into the pan. This adds fun bursts of texture and flavor.
Oreo Crust
Swap the graham crackers for crushed Oreos (remove the cream filling first if you want less sweetness, or keep it for extra indulgence). This creates a chocolate cookie crust that pairs amazingly with the filling.
Almond Butter Swap
Use almond butter instead of peanut butter for a slightly more sophisticated, less sweet flavor profile. It works beautifully with the chocolate.
Gluten-Free
Use gluten-free graham crackers or almond flour for the crust. Ensure your chocolate chips are certified gluten-free if you have celiac disease.
Vegan Version
Use vegan cream cheese (like Miyoko’s), coconut cream instead of heavy cream, and vegan chocolate chips. The texture will be slightly denser but still delicious. I’ve made this for my vegan friends, and they loved it.
Protein-Packed
If you’re watching your macros, you can use Greek yogurt instead of half the cream cheese, but the texture will be tangier and less rich. It’s a compromise I make occasionally.
Serving & Storage
How to Serve:
I usually serve this straight from the fridge. It’s best when it’s cold and firm. Pair it with a cup of coffee or a glass of cold milk. For a dinner party, I slice it into thin wedges because it’s quite rich.
Side Dishes:
This dessert stands alone, but if you want sides, try fresh berries (strawberries or raspberries) to cut the richness. A simple arugula salad with lemon vinaigrette is a surprising but good savory contrast if you’re serving a full meal.
Storage Instructions:
Store in an airtight container in the refrigerator for up to 5 days. The crust may soften slightly over time, but the filling stays creamy. Do not freeze.
Reheating:
Do not reheat this. It’s meant to be eaten cold. If it’s too hard to slice, let it sit at room temperature for 10-15 minutes before cutting.
Nutrition Information
I’m not a nutritionist, but here’s the breakdown if you’re tracking. This is a rich dessert, so portion control is key.
Per Serving (based on 12 slices):
- Calories: 380
- Protein: 6g
- Carbs: 28g
- Fiber: 1g
- Sugar: 22g
- Fat: 28g
What’s Good: It provides some protein from the cream cheese and peanuts. It’s also naturally gluten-free if you choose the right crust.
What to Know: It’s high in sugar and fat due to the chocolate, peanut butter, and cream. It’s an indulgence, not a health food. Enjoy a small slice and savor it.
Final Thoughts
So that’s my go-to creamy chocolate peanut butter no-bake cheesecake! I’ve probably talked your ear off at this point, but when you make a recipe this often, you have a lot to say about it. This has saved my dessert game more times than I can count. It’s my answer to “what’s for dessert?” when I want to treat my family but don’t want the hassle. My kids are happy, my husband’s happy, and I’m happy because I’m not stressed about cooking.
Make it yours! Try different toppings, swap in your favorite nut butter, or add different candies. The best recipes are the ones you adapt to your family’s tastes. If you make this, drop a comment and let me know what you think! I love hearing how recipes turn out in your kitchen. And if something doesn’t work, tell me that too—I’m here to help troubleshoot.
Happy cooking! And I hope your kitchen smells half as good as mine does right now.
Frequently Asked Questions
Can I use crunchy peanut butter?
You can, but it changes the texture. The filling will have bits of peanut in it, which some people love, but it won’t be as smooth and creamy as the classic version. I recommend using smooth peanut butter for the filling and using crunchy peanuts only as a topping if you want that contrast.
Why did my cheesecake not set?
Usually, this means it didn’t chill long enough. No-bake cheesecakes rely on the cold to firm up the cream cheese and whipped cream. If you cut it too soon, it will be soft. Make sure it chills for at least 4 hours, preferably overnight. Also, ensure your cream cheese was fully softened and mixed smoothly before adding the whipped cream.
Can I freeze this cheesecake?
I don’t recommend it. The whipped cream and cream cheese mixture can separate and become watery or grainy when thawed. It’s best eaten fresh from the fridge. If you must freeze it, freeze the crust separately, but the filling will suffer in texture.
Can I use a different pan?
A springform pan is ideal because it makes slicing easy. If you don’t have one, you can use a 9-inch round cake pan lined with parchment paper. Just make sure to leave enough overhang on the paper to lift the cheesecake out when it’s done. It will be harder to slice cleanly, but it works.
Can I make this ahead for a party?
Yes! This is actually better made ahead. Make it 24 hours before your party. The flavors will meld, and the texture will be perfect. Just keep it covered in the fridge until you’re ready to top and serve it.
What if I don’t have heavy cream?
You need heavy cream to whip the filling. Half-and-half won’t whip up stiff enough. If you’re dairy-free, you can use coconut cream (the thick part from a can of full-fat coconut milk) whipped with a little sugar. It will have a coconut flavor, but it works well with chocolate and peanut butter.
Can I add other mix-ins?
Absolutely! I love folding in chopped Reese’s Peanut Butter Cups, chocolate chips, or even crushed no-bake peanut butter energy bites for extra texture. Just be careful not to overload it, or the structure might weaken.
Pin This Recipe!
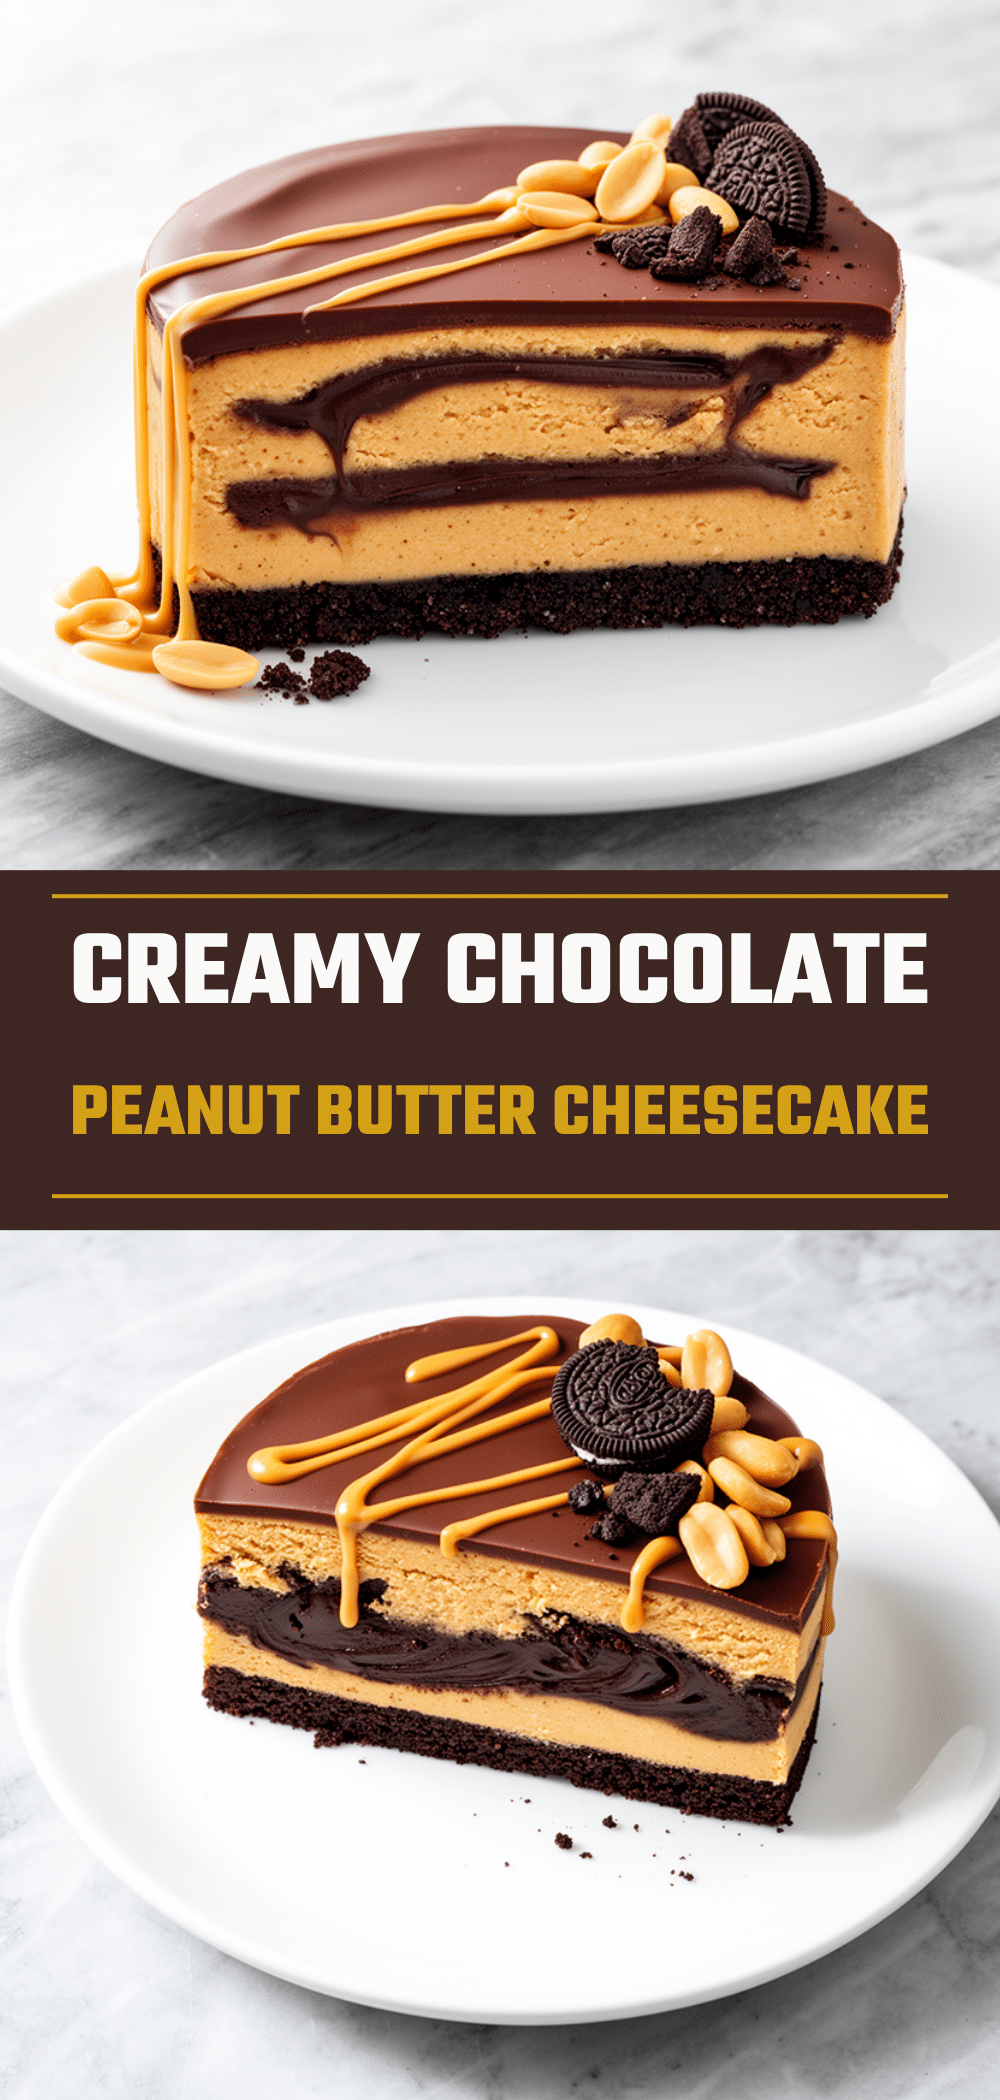
Creamy Chocolate Peanut Butter No-Bake Cheesecake
- Total Time: 4 hours 20 minutes
- Yield: 12 servings 1x
Description
A rich, tangy, and chocolatey no-bake cheesecake that requires zero baking skills. This dessert combines a buttery crust with a silky peanut butter and cream cheese filling, topped with a dark chocolate ganache.
Ingredients
- 1 ½ cups (150g) graham crackers or digestive biscuits, crushed
- 6 tablespoons (85g) unsalted butter, melted
- 2 tablespoons (25g) sugar, optional
- 1 pinch salt
- 16 oz (450g) full-fat cream cheese, softened
- ½ cup (128g) smooth peanut butter
- 1 cup (120g) powdered sugar, sifted
- 1 cup (240ml) heavy cream, cold
- 1 teaspoon vanilla extract
- ½ cup (85g) dark chocolate chips
- 2 tablespoons (30ml) heavy cream
- Crushed peanuts for garnish
- Flaky sea salt for garnish
Instructions
- Crush the graham crackers or digestive biscuits into fine sand. In a medium bowl, mix crumbs with melted butter, sugar (if using), and salt until it resembles wet sand. Press firmly into the bottom of a 9-inch springform pan and chill in the fridge.
- In a large bowl, whip the cold heavy cream on high speed until stiff peaks form. Be careful not to over-whip. Set aside.
- In another large bowl, beat the softened cream cheese and powdered sugar until smooth. Add the peanut butter and vanilla extract, mixing on medium speed until silky and combined.
- Gently fold the whipped cream into the cream cheese mixture using a spatula until no white streaks remain. Do not overmix.
- Pour the filling over the chilled crust and smooth the top. Tap the pan gently to remove air bubbles. Cover and refrigerate for at least 4 hours, preferably overnight.
- About 30 minutes before serving, heat the 2 tablespoons of heavy cream in a small saucepan until simmering. Pour over chocolate chips in a heatproof bowl, let sit for 2 minutes, then stir until smooth. Let cool slightly.
- Pour the ganache over the set cheesecake, spreading it evenly. Sprinkle with crushed peanuts and sea salt. Let sit for 10 minutes to set slightly before slicing with a warm knife.
Notes
Ensure cream cheese is fully softened to room temperature to avoid lumps. Sift powdered sugar for a smooth texture. Use a warm knife for clean slices. Do not freeze as the whipped cream may separate. Store in the refrigerator for up to 5 days.
- Prep Time: 20 minutes
- Cook Time: 0 minutes
- Category: Dessert
- Cuisine: American
Nutrition
- Serving Size: 1 slice
- Calories: 380
- Sugar: 22
- Sodium: 150
- Fat: 28
- Saturated Fat: 14
- Carbohydrates: 28
- Fiber: 1
- Protein: 6
Keywords: no-bake cheesecake, chocolate peanut butter, dessert, easy recipe, make-ahead dessert, gluten-free option


