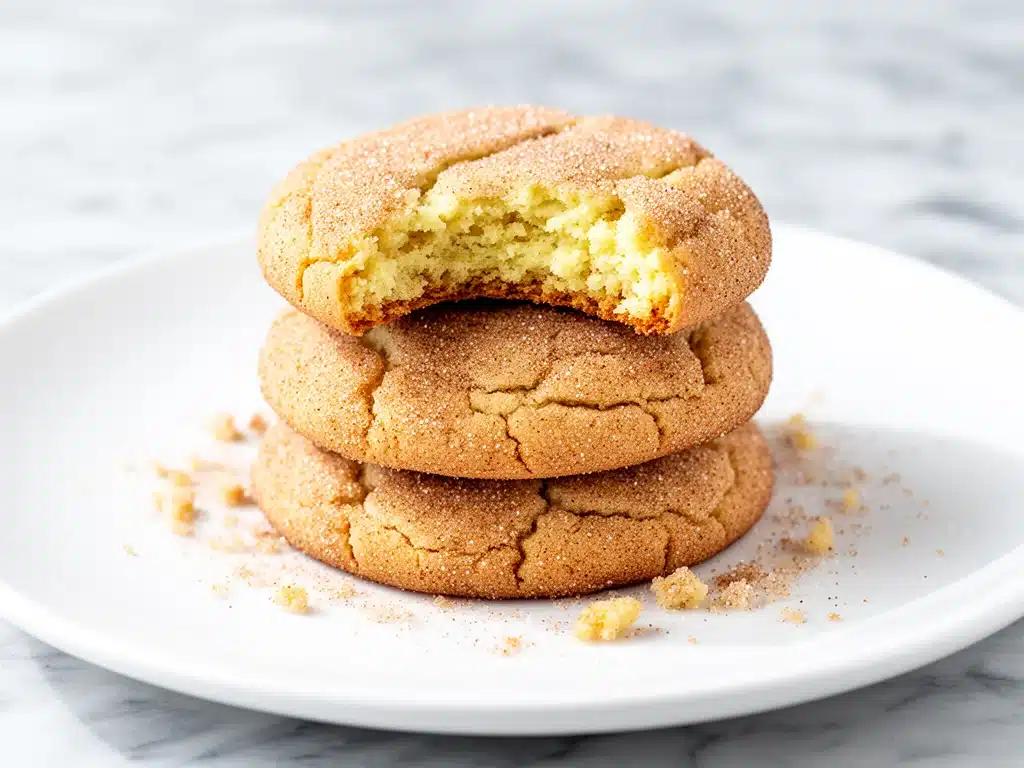
I have a confession to make: I used to think snickerdoodles were just boring sugar cookies that forgot their identity. You know the type—flat, dry, and vaguely cinnamon-y. I’d grab them at the bakery when I was desperate, but I’d always pick out the center and leave the edges. It wasn’t until last winter, during one of those brutal cold snaps where the wind feels personal, that I decided to actually try making them from scratch. I wasn’t looking for fancy. I was looking for comfort. Specifically, I was looking for that specific texture that exists nowhere else in the baking world: a cookie that is crisp on the very outside, but yields to a soft, pillowy, chewy center.
What I pulled out of the oven that Tuesday afternoon didn’t just smell like cinnamon. It smelled like my grandmother’s kitchen, but better. Lighter. The kind of cookie that makes you close your eyes the first time you bite into it because the warmth of the spice hits you before the sweetness does. These chewy snickerdoodle cookies with cinnamon sugar your guests will crave aren’t just a recipe; they’re a mood. They are the culinary equivalent of a warm hug on a rainy day.
I’ve tested this recipe about fifteen times over the last six months. Why so many? Because I’m stubborn, and I wanted to get the ratio of cream of tartar to butter just right. I wanted to figure out why some snickerdoodles turn out cakey (sad) while others turn out flat and crispy (also sad). The secret isn’t in a fancy ingredient you can’t pronounce. It’s in the technique. It’s in rolling the dough balls in extra sugar before baking. It’s in the rest time. And honestly? It’s in the confidence to use more cinnamon than you think is reasonable.
If you’ve been intimidated by baking from scratch, this is the recipe to start with. It’s forgiving. It’s fast. And once you taste a warm snickerdoodle fresh from the pan, you’ll never go back to the store-bought tube again. Trust me on this. Your kitchen, and your guests, will thank you.
Why You’ll Love This Recipe
There are a million cookie recipes out there. Chocolate chip, oatmeal raisin, peanut butter… the list goes on. But snickerdoodles occupy a special niche in the cookie universe. They are tangy, sweet, soft, and nostalgic all at once. Here’s why this specific version has earned a permanent spot in my weekly baking rotation:
The Texture is Unmatched — This isn’t just a “soft” cookie. It’s chewy. I’m talking about that resistance you feel when you pull it apart, with steam rising from the center. I’ve made these for my office potluck, and people have stopped mid-sentence to ask for the recipe. It’s the kind of texture that keeps people coming back for a second cookie.
It’s Tangy, Not Just Sweet — The cream of tartar is the unsung hero here. It gives the cookie a slight tang that cuts through the sugar. Without it, you’d just have a sweet sugar cookie. With it, you get complexity. It’s subtle, but it makes the flavor pop in a way that keeps you from getting sugar fatigue.
Zero Special Equipment Needed — You don’t need a stand mixer. A hand mixer or even a vigorous whisk and some elbow grease works perfectly. I’ve made these on days when I was too tired to fight with a heavy machine, and they turned out perfect every time. If you have a bowl and a spoon, you can make this.
Guest-Proof Social Currency — I make these for book clubs, dinner parties, and random drop-ins. They look homemade and thoughtful, but they’re actually incredibly easy. People assume you spent hours on them. When I tell them it took 20 minutes of active work, they never believe me. It’s a great way to impress without the stress.
Perfect for Meal Prep (Sort of) — I know, cookies aren’t usually “meal prep.” But these freeze beautifully. I bake a batch on Sunday, freeze them in an airtight container, and microwave one for 10 seconds in the morning with my coffee. It’s a treat that doesn’t feel like cheating. Unlike my make-ahead breakfast muffin cups, these are purely for joy, but they fit into a busy lifestyle just as well.
Budget-Friendly — Flour, sugar, butter, eggs, cinnamon. You probably have all of this already. This recipe costs about $2 to make for a dozen large cookies. Compare that to $4 for a single fancy bakery cookie, and the savings add up fast.
So basically, you get restaurant-quality texture, complex flavor, zero stress, and a crowd-pleaser that fits in your pantry. What’s not to love?
Ingredients You’ll Need
Here’s the best part: this recipe relies on pantry staples. You don’t need to run to the specialty store. You don’t need exotic flours or expensive vanilla beans. Here is exactly what you need, and why each one matters. I’m particular about three things here, and I’ll tell you why.
The Base
Unsalted Butter (1 cup / 226g, softened) — This is non-negotiable. Use real butter, not margarine or butter spreads. Margarine has too much water and will make your cookies spread too thin. Soften it properly. I leave it on the counter for an hour. If you press your finger into it and it leaves an indent but doesn’t slide off, it’s ready. Cold butter makes dense cookies; melted butter makes flat cookies. Softened is the sweet spot.
Granulated White Sugar (1 ½ cups / 300g) — This goes into the dough. It provides structure and sweetness. Don’t use brown sugar here; we want that clean, crisp exterior, not a molasses flavor. If you’re worried about sugar intake, I get it, but this is a treat. Trust the process.
Egg Yolks (2 large) — I use only yolks, not whole eggs. Why? Yolks add fat and richness, which contributes to that chewy texture. Whole eggs add water and protein, which can make cookies cakey or crisp. If you want a softer, chewier cookie, stick to yolks. It’s a trick I learned from a professional baker years ago.
Vanilla Extract (2 teaspoons) — Use real vanilla, not imitation. I know it’s pricier, but the flavor difference is massive in a simple recipe like this. I use McCormick or Nielsen-Massey. It adds that warm, aromatic background note that ties everything together.
The Dry Mix
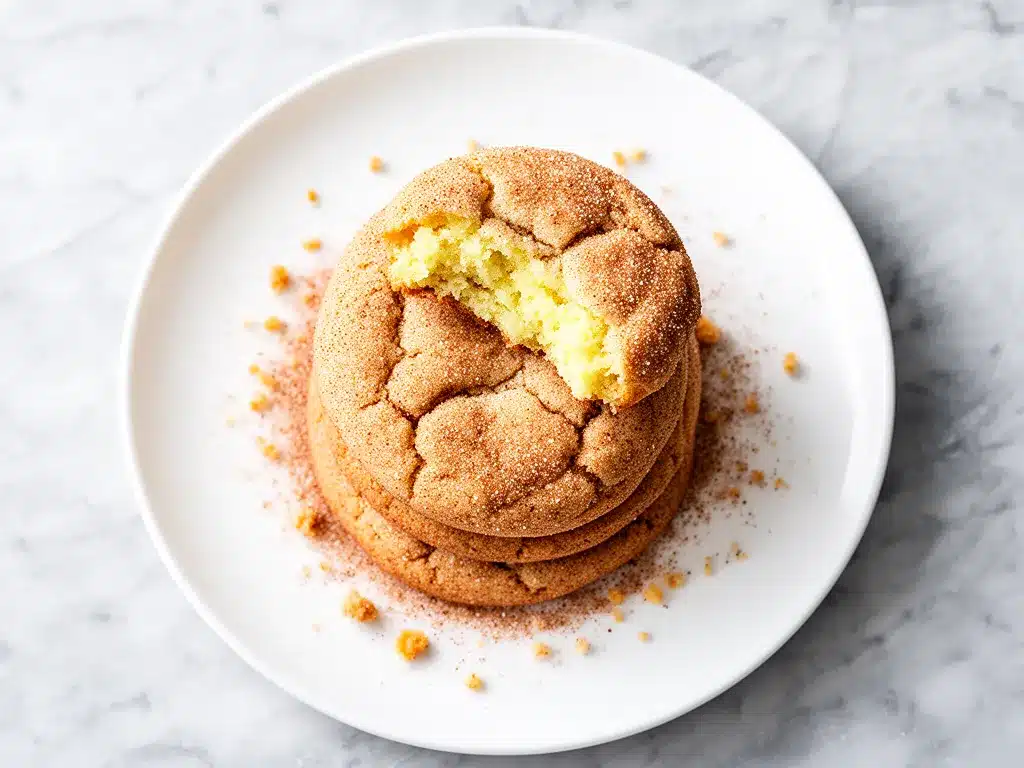
All-Purpose Flour (2 ¾ cups / 340g) — Don’t over-measure. Spoon the flour into your measuring cup and level it off. Packing it down will give you dry, crumbly cookies. I usually use Gold Medal or King Arthur, but any standard AP flour works. If you want to get fancy, you can swap ¼ cup for cake flour for extra tenderness, but it’s not required.
Cream of Tartar (2 teaspoons) — This is the secret ingredient. It’s what makes a snickerdoodle a snickerdoodle. It reacts with the baking soda to create lift and gives that signature tang. You can find it in the baking aisle next to the baking powder. If you can’t find it, you’re making a sugar cookie, not a snickerdoodle. Buy it. Keep it. Use it.
Baking Soda (1 teaspoon) — Helps the cookies spread and rise slightly. Make sure it’s fresh. If your baking soda is more than 6 months old, it might not work properly. Test it by dropping a little in vinegar—it should fizz violently.
Salt (½ teaspoon) — Even though these are sweet, salt is crucial. It balances the sugar and enhances the cinnamon. Don’t skip it.
The Coating
Granulated Sugar (½ cup / 100g) — For rolling the dough balls. This creates that crackly, sugary exterior.
Ground Cinnamon (1 tablespoon) — I use more than most recipes call for. A lot of recipes use 1 teaspoon, but I think that’s shy. 1 tablespoon gives you that strong, spicy kick in every bite. Use a good quality cinnamon like Ceylon if you can find it, as it’s sweeter and less pungent than Cassia.
Pro Tip: I keep a small jar of this cinnamon-sugar mix pre-made in my cabinet. It takes 30 seconds to make, and it saves time when I’m in cookie-baking mode. It also works great on no-bake peanut butter banana energy bites if you want a little extra spice kick on your healthy snacks!
Equipment Needed
You don’t need fancy gadgets for this. Here’s what I actually use in my kitchen:
Mixing Bowls — Two medium-sized bowls. One for wet ingredients, one for dry. I use glass or ceramic because they’re sturdy. Plastic works too, just make sure it’s clean and dry.
Hand Mixer or Whisk — I prefer a hand mixer because it creams the butter and sugar faster. But if you’re doing this by hand, be prepared to work. Creaming butter and sugar by hand takes about 5-7 minutes of vigorous whisking. It’s good arm exercise.
Baking Sheets — Two standard 13×18 inch sheets. I use heavy-gauge aluminum ones. Thin, flimsy sheets cause cookies to burn on the bottom. If you only have one sheet, you’ll need to bake in batches.
Parchment Paper — I line my sheets with parchment. It prevents sticking and makes cleanup a breeze. I’ve tried silicone mats, but parchment gives me more consistent browning. Don’t use foil unless you want to scrape stuck cookies off later.
Cooling Rack — Essential. Letting cookies cool on the hot pan continues the cooking process and can make them dry. A wire rack lets air circulate and stops the cooking immediately.
Spoon or Scoop — I use a tablespoon for consistent sizing. If you have a cookie scoop, even better. Uniform size means even baking.
Small Bowl — For the cinnamon-sugar coating. A ramekin works well.
That’s it. No electric mixer required if you don’t want one. Just basic kitchen tools you already own.
How to Make It: Step-by-Step
Alright, let’s make these! I’m walking you through exactly how I do it, including the little tricks I’ve picked up over the years. This process is straightforward, but attention to detail makes the difference between “okay” and “addictive.”
Step 1: Prep Your Dry Ingredients
In a medium bowl, whisk together the flour, cream of tartar, baking soda, and salt. Do this before you touch the butter. It ensures everything is evenly distributed so you don’t get a mouthful of pure baking soda in one bite. Set this aside.
Step 2: Cream the Butter and Sugar
In a large bowl, beat the softened butter and 1 ½ cups of sugar together. If using a hand mixer, beat on medium-high for about 2-3 minutes. The mixture should look pale, fluffy, and almost white. This step incorporates air, which helps the cookies rise. If doing it by hand, whisk vigorously until it lightens in color. This is the foundation of the texture.
Step 3: Add Yolks and Vanilla
Add the egg yolks and vanilla extract to the butter mixture. Beat on medium speed for about 1 minute, until well combined. Scrape down the sides of the bowl with a spatula to make sure everything is incorporated. You want a smooth, creamy mixture.
Step 4: Combine Wet and Dry
Gradually add the dry ingredients to the wet ingredients. Mix on low speed (or stir by hand) until just combined. Do not overmix! Once the flour disappears, stop. Overmixing develops gluten, which makes cookies tough. You want tender, chewy cookies, not bread. The dough will look a bit stiff. That’s normal.
Step 5: Chill the Dough (The Secret Step)
Cover the bowl with plastic wrap and refrigerate for at least 30 minutes, or up to 24 hours. This step is crucial. Chilling firms up the butter, which prevents the cookies from spreading too thin in the oven. It also allows the flavors to meld. If you skip this, your cookies will be flat and crispy. If you have time, let it chill overnight. The flavor improves significantly.
Step 6: Make the Cinnamon Sugar Coating
While the dough chills, mix the ½ cup sugar and 1 tablespoon cinnamon in a small shallow bowl. Stir until evenly combined. Set aside.
Step 7: Roll and Coat
Preheat your oven to 375°F (190°C). Line baking sheets with parchment paper. Take about a tablespoon of dough and roll it into a ball between your palms. Then, roll the ball in the cinnamon-sugar mixture until it’s fully coated. Place it on the baking sheet, about 2 inches apart. Repeat with the rest of the dough. You should get about 12-15 cookies.
Step 8: Bake
Bake for 9-11 minutes. This is the tricky part. You want the edges to be set and lightly golden, but the centers to still look soft and slightly undercooked. They will continue to cook on the hot pan after you take them out. If you bake them until they look firm in the oven, they will be dry and crunchy when cooled. Err on the side of undercooked.
Step 9: Cool and Serve
Let the cookies sit on the baking sheet for 5 minutes. This allows them to set. Then, transfer them to a wire rack to cool completely. Or, eat them warm with a glass of milk. I won’t judge you.
Troubleshooting: If your cookies spread too much, your butter was too soft or your oven is hot. If they are too cakey, you overmixed the dough or used too much flour. If they are too flat, skip the chilling step next time (joking—always chill!).
Expert Tips & Tricks
Here’s everything I’ve learned from making these dozens of times. These tips will save you from my mistakes.
Butter Temperature is Key
I cannot stress this enough. Your butter should be soft enough to leave an indent with your finger, but not so soft that it’s greasy or shiny. If it’s too warm, the cookies will spread into puddles. If it’s too cold, the dough will be hard to mix. Room temperature is the goal. If you’re in a hurry, you can cube the butter and microwave it in 5-second bursts, but watch it closely. You want it soft, not melted.
Don’t Skip the Chill
I know it’s tempting to bake them right away. Resist. The chill ensures the cookies hold their shape. It also prevents them from spreading into one giant cookie on the pan. If you’re short on time, put the dough balls in the freezer for 15 minutes instead. It’s a good hack.
Use a Cookie Scoop
Uniform size means uniform baking. If you make some cookies big and some small, the small ones will burn while the big ones are still raw. A simple ice cream scoop or a tablespoon works perfectly. It also speeds up the rolling process.
Rotate Your Pan
Ovens have hot spots. Halfway through baking, rotate your baking sheet 180 degrees. This ensures even browning on all cookies. It’s a small step that makes a big difference.
Underbake for Chewiness
This is the most important tip. Pull them out when they look slightly underdone in the center. They will set as they cool. If you wait until they look done, they will be crisp. If you want chewy cookies, you must trust the process and pull them early.
Storage Hack
Store cookies in an airtight container with a slice of bread. The bread releases moisture, which keeps the cookies soft and chewy for days. I swear by this trick. It’s old school, but it works.
Variations & Substitutions
Once you’ve mastered the basic version, here’s how you can mix it up. I’ve tried all of these, and they’re all winners.
Chocolate Chip Snickerdoodles
Add 1 cup of semi-sweet chocolate chips to the dough after mixing in the flour. The chocolate adds richness and pairs beautifully with the cinnamon. This is my personal favorite variation.
Peanut Butter Snickerdoodles
Swap ½ cup of the flour for ½ cup of creamy peanut butter. It adds protein and a salty-sweet contrast. It’s like a Reese’s cup in cookie form. My kids love this version.
Double Chocolate
Add ¼ cup cocoa powder to the dry ingredients. It makes the cookies chocolatey with a hint of cinnamon. It’s a unique twist that feels sophisticated.
Gluten-Free Option
Use a 1:1 gluten-free flour blend (like Bob’s Red Mill or King Arthur). Most blends work perfectly in this recipe. Just make sure your baking soda and cream of tartar are certified gluten-free if you have celiac disease.
Vegan Version
Use vegan butter (like Miyoko’s or Earth Balance) and flax eggs (1 tablespoon ground flaxseed mixed with 3 tablespoons water per egg yolk). The texture will be slightly different, but still delicious. It’s not quite as chewy, but the flavor is there.
Spice It Up
Add ½ teaspoon of nutmeg or allspice to the cinnamon sugar. It adds warmth and complexity. I like to do this in the winter.
Maple Glaze
Drizzle a simple glaze made from powdered sugar, maple syrup, and a splash of milk over the cooled cookies. It’s sweet and earthy. Great for fall.
Serving & Storage
How to serve these beauties:
Warm and Fresh
I always recommend eating them warm. The center is soft, the edges are crisp, and the cinnamon scent is strongest. Serve them with a cold glass of milk. It’s the classic pairing for a reason.
Room Temperature
They are also great at room temperature for lunchboxes or office snacks. They travel well and don’t get squished easily.
Side Dishes
These cookies pair well with coffee, tea, or hot chocolate. They also go great with a slice of sharp cheddar cheese if you’re having a cheese board.
Storage Instructions
Room Temperature:
Store in an airtight container for up to 5 days. Add a slice of bread to keep them soft. If your kitchen is hot, you might need to refrigerate them, but they’ll harden slightly.
Freezing:
Yes, these freeze well! Bake them, let them cool completely, and store in a freezer-safe container with parchment paper between layers. They’ll last for 3 months. Thaw at room temperature or microwave for 10 seconds.
Freezing Dough:
You can also freeze the dough balls. Roll them in cinnamon sugar, place on a baking sheet, and freeze until solid. Then transfer to a bag. Bake straight from frozen, adding 1-2 minutes to the bake time. This is perfect for last-minute guests.
Reheating
Microwave for 10-15 seconds to restore that fresh-baked softness. Don’t overdo it, or they’ll get tough.
Nutrition Information
I’m not a nutritionist, but here’s the breakdown if you’re tracking. Please remember that these are estimates and can vary based on brands and exact measurements.
Per Cookie (makes 12-15 cookies):
- Calories: 180-200
- Protein: 2g
- Carbs: 28g
- Fiber: 1g
- Sugar: 18g
- Fat: 8g
- Saturated Fat: 5g
- Cholesterol: 35mg
- Sodium: 120mg
What’s Good:
- Small protein content from butter and eggs
- Relatively low in fat compared to other cookies
- No artificial ingredients
What to Know:
- High in sugar and carbs
- Contains dairy and gluten
- Not suitable for low-carb or keto diets
My Take:
Look, these are cookies. They are meant to be enjoyed in moderation. They are made with real ingredients, no preservatives, and homemade with love. That’s better than most store-bought options. I enjoy one or two with my coffee, and I’m happy. Don’t stress the numbers too much—just enjoy the moment.
Final Thoughts
So that’s my go-to chewy snickerdoodle recipe! I’ve probably talked your ear off at this point, but when you make a recipe this often, you have a lot to say about it. These cookies have saved my social life more times than I can count. They are my answer to “what can I bring?” when I’m invited somewhere, or my way to treat myself on a hard day.
They are simple, but they are not simple-minded. The balance of tang and sweet, the chewy texture, the crackly sugar coating—it’s a combination that never gets old. I hope you make these soon. I hope your kitchen smells like cinnamon heaven. I hope you share them with someone you love.
Make it yours! Try adding chocolate chips, or use different extracts. The best recipes are the ones you adapt to your tastes. And if something doesn’t work, tell me in the comments. I’m here to help. Happy baking!
Frequently Asked Questions
Can I use brown sugar instead of white sugar?
You can, but the texture will change. Brown sugar has molasses, which makes cookies chewier and darker. White sugar creates that crisp, crackly exterior. If you want a softer, cakeier cookie, use half brown sugar and half white. But for the classic snickerdoodle look and texture, stick with white.
Why did my cookies spread too much?
Usually, this means your butter was too soft, or you didn’t chill the dough. If the butter is melted, it spreads instantly in the oven. If you skipped the chill, the dough was too warm. Next time, make sure your butter is just soft, and chill the dough for at least 30 minutes. Also, check your oven temperature. If it’s too hot, the cookies might spread before they set.
Can I make these gluten-free?
Yes! Use a 1:1 gluten-free flour blend. Most brands work well in this recipe. Just make sure your cream of tartar and baking soda are gluten-free. The texture will be slightly more tender, but still delicious. I’ve tested this with Bob’s Red Mill and King Arthur, and both worked great.
How do I store leftover cookies?
Store them in an airtight container at room temperature for up to 5 days. Add a slice of bread to keep them soft. If you want to freeze them, bake them first, cool them completely, and store in a freezer-safe container. They’ll last for 3 months. You can also freeze the dough balls before baking.
Can I use margarine instead of butter?
I don’t recommend it. Margarine has a higher water content and different fat structure, which can make cookies spread too thin and lack flavor. Real butter gives you the best texture and taste. If you need a dairy-free option, use a high-quality vegan butter stick, not tub margarine.
Why did my cookies taste tangy?
That’s supposed to happen! Cream of tartar gives snickerdoodles their signature tang. If it’s too strong, you might have used too much cream of tartar or not enough sugar. The standard ratio is 2 teaspoons of cream of tartar to 1 ½ cups of sugar. If you want less tang, you can reduce the cream of tartar to 1 teaspoon, but it won’t be a true snickerdoodle.
Can I double this recipe?
Absolutely! Double all ingredients and mix in batches if your bowl is too small. Bake in two rounds if your oven is small. The cooking time stays the same. I often double this recipe when I have guests, because they disappear fast.
Pin This Recipe!
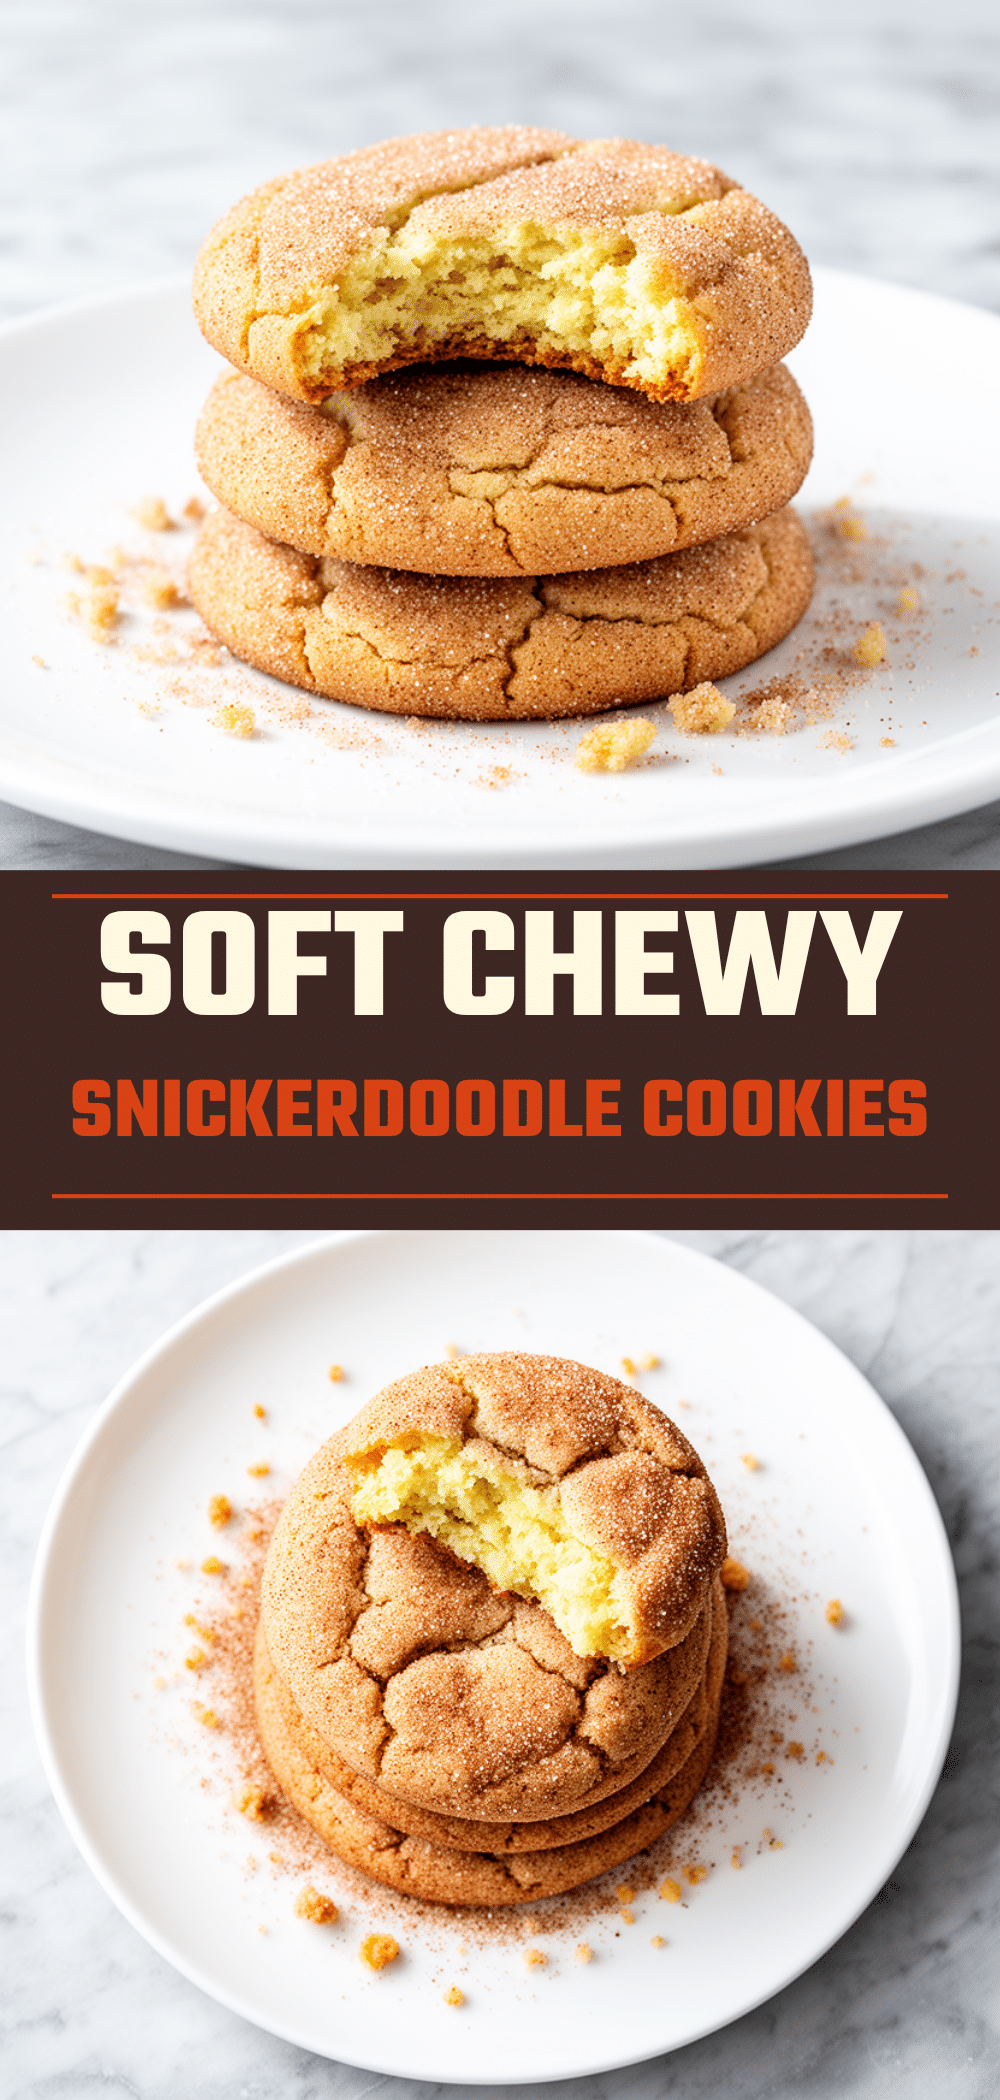

Chewy Snickerdoodle Cookies: Easy Homemade Recipe
- Total Time: 45 minutes
- Yield: 12-15 cookies 1x
Description
These chewy snickerdoodle cookies feature a crisp, sugary exterior and a soft, pillowy center with a signature tang from cream of tartar. They are easy to make from scratch using pantry staples and require no special equipment.
Ingredients
- 1 cup (226g) unsalted butter, softened
- 1 ½ cups (300g) granulated white sugar
- 2 large egg yolks
- 2 teaspoons vanilla extract
- 2 ¾ cups (340g) all-purpose flour
- 2 teaspoons cream of tartar
- 1 teaspoon baking soda
- ½ teaspoon salt
- ½ cup (100g) granulated sugar (for coating)
- 1 tablespoon ground cinnamon (for coating)
Instructions
- Preheat oven to 375°F (190°C) and line baking sheets with parchment paper.
- In a medium bowl, whisk together the flour, cream of tartar, baking soda, and salt. Set aside.
- In a large bowl, beat the softened butter and 1 ½ cups sugar together until pale and fluffy (about 2-3 minutes with a mixer).
- Add the egg yolks and vanilla extract to the butter mixture and beat until well combined.
- Gradually add the dry ingredients to the wet ingredients, mixing on low speed until just combined. Do not overmix.
- Cover the dough and refrigerate for at least 30 minutes (or up to 24 hours).
- In a small bowl, mix the ½ cup sugar and 1 tablespoon cinnamon for the coating.
- Roll the dough into tablespoon-sized balls and coat them thoroughly in the cinnamon-sugar mixture.
- Place cookies on baking sheets, about 2 inches apart.
- Bake for 9-11 minutes, until edges are set and lightly golden but centers still look soft.
- Let cookies sit on the baking sheet for 5 minutes to set, then transfer to a wire rack to cool completely.
Notes
Ensure butter is softened but not melted. Chilling the dough is crucial to prevent spreading. Underbake slightly for a chewy texture. Store in an airtight container with a slice of bread to maintain softness.
- Prep Time: 30 minutes
- Cook Time: 11 minutes
- Category: Dessert
- Cuisine: American
Nutrition
- Serving Size: 1 cookie
- Calories: 190
- Sugar: 18
- Sodium: 120
- Fat: 8
- Saturated Fat: 5
- Carbohydrates: 28
- Fiber: 1
- Protein: 2
Keywords: snickerdoodle cookies, chewy cookies, cinnamon sugar cookies, homemade cookies, easy baking recipe, cream of tartar cookies


