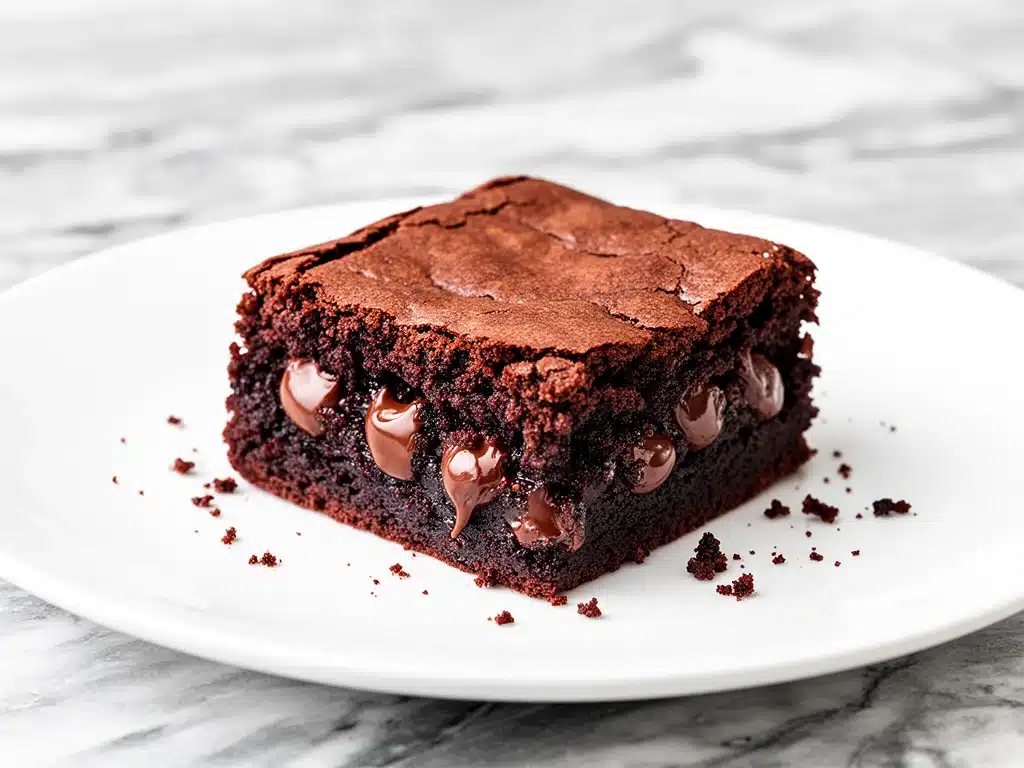
Last Tuesday, I was staring at a pile of dirty mixing bowls from my morning baking attempt and decided I was done. Done with the splatter guard, done with scraping the sides of the bowl, and definitely done with the three-step process of creaming butter and sugar just to end up with a cakey brownie that crumbled into dust the second I bit into it. I just wanted a brownie. A real, dense, fudgy, chocolate-y brownie that tasted like it came from that expensive bakery down the street but actually made sense for a Tuesday night craving.
So I threw everything into a single large bowl. No mixer. No fancy gadgets. Just a whisk, a spoon, and whatever chocolate I had lying around. I expected disaster. Instead, I got the best brownie I’ve ever made. And the best part? My teenage son, who usually turns his nose up at anything that isn’t deep-fried, asked for the recipe. That’s how I discovered that sometimes the simplest methods yield the most incredible results.
These ultra-fudgy one-bowl brownies have become my go-to for any situation where I need dessert to just work. Whether it’s a last-minute dinner party, a rainy afternoon with the kids, or just me needing a chocolate fix at 9 PM, this recipe saves the day. I’ve tested it at least ten times since that Tuesday, tweaking the chocolate-to-butter ratio until it was perfect. It’s hands-down the easiest way to get bakery-quality brownies without the hassle.
Why You’ll Love This One-Bowl Brownie Recipe
I’m not exaggerating when I say this recipe has completely changed my dessert game. There are about ten reasons I keep making these, but here are the big ones that matter most.
- Stupid Simple — Seriously, if you can melt butter and stir a spoon, you can make these. I’ve walked my daughter through it over FaceTime while she was stuck at her apartment with no mixer. She made them perfectly.
- Lightning Fast — 30 minutes from start to finish, and only 15 of those are active prep. The rest is just baking time. I make these on weeknights when I get home exhausted and still want something homemade.
- One Bowl Cleanup — This is the game-changer. One bowl, one whisk, one pan. No standing at the sink for twenty minutes washing measuring cups and mixer attachments. My husband loves this part more than the brownies themselves (don’t tell him I said that).
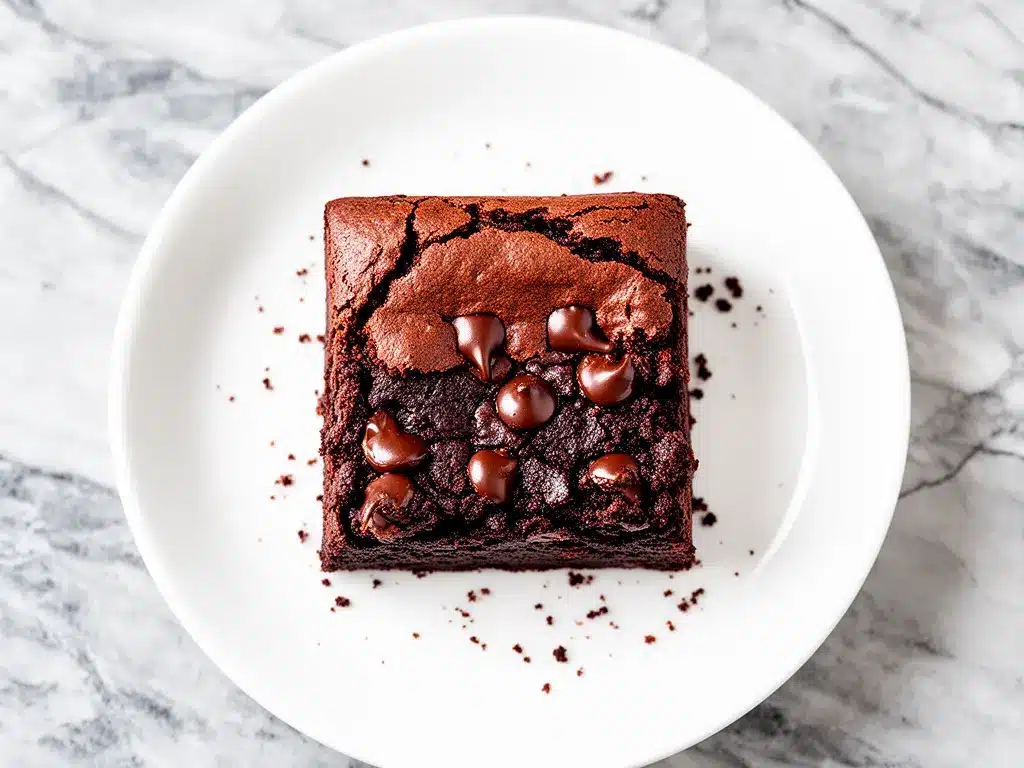
- Texture Perfection — These aren’t cakey. They aren’t chewy like gummy bears. They are dense, moist, and fudgy. The kind of brownie that leaves a smear of chocolate on your chin and makes you close your eyes when you take the first bite.
- Pantry-Friendly — You probably have most of these ingredients already. Flour, sugar, butter, eggs, chocolate. If you have a box of baking chocolate in the back of your pantry, you’re halfway there.
- Better Than Takeout — I’ve compared these side-by-side with brownies from the fancy bakery downtown. Honestly? Mine are richer, more chocolate-forward, and cost a fraction of the price. Plus, they’re still warm from the oven.
This is my go-to when I need dessert to be reliable, delicious, and stress-free. No complicated techniques, no weird ingredients, just pure chocolate joy in a square.
Ingredients You’ll Need
Here’s the best part: you probably have most of this already. This isn’t a recipe that requires a trip to the specialty store. It’s simple, honest ingredients that come together to make something magical.
For the Base
Unsalted Butter (1 cup / 225g) — I use high-quality butter like Kerrygold or Plugrá. The flavor makes a difference here since it’s a major component. Don’t use margarine. It just won’t work.
Semi-Sweet Chocolate Chips (1 cup / 170g) — I use Ghirardelli 60% Cacao. They melt beautifully and give that rich, slightly bitter chocolate taste. Dark chocolate chips work too if you want it less sweet.
Baking Chocolate (4 oz / 113g) — This is the secret weapon. Unsweetened baking chocolate bars, chopped. This gives the brownies their dense, fudgy texture. Don’t skip it for more chips, or they’ll be too sweet and cakey.
Granulated Sugar (1 ½ cups / 300g) — White sugar keeps them fudgy. Brown sugar makes them chewy, and we want fudgy. Be honest with your measurements here; sugar is the structure.
Dark Brown Sugar (½ cup / 100g) — Packed. This adds a hint of molasses flavor and extra moisture. Don’t use light brown sugar if you can avoid it.
Large Eggs (3 large) — Room temperature is best. They help bind everything and add richness. Don’t use small eggs; it throws off the ratio.
Vanilla Extract (2 teaspoons) — Use real vanilla, not imitation. It enhances the chocolate flavor without tasting like vanilla cake.
For the Structure
All-Purpose Flour (1 cup / 125g) — Just standard flour. Spoon it into the cup and level it off. Don’t scoop directly from the bag, or you’ll pack too much in and get dry brownies.
Cocoa Powder (⅓ cup / 30g) — Unsweetened Dutch-process cocoa tastes richer. Regular natural cocoa works fine too, but Dutch-process has that deep, dark chocolate flavor I love.
Salt (½ teaspoon) — This is crucial. Salt makes the chocolate taste more like chocolate. Don’t skip it.
Optional Add-ins — Walnuts, pecans, or chocolate chunks. I usually skip nuts because I’m weird, but if you like crunch, add 1 cup of chopped nuts. Or swirl in some peanut butter for a twist.
Personal Tips
- Brand Recommendations — I always use Ghirardelli chocolate chips. They melt evenly every time. For flour, any brand works, but I like Gold Medal.
- Shopping Shortcuts — If you’re in a rush, buy pre-chopped baking chocolate. But chopping it yourself ensures you get those little crunchy bits of chocolate in every bite.
- Substitutions — No baking chocolate? Use 2 extra ounces of chocolate chips and reduce the regular chips by 2 ounces. It’s not identical but works in a pinch.
Equipment Needed
You don’t need fancy equipment for this. Here’s what I actually use.
- Large Microwave-Safe Bowl — I use a 4-quart glass bowl. It needs to be big enough to melt the butter and chocolate without overflowing. My Pyrex bowl has survived many brownie sessions.
- Whisk — A standard balloon whisk works perfectly. You’re not making meringue; you just need to combine ingredients smoothly.
- 9×9 Inch Baking Pan — I prefer square pans for brownies because the edges get crispier. You can use an 8×8 pan, but they’ll be thicker and take longer to bake. Line it with parchment paper for easy removal.
- Parchment Paper — Not strictly necessary, but it makes cleanup a dream. Just let the paper hang over the edges so you can lift the brownies out in one piece.
- Spatula — A silicone spatula is great for scraping the bowl clean. You want every bit of that chocolate batter.
- Cooling Rack — For cooling the brownies evenly. Or just leave them in the pan on the counter if you’re impatient like me.
Tool Tips — Don’t have a microwave-safe bowl? Melt the butter and chocolate in a saucepan on the stove over low heat. It takes longer but works just fine. I’m obsessed with my silicone spatula from OXO—it’s like $5 and makes life easier.
How to Make It: Step-by-Step
Alright, let’s make these! I’m walking you through exactly how I do it, including the little tricks I’ve picked up over the years.
Step 1: Prep Your Pan (2 minutes)
Preheat your oven to 350°F (175°C). Line a 9×9 inch baking pan with parchment paper, leaving an overhang on the sides. This is your safety net for easy removal. Spray it lightly with cooking spray if you want extra insurance, but the parchment should be enough. I learned this the hard way with a stuck brownie that looked like a disaster.
Step 2: Melt the Chocolate and Butter (3 minutes)
Break the baking chocolate into chunks and place them in the large microwave-safe bowl with the butter. Microwave on high in 30-second intervals, stirring between each interval, until completely smooth. This usually takes about 1-2 minutes total. Don’t overheat it, or the chocolate will seize up. If it looks grainy, keep stirring; it’ll come together. You should have a glossy, smooth mixture.
Step 3: Mix in the Sugars (2 minutes)
Add the granulated sugar and packed brown sugar to the melted chocolate mixture. Whisk vigorously for about 1-2 minutes. This step is important—it dissolves the sugar slightly and creates that shiny, crackly top on your brownies. The mixture will look thick and paste-like. Don’t worry, that’s exactly what it should look like.
Step 4: Add the Eggs and Vanilla (2 minutes)
Whisk in the eggs one at a time, making sure each is fully incorporated before adding the next. Then add the vanilla extract. Whisk until the batter is smooth and glossy. It might look a little separated at first, but keep whisking. It will come together. This is where the magic happens—the batter should look like thick, dark chocolate sauce.
Step 5: Fold in the Dry Ingredients (2 minutes)
Add the flour, cocoa powder, and salt. Use a spatula to gently fold them in. Stop as soon as the flour disappears. Overmixing develops gluten, which makes brownies cakey instead of fudgy. I usually do about 10-12 folds. The batter will be very thick. This is normal. If you try to whisk it, you’ll break your arm. Use a spatula.
Step 6: Add Mix-Ins and Bake (25-30 minutes)
Stir in any mix-ins like nuts or extra chocolate chunks if you’re using them. Pour the batter into your prepared pan and spread it evenly with the spatula. Bake for 25-30 minutes. The key to fudgy brownies is underbaking them slightly. They’re done when a toothpick inserted into the center comes out with moist crumbs attached, not completely clean. If it’s clean, they’re overbaked. I usually pull mine at 25 minutes.
Step 7: Cool and Serve
Let the brownies cool in the pan for at least 20 minutes. This is the hardest part, I know. But if you cut them hot, they’ll be a mess. Once cooled, lift them out using the parchment paper overhang and cut into squares. Serve warm with a glass of milk or a scoop of vanilla ice cream. Pure heaven.
Total Time: About 30 minutes (15 minutes active, 15 minutes baking/cooling)
Built-in Troubleshooting
- Brownies are cakey — You overmixed the flour or baked them too long. Next time, fold gently and pull them out earlier.
- Brownies are too dense — You might have packed the flour too tightly. Spoon and level your flour next time.
- Brownies stuck to the pan — You forgot the parchment paper. Or the pan wasn’t greased enough. Always line the pan!
- Top isn’t crackly — You didn’t whisk the sugar enough in step 3. Keep whisking until it looks shiny.
Expert Tips & Tricks
Here’s everything I’ve learned from making these dozens of times. These tips will save you from my mistakes.
The Game-Changers
Don’t Overbake
This is the #1 rule. Fudgy brownies are underbaked brownies. I know it feels wrong, but pull them out when the center still looks slightly underdone. They’ll continue to cook in the pan as they cool. If you wait for the toothpick to come out clean, you’ve lost the fudge factor. I’ve ruined so many batches by waiting too long. Now I set a timer for 25 minutes and check early.
Whisk the Sugar Well
That shiny top isn’t just for show. Whisking the sugar into the melted chocolate and butter dissolves the sugar crystals, which creates that signature crackly crust. Take the extra minute to whisk for a full 2 minutes. Your taste buds will thank you.
Room Temperature Eggs
Cold eggs can cause the melted chocolate to seize up or not incorporate smoothly. Let your eggs sit out for 15-20 minutes before starting. If you forget, drop them in a bowl of warm water for 5 minutes. It’s a small step that makes a big difference.
Chop Your Own Chocolate
Pre-chopped baking chocolate is convenient, but chopping it yourself ensures you get those little crunchy bits of chocolate scattered throughout. Plus, it’s therapeutic. I like to chop the chocolate bar into uneven pieces—some big, some small—for texture variety.
Common Mistakes (and how to avoid them)
Mistake: Using margarine instead of butter
Fix: Use real butter. Margarine has water and additives that change the texture. It’s not worth the risk. Good butter makes good brownies.
Mistake: Overmixing the flour
Fix: Stop mixing as soon as the white streaks disappear. Overmixing makes the brownies tough and cakey. A little unmixed flour is better than overmixed batter.
Mistake: Cutting them hot
Fix: Wait at least 20 minutes. Hot brownies are gooey and messy. Cool brownies are sliceable and hold their shape. Patience pays off.
Pro Tricks I’ve Learned
For Extra Fudginess
Add an extra egg yolk. It adds richness and moisture without making them cakey. I do this when I want them extra decadent.
For a Nutty Twist
Toast your nuts before adding them. It brings out the flavor and adds crunch. I toast walnuts in a dry pan for 3-4 minutes until fragrant.
For Meal Prep
These freeze beautifully. Wrap individual squares in plastic wrap and store in a freezer bag for up to 3 months. Thaw at room temperature for 10 minutes. They taste just as good frozen as fresh. I keep a batch in the freezer for late-night cravings.
Variations & Substitutions
Once you’ve nailed the basic version, here’s how you can mix it up. I’ve tried all of these.
Tested Variations
Double Chocolate
Add ½ cup of chocolate chips to the batter along with the chopped baking chocolate. For chocolate lovers who think one chocolate isn’t enough. This is my personal favorite variation.
Peanut Butter Swirl
Drop spoonfuls of peanut butter on top of the batter and swirl with a knife. It creates beautiful marble patterns and adds a salty-sweet contrast. My kids love this version.
Espresso Brownies
Add 1 tablespoon of instant espresso powder to the dry ingredients. It doesn’t make them taste like coffee; it just intensifies the chocolate flavor. Great for adults.
Chewy Version
Replace the granulated sugar with all brown sugar. This makes them chewier and more caramel-like. I make this when I want a different texture.
Gluten-Free
Use a 1:1 gluten-free flour blend. Everything else stays the same. I’ve used Bob’s Red Mill and it works great. The texture is nearly identical.
Dairy-Free
Replace butter with coconut oil and use dairy-free chocolate chips. They’re still fudgy and delicious. My lactose-intolerant friend requests this version often.
Dietary Modifications
- Sugar-Free — Use a sugar substitute like erythritol. Note: the texture will be different, and they might be drier. Use a recipe specifically designed for sugar substitutes for best results.
- Vegan — Replace eggs with flax eggs (3 tbsp ground flax + 9 tbsp water) and butter with coconut oil. They’re still good, but not quite as fudgy as the original.
Serving & Storage
I usually serve these straight from the pan at the dinner table—they look rustic and stay warm. But here are other ways I’ve enjoyed them:
How to Serve
- Classic — Warm brownies with a scoop of vanilla ice cream and a drizzle of chocolate sauce. It’s a dessert night special.
- Simple — Just the brownie with a glass of cold milk. Sometimes simplicity is best.
- With Coffee — Pair with a strong black coffee for an afternoon pick-me-up.
Toppings Bar
When I have guests, I put out: sea salt flakes, whipped cream, caramel sauce, and crushed pistachios. Everyone customizes their square.
Storage Instructions
Room Temperature: Store in an airtight container for up to 4 days. They actually stay moist for days, which is rare for brownies. I usually keep them in my pantry.
Refrigerator: Store for up to 1 week. They’ll firm up in the fridge, so let them sit at room temperature for 10 minutes before eating for the best texture.
Freezer: Wrap individual squares in plastic wrap and store in a freezer bag for up to 3 months. Thaw at room temperature. They freeze beautifully.
Reheating: Microwave for 10-15 seconds to warm them up. Or bake at 350°F for 5 minutes if you want them fresh-from-the-oven style. Never eat them cold from the fridge unless you like hard brownies.
Nutrition Information
I’m not a nutritionist, but here’s the breakdown if you’re tracking.
Per Serving (based on 16 brownies):
- Calories: 220
- Protein: 3g
- Carbs: 32g
- Fiber: 2g
- Sugar: 24g
- Fat: 11g
- Saturated Fat: 6g
- Cholesterol: 35mg
- Sodium: 110mg
What’s Good:
Decent fat content keeps you satisfied. It’s a treat, not a snack.
What to Know:
Higher in sugar and calories because, well, it’s chocolate. It’s not a diet recipe. But it’s way better than store-bought, costs less, and I know exactly what’s in it. When I want to make it lighter, I cut them into smaller squares and pair them with fruit. But usually? I just eat a reasonable portion and enjoy it.
Final Thoughts
So that’s my go-to ultra-fudgy one-bowl brownie! I’ve probably talked your ear off at this point, but when you make a recipe this often, you have a lot to say about it.
This has saved dessert nights more times than I can count. It’s my answer to “what’s for dessert” when I’m tired, don’t want to order takeout, and still want something that tastes really good. My kids are happy, my husband’s happy, and I’m happy because I’m not stressed about baking.
Make it yours! Try different mix-ins, swap in your favorite chocolate, or adjust the baking time to your preference. The best recipes are the ones you adapt to your family’s tastes. And if you want something sweet to go with these, check out my no-bake peanut butter banana energy bites for a lighter snack option, or these make-ahead breakfast muffin cups for a quick morning treat.
If you make this, drop a comment and let me know what you think! I love hearing how recipes turn out in your kitchen. And if something doesn’t work, tell me that too—I’m here to help troubleshoot.
Happy baking! And I hope your kitchen smells half as good as mine does right now.
Frequently Asked Questions
Can I use milk chocolate instead of semi-sweet?
You can, but the brownies will be sweeter and less chocolatey. I recommend using dark chocolate chips (70% cacao) for a richer flavor. Milk chocolate works fine if you like sweet brownies, but you might want to reduce the sugar slightly.
Why did my brownies turn out cakey instead of fudgy?
This usually happens for two reasons: you overmixed the flour, or you baked them too long. Next time, fold the flour gently and pull the brownies out when the toothpick has moist crumbs attached, not clean. Also, make sure you’re using the right amount of flour—pack it too tightly and you’ll get dry brownies.
Can I double this recipe?
Absolutely! Double everything and use a 9×13 inch baking pan. The cooking time will increase to about 30-35 minutes. Check them at 30 minutes. I do this when I’m meal-prepping or feeding a crowd.
Can I make these ahead for a party?
Yes! These actually taste better the next day as the flavors meld. Bake them, cool completely, and store in an airtight container at room temperature for up to 4 days. Or freeze them for up to 3 months. Just thaw at room temperature before serving.
Why did my brownies stick to the pan?
You probably forgot to line the pan with parchment paper. Always line the pan! The parchment makes removal easy and cleanup a breeze. If you don’t have parchment, grease the pan thoroughly with butter or cooking spray, but parchment is much more reliable.
Can I use almond flour instead of all-purpose flour?
You can, but the texture will be different. Almond flour makes brownies denser and more crumbly. I recommend using a 1:1 gluten-free flour blend if you want to go gluten-free, as it mimics all-purpose flour better than almond flour does.
How do I know when they’re done baking?
The toothpick test is key, but for fudgy brownies, you want moist crumbs, not clean. If the toothpick comes out with wet batter, they need more time. If it comes out with dry crumbs, they’re done. If it’s completely clean, you’ve overbaked them. I usually pull mine at 25 minutes for a 9×9 pan.
Pin This Recipe!
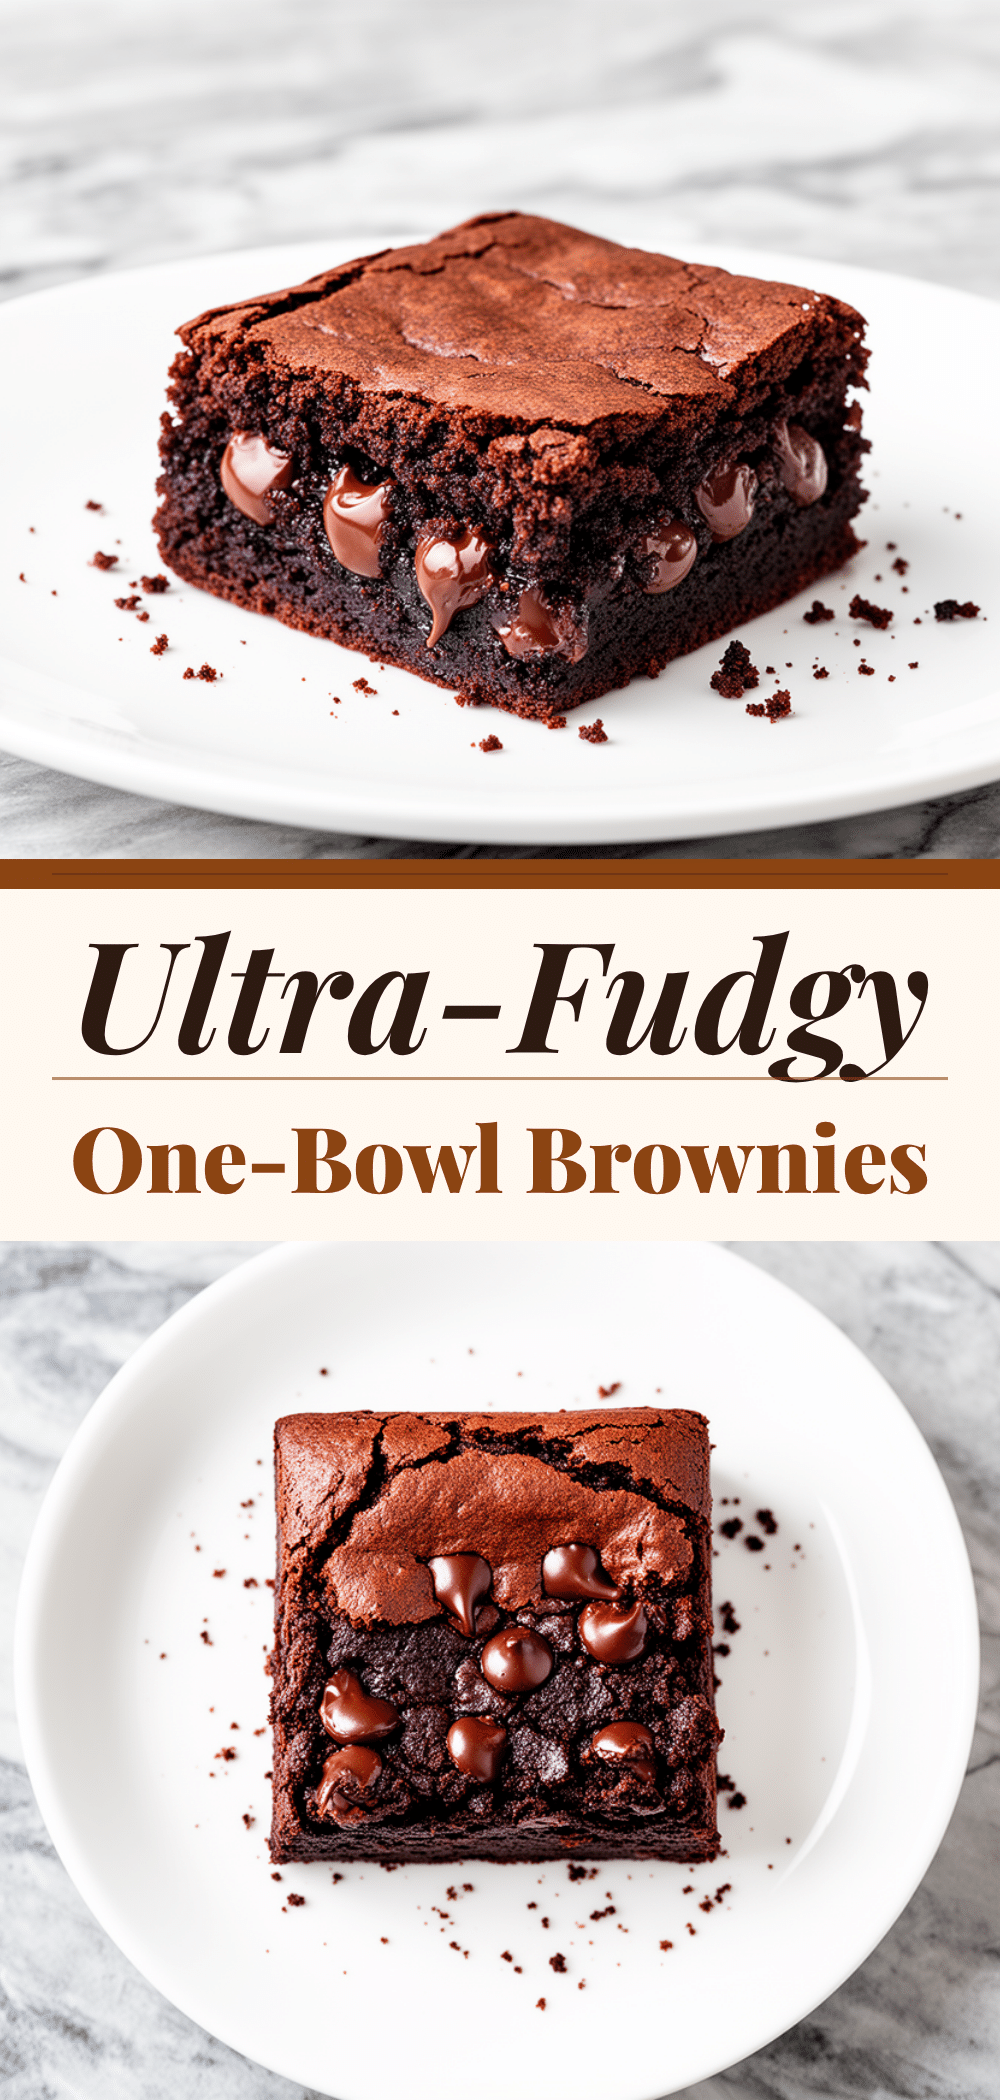
Ultra-Fudgy One-Bowl Brownies: Best Easy Homemade Recipe
- Total Time: 45-50 minutes
- Yield: 16 servings 1x
Description
These ultra-fudgy one-bowl brownies are dense, moist, and incredibly chocolatey. Made with simple pantry ingredients and requiring only one bowl for mixing, they offer bakery-quality results with minimal cleanup and effort.
Ingredients
- 1 cup (225g) unsalted butter
- 1 cup (170g) semi-sweet chocolate chips
- 4 oz (113g) unsweetened baking chocolate, chopped
- 1 ½ cups (300g) granulated sugar
- ½ cup (100g) dark brown sugar, packed
- 3 large eggs, room temperature
- 2 teaspoons vanilla extract
- 1 cup (125g) all-purpose flour
- ⅓ cup (30g) unsweetened cocoa powder
- ½ teaspoon salt
- Optional: 1 cup chopped nuts or extra chocolate chunks
Instructions
- Preheat oven to 350°F (175°C). Line a 9×9 inch baking pan with parchment paper, leaving an overhang on the sides.
- Break baking chocolate into chunks and place in a large microwave-safe bowl with butter. Microwave in 30-second intervals, stirring between each, until smooth (about 1-2 minutes).
- Add granulated sugar and brown sugar to the melted chocolate mixture. Whisk vigorously for 1-2 minutes until the mixture looks thick and paste-like.
- Whisk in eggs one at a time, ensuring each is fully incorporated before adding the next. Add vanilla extract and whisk until the batter is smooth and glossy.
- Add flour, cocoa powder, and salt. Gently fold in with a spatula until the flour just disappears (about 10-12 folds). Do not overmix.
- Stir in any optional mix-ins. Pour batter into the prepared pan and spread evenly.
- Bake for 25-30 minutes. The brownies are done when a toothpick inserted into the center comes out with moist crumbs attached, not completely clean.
- Let brownies cool in the pan for at least 20 minutes before lifting them out using the parchment overhang and cutting into squares.
Notes
For extra fudginess, add an extra egg yolk. Toast nuts before adding for enhanced flavor. Brownies freeze well for up to 3 months. Ensure eggs are at room temperature to prevent chocolate from seizing. Do not overbake to maintain fudgy texture.
- Prep Time: 15 minutes
- Cook Time: 25-30 minutes
- Category: Dessert
- Cuisine: American
Nutrition
- Serving Size: 1 square
- Calories: 220
- Sugar: 24
- Sodium: 110
- Fat: 11
- Saturated Fat: 6
- Carbohydrates: 32
- Fiber: 2
- Protein: 3
Keywords: brownies, fudgy brownies, one-bowl recipe, easy dessert, chocolate brownies, homemade brownies, quick dessert


