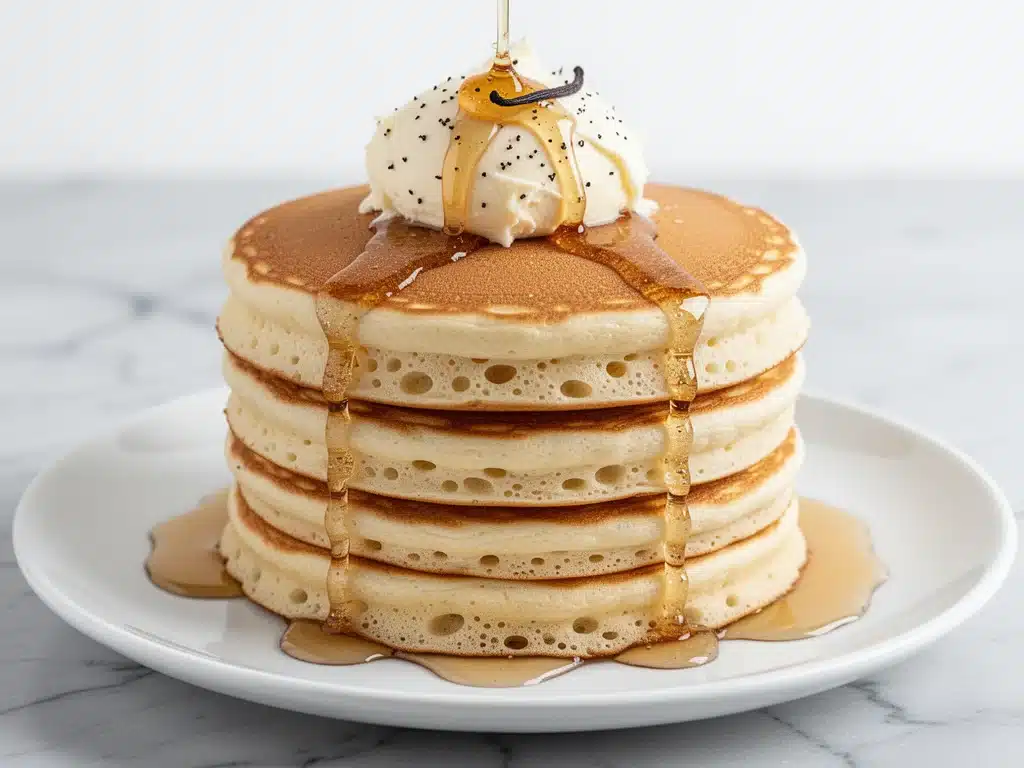
It was 7:30 AM on a rainy Sunday in November, and the house smelled like wet dog and regret. My husband had just announced he was “running out of time” for breakfast, my teenager was glaring at me for waking them up, and I was staring at a stack of pancakes that looked less like clouds and more like rubber disks. I had followed the recipe exactly. I hadn’t rushed. I had even let the batter rest. And yet, they were dense. Soggy. Sad.
I almost gave up. I was about to declare myself a breakfast failure and order takeout when I remembered a tip from a chef friend: don’t mix the batter until the very last second, and use real buttermilk. Not the powder. Not the vinegar hack. Real, tangy, cultured buttermilk.
I threw out the sad stack, grabbed a fresh carton of buttermilk, and whipped up a new batch. This time, I stopped overmixing. I stopped worrying. I just let the chemistry do its work. When I pulled them off the griddle, they weren’t just pancakes. They were pillows. They were golden-brown clouds that jiggled when you poked them. I put a dollop of my whipped vanilla honey butter on top, and it melted into the crevices like liquid gold. My husband came back downstairs, sat down, and said, “Okay, what did you do differently?”
I didn’t tell him it was just patience and good dairy. I just smiled and poured more syrup. That day, I realized that ultra-fluffy buttermilk pancakes aren’t about fancy techniques or expensive equipment. They’re about respecting the ingredients and knowing when to stop stirring. Since then, I’ve made these ultra-fluffy buttermilk pancakes at least once a week. They’ve become our family’s Sunday tradition, our weeknight comfort food, and the only reason my kids actually look forward to mornings. If you’ve ever struggled with flat, dense pancakes, this is the recipe that will change your life. Trust me.
Why You’ll Love This Ultra-Fluffy Buttermilk Pancakes Recipe
There are a lot of pancake recipes out there. I’ve tried them. I’ve failed at them. But this specific combination of ingredients and techniques has earned a permanent spot in my heart (and my weekly rotation). Here’s why these ultra-fluffy buttermilk pancakes are the real deal:
- Actually Fluffy — Not “puffy from too much baking powder” fluffy, but light, airy, and tender. These pancakes hold their shape but melt in your mouth. I’ve made these for my picky eater cousin, and he asked for the recipe before he finished his second plate.
- The Whipped Vanilla Honey Butter — This isn’t just melted butter. It’s creamed butter, honey, and vanilla bean paste whipped until it’s light and spreadable. It’s like buttercream frosting but savory-sweet and perfect for breakfast. It elevates the entire dish. If you like my fall maple brown butter blondies, you’re going to be obsessed with this butter.
- Simple Ingredients — Flour, sugar, baking powder, baking soda, salt, eggs, milk, buttermilk, and butter. You probably have all of this in your kitchen right now. No weird flours or hard-to-find spices.
- Fast and Forgiving — From bowl to plate in 20 minutes. And if you mess up the first one (we all do), the second one is usually perfect. It’s low-stress cooking at its finest.
- Freezer-Friendly — These freeze beautifully. I make a double batch on Sundays, freeze half, and toast them for Tuesday breakfasts. They still taste fresh and fluffy, which is a miracle in my book.
This recipe has saved me from restaurant breakfasts more times than I can count. It’s cozy, it’s indulgent, and it’s surprisingly easy to master once you know the one or two tricks that matter.
Ingredients You’ll Need for Ultra-Fluffy Buttermilk Pancakes
Here’s the best part: you don’t need a specialty store to make these. But there are two ingredients that make or break this recipe: buttermilk and fresh leavening agents. Let’s break down what you need and why.
For the Pancakes
All-purpose flour (2 cups / 250g) — The base. Don’t use self-rising flour unless you adjust the baking powder and salt. I use Gold Medal because it’s consistent and affordable.
Sugar (2 tablespoons / 25g) — Just a little bit. It helps with browning and adds a subtle sweetness without making them taste like cake. If you like sweeter pancakes, bump it up to 3 tablespoons.
Baking powder (2 teaspoons / 8g) — This is your primary lift. Make sure it’s fresh! If it’s older than 6 months, it might not work. Test it by dropping a teaspoon in hot water—it should fizz vigorously.
Baking soda (½ teaspoon / 2g) — This reacts with the buttermilk to create those air bubbles. It’s crucial for the fluffy texture.
Salt (½ teaspoon / 3g) — Enhances flavor. Don’t skip it, even if you’re adding sweet toppings.
Buttermilk (1 ¾ cups / 420ml) — The star of the show. The acidity tenderizes the gluten and reacts with the baking soda. Pro tip: If you don’t have buttermilk, mix 1 ¾ cups milk with 2 tablespoons vinegar or lemon juice. Let it sit for 10 minutes. It’s not the same as cultured buttermilk, but it works in a pinch.
Eggs (2 large, room temperature) — Room temp eggs emulsify better into the batter. Cold eggs can cause the batter to seize up slightly. I take them out of the fridge 30 minutes before I start.
Melted butter (¼ cup / 55g) — Adds richness and flavor. Let it cool slightly before adding so you don’t cook the eggs.
Vanilla extract (1 teaspoon / 5ml) — Enhances the overall flavor profile. I use pure vanilla, not imitation.
For the Whipped Vanilla Honey Butter
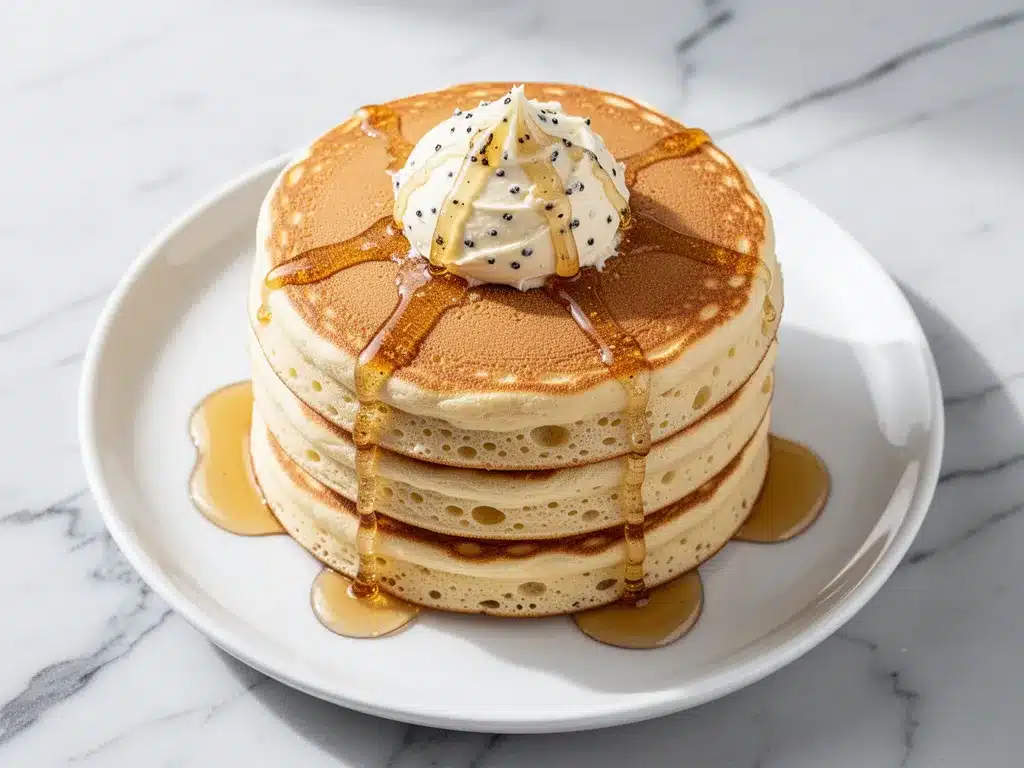
Unsalted butter (½ cup / 115g, softened) — This needs to be soft enough to whip. If it’s too cold, it won’t fluff up. If it’s too melted, it’ll be greasy. Aim for cool room temperature.
Honey (3 tablespoons / 45ml) — Adds floral sweetness and helps stabilize the whipped texture. I use local wildflower honey when I can find it.
Vanilla bean paste (1 teaspoon / 5g) — Or high-quality vanilla extract. Paste gives you those tiny vanilla specks, which look fancy and taste amazing.
Pinch of salt — Balances the sweetness.
Heavy cream (1-2 tablespoons, optional) — If the butter is too stiff, add a splash of cream to help it whip up fluffier. I usually skip this unless my butter was too cold.
Equipment Needed
You don’t need fancy gadgets, but having the right tools makes a huge difference. Here’s what I actually use:
Large mixing bowl — For the dry ingredients. A wide bowl makes whisking easier.
Medium mixing bowl — For the wet ingredients. Keeps things separate until you’re ready to combine.
Whisk — Essential for breaking up lumps in the dry mix and emulsifying the wet ingredients.
Non-stick skillet or griddle — A 12-inch cast iron skillet is my favorite because it holds heat evenly. But a good non-stick electric griddle is perfect for making multiple pancakes at once. I love how even the cooking is with my ultra-fudgy one-bowl chocolate chip cookies pan, and it works the same for pancakes.
Spatula — A flexible silicone spatula is best for flipping without breaking the delicate pancakes.
Ladle or ¼ cup measuring cup — For consistent pancake size. I use a ¼ cup measure because it’s faster than a ladle and more consistent.
Wire rack — To keep cooked pancakes warm while you finish the batch. I stack them on a rack in a 200°F oven. This keeps them crispy on the outside and fluffy on the inside.
How to Make It: Step-by-Step
Alright, let’s make these ultra-fluffy buttermilk pancakes! I’m walking you through exactly how I do it, including the little tricks I’ve picked up over years of Sunday mornings.
Step 1: Whisk the Dry Ingredients (2 minutes)
In a large bowl, whisk together the flour, sugar, baking powder, baking soda, and salt. Make sure you whisk for a full 30 seconds. This distributes the leavening agents evenly, which prevents bitter spots and ensures consistent rising. Set this aside.
Step 2: Mix the Wet Ingredients (2 minutes)
In a medium bowl, whisk the buttermilk, eggs, melted butter, and vanilla extract until smooth. The butter should be cooled but still liquid. If it’s solid chunks, let it sit for a minute. Whisk until everything is well combined and slightly frothy.
Step 3: Combine Gently (1 minute)
Make a well in the center of the dry ingredients. Pour the wet ingredients into the well. Using your whisk or a spatula, gently fold the wet into the dry. Stop mixing as soon as the flour disappears. The batter should be lumpy. Yes, lumpy. Overmixing develops gluten, which makes pancakes tough and dense. I know it looks weird, but trust me. This is the most important step.
Step 4: Heat the Pan (2 minutes)
Heat your skillet or griddle over medium heat. To test if it’s ready, sprinkle a few drops of water on the surface. If they sizzle and evaporate instantly, it’s ready. If they dance around, it’s perfect. If they just sit there, it needs more time. Lightly grease the pan with butter or oil. I use a paper towel dipped in oil to get an even, thin coat.
Step 5: Cook the Pancakes (3-4 minutes per batch)
Pour ¼ cup of batter for each pancake. Don’t crowd the pan—leave space for flipping. Cook until bubbles form on the surface and pop, leaving small holes that don’t immediately fill in. This usually takes 2-3 minutes. The edges should look set and slightly dry.
Step 6: Flip and Finish (1-2 minutes)
Flip carefully. Cook for another 1-2 minutes until golden brown. The second side cooks faster, so keep an eye on it. Transfer to the wire rack in the warm oven while you cook the rest.
Step 7: Make the Whipped Vanilla Honey Butter
While the pancakes cook, whip the softened butter, honey, vanilla, and salt in a small bowl or food processor until light and fluffy. It should look like whipped cream. Spread a generous dollop on top of each hot pancake.
Expert Tips & Tricks for Perfect Pancakes
Here’s everything I’ve learned from making this recipe dozens of times. These tips will save you from my mistakes.
Don’t Overmix
I cannot stress this enough. Lumpy batter = fluffy pancakes. Smooth batter = dense pancakes. If you see streaks of flour, stop. The residual heat and gentle folding will finish the job.
Let the Batter Rest (Optional but Recommended)
If you have time, let the batter sit for 5-10 minutes after mixing. This allows the flour to hydrate and the baking powder to activate. The pancakes will be even fluffier. I usually do this when I’m not in a rush.
Keep the Pan at Medium Heat
If the pan is too hot, the outside burns before the inside cooks. If it’s too low, the pancakes spread too much and don’t rise. Medium is the sweet spot. Adjust as needed based on your stove.
Use a Thermometer (If You’re Serious)
If you want perfect consistency every time, aim for 375°F on your griddle. It sounds technical, but it’s the only way to guarantee no burnt edges.
Keep Them Warm
Use a wire rack in a 200°F oven. Stacking pancakes on a plate makes them steam and get soggy. The rack keeps air circulating so they stay crispy.
Make the Butter Ahead
You can whip the honey butter up to 2 days ahead. Store it in the fridge. Let it come to room temperature before serving. It tastes even better the next day as the flavors meld.
Variations & Substitutions
Once you’ve nailed the basic version, here’s how you can mix it up. I’ve tried all of these.
Blueberry Buttermilk Pancakes
Fold 1 cup of fresh or frozen blueberries into the batter right before cooking. I have a similar version in my fluffy buttermilk blueberry pancakes post if you want to explore that more. The berries burst and create little pockets of flavor.
Chocolate Chip Pancakes
Stir in ½ cup of mini chocolate chips. They melt into gooey pockets. Great for kids.
Gluten-Free Version
Use a 1:1 gluten-free flour blend (like Bob’s Red Mill or King Arthur). The texture is slightly different but still fluffy. Make sure your baking powder is gluten-free.
Dairy-Free Version
Use dairy-free milk (oat or almond works well) and dairy-free butter. The whipped honey butter won’t whip the same way, so you might want to drizzle warm honey over the top instead.
Protein-Packed
Add 1 scoop of vanilla protein powder and an extra ¼ cup of milk. The pancakes will be denser but more filling. Good for post-workout breakfasts.
Serving & Storage
How to Serve
I serve these straight from the skillet at the table, with the whipped vanilla honey butter melting on top. But here are other ways I’ve enjoyed them:
- Classic: Maple syrup and fresh berries.
- Fancy: Whipped cream, sliced bananas, and a dusting of powdered sugar.
- Breakfast Sandwich: Use a large pancake as the bun, add bacon and an egg. It’s like a biscuit sandwich but better.
If you’re looking for other sweet breakfast treats, check out my strawberry cream cheese stuffed French toast for a similar indulgent vibe.
Storage Instructions
Refrigerator: Store cooled pancakes in an airtight container for up to 3 days.
Freezer: This is where these shine. Stack pancakes with parchment paper between them. Freeze in a ziplock bag for up to 3 months. Toast them directly from frozen in a toaster or toaster oven. They come out perfectly fluffy.
Reheating: Never microwave alone—it makes them rubbery. Toast them first, then add a splash of water and microwave for 10 seconds if you need them warm all the way through. Or just eat them cold with the whipped butter. It’s delicious that way too.
Whipped Honey Butter: Stores in the fridge for 1 week. Bring to room temperature before serving. If it separates, just whip it again for a minute.
Nutrition Information
I’m not a nutritionist, but here’s the breakdown if you’re tracking. These are per pancake (makes about 12 medium pancakes), without the butter.
| Nutrient | Amount per Pancake |
|---|---|
| Calories | 180 |
| Protein | 5g |
| Carbs | 28g |
| Fiber | 1g |
| Sugar | 4g |
| Fat | 6g |
| Saturated Fat | 3g |
What’s good: Decent protein from the eggs and milk. The carbs come from whole grain-friendly flour (if you use whole wheat). What to know: It’s comfort food. The whipped honey butter adds about 100 calories and 10g of sugar per dollop. But hey, life’s short. Enjoy it.
Final Thoughts
So that’s my go-to ultra-fluffy buttermilk pancakes recipe! I’ve probably talked your ear off at this point, but when you make a recipe this often, you have a lot to say about it.
This has saved weekend mornings more times than I can count. It’s my answer to “what’s for breakfast” when I want to treat my family but don’t want to spend hours in the kitchen. My kids are happy, my husband is happy, and I’m happy because I’m not stressed about cooking.
Make it yours! Try different add-ins, swap in your favorite fruits, or adjust the sweetness. The best recipes are the ones you adapt to your family’s tastes. And don’t forget that whipped vanilla honey butter—it’s the secret weapon.
If you make this, drop a comment and let me know what you think! I love hearing how recipes turn out in your kitchen. And if something doesn’t work, tell me that too—I’m here to help troubleshoot.
Happy cooking! And I hope your kitchen smells half as good as mine does right now.
Frequently Asked Questions
Q: Can I use milk instead of buttermilk?
A: You can, but the pancakes won’t be as fluffy or tangy. If you must, mix 1 ¾ cups milk with 2 tablespoons vinegar or lemon juice. Let it sit for 10 minutes to curdle. It’s not the same as cultured buttermilk, but it works in a pinch. For the best results, use real buttermilk.
Q: Why are my pancakes dense?
A: Most likely, you overmixed the batter. Stop as soon as the flour disappears. Also, check your baking powder. If it’s old, it won’t leaven properly. And make sure your pan isn’t too hot, which can burn the outside before the inside rises.
Q: Can I make the batter ahead of time?
A: Not really. Once the baking powder and baking soda mix with the wet ingredients, they start reacting. If you let the batter sit too long, the bubbles escape and the pancakes lose their lift. Best to mix and cook immediately. If you’re meal prepping, mix the dry and wet ingredients separately and combine right before cooking.
Q: How do I keep pancakes warm while I cook the rest?
A: Use a wire rack set on a baking sheet in a 200°F oven. This keeps air circulating so they don’t get soggy. Stacking them on a plate traps steam and makes them limp.
Q: Can I freeze the whipped vanilla honey butter?
A: It’s not recommended. The texture can become grainy when thawed. It’s best made fresh or stored in the fridge for up to a week. If you need to make it ahead, whip it the night before and let it sit in the fridge.
Q: What’s the best way to flip pancakes?
A: Wait until you see bubbles form on the surface and pop, leaving holes that don’t fill in. The edges should look set. Slide your spatula underneath gently and flip in one confident motion. If you hesitate, they might break. Practice makes perfect!
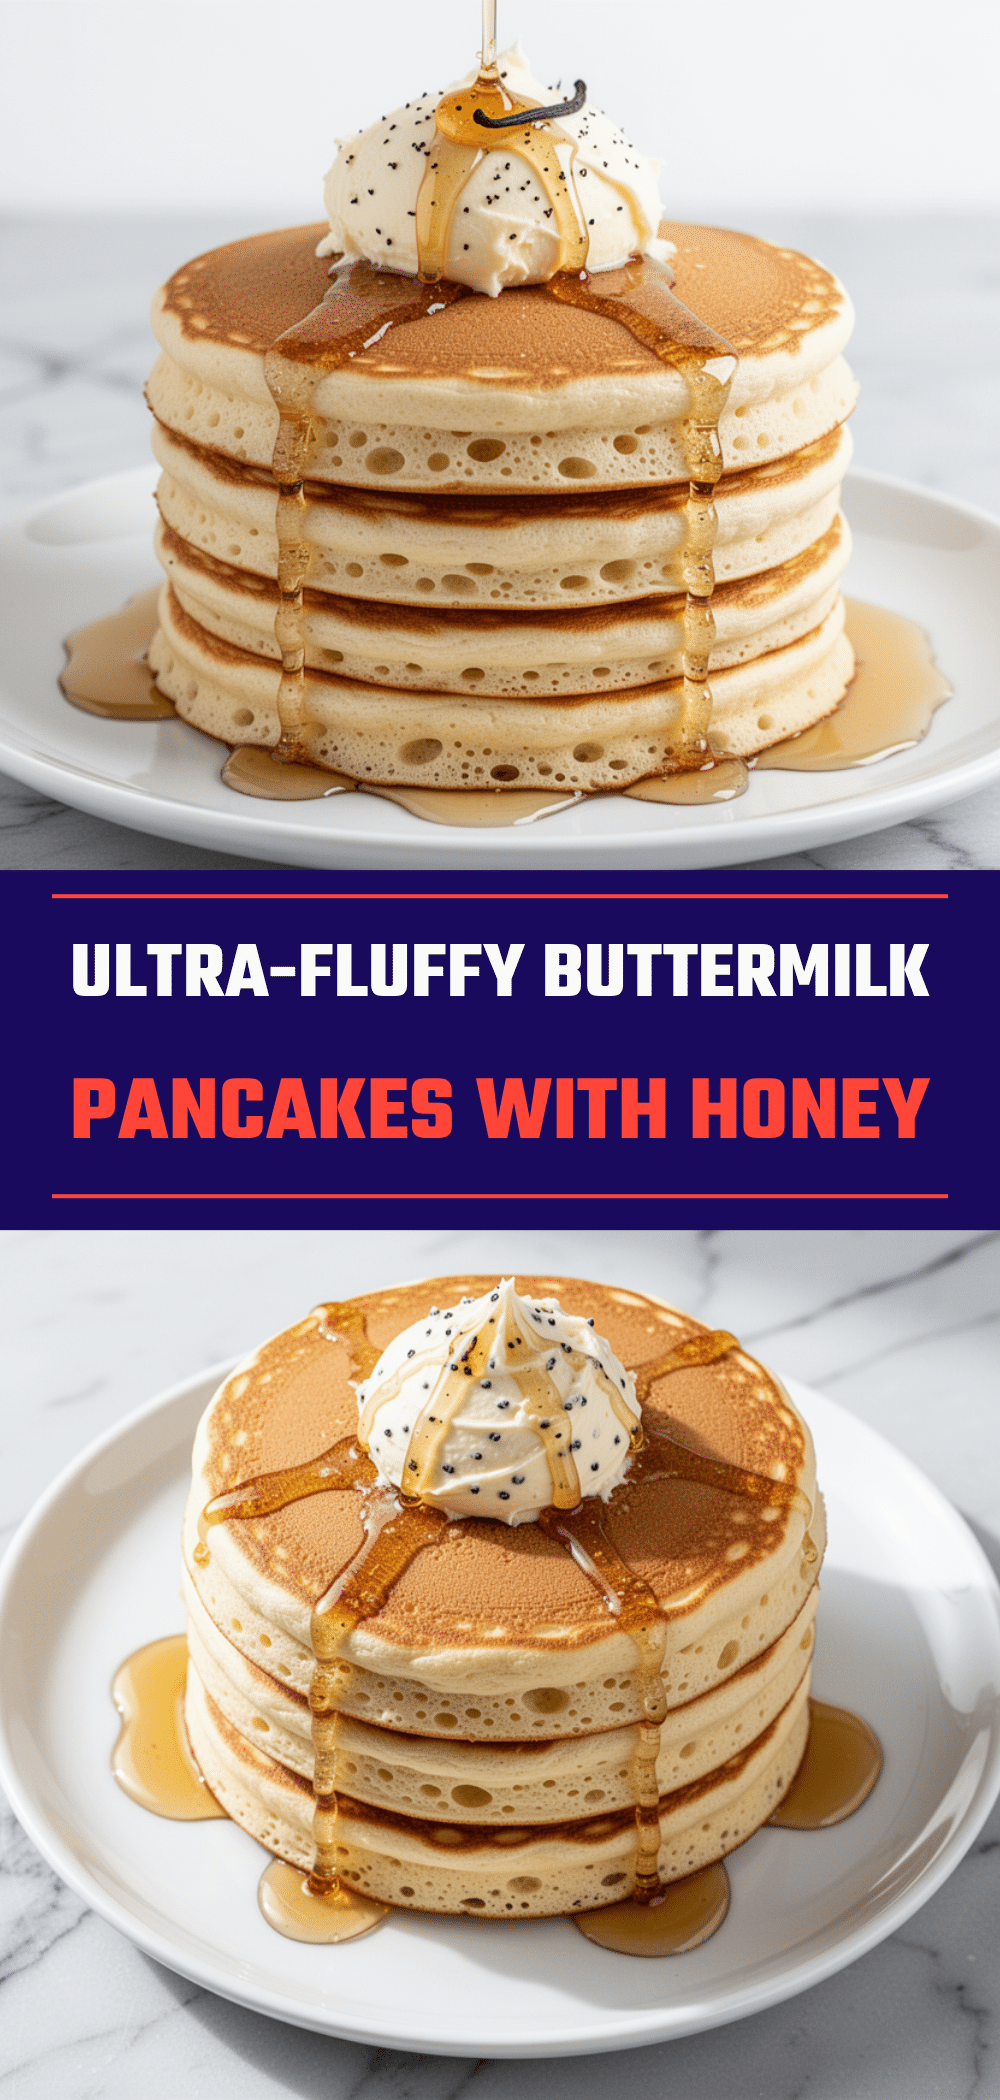
Pin This Recipe!
Ultra-Fluffy Buttermilk Pancakes
- Total Time: 20 minutes
- Yield: 12 servings 1x
Description
Light, airy, and tender pancakes made with real buttermilk and a simple technique to avoid overmixing. Served with whipped vanilla honey butter for a cozy breakfast tradition.
Ingredients
- 2 cups (250g) all-purpose flour
- 2 tablespoons (25g) sugar
- 2 teaspoons (8g) baking powder
- ½ teaspoon (2g) baking soda
- ½ teaspoon (3g) salt
- 1 ¾ cups (420ml) buttermilk
- 2 large eggs, room temperature
- ¼ cup (55g) melted butter, cooled slightly
- 1 teaspoon (5ml) vanilla extract
- ½ cup (115g) unsalted butter, softened (for whipped butter)
- 3 tablespoons (45ml) honey (for whipped butter)
- 1 teaspoon (5g) vanilla bean paste (for whipped butter)
- Pinch of salt (for whipped butter)
- 1–2 tablespoons heavy cream, optional (for whipped butter)
Instructions
- Whisk together the flour, sugar, baking powder, baking soda, and salt in a large bowl for 30 seconds to distribute leavening agents evenly.
- In a medium bowl, whisk the buttermilk, eggs, melted butter, and vanilla extract until smooth and slightly frothy.
- Make a well in the dry ingredients and pour in the wet ingredients. Gently fold them together until the flour just disappears; the batter should remain lumpy. Do not overmix.
- Heat a non-stick skillet or griddle over medium heat. Test readiness by sprinkling water; it should sizzle and evaporate. Lightly grease with butter or oil.
- Pour ¼ cup of batter per pancake onto the skillet. Cook for 2-3 minutes until bubbles form on the surface and pop, leaving small holes.
- Flip carefully and cook for another 1-2 minutes until golden brown. Transfer cooked pancakes to a wire rack in a 200°F oven to keep warm.
- While pancakes cook, whip the softened butter, honey, vanilla bean paste, and pinch of salt until light and fluffy. Spread generously on hot pancakes.
Notes
Do not overmix the batter; lumpy batter results in fluffy pancakes. Let the batter rest for 5-10 minutes if time permits for extra fluffiness. Keep cooked pancakes warm on a wire rack in a 200°F oven to prevent sogginess. The whipped vanilla honey butter can be made up to 2 days ahead and stored in the fridge.
- Prep Time: 10 minutes
- Cook Time: 10 minutes
- Category: Breakfast
- Cuisine: American
Nutrition
- Serving Size: 1 medium pancake wit
- Calories: 180
- Sugar: 4
- Sodium: 3
- Fat: 6
- Saturated Fat: 3
- Carbohydrates: 28
- Fiber: 1
- Protein: 5
Keywords: buttermilk pancakes, fluffy pancakes, breakfast recipe, whipped vanilla honey butter, easy pancakes, family breakfast


