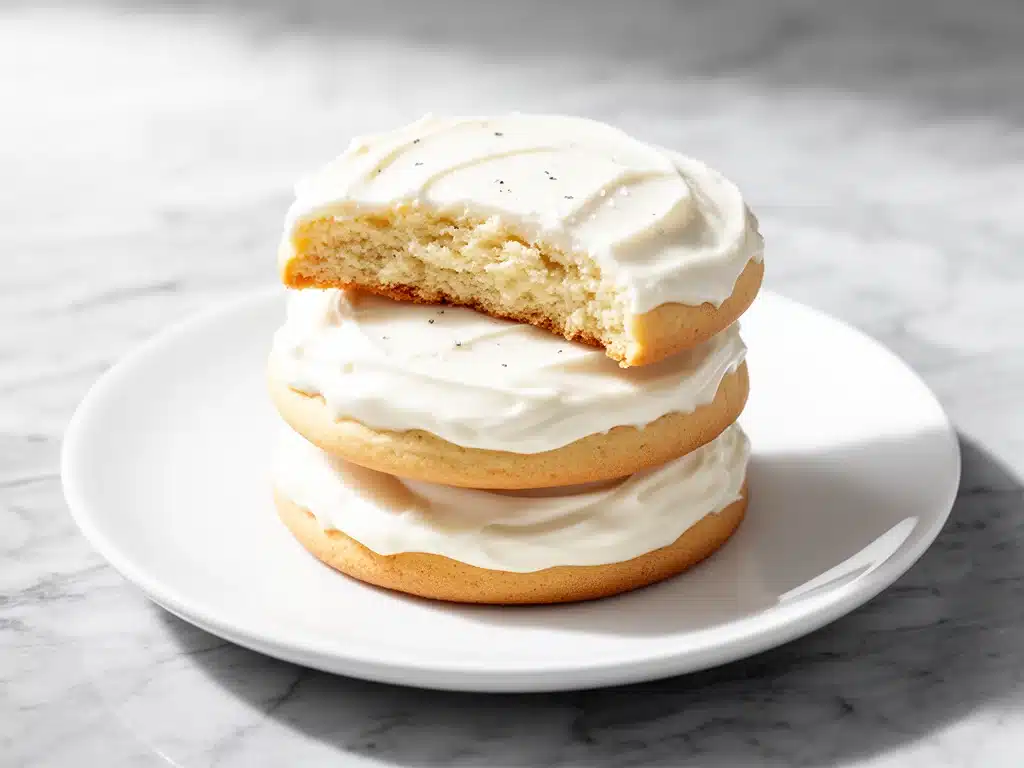
Last Thanksgiving, my aunt Linda showed up to the family gathering with a Tupperware container of cookies that looked suspiciously perfect. They were tall, slightly domed, covered in a thick layer of vanilla frosting that seemed to glow under the kitchen lights, and they had that distinct “bakery style” size that made them feel like a treat rather than a snack. I took one bite and immediately stopped talking. You know that feeling? Where you’re so focused on the texture that you forget everyone else is in the room? These cookies were soft, chewy in the center, and crisp on the edges, with a buttery vanilla flavor that hit you before you even tasted the sugar.
I asked for the recipe. She smiled that mysterious smile and said, “I just use extra egg yolk and chill the dough.” I went home and tried to replicate it. And failed. Repeatedly. My first batch was flat, greasy disks that spread into oblivion. My second batch was hard as rocks because I over-baked them. My third batch tasted like cardboard because I used margarine. It was embarrassing, really, because I considered myself a decent baker. But these Soft Frosted Bakery Style Sugar Cookies were proving to be a stubborn little beast.
After months of trial and error—burning more butter than I’d like to admit—I finally cracked the code. It wasn’t just about the egg yolk (though that helps with the chew). It was about the ratio of brown sugar to white sugar, the type of flour, and most importantly, the chilling time. And the frosting? That’s a whole other story involving a bit of cornstarch to keep it from melting into a puddle. But I’m getting ahead of myself.
These Soft Frosted Bakery Style Sugar Cookies are now my go-to for every holiday, birthday, and “I need to impress my neighbor” occasion. They’re the kind of cookies that disappear within twenty minutes of being placed on the counter. No leftovers. No second thoughts. Just pure, buttery, frosted happiness. If you’ve ever wanted to recreate those big, soft cookies from your favorite local bakery, you’re in the right place. I’ve tested this recipe over a dozen times to ensure it works every single time, so you can stop guessing and start baking.
Why You’ll Love This Recipe
There are plenty of sugar cookie recipes out there. Some are crisp and snap when you break them. Some are thin and delicate. But this Soft Frosted Bakery Style Sugar Cookies recipe hits a very specific sweet spot that makes it addictive. Here’s why I keep coming back to it:
- Actually Soft and Chewy — I’m not talking about “soft” like “undercooked dough.” I mean tender, pillowy, and chewy in the center, with just a hint of crispness on the edges. The extra egg yolk is the secret weapon here. It adds fat without adding extra liquid, which keeps the cookies moist and dense in the best way possible.
- Bakery-Style Size — Most recipes make tiny, bite-sized cookies. This one makes big, impressive cookies that feel like a real dessert. They’re perfect for sharing (if you can share) or for treating yourself to a proper cookie experience.
- Frosting That Stays Put — One of the biggest complaints about homemade sugar cookies is that the frosting melts or slides off. This vanilla buttercream is thickened with a touch of cornstarch, so it sets up firm but stays creamy. It doesn’t run. It doesn’t crack. It just sits there looking gorgeous.
- Simple Ingredients — You don’t need fancy extracts or hard-to-find items. Just butter, sugar, flour, eggs, and vanilla. If you can make a basic cake mix, you can make this. Seriously. I’ve made these for my friends who claim they “can’t bake,” and they’ve all asked for the recipe within an hour.
- Great for Making Ahead — Unlike some delicate pastries, these cookies hold up well. You can bake them a day ahead and frost them just before serving. Or, you can freeze the unfrosted cookies and bake them fresh when you need them. This is super handy if you’re planning for a party, similar to how I plan my make-ahead breakfast muffin cups for busy mornings.
Real talk: baking these feels rewarding. There’s something satisfying about scooping big mounds of dough, watching them puff up in the oven, and then covering them in that thick, sweet frosting. They’re not just cookies; they’re a mood booster. And unlike my no-bake peanut butter banana energy bites, which are great for a quick snack, these are the ones you save for when you really want to indulge.
Ingredients You’ll Need
Here’s the thing about baking: measurements matter. But let’s talk about what each ingredient actually does, so you understand the science a bit. This isn’t just a list; it’s your roadmap to success.
For the Cookies
Unsalted Butter (1 cup / 226g, softened) — This is the base. You want it softened to room temperature, but not melted. If it’s melted, your cookies will spread too much. If it’s too cold, they won’t mix properly. I usually take it out of the fridge about an hour before I start. If you’re in a hurry, you can microwave it in 5-second bursts, but watch it closely.
Granulated White Sugar (1 cup / 200g) — This provides structure and helps create those crisp edges. Don’t skip this for all brown sugar; you need the white sugar for that classic sugar cookie texture.
Packed Brown Sugar (1 cup / 220g, light or dark) — This is what gives the cookies their chewiness and moisture. The molasses in the brown sugar keeps them soft. I prefer light brown sugar for a milder flavor, but dark brown will give you a deeper, caramel-like taste.
Large Egg (1 whole egg) — This binds everything together. Standard large egg. Don’t go small or jumbo unless you adjust slightly.
Egg Yolk (1 extra yolk) — This is the secret ingredient I mentioned earlier. It adds richness and tenderness without making the cookies cakey. It’s what gives them that bakery-style chew.
Vanilla Extract (2 teaspoons) — Use real vanilla, not imitation. The flavor difference is huge in a sugar cookie where vanilla is the star. I use pure vanilla bean paste sometimes for a speckled look, but regular extract works perfectly fine.
All-Purpose Flour (2 ¾ cups / 340g) — Don’t use cake flour or bread flour. All-purpose is the sweet spot. Measure it correctly! Spoon it into the measuring cup and level it off. Don’t scoop directly from the bag, or you’ll pack in too much flour and end up with dry cookies.
Baking Powder (1 teaspoon) — Helps the cookies rise slightly. Don’t use baking soda; it will make them spread and taste metallic.
Salt (½ teaspoon) — Essential for balancing the sweetness. It enhances the vanilla flavor. Don’t skip it.
For the Vanilla Buttercream Frosting
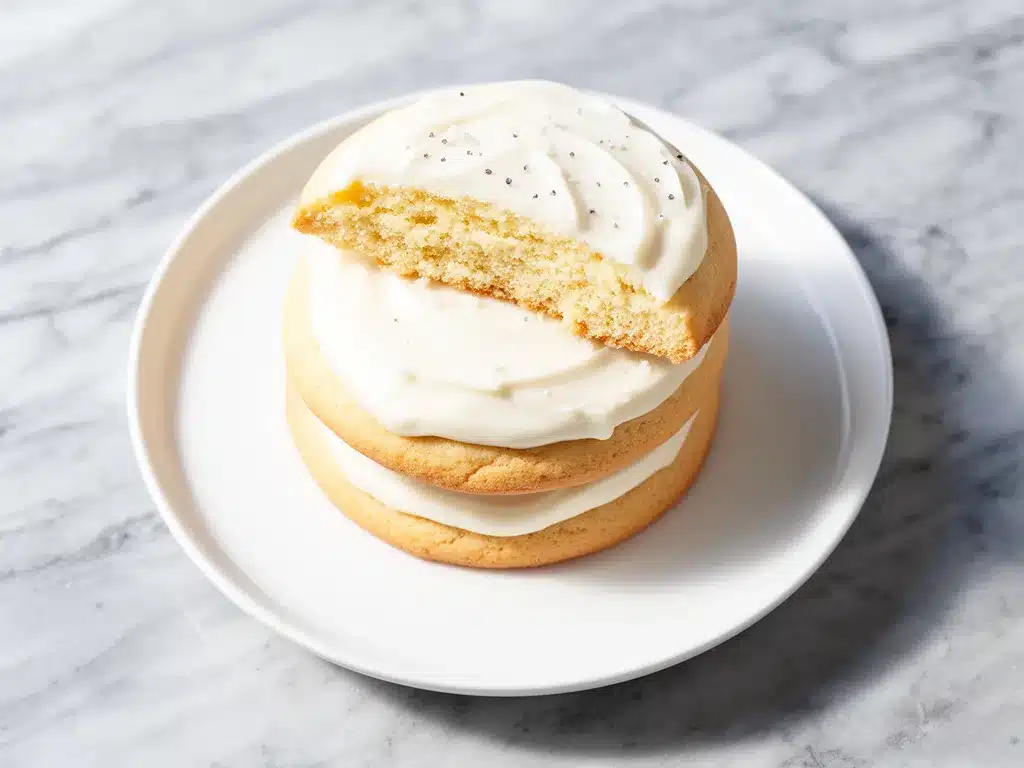
Unsalted Butter (½ cup / 113g, softened) — Same rule as above. Softened, not melted.
Confectioners’ Sugar (4 cups / 480g, sifted) — Sifting is non-negotiable. You don’t want lumps in your frosting. If you’re impatient, whisk it vigorously, but sifting is safer.
Heavy Cream (2-3 tablespoons) — Adjust for consistency. More cream = thinner frosting. Less cream = thicker frosting. I usually start with 2 tablespoons and add more if needed.
Vanilla Extract (1 teaspoon) — Again, real vanilla.
Cornstarch (1 teaspoon) — This is the trick to keeping the frosting from melting. It helps it set up a bit firmer, which is perfect for those thick bakery-style layers.
Pinch of Salt — Just a pinch to cut the sweetness.
Equipment Needed
You don’t need fancy gadgets for this. Here’s what I actually use in my kitchen:
Mixing Bowls — One large bowl for the cookie dough and one medium bowl for the frosting. I use stainless steel because they’re durable and easy to clean.
Electric Mixer — A hand mixer works fine, but a stand mixer is easier. I have a KitchenAid, but any mixer will do. Mixing by hand is possible but takes effort and arm strength.
Cooling Rack — Essential for cooling the cookies completely before frosting. If you frost warm cookies, the frosting will melt. I have a few wire racks that stack nicely.
Parchment Paper — Line your baking sheets. This prevents sticking and makes cleanup a breeze. I don’t use silicone mats for this because I like the slight browning that parchment allows.
Cookie Scoop — A 2-tablespoon scoop ensures uniform size. Uniform size means even baking. If you scoop by hand, try to make them all roughly the same size.
Spatula — For scraping down the sides of the bowl and folding in the flour.
Piping Bag or Ziploc Bag — For applying the frosting. I just cut a corner off a Ziploc bag for a simple, rustic look. Or you can use an offset spatula for a smooth finish.
How to Make It: Step-by-Step
Alright, let’s get baking! I’m walking you through exactly how I do it, including the little tricks I’ve picked up over the years.
Step 1: Prep Your Kitchen (5 minutes)
Preheat your oven to 350°F (175°C). Line two large baking sheets with parchment paper. Have all your ingredients measured and ready. This is called “mise en place,” and it makes the process so much less stressful. I usually mix the dry ingredients (flour, baking powder, salt) in a small bowl and set it aside.
Step 2: Cream the Butter and Sugars (3-4 minutes)
In a large bowl, beat the softened butter, granulated sugar, and brown sugar together on medium-high speed. This is the most important step. Beat it for about 3-4 minutes until it’s light, fluffy, and pale in color. This incorporates air, which helps the cookies rise. Don’t rush this. If you don’t cream it well, your cookies will be dense.
Step 3: Add Wet Ingredients (1 minute)
Add the whole egg, extra egg yolk, and vanilla extract. Mix on medium speed until just combined. Scrape down the sides of the bowl with a spatula to make sure everything is incorporated. The mixture might look a bit curdled at first; that’s okay.
Step 4: Mix in Dry Ingredients (2 minutes)
Gradually add the flour mixture to the wet ingredients, mixing on low speed. Stop mixing as soon as the flour disappears. Overmixing at this stage develops gluten, which makes cookies tough. You want them tender, not chewy like bread. The dough will be thick and slightly sticky.
Step 5: Chill the Dough (30 minutes)
This is the step most people skip, but please don’t. Cover the bowl with plastic wrap and refrigerate for at least 30 minutes. Chilling the dough prevents the cookies from spreading too much in the oven. It also allows the flavors to meld. If you’re short on time, 20 minutes is the bare minimum, but 30 is better.
Step 6: Scoop and Bake (12-14 minutes)
Once the dough is chilled, scoop 2-tablespoon portions onto the prepared baking sheets, spacing them about 2 inches apart. They will spread, so give them room. Bake for 12-14 minutes. The edges should be just starting to turn golden, but the centers should still look soft and slightly underdone. They will firm up as they cool. Do not overbake!
Step 7: Cool Completely (30 minutes)
Let the cookies sit on the baking sheet for 5 minutes, then transfer them to a cooling rack. Let them cool completely to room temperature. This is crucial. If you try to frost them while they’re even slightly warm, the frosting will melt and slide off. Patience pays off here.
Step 8: Make the Frosting (10 minutes)
While the cookies cool, make the frosting. Beat the softened butter until creamy. Add the sifted confectioners’ sugar, one cup at a time, mixing on low. Add the vanilla, cornstarch, salt, and heavy cream. Beat on high speed for 2-3 minutes until fluffy and smooth. If it’s too thick, add another tablespoon of cream. If it’s too thin, add a bit more sugar.
Step 9: Frost and Serve
Once the cookies are completely cool, frost them. I like to pipe a big dollop on top and spread it thickly. Or, just spoon it on and use a spatula to create swirls. The thicker the frosting, the more bakery-like they look. Enjoy immediately, or store in an airtight container.
Expert Tips & Tricks
Here’s everything I’ve learned from making these dozens of times. These tips will save you from my mistakes.
Don’t Skip the Chill
I know it’s tempting to bake right away, but chilled dough yields thicker, chewier cookies. Warm dough spreads too fast, and you end up with thin, crisp cookies instead of soft, bakery-style ones. If you forget to chill, put the scoop dough in the freezer for 15 minutes.
Measure Flour Correctly
This is the #1 reason cookies turn out dry. Spoon the flour into your measuring cup and level it off with a knife. Never scoop directly from the bag. If you scoop, you pack the flour down, and you’ll end up using too much. Too much flour = dry, crumbly cookies.
Use an Oven Thermometer
Ovens are often inaccurate. I have a cheap oven thermometer hanging inside mine, and it’s saved me from over-baking countless times. If your oven runs hot, your cookies will burn on the bottom before they cook through. Adjust accordingly.
Frost Only When Cool
I cannot stress this enough. Warm cookies + frosting = mess. Let them cool completely. I usually bake them in the morning and frost them in the evening, or bake them the day before.
Thick Frosting is Key
For that bakery look, you want a thick layer of frosting. Don’t be shy with the sugar. If your frosting is too thin, it will drip off the sides. Add more powdered sugar if needed.
Variations & Substitutions
Once you’ve nailed the basic version, here’s how you can mix it up. I’ve tried all of these.
Lemon Sugar Cookies
Add the zest of one lemon to the dough. Swap the vanilla extract in the frosting for lemon extract. It’s bright, tangy, and perfect for spring.
Chocolate Chip Variation
Add 1 cup of semi-sweet chocolate chips to the dough after mixing in the flour. It’s like a sugar cookie meets a chocolate chip cookie. Delicious.
Gluten-Free
Use a 1-to-1 gluten-free flour blend. Make sure it contains xanthan gum, or add ½ teaspoon. The texture might be slightly different, but they’ll still be good.
Dairy-Free
Use dairy-free butter alternatives for both the cookies and the frosting. The frosting might be slightly softer, so chill it before frosting.
Mini Cookies
Scoop smaller portions for bite-sized treats. Reduce baking time to 8-10 minutes.
Serving & Storage
How to Serve:
I serve these at room temperature. They’re best enjoyed with a glass of milk or a cup of coffee. They’re perfect for holiday parties, baby showers, or just a Tuesday afternoon treat.
Storage:
Store in an airtight container at room temperature for up to 5 days. Place parchment paper between layers to prevent sticking. If your kitchen is hot, you might need to refrigerate them, but let them come to room temperature before eating for the best texture.
Freezing:
You can freeze the unfrosted cookies for up to 3 months. Thaw at room temperature before frosting. You can also freeze frosted cookies, but place them in a single layer in the freezer first to set the frosting, then stack them with parchment paper. Thaw in the fridge overnight.
Reheating:
If you want them warm, microwave for 10-15 seconds. They’ll be soft and gooey. But honestly, they’re best at room temperature.
Nutrition Information
I’m not a nutritionist, but here’s the breakdown if you’re tracking. This is per cookie (makes about 24 cookies).
- Calories: 280
- Protein: 3g
- Carbs: 38g
- Fiber: 0.5g
- Sugar: 24g
- Fat: 14g
- Saturated Fat: 8g
- Cholesterol: 45mg
- Sodium: 180mg
Look, these are sugar cookies with a thick layer of buttercream frosting. They’re not a health food. They’re a treat. Enjoy them in moderation, or share them with friends so you don’t eat the whole batch in one sitting (though I won’t judge you).
Final Thoughts
So that’s my recipe for Soft Frosted Bakery Style Sugar Cookies! I’ve talked your ear off, but when you make a recipe this often, you have a lot to say about it. These cookies have saved me from store-bought disappointment time and again. They’re my answer to “I need to bring something impressive to the party” or “I want to treat my kids.” My family loves them, my friends ask for them, and I’m proud of them.
Make them your own! Try different extracts, add sprinkles, or change the frosting color. The best recipes are the ones you adapt to your tastes. If you make these, drop a comment and let me know how they turned out! I love hearing from readers. And if something doesn’t work, tell me—I’m here to help.
Happy baking! I hope your kitchen smells as good as mine does right now.
Frequently Asked Questions
Why did my cookies spread too much?
This usually happens if the butter was too warm or melted when you mixed it. Make sure your butter is softened, not liquid. Also, if you didn’t chill the dough, the cookies will spread. Chill them for at least 30 minutes before baking.
Can I use margarine instead of butter?
You can, but the flavor and texture won’t be the same. Butter has a higher fat content and less water than most margarines, which affects how the cookies spread and taste. For the best results, use real butter.
How do I keep the frosting from melting?
The cornstarch in the frosting helps it set. Also, make sure the cookies are completely cool before frosting. If your kitchen is very hot, you might need to refrigerate the frosted cookies for 15 minutes to set the frosting.
Can I make the dough ahead?
Yes! You can refrigerate the dough for up to 3 days or freeze it for up to 3 months. If freezing, thaw in the fridge overnight before scooping and baking.
Why are my cookies hard?
This usually means they’re overbaked. Sugar cookies continue to cook on the hot baking sheet after you take them out of the oven. Take them out when the edges are just starting to turn golden, and let them cool on the sheet. They’ll firm up as they cool.
Can I substitute the egg yolk?
You can use two whole eggs instead of one whole egg and one yolk, but the cookies will be slightly less chewy and more cake-like. The extra yolk is what gives them that tender, bakery-style texture.
Pin This Recipe!
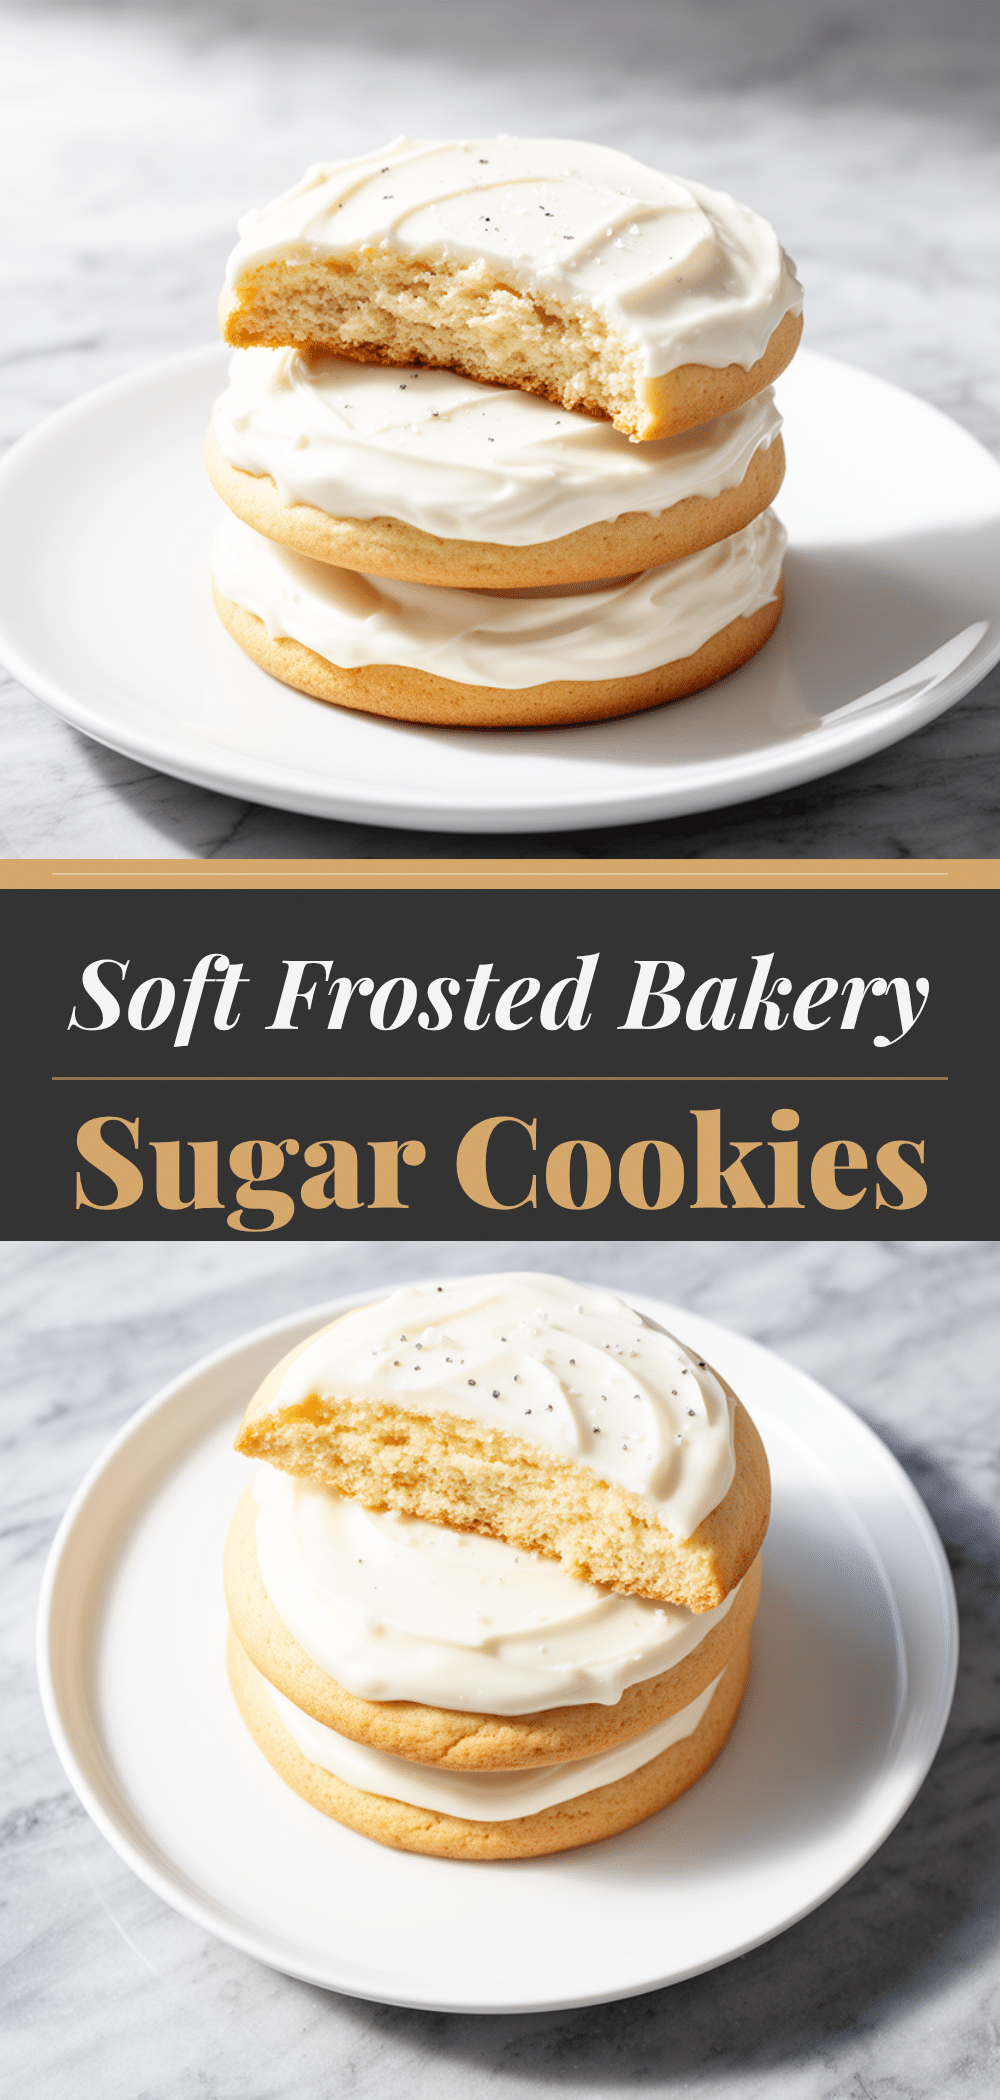

Soft Frosted Bakery Style Sugar Cookies
- Total Time: 45 minutes
- Yield: 24 cookies 1x
Description
Soft, chewy, bakery-style sugar cookies with a thick layer of vanilla buttercream frosting. These cookies are tender in the center, crisp on the edges, and require chilling the dough for the perfect texture.
Ingredients
- 1 cup (226g) unsalted butter, softened to room temperature
- 1 cup (200g) granulated white sugar
- 1 cup (220g) packed brown sugar (light or dark)
- 1 large egg
- 1 extra egg yolk
- 2 teaspoons vanilla extract
- 2 ¾ cups (340g) all-purpose flour
- 1 teaspoon baking powder
- ½ teaspoon salt
- ½ cup (113g) unsalted butter, softened (for frosting)
- 4 cups (480g) confectioners’ sugar, sifted (for frosting)
- 2–3 tablespoons heavy cream (for frosting)
- 1 teaspoon vanilla extract (for frosting)
- 1 teaspoon cornstarch (for frosting)
- Pinch of salt (for frosting)
Instructions
- Preheat oven to 350°F (175°C). Line two large baking sheets with parchment paper.
- In a large bowl, beat the softened butter, granulated sugar, and brown sugar on medium-high speed for 3-4 minutes until light, fluffy, and pale.
- Add the whole egg, extra egg yolk, and vanilla extract. Mix on medium speed until just combined, scraping down the sides of the bowl.
- Gradually add the flour, baking powder, and salt mixture to the wet ingredients on low speed. Mix only until the flour disappears to avoid tough cookies.
- Cover the dough and refrigerate for at least 30 minutes to prevent spreading.
- Scoop 2-tablespoon portions of dough onto the prepared baking sheets, spacing them 2 inches apart.
- Bake for 12-14 minutes until edges are just starting to turn golden but centers still look soft.
- Let cookies sit on the baking sheet for 5 minutes, then transfer to a cooling rack to cool completely.
- While cookies cool, beat the frosting butter until creamy. Add confectioners’ sugar one cup at a time on low speed.
- Add vanilla, cornstarch, salt, and heavy cream. Beat on high speed for 2-3 minutes until fluffy and smooth.
- Frost the completely cooled cookies with a thick layer of frosting and serve.
Notes
Do not skip the chilling step; it prevents spreading and ensures a chewy texture. Measure flour by spooning it into the cup and leveling it off, rather than scooping directly from the bag, to avoid dry cookies. Ensure cookies are completely cool before frosting to prevent the frosting from melting. For best results, use real butter and real vanilla extract.
- Prep Time: 5 minutes
- Cook Time: 12-14 minutes
- Category: Dessert
- Cuisine: American
Nutrition
- Serving Size: 1 cookie
- Calories: 280
- Sugar: 24
- Sodium: 180
- Fat: 14
- Saturated Fat: 8
- Carbohydrates: 38
- Fiber: 0.5
- Protein: 3
Keywords: sugar cookies, bakery style cookies, soft cookies, vanilla frosting, homemade cookies, holiday cookies, easy baking recipe


