Last November, I was standing in my kitchen at 11 PM, staring at a empty baking sheet and a clock that was ticking louder than it should have. My family was due in an hour. I had made the turkey, the mashed potatoes, and the stuffing, but the oven was still hot from the potatoes, and I had zero motivation to turn it on again for a dessert. Plus, I was terrified of burning another pie crust like I did in 2019.
That’s when I remembered a trick I’d learned from a friend who always brings the best desserts to parties. No baking. No oven. Just pure, creamy, spiced perfection. I grabbed some cream cheese, pumpkin puree, and a package of gingersnaps I had sitting in the pantry from Halloween. I whipped up the filling while the turkey rested and pressed the crust while I set the table.
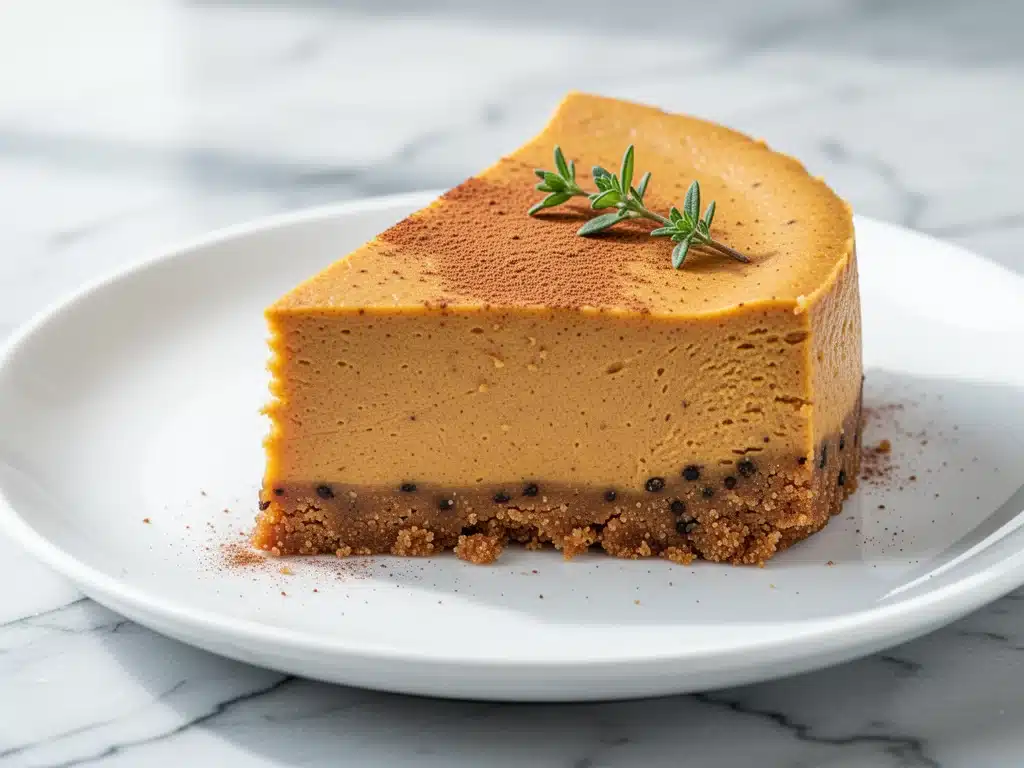
When I pulled these No-Bake Fall Pumpkin Cheesecake Bars out of the fridge, the room went quiet. Not the “it’s getting cold” kind of quiet, but the “please don’t stop eating this” kind of quiet. My dad, who usually sticks to black coffee after dinner, asked for a second slice. My niece, who claims she doesn’t like “healthy” desserts, cleaned her plate.
Since then, I’ve made these bars at least six times—sometimes for holidays, sometimes just because I need a pick-me-up on a Tuesday. They’ve become my secret weapon for impressing guests without spending hours in the kitchen. If you’re looking for a dessert that tastes like autumn in a bite but takes less time than a creamy coffee protein shake, you’re in the right place.
Why You’ll Love This No-Bake Pumpkin Cheesecake
I know, I know. “Another pumpkin dessert?” But hear me out. These bars are different because they solve the three biggest problems with traditional pumpkin cheesecake: the cracking, the over-baking, and the cleanup.
Here’s why these have earned a permanent spot in my rotation:
Zero Oven Heat — Seriously. The kitchen stays cool, which is huge in November when you’re trying to keep the rest of the house warm. I love that I can make these while I’m finishing up savory dishes. No juggling oven racks. No guessing if the center is set.
The Gingersnap Crust is the Star — Most no-bake crusts are just crushed Oreos or plain Graham crackers. Boring. Using gingersnaps adds this warm, spicy kick that cuts through the sweetness of the pumpkin perfectly. It’s the kind of crunch that makes you sit up and pay attention.
20 Minutes of Active Time — I’m not kidding. The prep takes about 20 minutes. The rest is just chilling time. If you can chop a few cookies and whisk a bowl of cream cheese, you can make this. I’ve made this while watching TV. I’ve made this while my kids were doing homework. It’s that easy.
Make-Ahead Friendly — These bars actually taste better the next day. The flavors meld together overnight, and the texture firms up into something incredibly sliceable. I usually make these the night before a party, so when guests arrive, they’re just waiting to be served.
Lighter Than Traditional Cheesecake — Because there’s no baked egg base, these feel lighter on the stomach. You can eat two slices and still have room for coffee. It’s indulgent without being heavy. Perfect for a fall gathering where everyone is already stuffed from dinner.
This is my go-to when I want to look like a professional baker but actually want to enjoy the party. No stress, no smoke alarms, just delicious, spiced pumpkin perfection.
Ingredients You’ll Need
Here’s the best part: you probably have most of this already, or it’s something you grab on every fall grocery trip. I’m particular about three things here, and I’ll tell you exactly why they matter.
For the Gingersnap Crust
Gingersnap cookies (2 cups / about 240g crushed) — I use the standard supermarket brand (like Nilla or store brand) because they’re sweet and spicy. Don’t use “ginger snaps” that are super dry and hard; they need to crush easily. If you can’t find them, shortbread cookies work but lack that spice kick.
Unsalted butter (6 tablespoons / 85g, melted) — This binds the crumbs. Use real butter, not margarine. Margarine doesn’t bind as well and can make the crust greasy. I melt mine in the microwave in 15-second bursts.
Granulated sugar (2 tablespoons / 25g) — Even though the cookies are sweet, a little extra sugar helps the crust caramelize slightly in your mouth. Optional, but I recommend it.
Ground ginger (1 teaspoon) — Most gingersnaps have ginger in them, but adding a teaspoon more boosts the flavor profile. It makes the crust taste like it came from a fancy bakery.
For the Pumpkin Filling
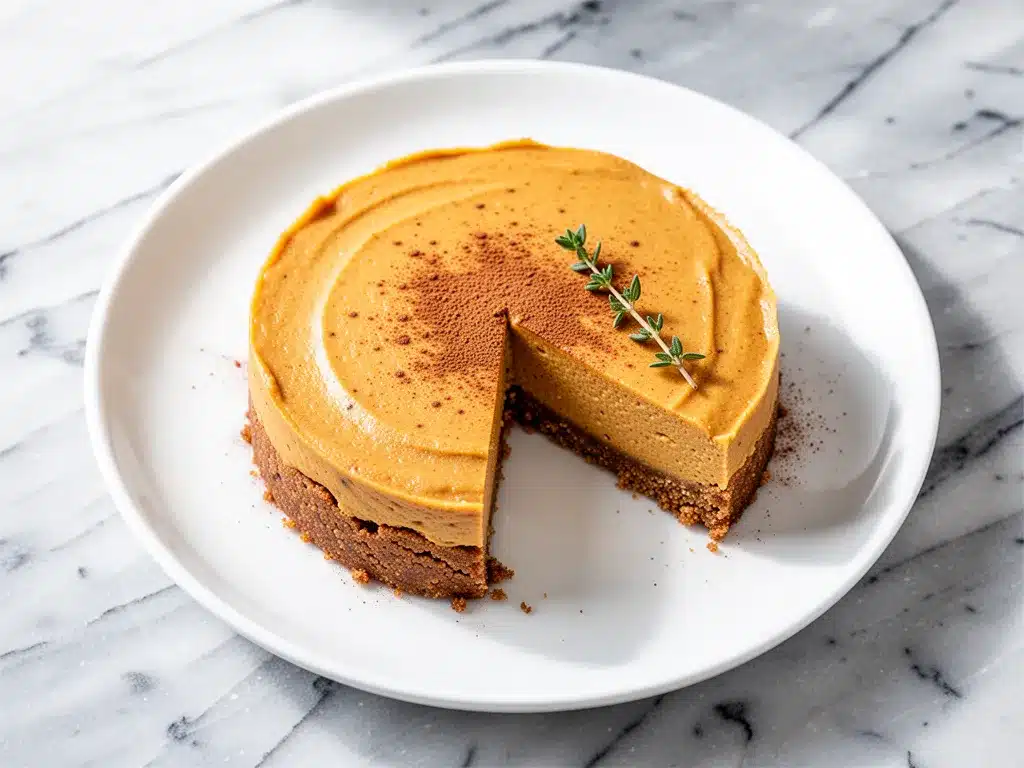
Full-fat cream cheese (24 ounces / 680g, softened) — This is non-negotiable. Light cream cheese has too much water and won’t set properly. It will be runny. Take it out of the fridge 30 minutes before you start. Softened cream cheese whips up smooth and lump-free. If you rush this, you’ll end up with gritty cheesecake.
Granulated sugar (1 cup / 200g) — Pumpkin is earthy and slightly bitter without enough sugar. Don’t reduce this unless you like tart desserts. I’ve tried it, and it’s not good.
Heavy cream (1 cup / 240ml) — Full-fat heavy whipping cream is what gives these bars their airy, mousse-like texture. Half-and-half is too thin. Don’t skimp.
Pumpkin puree (15 ounces / 425g can) — Not pumpkin pie filling. Pure pumpkin. Pie filling has sugar and spices already added, which will throw off the balance. Look for the can that just says “100% Pure Pumpkin.”
Pumpkin pie spice (2 teaspoons) — This is the magic dust. Cinnamon, nutmeg, ginger, cloves, allspice. If you don’t have a blend, you can mix your own, but I buy the pre-mixed because it’s consistent. Add an extra half-teaspoon if you love spice.
Vanilla extract (1 teaspoon) — Pure vanilla, not imitation. It rounds out the spices.
Salt (½ teaspoon) — Salt is crucial. It makes the pumpkin flavor pop. Don’t skip it.
Optional Topping: Whipped cream, extra gingersnap crumbs, or a drizzle of caramel sauce. I keep it simple with just a dollop of whipped cream.
Equipment Needed
You don’t need fancy gadgets for this. Here’s what I actually use.
9×13 inch baking pan — A standard metal or glass pan works. I line mine with parchment paper for easy removal, but it’s not strictly necessary if you grease it well.
Food processor or Ziploc bag + rolling pin — For crushing the gingersnaps. A food processor takes 30 seconds. A Ziploc bag takes 2 minutes and feels satisfyingly therapeutic.
Electric mixer — Handheld or stand mixer. You need to whip the cream cheese and heavy cream until light and fluffy. Doing this by hand is possible but takes 10 minutes of arm workout. I use my mixer so I don’t get tired.
Large mixing bowls — Two bowls. One for the cream cheese mixture, one for whipping the cream.
Spatula — A silicone spatula is best for folding the whipped cream into the pumpkin mixture without deflating it.
Refrigerator — Obviously. You need at least 4 hours of chill time, but overnight is best.
How to Make It: Step-by-Step
Alright, let’s make these bars! I’m walking you through exactly how I do it, including the little tricks I’ve picked up.
Step 1: Prep Your Pan (2 minutes)
Line your 9×13 inch pan with parchment paper, leaving an overhang on the long sides. This acts as a sling so you can lift the entire block of cheesecake out later for slicing. Grease the parchment lightly with butter spray.
Step 2: Make the Gingersnap Crust (5 minutes)
Crush your gingersnap cookies into fine crumbs. If using a food processor, pulse until they look like sand. If using a bag, roll over them with a rolling pin until they’re fine. In a medium bowl, mix the crumbs, melted butter, sugar, and extra ground ginger until it looks like wet sand. Press this mixture firmly into the bottom of your prepared pan. Use the bottom of a measuring cup to pack it down tight. If the crust is loose, your bars will fall apart. Put it in the fridge while you make the filling.
Step 3: Whip the Cream Cheese (3 minutes)
In a large bowl, beat the softened cream cheese and sugar on medium-high speed until completely smooth and creamy. This is critical. Scrape down the sides of the bowl and beat for another minute. You should not see any lumps. If you rush this, your bars will have gritty chunks of cream cheese.
Step 4: Add Pumpkin and Spices (2 minutes)
Reduce mixer speed to low. Add the pumpkin puree, pumpkin pie spice, vanilla, and salt. Mix just until combined. Do not overmix once the pumpkin is in, or you’ll incorporate too much air and the texture might change. Scrape the bowl one last time to ensure everything is evenly distributed. The mixture should be a smooth, bright orange paste.
Step 5: Whip the Heavy Cream (3 minutes)
In a separate cold bowl, whip the heavy cream on high speed until stiff peaks form. This means when you lift the beaters, the cream stands up straight and doesn’t droop. This step adds the light, airy texture that makes no-bake cheesecake so different from baked cheesecake.
Step 6: Fold It Together (3 minutes)
Add about one-third of the whipped cream to the pumpkin mixture and stir gently to lighten it. Then, add the rest of the whipped cream. Using a spatula, gently fold the cream into the pumpkin mixture. Use a cutting motion, scraping from the bottom and folding over the top. Stop as soon as there are no white streaks. Over-folding will deflate the cream, and your bars won’t be as fluffy.
Step 7: Assemble and Chill (4+ hours)
Pour the filling over the chilled gingersnap crust. Spread it out evenly with a spatula. Tap the pan gently on the counter to remove any air bubbles. Cover with plastic wrap or foil and refrigerate for at least 4 hours. Ideally, overnight. The longer it chills, the firmer it gets and the better the flavors meld.
Step 8: Slice and Serve
Once set, lift the bars out of the pan using the parchment sling. Use a sharp knife to slice into squares. For clean cuts, wipe the knife with a damp cloth between each slice. Serve chilled.
Expert Tips & Tricks
Here’s everything I’ve learned from making these dozens of times. These tips will save you from my mistakes.
Room Temperature Cream Cheese is Key — I can’t stress this enough. Cold cream cheese creates lumps that you can’t whisk out. If you forgot to take it out, cut it into small cubes and microwave it in 5-second bursts, checking between each, until it’s soft but not melted.
Don’t Skip the Chill Time — I know it’s tempting to eat it right away. But the crust needs time to set, and the filling needs time to firm up. If you slice it too soon, it will be a mushy mess. Plan ahead.
Use Cold Bowls for Whipping Cream — If your bowl and beaters are cold, the heavy cream whips faster and holds its shape better. I keep my metal bowls in the fridge overnight.
Fold, Don’t Stir — When combining the whipped cream, use a gentle folding motion. Stirring vigorously will deflate the air you worked so hard to incorporate, resulting in dense, heavy bars.
Customize the Spice — If you love cinnamon, add an extra half-teaspoon. If you like a kick of nutmeg, add a pinch. This is your canvas. Adjust the spices to your taste.
Variations & Substitutions
Once you’ve nailed the basic version, here’s how you can mix it up. I’ve tried all of these.
Oreo Crust Version — Swap gingersnaps for Oreo cookies. Remove the extra ginger from the crust. This makes it sweeter and less spicy. Great for kids.
Chocolate Chip Pumpkin — Fold ½ cup chocolate chips into the filling before pouring it over the crust. The chocolate and pumpkin are a classic combo.
Maple Pecan Swirl — Mix 2 tablespoons maple syrup with ¼ cup chopped pecans. Swirl this into the filling before chilling. Adds a nice crunch and sweetness.
Gluten-Free — Use gluten-free gingersnaps (like those from King Arthur or store brands) and ensure your pumpkin puree is certified GF. Everything else is naturally GF.
Dairy-Free — Use vegan cream cheese (like Kite Hill or Miyoko’s) and coconut cream instead of heavy cream. Note: The texture will be slightly different but still delicious.
Serving & Storage
How to Serve: I usually serve these straight from the fridge. They’re best cold. Top with a dollop of whipped cream and a sprinkle of gingersnap crumbs. A drizzle of caramel sauce is optional but recommended for special occasions.
Storage: Store leftovers in an airtight container in the refrigerator for up to 5 days. They actually taste better on day 2 as the flavors settle.
Freezing: Yes, you can freeze these! Wrap individual slices in plastic wrap, then place them in a freezer bag. They’ll last for up to 2 months. Thaw in the fridge overnight. The texture might be slightly softer after thawing, but the taste is still great.
Pro Tip: If you’re bringing these to a potluck, transport them in the pan they were made in, covered with foil. They’re sturdy enough to handle the ride.
Nutrition Information
I’m not a nutritionist, but here’s the breakdown if you’re tracking. These are indulgent bars, so enjoy in moderation.
Per Serving (based on 12 bars):
– Calories: 380
– Fat: 28g
– Carbs: 32g
– Sugar: 22g
– Protein: 6g
– Fiber: 1g
What’s Good: The gingersnap crust adds some fiber, and the pumpkin puree has some vitamin A. It’s not a diet food, but it’s not entirely empty calories either.
What to Know: High in saturated fat from the cream cheese and heavy cream. High in sugar. If you’re watching carbs, consider using a keto-friendly crust and sugar substitute, though the texture will change.
My Take: This is a treat. Enjoy it. Pair it with a cup of iced matcha latte for a balanced flavor profile if you want something less sweet.
Final Thoughts
So that’s my go-to No-Bake Fall Pumpkin Cheesecake Bars! I’ve probably talked your ear off at this point, but when you make a recipe this often, you have a lot to say about it.
This has saved my holiday desserts more times than I can count. It’s my answer to “what’s for dessert” when I’m tired, don’t want to bake, and still want something that tastes really good. My family is happy, my guests are impressed, and I’m happy because I’m not stressed about cooking.
Make it yours! Try different toppings, swap in your favorite spices, or adjust the sweetness. The best recipes are the ones you adapt to your family’s tastes.
If you make this, drop a comment and let me know what you think! I love hearing how recipes turn out in your kitchen. And if something doesn’t work, tell me that too—I’m here to help troubleshoot.
Happy baking (well, no-baking)! And I hope your kitchen smells half as good as mine does right now.
Frequently Asked Questions
Can I use pumpkin pie filling instead of pure pumpkin?
Absolutely not. Pumpkin pie filling already has sugar, spices, and thickeners added. If you use it, your cheesecake will be way too sweet and the texture will be wrong. Always use 100% pure pumpkin puree from a can.
Why did my cheesecake turn out runny?
Usually, this means the cream cheese wasn’t softened enough before mixing, or you didn’t whip the heavy cream to stiff peaks. Also, make sure you chilled the bars long enough. If you cut it too early, it will be soft. Give it at least 4 hours, but overnight is best.
Can I make this in a springform pan?
Yes! A 9-inch springform pan works great. Just make sure to line it well with parchment paper so you can lift the bars out easily. The baking time might be slightly different, but the chill time is the same.
How do I slice these without them falling apart?
Use a sharp knife. Wipe the blade with a damp cloth between each cut. This removes any sticky residue and gives you clean, neat squares. If the bars are too soft, put them back in the fridge for 30 minutes before slicing.
Can I freeze the whole bar?
Yes. Wrap the entire block tightly in plastic wrap and then in foil. Freeze for up to 2 months. Thaw in the fridge overnight. Slice after thawing.
What if I don’t have a food processor?
No problem. Put the gingersnaps in a Ziploc bag and crush them with a rolling pin, a wine bottle, or even a heavy pan. It takes a few minutes but works just as well.
Can I use whipped cream from a can?
You can, but it’s not recommended. Canned whipped cream has stabilizers and doesn’t whip up as light or fluffy as fresh heavy cream. The texture of the bars will be denser. If you must, use it, but fresh is better.
Pin This Recipe!
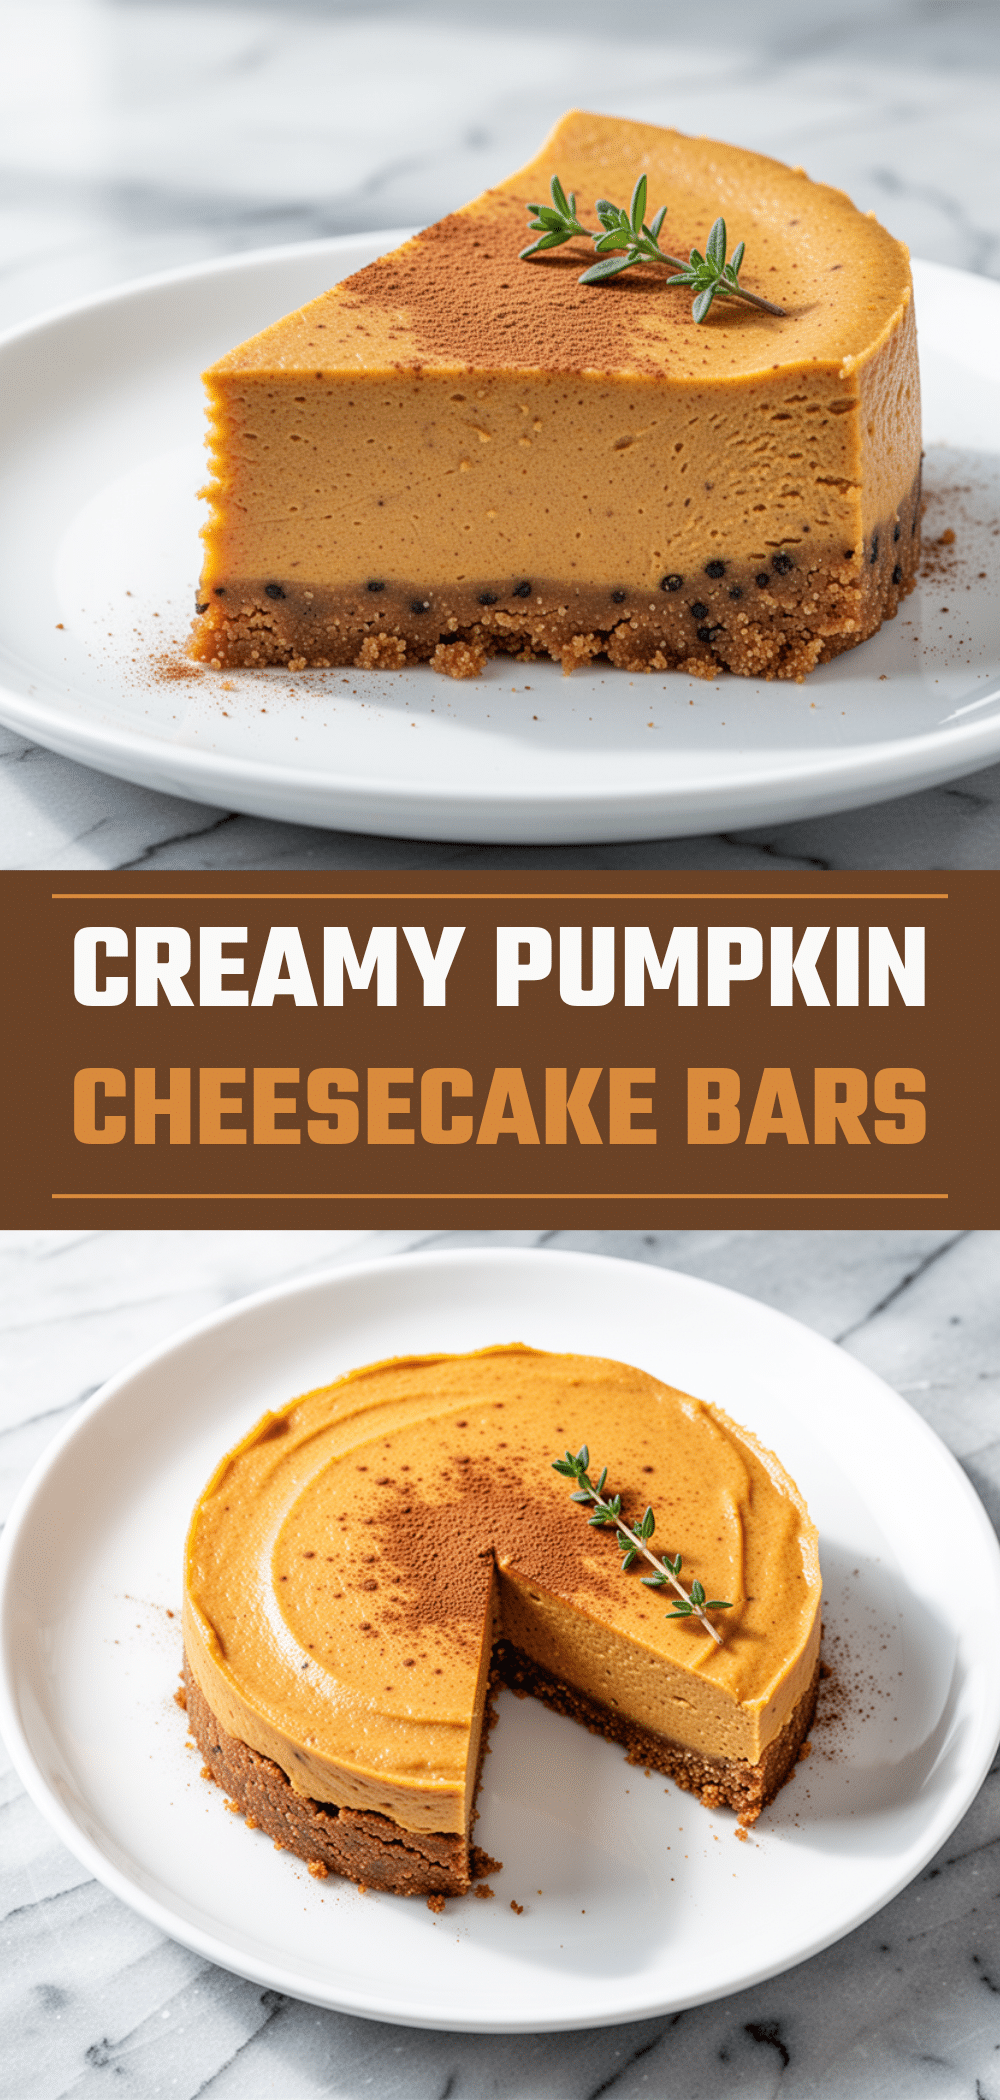
No-Bake Fall Pumpkin Cheesecake Bars
- Total Time: 4 hours 20 minutes
- Yield: 12 servings 1x
Description
A creamy, spiced no-bake dessert featuring a gingersnap crust and a light pumpkin cheesecake filling. Ready in just 20 minutes of active prep time, these bars are perfect for holidays or busy weeknights.
Ingredients
- 2 cups (240g) gingersnap cookies, crushed
- 6 tablespoons (85g) unsalted butter, melted
- 2 tablespoons (25g) granulated sugar
- 1 teaspoon ground ginger
- 24 ounces (680g) full-fat cream cheese, softened
- 1 cup (200g) granulated sugar
- 1 cup (240ml) heavy whipping cream
- 15 ounces (425g) can 100% pure pumpkin puree
- 2 teaspoons pumpkin pie spice
- 1 teaspoon vanilla extract
- 1/2 teaspoon salt
Instructions
- Line a 9×13 inch baking pan with parchment paper, leaving an overhang on the long sides, and lightly grease with butter spray.
- Crush gingersnap cookies into fine crumbs using a food processor or a Ziploc bag with a rolling pin.
- In a medium bowl, mix the cookie crumbs, melted butter, 2 tablespoons sugar, and 1 teaspoon ground ginger until it resembles wet sand.
- Press the crust mixture firmly into the bottom of the prepared pan using the bottom of a measuring cup. Refrigerate while making the filling.
- In a large bowl, beat the softened cream cheese and 1 cup sugar on medium-high speed until completely smooth and creamy, scraping down the sides as needed.
- Reduce mixer speed to low and add the pumpkin puree, pumpkin pie spice, vanilla extract, and salt. Mix just until combined.
- In a separate cold bowl, whip the heavy cream on high speed until stiff peaks form.
- Add one-third of the whipped cream to the pumpkin mixture and stir gently to lighten. Then, gently fold in the remaining whipped cream using a spatula until no white streaks remain.
- Pour the filling over the chilled crust and spread evenly. Tap the pan to remove air bubbles.
- Cover with plastic wrap or foil and refrigerate for at least 4 hours, preferably overnight, until firm.
- Lift the bars out of the pan using the parchment sling. Slice into squares with a sharp knife, wiping the blade between cuts.
Notes
Ensure cream cheese is fully softened to avoid lumps. Use cold bowls for whipping cream to ensure it holds stiff peaks. Do not use pumpkin pie filling; use 100% pure pumpkin puree. For clean slices, wipe the knife with a damp cloth between cuts. These bars taste better the next day as flavors meld.
- Prep Time: 20 minutes
- Cook Time: 0 minutes
- Category: Dessert
- Cuisine: American
Nutrition
- Serving Size: 1 bar
- Calories: 380
- Sugar: 22
- Sodium: 250
- Fat: 28
- Saturated Fat: 16
- Carbohydrates: 32
- Fiber: 1
- Protein: 6
Keywords: no-bake, pumpkin cheesecake, fall dessert, gingersnap crust, easy dessert, holiday dessert, make-ahead dessert


