Last Sunday, the house was a disaster zone. I had just finished folding the last pile of laundry, the dog was begging for dinner, and my husband walked in with that look—the one that says, “I’m hungry, I’m tired, and I don’t want to cook, but I also don’t want takeout.” We were supposed to be prepping for a friend’s game day gathering, but somehow, I was running on empty three days before the actual event. I stared into the fridge, saw a bag of frozen fries, a can of chili, and a block of cheddar, and thought, “Why am I overthinking this?”
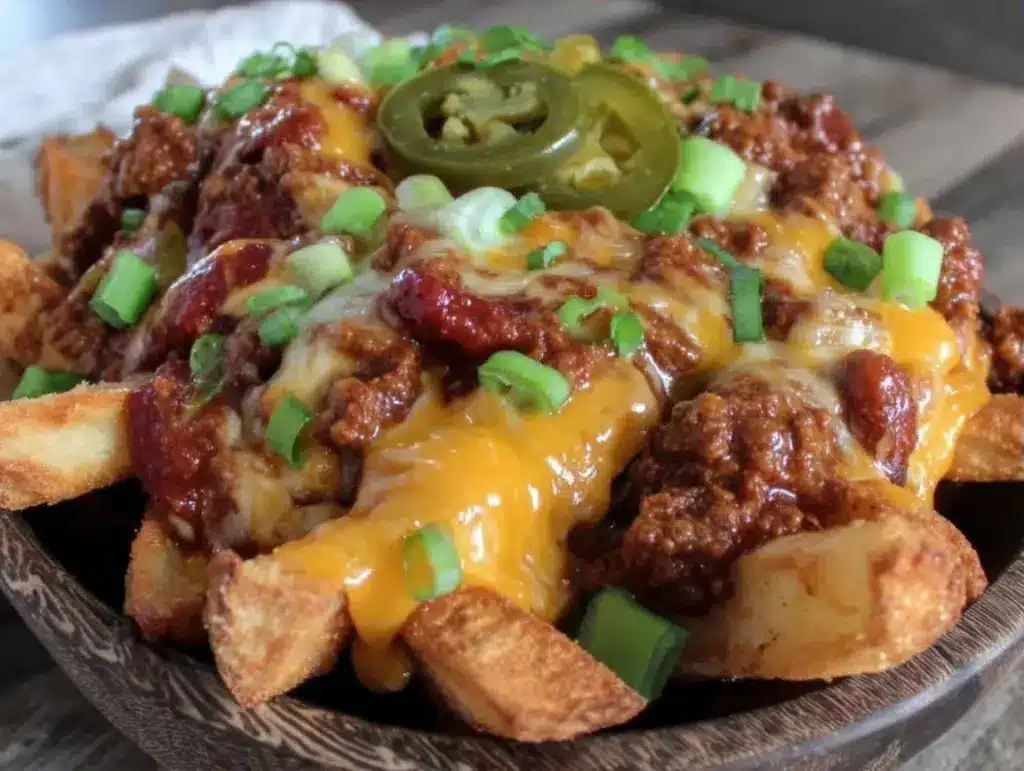
So, I threw together what I now call my Football Tailgate Chili Cheese Fries. It’s the kind of meal that feels like cheating but tastes like a victory. It’s messy, it’s indulgent, it’s incredibly fast, and it solves the universal 5pm crisis: “What’s for dinner?” I’ve made this at least a dozen times since that chaotic Sunday, and it has officially replaced our regular weeknight rotation. It’s basically a hug in a bowl (or on a baking sheet).
Here’s the thing about tailgate food. We love it. We crave it. But let’s be real—making actual chili from scratch or frying hundreds of pounds of fries for a party is a weekend project, not a Tuesday night solution. This recipe takes that classic game-day vibe and shrinks it down into something manageable for a busy weeknight. It’s crispy, it’s saucy, it’s cheesy, and it requires exactly one baking sheet and one saucepan. If you can boil water and shred cheese, you can make this.
I’ve tested this recipe with frozen fries, fresh-cut potatoes, and even baked sweet potato fries (yes, it works there too). The core concept stays the same: crispy base, rich chili topping, and a blanket of melted cheese. It’s the answer to “5pm and nothing planned” when you want something that feels special but takes twenty minutes to pull together. My kids argue over who gets the last cheesy fry. My husband says it’s better than the stuff we get at the stadium. And honestly? I’m not even mad about it.
Why You’ll Love This Recipe
This Football Tailgate Chili Cheese Fries has completely changed our weeknight dinner game. I know it sounds like junk food, but it’s actually a balanced mess of carbs, protein, and dairy that satisfies every craving. Here’s why I keep making it:
- Stupid Simple — Seriously, if you can boil water and chop an onion, you can make this. I’ve walked my teenage son through it over FaceTime while he was at college. He nailed it the first time.
- Lightning Fast — 20 minutes from start to finish, and only 10 of those are active cooking. I make this on weeknights when I get home at 7pm and the house is quiet.
- Pantry-Friendly — You probably have 80% of these ingredients already. I keep canned chili and frozen fries stocked just so I can make this on a whim.
- Crowd-Pleaser — I’ve served this to my vegetarian sister (by swapping the chili), my gluten-free neighbor (using GF fries), and my I-only-eat-chicken dad (with added ground beef). Everyone loved it.
- Makes Amazing Leftovers — Actually tastes better the next day. I deliberately make extra for lunch throughout the week. The flavors meld together overnight.
- Budget-Smart — Feeds 4 people for under $15. That’s less than one meal at a fast-food place, and it feels way more like a real meal.
This is my go-to when I need dinner to just work. No complicated techniques, no weird ingredients, just reliable, delicious food that makes everyone happy. It’s comfort food without the guilt trip.
Ingredients You’ll Need
Here’s the best part: you probably have most of this already. I’m particular about three ingredients here, and I’ll tell you exactly why. This looks like a short list, but it’s packed with flavor.
For the Base
French fries (2 pounds / 900g) — I use frozen crinkle-cut fries because they hold up best under the weight of the chili and cheese. Shoestring fries get soggy too fast. If you want to go fresh, see my tips below, but frozen is the speed king here. I always use Ore-Ida or Trader Joe’s—they’re consistent.
Olive oil (1 tablespoon) — Just a light drizzle to help the fries crisp up in the oven. Don’t skip it, or they’ll taste dry.
Seasoning salt (1 teaspoon) — I use a garlic-pepper blend or just plain seasoned salt. It adds that “restaurant fry” flavor before the toppings even go on.
For the Chili
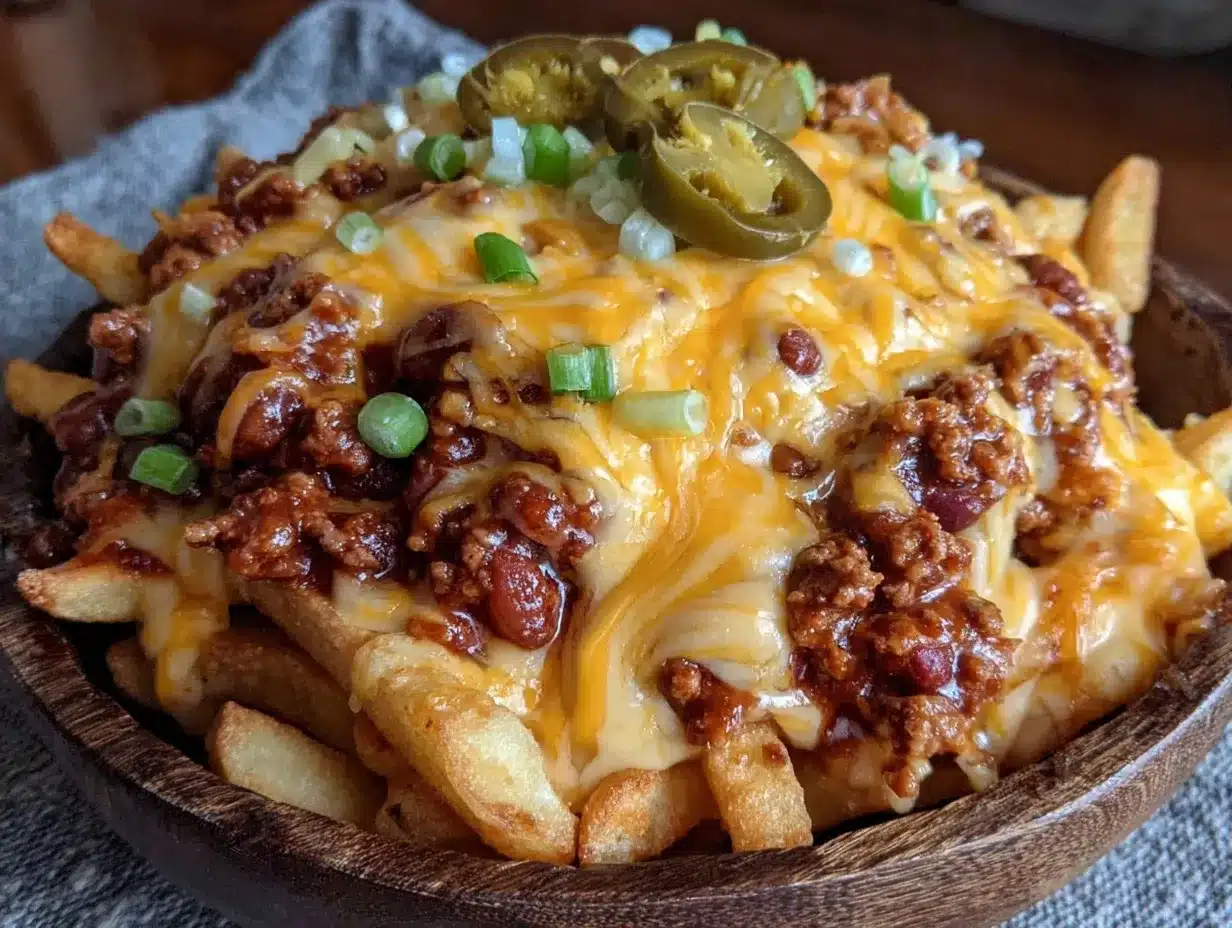
Ground beef (1 pound / 450g) — I brown this separately to get better texture than just heating up a can. But if you’re in a rush, a high-quality canned chili works too. I’ll show you how to upgrade it.
Onion (1 medium, diced / about 150g) — Yellow onion is standard. Sweet onion works if you want it milder. White onion is too sharp for this.
Garlic (4 cloves, minced / about 2 tablespoons) — Fresh only. No jarred garlic here. It changes the flavor profile too much for a quick weeknight meal.
Tomato paste (2 tablespoons) — This is the secret weapon. It thickens the chili and adds depth that canned chili alone lacks. It makes it taste homemade.
Chili powder (1 tablespoon) — Use a good quality blend. If you like it spicy, add a teaspoon of cayenne or red pepper flakes.
Cumin (1 teaspoon) — Essential for that earthy, warm flavor. Don’t skip it.
Chicken broth (½ cup / 120ml) — I use low-sodium so I can control the salt. Vegetable broth works for a vegetarian version.
For the Toppings
Cheddar cheese (2 cups / 200g, shredded) — Block cheese. Grate it yourself. Pre-shredded cheese has cellulose that prevents it from melting smoothly. You want gooey, not grainy. Sharp cheddar is best for flavor.
Green onions (3-4 stalks, sliced) — For garnish. Adds a fresh, crunchy contrast to the rich chili and cheese.
Sour cream (½ cup) — Optional but recommended. The cool creaminess balances the hot, spicy chili.
Optional Add-ins
Jalapeños (¼ cup, sliced) — For heat. Pickled jalapeños add a nice tang.
Black beans (1 can, drained) — I toss these into the chili for extra fiber and protein. Makes it heartier.
Bacon bits (¼ cup, crumbled) — Because why not? I use the real crumbled bacon, not the fake stuff. It adds a smoky crunch.
Equipment Needed
You don’t need fancy equipment for this. Here’s what I actually use.
Baking sheet — I use a large 18×13 inch sheet. Needs to fit the fries in a single layer. My old, dented sheet from college still works fine. Line it with parchment paper for easy cleanup.
Large skillet — 10-inch stainless steel or cast iron. I prefer stainless for browning the beef, but non-stick works too.
Wooden spoon — For stirring the chili. Silicone works too. Don’t use metal on non-stick.
Sharp knife — For chopping onions and green onions. Dull knives make you cry more—learned this the hard way.
Cutting board — Any size works. I use plastic for easier cleanup.
Box grater — For the cheese. Or food processor if you’re grating lots of cheese, but a box grater is faster for small amounts.
Colander — For draining beans if you use them.
Measuring cups and spoons — Pretty standard stuff. Dollar store versions work fine.
Parchment paper — Seriously, use this. Cleaning a cheese-stained baking sheet is the worst. Parchment makes it a 10-second job.
How to Make It: Step-by-Step
Alright, let’s make this! I’m walking you through exactly how I do it, including the little tricks I’ve picked up.
Step 1: Prep Your Ingredients (5 minutes)
Before you start cooking, chop your onion, mince your garlic, and slice your green onions. Measure out your spices. I know it seems fussy, but it makes the actual cooking way less stressful. Grate your cheese while you’re at it. Once you start cooking, things move fast.
Step 2: Cook the Fries (20 minutes)
Preheat your oven to 425°F (220°C). Line your baking sheet with parchment paper. Toss the frozen fries with olive oil and seasoning salt. Spread them out in a single layer on the baking sheet. Don’t crowd them! If they’re piled on top of each other, they’ll steam instead of crisp. Bake for 20 minutes, or until golden and crispy. Flip them halfway through for even browning. While they bake, start the chili.
Step 3: Brown the Beef (5 minutes)
While the fries are in the oven, heat your skillet over medium-high heat. Add the ground beef. Break it up with your wooden spoon as it cooks. Cook for 5-6 minutes until browned and no pink remains. Drain any excess grease. This step is crucial for texture. If you leave the grease in, the chili will be oily and heavy.
Step 4: Build the Chili (10 minutes)
Reduce the heat to medium. Add the diced onion to the beef. Cook for 2-3 minutes until softened. Add the minced garlic and cook for 1 minute until fragrant. Stir in the tomato paste, chili powder, and cumin. Cook for 1 minute to toast the spices. Pour in the chicken broth and stir, scraping up any browned bits from the bottom of the pan. This adds flavor. Let it simmer for 5 minutes until it thickens slightly. If you’re using canned chili, stir it in at this point and let it heat through.
Step 5: Assemble and Melt (5 minutes)
When the fries are done, remove them from the oven. Keep the oven on. Divide the fries among serving plates or a large communal platter. Ladle the hot chili over the fries. You want enough chili to cover the fries but not so much that they get soggy immediately. Sprinkle the shredded cheese generously over the top. Return the platter to the oven for 2-3 minutes, just until the cheese is melted and bubbly.
Step 6: Garnish and Serve
Remove from the oven. Top with sliced green onions, sour cream, and jalapeños if using. Serve immediately. The fries will start to soften as they sit, so eat them hot.
Total Time: About 25 minutes (10 minutes active, 15 minutes mostly hands-off)
Troubleshooting:
- Fries too soft? You crowded the pan. Use two sheets if needed. Or broil for the last 2 minutes to crisp them up.
- Chili too thin? Simmer it longer. Or add a tablespoon of cornstarch mixed with water.
- Cheese didn’t melt? Oven wasn’t hot enough. Broil for 1 minute. Watch it closely—it burns fast.
Expert Tips & Tricks
Here’s everything I’ve learned from making this dozens of times. These tips will save you from my mistakes.
Use Parchment Paper
This is the #1 tip. Cleaning cheese-stained baking sheets is a nightmare. Parchment paper makes cleanup a 10-second job. I use it for everything, from spinach mushroom stuffed chicken to these fries. Trust me.
Don’t Skimp on Cheese
This is a cheese fry recipe. It needs a lot of cheese. I use 2 cups for 2 pounds of fries. It’s not too much. It’s just right. If you’re shy with the cheese, you’ll regret it.
Upgrade Canned Chili
If you’re using canned chili, it’s a hack, not a failure. But you can make it taste homemade. Add a tablespoon of tomato paste and a teaspoon of cumin. It transforms the flavor instantly. It’s like a mini beef enchilada upgrade.
Keep Fries Warm
If you’re serving a crowd, keep the baking sheet in a 200°F oven while you assemble the rest. Cold fries are sad fries.
Room Temperature Cheese
Take your cheese out of the fridge 15 minutes before cooking. It melts faster and more evenly. Cold cheese takes longer to melt and can seize up.
Variations & Substitutions
Once you’ve nailed the basic version, here’s how you can mix it up. I’ve tried all of these.
Veggie Chili Version
Skip the beef. Use a can of vegetable chili or make a bean chili with black beans, kidney beans, and corn. Add diced bell peppers and zucchini for extra veggies. This is how I get my kids to eat vegetables.
Sweet Potato Version
Use frozen sweet potato fries. Top with a maple-cinnamon chili (add cinnamon and a dash of maple syrup to the chili). It’s surprisingly delicious and feels fancy.
Buffalo Chicken Version
Shred cooked chicken and toss it in buffalo sauce. Mix with the chili or use it instead. Top with blue cheese dressing. It’s like buffalo chicken wraps but in fry form.
Taco Version
Use taco seasoning instead of chili powder. Top with lettuce, tomato, and salsa. It’s basically taco pasta but with fries.
Dietary Modifications:
- Gluten-Free — Use GF fries and check your chili label. Most canned chilis are GF, but some have hidden gluten.
- Dairy-Free — Use dairy-free cheese shreds and skip the sour cream. It’s not the same, but it works.
- Lower-Carb — Use cauliflower tots or zucchini fries. Reduce the portion size.
Serving & Storage
How to Serve:
I usually serve this straight from the baking sheet at the dinner table—it looks rustic and stays warm. But here are other ways I’ve enjoyed it:
Side Dishes:
- Simple green salad with balsamic vinaigrette
- Corn on the cob
- Guacamole and chips
Toppings Bar:
When I have guests, I put out: extra cheese, jalapeños, sour cream, bacon bits, green onions. Everyone customizes their bowl.
Storage Instructions:
Refrigerator: Store the chili and fries separately in airtight containers for up to 3 days. Do not store them together—the fries will get soggy.
Reheating: Reheat the chili in the microwave or on the stove. Reheat the fries in the oven or air fryer at 400°F for 5 minutes. Do not microwave the fries—they’ll be rubbery. Combine them after reheating.
Freezing: Freeze the chili for up to 3 months. Do not freeze the fries. They’ll turn to mush when thawed.
Nutrition Information
I’m not a nutritionist, but here’s the breakdown if you’re tracking.
Per Serving (based on 6 servings):
- Calories: 650
- Protein: 25g
- Carbs: 55g
- Fiber: 4g
- Sugar: 5g
- Fat: 35g
- Saturated Fat: 12g
- Cholesterol: 70mg
- Sodium: 900mg
What’s Good:
- Decent protein from beef and cheese
- Calcium from the cheese
- Can add vegetables to boost nutrition
What to Know:
- Higher in calories from fries and cheese
- Contains dairy and gluten
- High sodium (use low-sodium broth and chili to reduce)
My Take:
Look, this is comfort food. It’s not a diet recipe. But it’s way better than takeout, costs less, and I know exactly what’s in it. When I want to make it lighter, I use baked sweet potato fries and less cheese. But usually? I just eat a reasonable portion and enjoy it.
Final Thoughts
So that’s my go-to Football Tailgate Chili Cheese Fries! I’ve probably talked your ear off at this point, but when you make a recipe this often, you have a lot to say about it.
This has saved weeknight dinners more times than I can count. It’s my answer to “what’s for dinner” when I’m tired, don’t want takeout, and still want something that tastes really good. My kids are happy, my husband’s happy, and I’m happy because I’m not stressed about cooking.
Make it yours! Try different add-ins, swap in your favorite vegetables, adjust the spice level. The best recipes are the ones you adapt to your family’s tastes. If you make this, drop a comment and let me know what you think! I love hearing how recipes turn out in your kitchen. And if something doesn’t work, tell me that too—I’m here to help troubleshoot.
Happy cooking! And I hope your kitchen smells half as good as mine does right now.
Frequently Asked Questions
Can I use fresh-cut fries instead of frozen?
You can, but it takes longer. Cut potatoes into sticks, soak them in cold water for 30 minutes to remove starch, pat them dry, and toss with oil. Bake at 425°F for 25-30 minutes, flipping halfway. Frozen fries are just easier for a weeknight win. I use frozen 90% of the time.
Why did my fries get soggy?
Usually means you crowded the pan. Fries need space to crisp up. If you’re making a large batch, use two baking sheets. Or, broil them for the last 2 minutes to crisp them up. Also, don’t let them sit under the chili for too long before serving.
Can I make the chili ahead?
Absolutely! Make the chili up to 3 days ahead and store in the fridge. Reheat it gently before serving. This actually helps the flavors meld together. I often make a big batch on Sunday and use it for chicken and wild rice soup or these fries during the week.
Can I freeze this?
Freeze the chili, yes. Do not freeze the fries. They’ll turn to mush when thawed. Reheat the chili and make fresh fries when you’re ready to eat.
Can I use ground turkey or chicken?
Yes! Ground turkey or chicken works great. Just make sure to drain any excess fat. It’s a bit leaner, so you might want to add a tablespoon of olive oil to the skillet to keep it moist.
What kind of cheese is best?
Sharp cheddar is the classic choice. But you can use a Mexican blend, Monterey Jack, or even pepper jack for extra heat. Avoid pre-shredded cheese—it doesn’t melt as well. Grate your own from a block.
Can I make this in the air fryer?
Yes! Cook the fries in the air fryer at 400°F for 10-12 minutes, shaking the basket halfway. Then top with chili and cheese and air fry for another 2 minutes to melt the cheese. It’s a great option if you don’t want to heat up the oven.
Pin This Recipe!
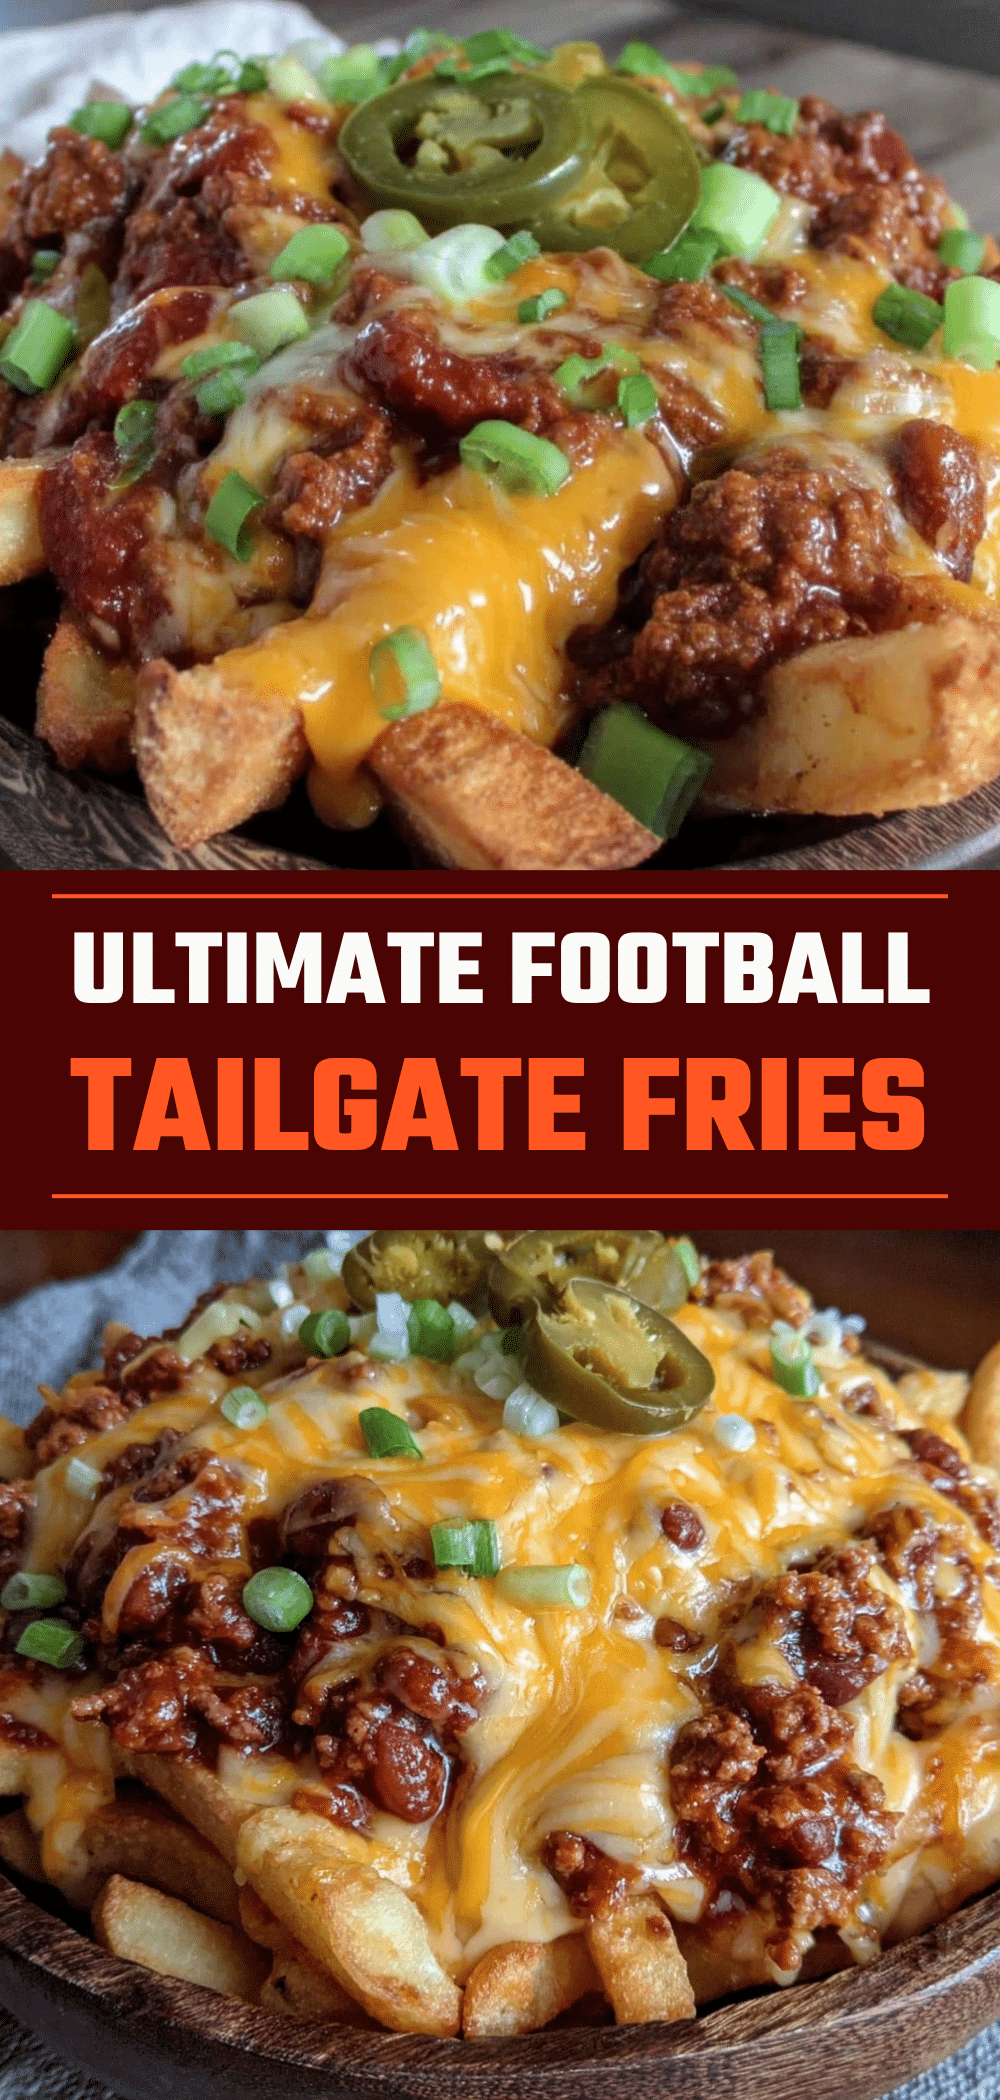

Football Tailgate Chili Cheese Fries: Easy Weeknight Win
- Total Time: 25 minutes
- Yield: 6 servings 1x
Description
A quick, indulgent weeknight meal that combines crispy baked fries with a rich, homemade-style chili and melted cheddar cheese. It’s a crowd-pleasing comfort food that takes about 25 minutes to prepare.
Ingredients
- 2 pounds frozen crinkle-cut french fries
- 1 tablespoon olive oil
- 1 teaspoon seasoning salt
- 1 pound ground beef
- 1 medium yellow onion, diced
- 4 cloves garlic, minced
- 2 tablespoons tomato paste
- 1 tablespoon chili powder
- 1 teaspoon cumin
- 1/2 cup low-sodium chicken broth
- 2 cups sharp cheddar cheese, shredded
- 3–4 stalks green onions, sliced
- 1/2 cup sour cream (optional)
- 1/4 cup sliced jalapeños (optional)
- 1 can black beans, drained (optional)
- 1/4 cup crumbled bacon (optional)
Instructions
- Preheat oven to 425°F (220°C). Line a large baking sheet with parchment paper.
- Toss frozen fries with olive oil and seasoning salt. Spread in a single layer on the baking sheet.
- Bake fries for 20 minutes, flipping halfway through, until golden and crispy.
- While fries bake, heat a large skillet over medium-high heat. Add ground beef and cook for 5-6 minutes until browned. Drain excess grease.
- Reduce heat to medium. Add diced onion to the beef and cook for 2-3 minutes until softened.
- Add minced garlic and cook for 1 minute until fragrant.
- Stir in tomato paste, chili powder, and cumin. Cook for 1 minute to toast spices.
- Pour in chicken broth, scraping up browned bits from the bottom of the pan. Simmer for 5 minutes until slightly thickened.
- Remove fries from the oven. Divide among serving plates or a platter.
- Ladle hot chili over the fries.
- Sprinkle shredded cheese generously over the top.
- Return to the oven for 2-3 minutes until cheese is melted and bubbly.
- Garnish with green onions, sour cream, and jalapeños. Serve immediately.
Notes
Use parchment paper for easy cleanup. Do not crowd the fries on the baking sheet to ensure they crisp up. If using canned chili, add tomato paste and cumin to upgrade the flavor. Store chili and fries separately in the refrigerator for up to 3 days; do not freeze the fries as they will become mushy.
- Prep Time: 10 minutes
- Cook Time: 15 minutes
- Category: Main Course
- Cuisine: American
Nutrition
- Serving Size: 1 serving
- Calories: 650
- Sugar: 5
- Sodium: 900
- Fat: 35
- Saturated Fat: 12
- Carbohydrates: 55
- Fiber: 4
- Protein: 25
Keywords: chili cheese fries, tailgate food, weeknight dinner, easy recipes, comfort food, game day food, ground beef chili, baked fries


