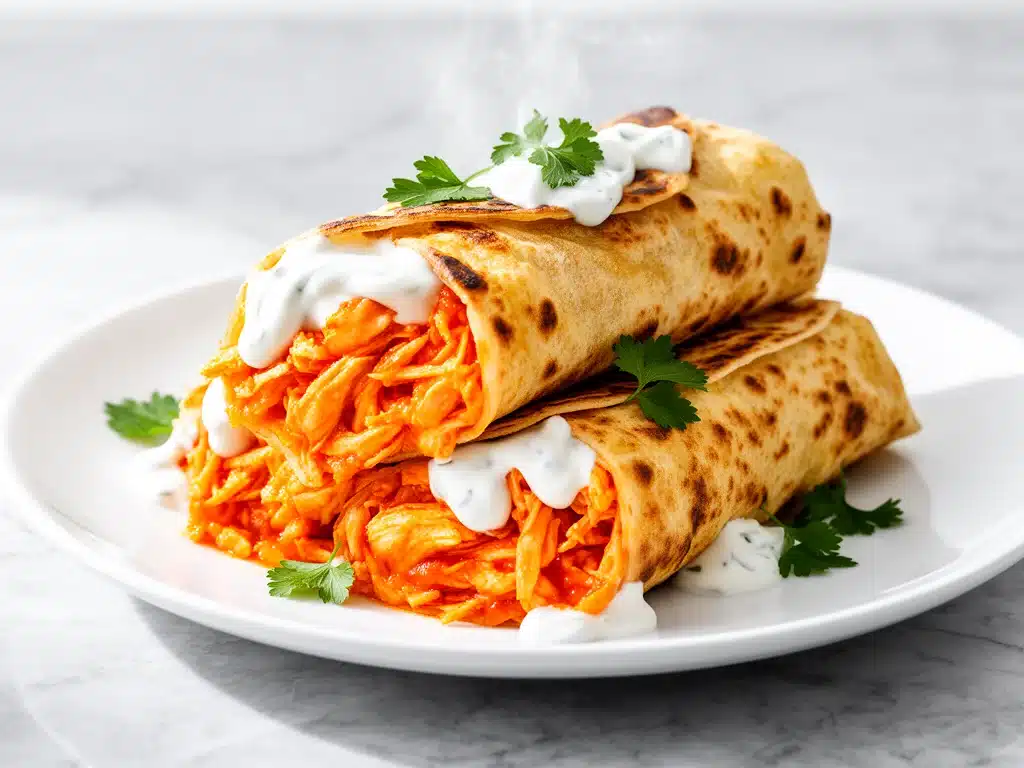
Last Friday night, I was standing in my kitchen at 7:30 PM, staring into the abyss of my refrigerator. You know that look. It’s half-empty, smells faintly of old cilantro, and contains exactly three items I can turn into dinner in under thirty minutes: a package of chicken breasts, a bottle of Frank’s RedHot sauce, and a stack of large flour tortillas. My kids were already at the table, arguing over who got the good seat, and my husband was texting me that he’d be ten minutes late. I needed something fast. I needed something that tasted indulgent. And, most importantly, I needed something that wouldn’t result in another heated debate about what was for dinner.
I decided to make these Crispy Baked Buffalo Chicken Wraps. I’d seen recipes for them before, but they always looked like soggy, greasy messes that fell apart the second you picked them up. I didn’t want that. I wanted crunch. I wanted that tangy, spicy kick that makes you reach for a napkin immediately. I wanted a wrap that my picky eater wouldn’t complain about (too spicy!) and that my spicy-food-loving husband would actually enjoy.
So I improvised. I tossed the chicken in a dry rub, baked it until it was shatteringly crisp, and then assembled the wraps with a cool, creamy ranch drizzle. The result? Pure magic. The whole family devoured them. My son, who usually refuses anything orange, asked for seconds. My husband declared them “restaurant quality.” And I got to sit down and eat them while they were still hot, which is basically the highest form of cooking success in my book.
These wraps have since become a staple in our weekly rotation. They’re easy to make ahead, customizable for different spice tolerances, and honestly? They just taste like comfort food with a kick. If you’re tired of the same old grilled chicken salad or boring tacos, this is your new go-to. Let me show you how to make them properly.
Why You’ll Love This Recipe
There are a dozen reasons I keep coming back to these Crispy Baked Buffalo Chicken Wraps, but if I had to narrow it down, it’s because they solve the three biggest problems with weeknight dinners: time, mess, and picky eaters. Here’s why this recipe is about to become your new best friend.
Stupid Simple Assembly — Seriously, if you can boil water and chop an onion, you can make this. The hardest part is waiting for the chicken to bake. The assembly takes about five minutes. I’ve walked my teenage son through it over FaceTime while he was at his girlfriend’s house, and he nailed it.
Crispy Without the Deep Fryer — This is the game-changer. Most buffalo chicken wraps are soggy because they’re made with fried nuggets that get steamed inside the tortilla. By baking the chicken with a little cornstarch and oil, you get that restaurant-style crunch without the grease or the cleanup nightmare. No oil splatter, no smelling like fried food for three days.
Customizable Heat Level — My husband loves it hot. My kids like it mild. This recipe handles both beautifully. I make a small batch of mild sauce for the kids and add extra hot sauce for myself. No fighting over the bottle. No one is unhappy.
Lightning Fast — 30 minutes from start to finish. The chicken bakes hands-free while you prep the veggies and mix the sauce. I make these on weeknights when I get home at 7 PM and feel like I’m running on fumes.
Makes Amazing Leftovers — And yes, they reheat well! I deliberately make extra for lunch the next day. Just re-crisp them in the oven or an air fryer for 3-4 minutes. They don’t get soggy like other wraps do.
This is my go-to when I need dinner to just work. No complicated techniques, no weird ingredients, just reliable, delicious food that makes everyone happy. It’s the kind of meal that feels like a treat but costs less than takeout.
Ingredients You’ll Need
Here’s the best part: you probably have most of this already in your pantry and fridge. This isn’t a recipe that requires a special trip to the store. I’m particular about three ingredients here, and I’ll tell you exactly why. Grab your shopping list, and let’s get into it.
For the Chicken
Chicken breasts (1.5 lbs / 680g) — Boneless, skinless. I like to pound them to an even thickness so they cook evenly. If they’re too thick in the middle, you’ll get dry edges and raw centers. Look for uniform pieces.
Cornstarch (2 tablespoons) — This is the secret weapon. It creates a coating that gets crispy in the oven. It’s not for thickening a sauce here; it’s for texture. Don’t skip it.
Garlic powder & Onion powder (1 teaspoon each) — These add depth to the chicken itself. Fresh garlic burns too fast in the oven, so powders are better here. Use the real stuff, not the “garlic salt” blend.
Smoked paprika (½ teaspoon) — Adds a subtle smokiness that mimics frying. It’s optional, but it makes the flavor profile way more interesting. If you don’t have it, regular paprika works.
Vegetable oil (2 tablespoons) — Just enough to help the spices stick and promote browning. Olive oil can burn at high oven temps, so stick with neutral oils.
For the Buffalo Sauce
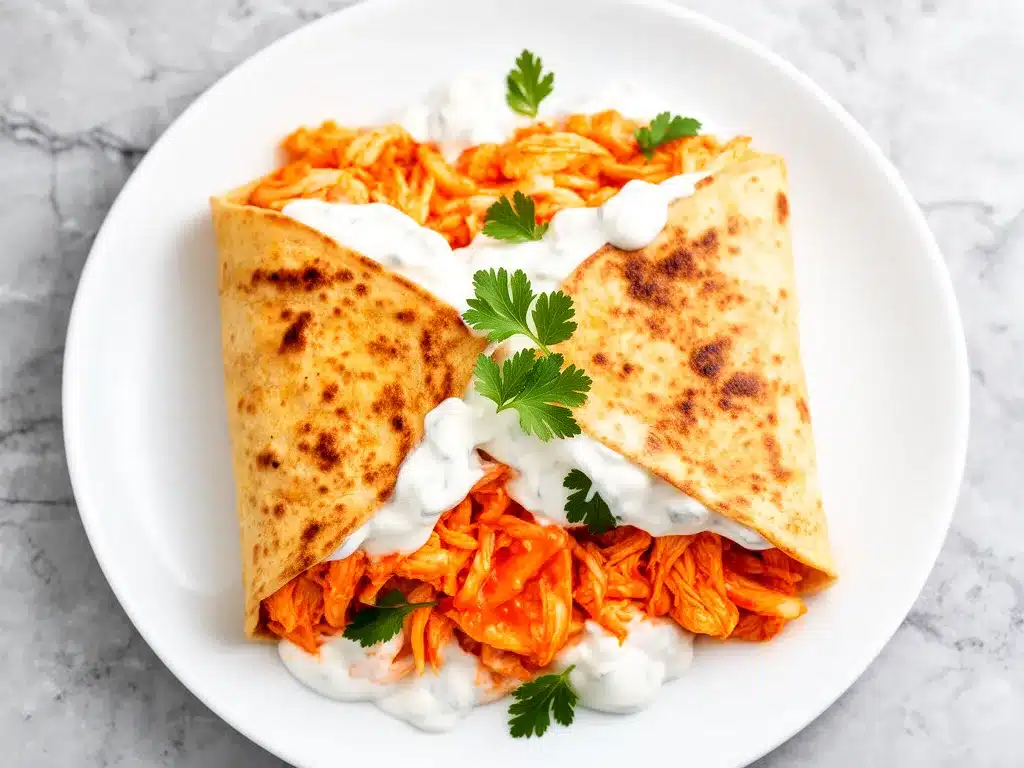
Frank’s RedHot Sauce (½ cup) — This is the gold standard. I’ve tried store brands, and they just don’t have the same vinegar kick. It’s worth buying the real thing.
Butter (2 tablespoons, melted) — Traditional buffalo sauce uses butter. It rounds out the sharp vinegar taste and adds richness. Use real butter, not margarine.
Worcestershire sauce (1 teaspoon) — Adds umami and complexity. You won’t taste it directly, but it makes the sauce taste “complete.”
White vinegar (1 teaspoon) — Extra tang. If you like it sharper, add more. If you’re making it for kids, skip this.
For the Wraps
Large flour tortillas (6-8 large, 10-inch) — Flour tortillas are more flexible than corn and won’t crack when you roll them. Look for the “burrito size” or large lunch wrap size. If you use small ones, you’ll need to double up, which gets gummy.
Shredded lettuce (2 cups, chopped) — Iceberg or romaine. Iceberg is crunchier and holds up better in the wrap. Romaine is tastier but wilts faster. I use a mix.
Cherry tomatoes (1 cup, halved) — Adds freshness and acidity. They pop in your mouth and cut through the richness of the cheese and sauce.
Shredded cheddar cheese (1 cup) — Sharp cheddar is best. It has more flavor and melts nicely without being too oily. Colby jack works too if you want milder flavor.
Ranch dressing (½ cup) — Or blue cheese if you’re brave. Ranch is safer for families. I use a creamy store-bought ranch, but homemade is better if you have time.
Green onions (2 stalks, sliced) — For garnish. Adds a fresh, oniony bite that ties everything together.
Personal Tips
- Brand recommendations: I always use Mission large flour tortillas. They’re durable and don’t tear. For chicken, I buy from the local butcher if possible, but Tyson works fine.
- Shopping shortcuts: Buy pre-shredded cheese if you’re in a hurry, but know that it has anti-caking agents that might make it melt slightly less smoothly. Grating your own is worth the 2 minutes.
- Substitutions: No cornstarch? Use a little flour, but cornstarch is crispier. No Frank’s? Use any cayenne-based hot sauce, but adjust the butter accordingly.
- Storage: Hot sauce keeps for months in the fridge. Tortillas freeze well if you wrap them tightly in plastic and then foil.
Equipment Needed
You don’t need fancy equipment for this. Here’s what I actually use. If you don’t have something, there’s almost always a substitute.
Baking sheet — I use a standard 13×18 inch rimmed baking sheet. It needs to be large enough to hold the chicken in a single layer. If your chicken is crowded, it steams instead of bakes, and you lose the crispiness.
Parchment paper — Essential. It prevents sticking and makes cleanup instant. I don’t even bother greasing the pan if I use parchment. It’s a lifesaver.
Small mixing bowls — You’ll need one for the dry rub, one for the sauce, and maybe one for the tortillas. Three small bowls is perfect. I use my smallest prep bowls.
Whisk — For the buffalo sauce. You need to emulsify the butter and hot sauce. A fork works, but a whisk is faster and more thorough.
Rolling pin or bottle — To pound the chicken breasts. I use a heavy rolling pin, but a wine bottle works too. You want them about ½ inch thick.
Tongs — For flipping the chicken. Forks pierce the meat and let juices escape. Tongs keep the chicken juicy.
Cutting board — Any size works. I use a large plastic one for easier cleanup of raw chicken.
Sharp knife — For chopping lettuce and tomatoes. A dull knife makes you cry more—learned this the hard way with a sad, bruised tomato last week.
Measuring cups and spoons — Pretty standard stuff. Dollar store versions work fine.
Optional but nice:
- Food processor — If you’re making a big batch of shredded lettuce, it speeds things up. But hand-chopping tastes better because you control the texture.
- Pastry brush — To brush oil on the chicken. I just toss it in a bowl with my hands.
How to Make It: Step-by-Step
Alright, let’s make this! I’m walking you through exactly how I do it, including the little tricks I’ve picked up over the last few years. This process is straightforward, but attention to detail is what makes the difference between good and great.
Step 1: Prep the Chicken (5 minutes)
Preheat your oven to 400°F (200°C). Line a baking sheet with parchment paper. Take your chicken breasts and place them between two sheets of plastic wrap or in a zip-top bag. Use a rolling pin or heavy pan to pound them to an even ½-inch thickness. This is crucial. Uneven chicken cooks unevenly, and nobody wants dry, chewy bites. Once pounded, pat them dry with paper towels. Moisture is the enemy of crispiness.
Step 2: Make the Dry Rub (2 minutes)
In a small bowl, mix together the cornstarch, garlic powder, onion powder, smoked paprika, salt, and black pepper. Toss the chicken breasts in this mixture, ensuring they’re coated on all sides. The cornstarch will create that crispy crust. Place the coated chicken on the prepared baking sheet in a single layer. Don’t let them touch. Leave space between them for air circulation.
Step 3: Bake the Chicken (15-18 minutes)
Place the baking sheet in the oven. Bake for 15-18 minutes, flipping halfway through. The chicken is done when it reaches an internal temperature of 165°F (74°C) and the edges are golden and crisp. If you want extra crispiness, broil for the last 1-2 minutes, but watch it like a hawk—it goes from golden to burnt in seconds. Remove from the oven and let it rest for 5 minutes. This keeps the juices inside.
Step 4: Make the Buffalo Sauce (2 minutes)
While the chicken bakes, whisk together the Frank’s RedHot sauce, melted butter, Worcestershire sauce, and white vinegar in a small bowl. It should be smooth and emulsified. Taste it. Is it too spicy? Add a little more butter. Too mild? Add more hot sauce. This is your flavor control moment.
Step 5: Slice the Chicken (2 minutes)
Once the chicken has rested, slice it into strips or bite-sized pieces. I prefer strips because they’re easier to roll in the wrap. If you cut it into chunks, it might fall out when you eat it. Arrange the sliced chicken in a large bowl and toss it with half of the buffalo sauce. You want it coated but not swimming in liquid.
Step 6: Assemble the Wraps (5 minutes)
Lay out your tortillas on a clean surface. Spoon a line of ranch dressing down the center of each tortilla. Top with a generous handful of shredded lettuce, then a few cherry tomato halves. Add the sauced chicken on top of the lettuce (this creates a barrier so the sauce doesn’t make the tortilla soggy). Sprinkle with shredded cheddar cheese. Drizzle the remaining buffalo sauce over the chicken.
Step 7: Roll and Serve (3 minutes)
Roll the tortillas tightly. Start by folding in the sides, then roll from the bottom up. Secure with a toothpick if needed. For extra crispiness, you can broil the assembled wraps for 1-2 minutes until the cheese is melted and bubbly. Garnish with sliced green onions and serve immediately. The crunch is best when it’s fresh.
Total Time: About 30 minutes (10 minutes active, 20 minutes mostly hands-off)
Expert Tips & Tricks
Here’s everything I’ve learned from making these dozens of times. These tips will save you from my mistakes.
Pound the Chicken Evenly
This is the #1 tip. Uneven chicken leads to dry edges and raw centers. I’ve wasted good chicken by not pounding it enough. Now I use a meat mallet or rolling pin every time. It takes 2 minutes and ensures perfect cooking.
Don’t Overload the Wrap
It’s tempting to pile on ingredients, but if the wrap is too heavy, it will break when you roll it. Keep the filling compact. If you’re feeding a crowd, make mini wraps with smaller tortillas. They’re easier to handle.
Use Parchment Paper
I used to grease my baking sheets, but the chicken stuck and the cleanup was a nightmare. Parchment paper is a game-changer. The chicken releases easily, and you just throw the paper away. Worth every penny.
Balance the Sauce
Buffalo sauce is all about the balance of heat and fat. The butter is essential. Without it, the sauce is just vinegar and chili. Don’t skip the butter. It makes the sauce creamy and palatable.
Room Temperature Ingredients
If your cheese and tortillas are cold, they might crack. Let them sit out for 10 minutes before assembling. It’s a small thing, but it makes the wrapping process smoother.
Common Mistakes (and how to avoid them):
- Mistake: Soggy wraps Fix: Make sure the chicken is cooled before assembling. Hot chicken steams the tortilla. Also, put the lettuce and tomatoes under the chicken, not on top.
- Mistake: Burnt chicken Fix: Watch the broiler closely. It takes seconds to burn. If your oven runs hot, use 375°F instead of 400°F.
- Mistake: Dry chicken Fix: Don’t overcook it. Use a meat thermometer. 165°F is the target. Pull it out when it’s 160°F, as it will continue to cook while resting.
Pro Tricks I’ve Learned:
- For Extra Crunch After rolling, brush the outside of the wrap with a little melted butter and bake for 2 minutes. It gets golden and crispy like a taquito.
- For Better Flavor Toast the spices in the dry rub in a dry pan for 30 seconds before mixing. It releases their essential oils and makes the flavor more potent.
- For Meal Prep Make the chicken and sauce ahead. Store in separate containers. Assemble fresh when ready to eat. The tortillas stay fresh for 3 days in the fridge.
Variations & Substitutions
Once you’ve nailed the basic version, here’s how you can mix it up. I’ve tried all of these, and they’re all winners.
Turkey Version
Use ground turkey instead of chicken breasts. Season it with the same dry rub and bake it in a skillet until browned. It’s leaner and has a milder flavor. Great for a lighter option.
Wing Style
Use chicken wings instead of breasts. Toss the cooked wings in the buffalo sauce. Serve with celery sticks and blue cheese dipping sauce. This is basically an appetizer version of the wrap.
Vegetarian Option
Substitute the chicken with cauliflower florets. Toss the cauliflower in the dry rub and bake until crispy. It absorbs the buffalo sauce beautifully. My vegetarian friend loves this version.
Spicy Jalapeño
Add diced jalapeños to the filling. If you like it hot, include the seeds. It adds a fresh heat that complements the tangy sauce. Great for summer.
Creamy Avocado
Slice avocado instead of using cheddar cheese. It adds creaminess and healthy fats. Pair it with a lime ranch dressing. It’s a fresher, lighter take.
Dietary Modifications:
- Gluten-Free Use gluten-free tortillas. Most brands work well. Check the label for corn or rice flour blends.
- Dairy-Free Use olive oil instead of butter in the sauce. Use dairy-free cheese or skip it. Use vegan ranch or a tahini-based dressing.
- Lower-Carb Use large lettuce leaves instead of tortillas. Wrap the filling in the leaves. It’s like a lettuce wrap version. Lower in carbs, higher in fiber.
Serving & Storage
I usually serve these straight from the oven, piping hot. But here are other ways I’ve enjoyed them.
How to Serve:
Serve with celery sticks and carrot sticks on the side. Classic buffalo chicken pairing. A simple green salad with ranch dressing also works well. If you’re having a game day party, cut the wraps into pinwheels and serve on a platter.
Side Dishes:
– Corn on the cob (grilled or boiled)
– Coleslaw (creamy or vinegar-based)
– Baked sweet potato fries
– Fruit salad (to balance the heat)
Storage Instructions:
Refrigerator:
Store assembled wraps in an airtight container for up to 2 days. The tortillas might get a bit soft, but they’re still good. Store chicken and sauce separately for better texture.
Reheating:
Best method: Oven or air fryer at 350°F for 5-7 minutes. This restores the crispiness. Microwave works but makes the tortilla chewy. If you must microwave, do it in short bursts and let it rest.
Freezing:
I don’t recommend freezing assembled wraps. The lettuce and tomatoes will get mushy when thawed. You can freeze the cooked chicken and sauce separately for up to 3 months. Thaw in the fridge and assemble fresh.
Pro tip:
If you’re meal prepping, make a big batch of chicken and sauce. Portion it out into containers. Assemble wraps fresh each day. It takes 5 minutes and tastes way better than reheated leftovers.
Nutrition Information
I’m not a nutritionist, but here’s the breakdown if you’re tracking. These are estimates based on standard ingredients.
Per Serving (based on 1 wrap):
- Calories: 380
- Protein: 28g
- Carbs: 25g
- Fiber: 2g
- Sugar: 3g
- Fat: 18g
- Saturated Fat: 6g
- Cholesterol: 75mg
- Sodium: 650mg
What’s Good:
– High protein from chicken
– Good source of calcium from cheese
– Can add vegetables to boost nutrition
– More filling than it looks
What to Know:
– Higher in sodium from hot sauce and cheese
– Contains dairy and gluten
– Moderate calories, but can be adjusted with portion sizes
My Take:
Look, this is comfort food. It’s not a diet recipe. But it’s way better than takeout, costs less, and I know exactly what’s in it. When I want to make it lighter, I use turkey breast and skip the cheese. But usually? I just eat one and enjoy it. Balance is key.
Dietary Notes:
– Contains: gluten, dairy
– Can be made: gluten-free, vegetarian
– Not suitable for: vegan (without modifications), dairy-free (without modifications)
Final Thoughts
So that’s my go-to Crispy Baked Buffalo Chicken Wraps! I’ve probably talked your ear off at this point, but when you make a recipe this often, you have a lot to say about it. These wraps have saved weeknight dinners more times than I can count. They’re my answer to “what’s for dinner” when I’m tired, don’t want takeout, and still want something that tastes really good.
My kids are happy, my husband’s happy, and I’m happy because I’m not stressed about cooking. It’s that rare recipe that satisfies everyone at the table. Make it yours! Try different add-ins, swap in your favorite vegetables, adjust the spice level. The best recipes are the ones you adapt to your family’s tastes.
If you make this, drop a comment and let me know what you think! I love hearing how recipes turn out in your kitchen. And if something doesn’t work, tell me that too—I’m here to help troubleshoot. Happy cooking! And I hope your kitchen smells half as good as mine does right now.
Frequently Asked Questions
Can I use chicken thighs instead of breasts?
Yes, you can! Chicken thighs are juicier and have more flavor. Just make sure to remove the skin and bones. They might take 2-3 minutes longer to cook, so check the temperature. The crispiness might be slightly less due to the higher fat content, but the taste is worth it.
My wraps are falling apart—what did I do wrong?
This usually happens if the wrap is overloaded or if the tortillas are cold. Make sure you’re not putting too much filling in. Also, let the tortillas sit at room temperature for 10 minutes before assembling. Warm tortillas are more pliable and less likely to crack.
Can I make the buffalo sauce ahead of time?
Absolutely! The sauce can be made up to 3 days in advance. Store it in an airtight container in the fridge. It actually tastes better after the flavors have had time to meld. Just bring it to room temperature before using.
Why is my chicken dry?
Overcooking is the most common reason. Use a meat thermometer to check for 165°F. Also, pounding the chicken to an even thickness ensures it cooks evenly. If the edges are thin and the middle is thick, the edges will dry out before the middle is done.
Can I freeze the assembled wraps?
I don’t recommend it. The lettuce and tomatoes will get mushy when thawed. The tortillas might also get soggy from the moisture in the filling. It’s best to freeze the chicken and sauce separately, then assemble fresh.
What’s the best cheese to use?
Sharp cheddar is my favorite because it has a strong flavor that stands up to the buffalo sauce. Colby jack is milder and melts well. Pepper jack adds a little extra kick. Avoid pre-shredded cheese if possible, as it doesn’t melt as smoothly.
Can I make these in an air fryer?
Yes! Place the chicken pieces in the air fryer basket in a single layer. Cook at 400°F for 10-12 minutes, flipping halfway. The wraps can be assembled after, but if you want to crisp them up, air fry them for 2-3 minutes after assembling. They’ll be incredibly crispy.
Pin This Recipe!
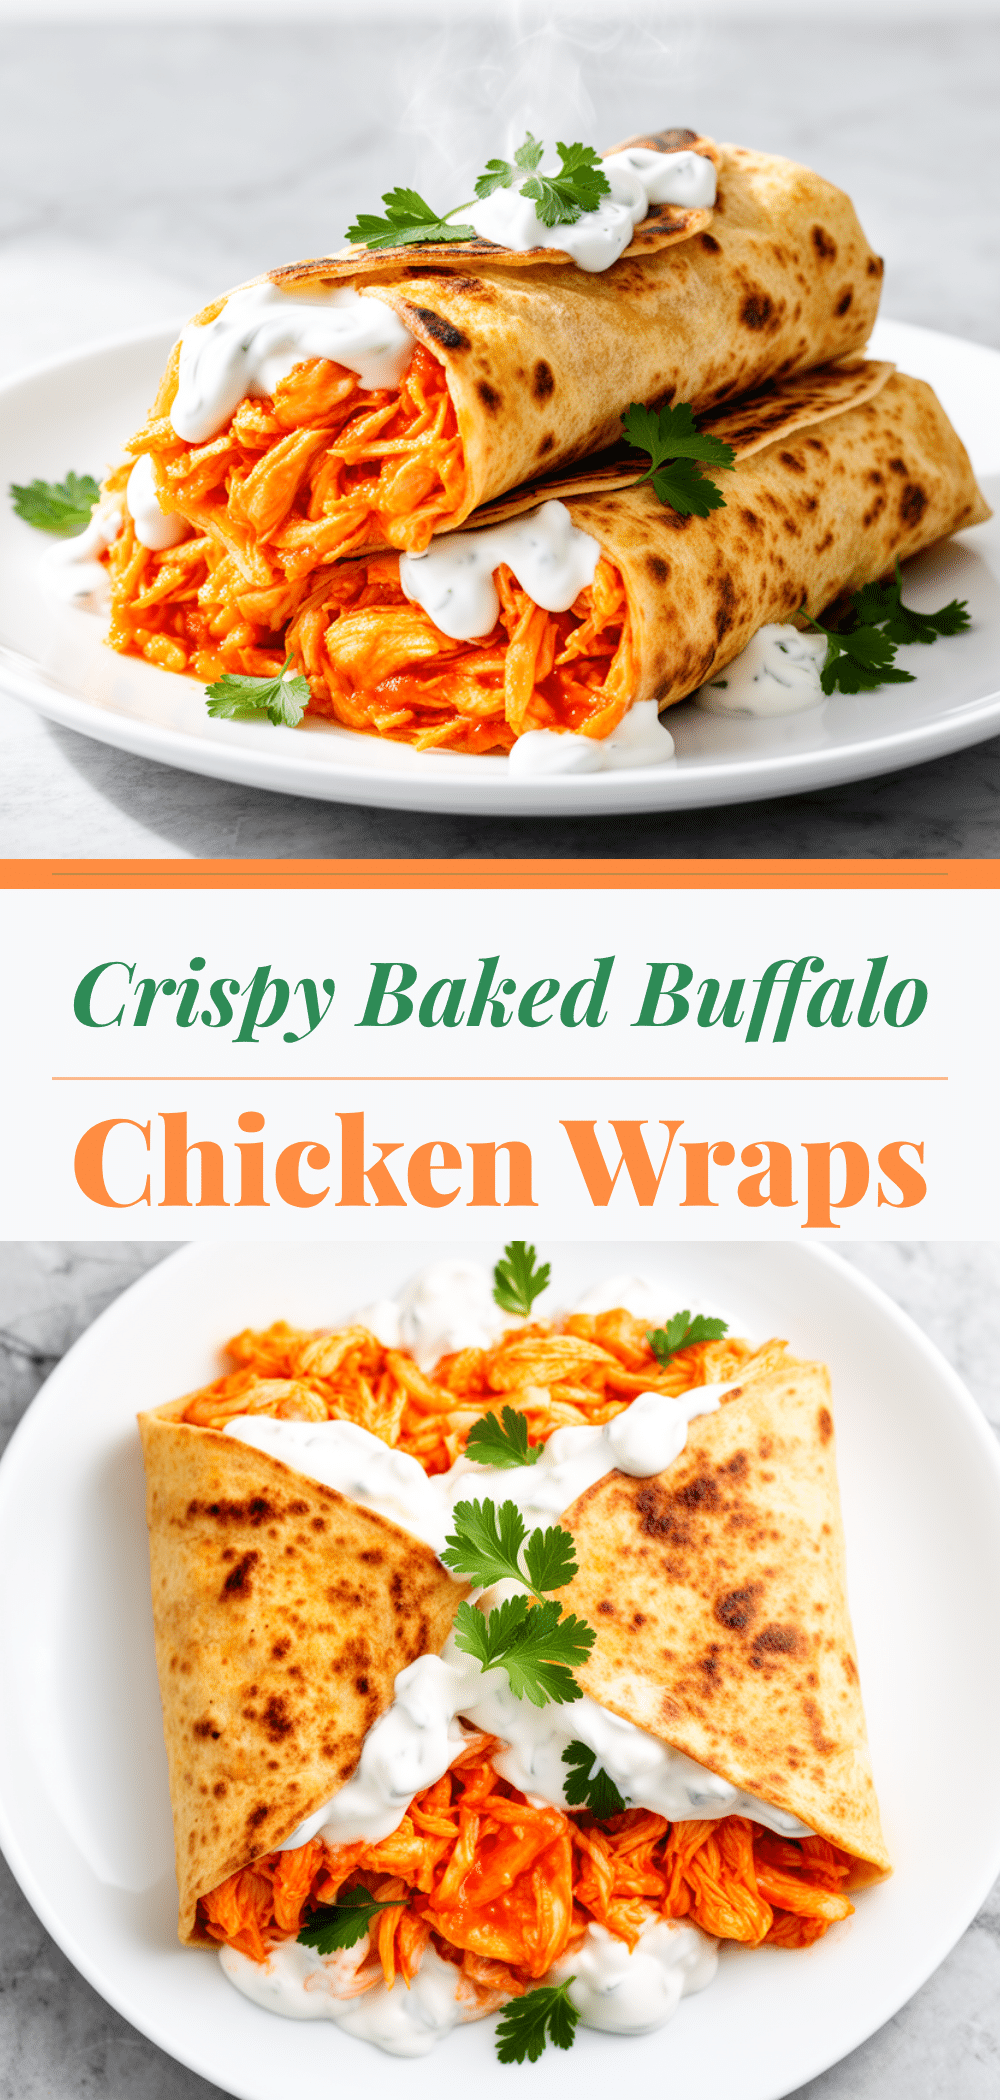

Crispy Baked Buffalo Chicken Wraps: Easy Family Dinner
- Total Time: 30 minutes
- Yield: 6 servings 1x
Description
These crispy baked buffalo chicken wraps are a fast, family-friendly weeknight dinner that delivers restaurant-style crunch without the deep fryer. Customizable for spice tolerance, they combine tender chicken, tangy buffalo sauce, and fresh veggies in a warm tortilla.
Ingredients
- 1.5 lbs boneless, skinless chicken breasts
- 2 tablespoons cornstarch
- 1 teaspoon garlic powder
- 1 teaspoon onion powder
- ½ teaspoon smoked paprika
- Salt and black pepper to taste
- 2 tablespoons vegetable oil
- ½ cup Frank’s RedHot Sauce
- 2 tablespoons butter, melted
- 1 teaspoon Worcestershire sauce
- 1 teaspoon white vinegar
- 6–8 large flour tortillas (10-inch)
- 2 cups shredded lettuce (Iceberg or Romaine)
- 1 cup cherry tomatoes, halved
- 1 cup shredded sharp cheddar cheese
- ½ cup ranch dressing
- 2 stalks green onions, sliced
Instructions
- Preheat oven to 400°F (200°C). Line a baking sheet with parchment paper.
- Place chicken breasts between plastic wrap or in a zip-top bag and pound to an even ½-inch thickness. Pat dry with paper towels.
- In a small bowl, mix cornstarch, garlic powder, onion powder, smoked paprika, salt, and pepper. Toss chicken in the mixture to coat evenly.
- Place coated chicken on the prepared baking sheet in a single layer. Drizzle with vegetable oil.
- Bake for 15-18 minutes, flipping halfway through, until internal temperature reaches 165°F and edges are crisp. Let rest for 5 minutes.
- While chicken bakes, whisk together Frank’s RedHot sauce, melted butter, Worcestershire sauce, and white vinegar in a small bowl.
- Slice the rested chicken into strips and toss with half of the buffalo sauce.
- Lay tortillas flat. Spread ranch dressing down the center. Layer with lettuce, tomatoes, sauced chicken, and cheddar cheese. Drizzle with remaining buffalo sauce.
- Roll tortillas tightly, folding in sides first. Secure with toothpicks if needed.
- Optional: Broil assembled wraps for 1-2 minutes until cheese is melted and bubbly. Garnish with green onions and serve immediately.
Notes
Pound chicken evenly to ensure uniform cooking. Use parchment paper to prevent sticking and ease cleanup. Let tortillas sit at room temperature before assembling to prevent cracking. For extra crispiness, brush the outside of the rolled wrap with melted butter and bake for 2 minutes. Store chicken and sauce separately for best texture; assemble fresh when ready to eat.
- Prep Time: 10 minutes
- Cook Time: 20 minutes
- Category: Main Course
- Cuisine: American
Nutrition
- Serving Size: 1 wrap
- Calories: 380
- Sugar: 3
- Sodium: 650
- Fat: 18
- Saturated Fat: 6
- Carbohydrates: 25
- Fiber: 2
- Protein: 28
Keywords: buffalo chicken wraps, crispy baked chicken, weeknight dinner, family meals, easy recipes, spicy chicken, meal prep


