Let’s be honest for a second. For years, my relationship with Brussels sprouts was purely hostile. I’m talking about the steamed, sad, sulfurous little green balls that used to show up on holiday tables, often overcooked to the point of mushiness. I used to pick them off my plate and hide them under a napkin, hoping no one would notice. My husband? He ate them because he thought they were healthy. We were both miserable.
That changed last Tuesday. I was exhausted. Work had been a marathon, the kids were loud, and I had exactly zero energy to stand over a hot stove for an hour. I opened the freezer and found a bag of frozen Brussels sprouts I’d bought on a whim months ago. I also had an air fryer gathering dust on the counter. It was a match made in heaven.
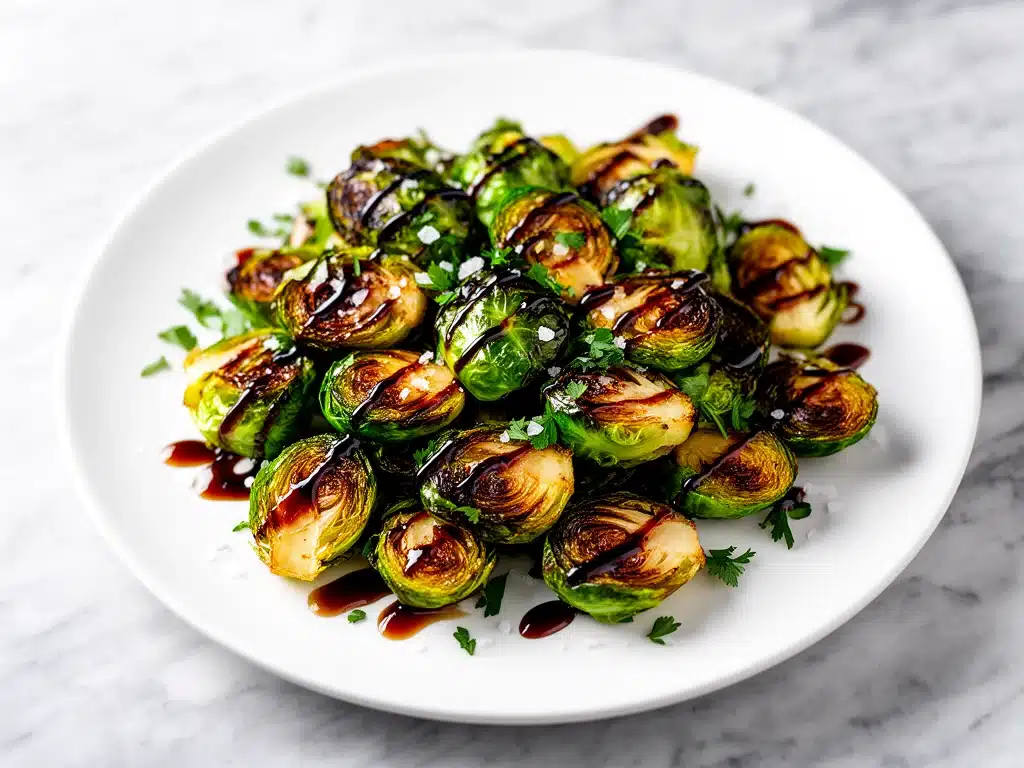
I tossed them in oil, salt, and a generous drizzle of thick, syrupy balsamic glaze. I cranked the air fryer to 400°F and walked away. Fifteen minutes later, I pulled out a tray of shrunken, caramelized, crispy little jewels that smelled like a gourmet appetizer, not a boiled vegetable. I served them with a quick weeknight dinner, and my husband took one bite, stopped chewing, and said, “Wait. Are these the good ones?”
Yes. These are the good ones.
That night marked the beginning of a new era in our house. This crispy air fryer Brussels sprouts with balsamic glaze recipe has become my secret weapon for busy weeknights. It’s the perfect side dish for roasted chicken, grilled steak, or even just eating straight out of the basket while standing at the kitchen counter (don’t judge me). I’ve tested this method more times than I can count, tweaking the time and temperature to get that perfect crunch without burning the garlic. If you’ve ever thought Brussels sprouts were boring or bitter, you’re about to change your mind.
Why You’ll Love This Recipe
There are about ten reasons I keep making these sprouts, but here are the big ones that make this recipe a permanent fixture in our weekly rotation.
Stupid Simple — Seriously, if you can toss vegetables in a bowl, you can make this. There’s no chopping required if you buy pre-cut sprouts. I’ve walked my teenage son through it over FaceTime, and he nailed it on the first try. No fancy techniques, just toss and cook.
Lightning Fast — 15 minutes from start to finish. That’s it. I make this on weeknights when I get home at 7 pm, throw dinner in the oven for something else, and use those 15 minutes to decompress. It’s faster than ordering takeout and way cheaper.
The Texture Miracle — This is the game-changer. Air frying renders out the moisture and crisps the edges while keeping the center tender. You get those caramelized, almost bacon-like bits that make people think they’re eating junk food. It’s not just “cooked vegetables”; it’s actually delicious.
Sweet and Savory Balance — The balsamic glaze does all the heavy lifting. It cuts through the natural bitterness of the greens and adds a sticky, sweet finish that’s addictive. You don’t need to be a chef to get this flavor profile right.
Crowd-Pleaser — I’ve served these to my vegetarian sister, my gluten-free neighbor, and my dad who claims he “only likes meat.” Everyone asks for the recipe. It’s one of those rare dishes that appeals to picky eaters and foodies alike.
This is my go-to when I need dinner to just work. No complicated techniques, no weird ingredients, just reliable, delicious food that makes everyone happy. It pairs perfectly with other easy sides, and if you’re looking for a quick snack to prep while the sprouts cook, these no-bake peanut butter banana energy bites are a great zero-effort companion for the kids.
Ingredients You’ll Need
Here’s the best part: you probably have most of this already. This looks like a short list, but each ingredient plays a specific role in getting that crunch and flavor.
Brussels Sprouts (1 pound / 450g) — I use fresh sprouts when they’re in season, but frozen work surprisingly well if you thaw and dry them thoroughly. Look for tight, bright green heads. If buying fresh, trim the stem and remove any yellow outer leaves. I like to halve them for more surface area, but quarters are fine if they’re small.
Avocado Oil or Olive Oil (2 tablespoons / 30ml) — You need a high-smoke-point oil because we’re cooking at 400°F. Avocado oil is my favorite because it’s neutral and handles the heat well. Extra virgin olive oil works, but it can get bitter if it burns. Don’t use butter; it’ll burn at this temperature.
Salt (1 teaspoon / 6g) — Kosher salt is best because it distributes evenly. I salt the sprouts before cooking to draw out moisture, which helps them crisp up. If you use table salt, reduce to ¾ teaspoon.
Garlic Powder (½ teaspoon / 3g) — Fresh garlic can burn and turn bitter in an air fryer at high heat. Garlic powder gives you that savory depth without the risk of charred bits. I keep this in my pantry at all times.
Balsamic Glaze (3 tablespoons / 45ml) — This is the star. You can buy it or make your own. Look for a thick, syrupy consistency. If it’s too thin, it won’t stick. I love the brand “Lardoon” or any local brand that lists just grapes and vinegar. Avoid the cheap salad dressings labeled “balsamic”; they’re too watery.
Optional Add-ins:
- Balsamic Vinegar (1 tablespoon) — If you don’t have glaze, mix regular balsamic vinegar with 1 teaspoon of honey and simmer it down until syrupy. It takes 5 minutes.
- Parmesan Cheese (2 tablespoons, grated) — Sprinkle this on after cooking for a salty, umami kick. It melts slightly from the residual heat.
- Lemon Zest (1 teaspoon) — A little brightness cuts through the richness. Great if you’re serving these with heavy meats.
- Red Pepper Flakes (¼ teaspoon) — For a little heat. I add this when I want to spice up a boring weeknight.
Personal Tip: I always buy pre-cut Brussels sprouts when I’m rushing. The time saved on trimming is worth the extra dollar. But if you’re feeling fancy, halving them fresh gives you better control over the size.
Equipment Needed
You don’t need fancy equipment for this. Here’s what I actually use.
Air Fryer — Obviously. I use a 5.8-quart basket style. It’s the sweet spot for this quantity. If you have a smaller 3-quart model, you’ll need to cook in two batches. Don’t overcrowd the basket, or they’ll steam instead of crisp.
Large Mixing Bowl — For tossing the sprouts in oil and seasoning. Any bowl works, but a wide bowl helps them coat evenly.
Pastry Brush or Tongs — For applying the glaze. Tongs are faster for tossing, but a brush gives you more control if you’re drizzling. I usually just pour the glaze into the basket and shake it.
Sharp Knife — Only if you’re cutting fresh sprouts. A good chef’s knife makes quick work of trimming the stems.
Measuring Spoons — Standard stuff. Dollar store versions work fine.
Optional but nice:
- Parchment Paper Liners — I don’t always use them, but they make cleanup easier. Just make sure they don’t block the airflow.
- Sprayer Bottle — For misting oil evenly if you want to use less oil. I’m usually too lazy for this, but it’s a good trick.
Tool Tip: Don’t have an air fryer? You can roast these in the oven at 400°F for 20-25 minutes, shaking the pan halfway through. But the air fryer gets them crispier faster. I’m obsessed with my air fryer—it’s basically a convection oven on steroids.
How to Make It: Step-by-Step
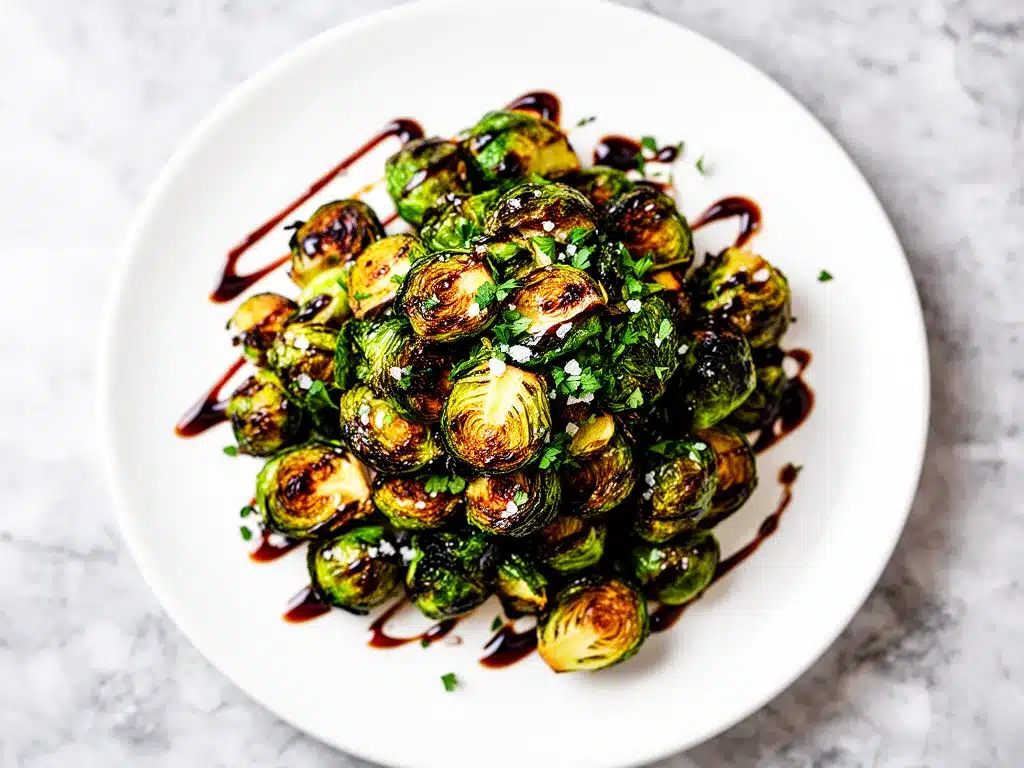
Alright, let’s make this! I’m walking you through exactly how I do it, including the little tricks I’ve picked up to ensure maximum crispiness.
Step 1: Prep the Sprouts (3 minutes)
If you’re using fresh sprouts, trim the stem end and cut them in half. Remove any loose, yellow outer leaves. If you’re using frozen, thaw them completely and pat them DRY with paper towels. Moisture is the enemy of crispiness. I’ve learned this the hard way with soggy sprouts. If they’re wet, they’ll steam. Dry them until your paper towels are soaked.
Step 2: Season and Oil (2 minutes)
Place the sprouts in a large bowl. Drizzle with the avocado oil and sprinkle with salt and garlic powder. Toss them well until every piece is lightly coated. You want them shiny, not swimming in oil. I usually toss with my hands—it’s faster and ensures even coverage. Let them sit for a minute while the air fryer preheats.
Step 3: Preheat the Air Fryer (3 minutes)
Preheat your air fryer to 400°F (200°C). This takes about 3 minutes. Don’t skip this step! A hot basket is crucial for that initial sear. If you put cold sprouts in a cold basket, they’ll release moisture and get soggy before they start cooking.
Step 4: Cook the Sprouts (10 minutes)
Add the sprouts to the air fryer basket in a single layer. Do not overcrowd! If they’re piled on top of each other, the ones in the middle will steam. Cook for 10 minutes. Halfway through (at 5 minutes), shake the basket or use tongs to toss them. This ensures even cooking. You’ll start to hear a sizzling sound, and the edges will start to brown. That’s the good stuff.
Step 5: Add the Glaze (2 minutes)
After 10 minutes, the sprouts should be tender and crispy. Open the basket and drizzle the balsamic glaze over them. Toss them gently to coat. I usually do this right in the basket—just pour the glaze in and shake it vigorously. The residual heat will caramelize the sugar in the glaze. Cook for another 2 minutes to set the glaze. Watch closely—the sugar can burn if you leave it too long.
Step 6: Serve Immediately
Transfer to a serving dish. Sprinkle with optional Parmesan or red pepper flakes if you’re feeling fancy. Serve hot. They’re best eaten right out of the basket, but if you’re hosting, they hold up well for about 10 minutes. After that, they start to lose their crunch. I usually eat them straight from the fryer while the main dish finishes.
Total Time: About 15 minutes (5 minutes prep, 10 minutes cook).
Built-in Troubleshooting:
- Sprouts are soggy: You didn’t dry them enough, or you overcrowded the basket. Next time, cook in smaller batches.
- Glaze is burning: Your air fryer runs hot. Check them at 1 minute instead of 2. Or add the glaze at the very end, off heat.
- Too bitter: You didn’t cook them long enough. The caramelization reduces bitterness. Cook an extra 2-3 minutes if they’re still too sharp.
Expert Tips & Tricks
Here’s everything I’ve learned from making this dozens of times. These tips will save you from my mistakes.
The Dryness Rule
I cannot stress this enough: wet sprouts = sad sprouts. If you’re using fresh, trim and halve them, then let them sit on a paper towel for 5 minutes to absorb surface moisture. If frozen, thaw and press them with towels until they’re almost dry. This is the #1 reason people fail with air fryer vegetables.
Don’t Skimp on Oil
It sounds counterintuitive if you’re trying to eat healthy, but you need oil to conduct the heat. Without it, the sprouts will dry out and turn leathery. 2 tablespoons for a pound is plenty. It adds flavor and helps the seasoning stick.
Single Layer is Non-Negotiable
I know it’s tempting to pile them in. Don’t. Air fryers work by circulating hot air. If the air can’t reach the sprouts, they won’t crisp. Cook in two batches if you have to. It’s worth the extra 5 minutes.
Glaze Timing
Add the balsamic glaze at the end, not the beginning. Sugar burns easily. If you add it at the start, you’ll get black, bitter bits. The last 2 minutes is perfect for caramelizing without burning.
Pro Trick: The Shake
Shake the basket vigorously at the 5-minute mark. I usually do a little dance while I shake it—it helps me stay calm during busy weeknights. It ensures even browning on all sides.
Common Mistakes (and how to avoid them):
- Mistake: Sprouts are raw in the center — Fix: Cook an extra 2-3 minutes. Smaller sprouts cook faster. Cut larger ones into quarters.
- Mistake: Everything is burnt — Fix: Lower the temperature to 380°F. Air fryers vary in intensity. Check your first batch carefully.
- Mistake: Glaze is runny — Fix: Your glaze was too thin. Simmer it down more, or use a thicker brand. You want it to stick, not slide off.
Variations & Substitutions
Once you’ve nailed the basic version, here’s how you can mix it up. I’ve tried all of these.
Garlic Parmesan Version
Skip the balsamic. Toss the cooked sprouts with melted butter, minced fresh garlic, and grated Parmesan. Sprinkle with parsley. This is a classic side for steak night.
BBQ Bacon Sprouts
Toss with BBQ sauce instead of balsamic. Top with crispy bacon bits and cheddar cheese after cooking. My kids love this version—it tastes like a loaded potato.
Honey Soy Glaze
Mix 2 tablespoons soy sauce, 1 tablespoon honey, and 1 teaspoon sesame oil. Toss with the sprouts in the last 2 minutes. Add sesame seeds on top. Asian-inspired and delicious.
Spicy Chipotle
Toss with chipotle powder and lime juice after cooking. Add a drizzle of sour cream. Great with tacos or grilled fish.
Dietary Modifications:
- Gluten-Free — This recipe is naturally gluten-free. Just check your balsamic glaze label to ensure no additives.
- Dairy-Free — Skip the Parmesan. Use avocado oil instead of butter if adding butter. Naturally dairy-free.
- Low-Carb/Keto — This is perfect for keto. No added sugars if you use pure balsamic vinegar and reduce it yourself. High fiber and healthy fats.
- Vegan — Use oil instead of butter. Skip Parmesan or use nutritional yeast. Naturally vegan.
Pro Tip: If you’re meal prepping, these store well in the fridge for up to 3 days. Reheat in the air fryer at 350°F for 3 minutes to restore crispiness. The microwave will make them soft, so avoid it if you can.
Serving & Storage
How to Serve:
I usually serve these straight from the air fryer basket at the dinner table—it looks rustic and stays warm. But here are other ways I’ve enjoyed them:
Side Dishes:
- Roasted Chicken — The classic pairing. The sprouts cut through the richness of the chicken.
- Grilled Steak — A perfect vegetable side for a steak dinner. Add a blue cheese crumble for extra flair.
- Pork Chops — Sweet and savory matches well with pork.
- Fish Tacos — Surprisingly good with spicy fish tacos. The acidity cuts the fried batter.
Toppings Bar:
When I have guests, I put out: extra balsamic glaze, Parmesan, red pepper flakes, lemon wedges, and crispy bacon bits. Everyone customizes their bowl.
Wine Pairing:
Not a wine expert, but my wine-snob friend says a Pinot Noir or a dry Riesling works great with the sweet and savory profile.
Storage Instructions:
Refrigerator: Store in an airtight container for up to 4 days. They’ll soften in the fridge—totally normal.
Reheating: Best method: Air fryer at 350°F for 3-4 minutes. This restores the crunch. Microwave method: Works in a pinch, but they’ll be soft. Heat in 30-second intervals.
Freezing: Honestly, these don’t freeze well. The texture gets mushy after thawing. Make them fresh or store in the fridge for up to 4 days.
Pro tip: If you’re making these for a party, cook them in batches and keep them warm in a low oven (200°F) while you finish the rest. Don’t let them sit in the basket, or they’ll overcook.
Nutrition Information
I’m not a nutritionist, but here’s the breakdown if you’re tracking.
Per Serving (based on 4 servings, without optional add-ins):
- Calories: 120
- Protein: 4g
- Carbs: 12g
- Fiber: 4g
- Sugar: 6g (from balsamic)
- Fat: 8g
- Saturated Fat: 1g
- Cholesterol: 0mg
- Sodium: 180mg
What’s Good:
- High in fiber and Vitamin C
- Low calorie density
- Antioxidants from the balsamic
- Can be made dairy-free and gluten-free
What to Know:
- Sugar content comes from the glaze—use less if tracking carbs
- Contains healthy fats from avocado oil
- Moderate sodium (use low-sodium broth if adding broth, though not used here)
My Take:
Look, this is a vegetable dish with oil and sugar. It’s not a diet food, but it’s way better than fries. It’s nutrient-dense, filling, and actually tastes good. When I want to make it lighter, I reduce the oil to 1 tablespoon and skip the glaze. But usually? I just eat a reasonable portion and enjoy it. It’s a great way to sneak more greens into your diet without feeling like you’re eating salad.
Final Thoughts
So that’s my go-to crispy air fryer Brussels sprouts with balsamic glaze! I’ve probably talked your ear off at this point, but when you make a recipe this often, you have a lot to say about it.
This has saved weeknight dinners more times than I can count. It’s my answer to “what’s for dinner” when I’m tired, don’t want takeout, and still want something that tastes really good. My kids are happy, my husband’s happy, and I’m happy because I’m not stressed about cooking.
Make it yours! Try different glazes, swap in your favorite spices, adjust the garlic. The best recipes are the ones you adapt to your family’s tastes. If you make this, drop a comment and let me know what you think! I love hearing how recipes turn out in your kitchen. And if something doesn’t work, tell me that too—I’m here to help troubleshoot.
Happy cooking! And I hope your kitchen smells half as good as mine does right now.
Frequently Asked Questions
Q: Can I use frozen Brussels sprouts?
A: Yes, but you must thaw them completely and pat them VERY dry. Frozen sprouts release a lot of water. If you don’t dry them, they’ll steam. I usually thaw them in a bowl of cold water, then squeeze them in a towel until they’re almost dry. It takes extra effort, but it works.
Q: Why are my sprouts still bitter?
A: Bitterness comes from undercooking or lack of caramelization. Cook them longer until the edges are dark brown. The balsamic glaze also helps mask bitterness with sweetness. If they’re still too bitter, add a pinch of sugar to the oil before cooking.
Q: Can I make this ahead for a dinner party?
A: Sort of. Prep the sprouts (trim and dry) up to 2 days ahead and store in the fridge. Cook them fresh right before serving. They’re best eaten hot and crispy. I don’t recommend cooking them an hour early—they’ll get soft.
Q: Why did my glaze burn?
A: Sugar burns easily. If your air fryer runs hot, check them at 1 minute instead of 2. Or add the glaze at the very end, off heat. You can also mix the glaze with a little oil to dilute the sugar.
Q: Can I use olive oil instead of avocado oil?
A: Yes, but use refined olive oil (light olive oil) because extra virgin has a lower smoke point and can burn at 400°F. Avocado oil is more neutral, but olive oil works fine if you watch it closely.
Q: How do I reheat leftovers without it getting dry?
A: Air fryer is best. 350°F for 3 minutes. Microwave will make them soft and chewy. If you must microwave, add a splash of water and cover it, but expect a texture change.
Q: Can I double this recipe?
A: Absolutely! But you’ll need to cook in two batches. Do not overcrowd the basket. Double batches will steam instead of crisp. It’s worth the extra 5 minutes.
Pin This Recipe!
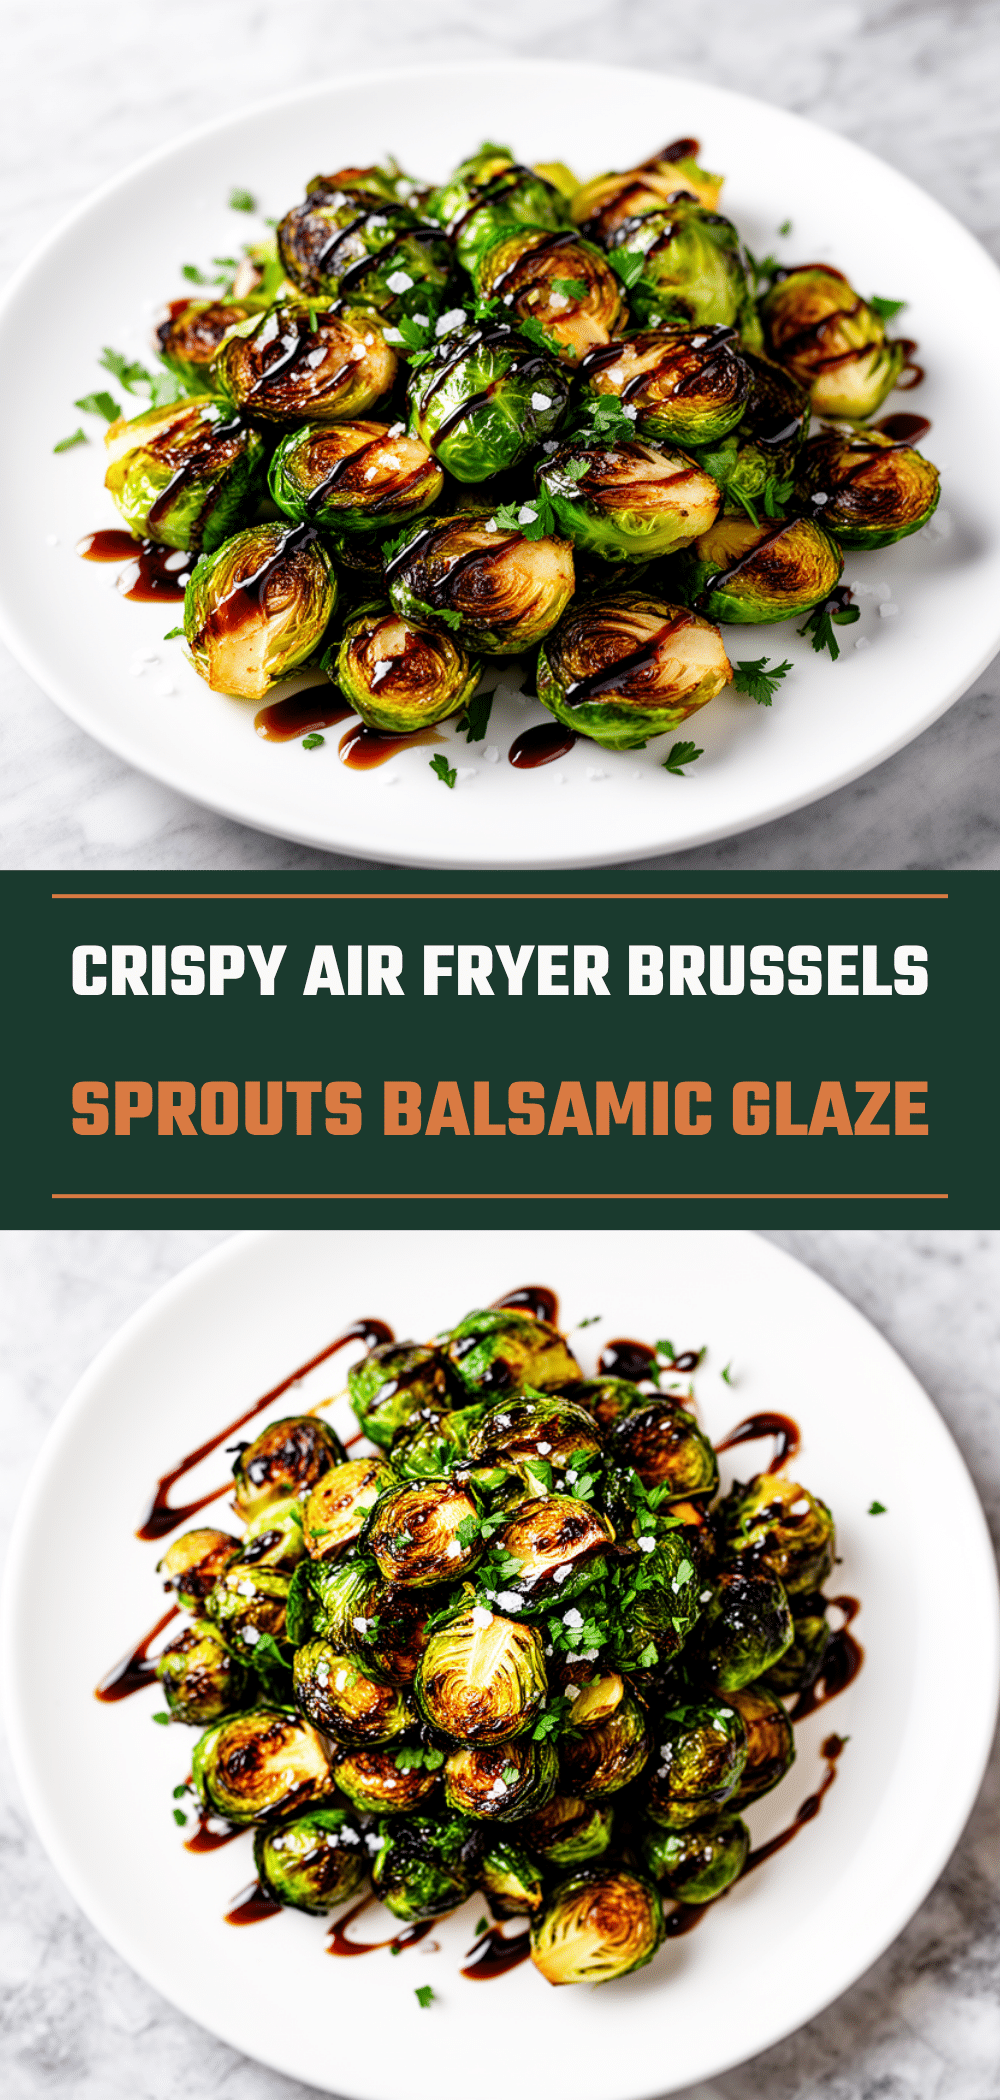
Crispy Air Fryer Brussels Sprouts: 15-Min Easy Balsamic Recipe
- Total Time: 15 minutes
- Yield: 4 servings 1x
Description
A quick and easy side dish featuring crispy, caramelized Brussels sprouts tossed in balsamic glaze, ready in just 15 minutes using an air fryer.
Ingredients
- 1 pound Brussels sprouts (fresh or frozen, thawed and dried)
- 2 tablespoons avocado oil or olive oil
- 1 teaspoon kosher salt
- 1/2 teaspoon garlic powder
- 3 tablespoons balsamic glaze
Instructions
- Prep the sprouts: Trim stems and halve fresh sprouts, or thaw and thoroughly dry frozen sprouts to remove moisture.
- Season and oil: Place sprouts in a large bowl, drizzle with oil, and sprinkle with salt and garlic powder. Toss until evenly coated.
- Preheat air fryer: Preheat air fryer to 400°F (200°C) for 3 minutes.
- Cook sprouts: Arrange sprouts in a single layer in the air fryer basket. Cook for 10 minutes, shaking the basket halfway through to ensure even browning.
- Add glaze: Drizzle balsamic glaze over the sprouts and toss to coat. Cook for an additional 2 minutes to caramelize the glaze.
- Serve immediately: Transfer to a serving dish and enjoy hot.
Notes
Ensure sprouts are completely dry before cooking to achieve maximum crispiness. Do not overcrowd the air fryer basket; cook in batches if necessary. Add balsamic glaze at the end to prevent burning. If using frozen sprouts, thaw and squeeze out excess water thoroughly.
- Prep Time: 5 minutes
- Cook Time: 10 minutes
- Category: Side Dish
- Cuisine: American
Nutrition
- Serving Size: 1/4 of the batch
- Calories: 120
- Sugar: 6
- Sodium: 180
- Fat: 8
- Saturated Fat: 1
- Carbohydrates: 12
- Fiber: 4
- Protein: 4
Keywords: air fryer, brussels sprouts, balsamic glaze, healthy side dish, quick recipes, vegetarian, gluten-free, keto-friendly


