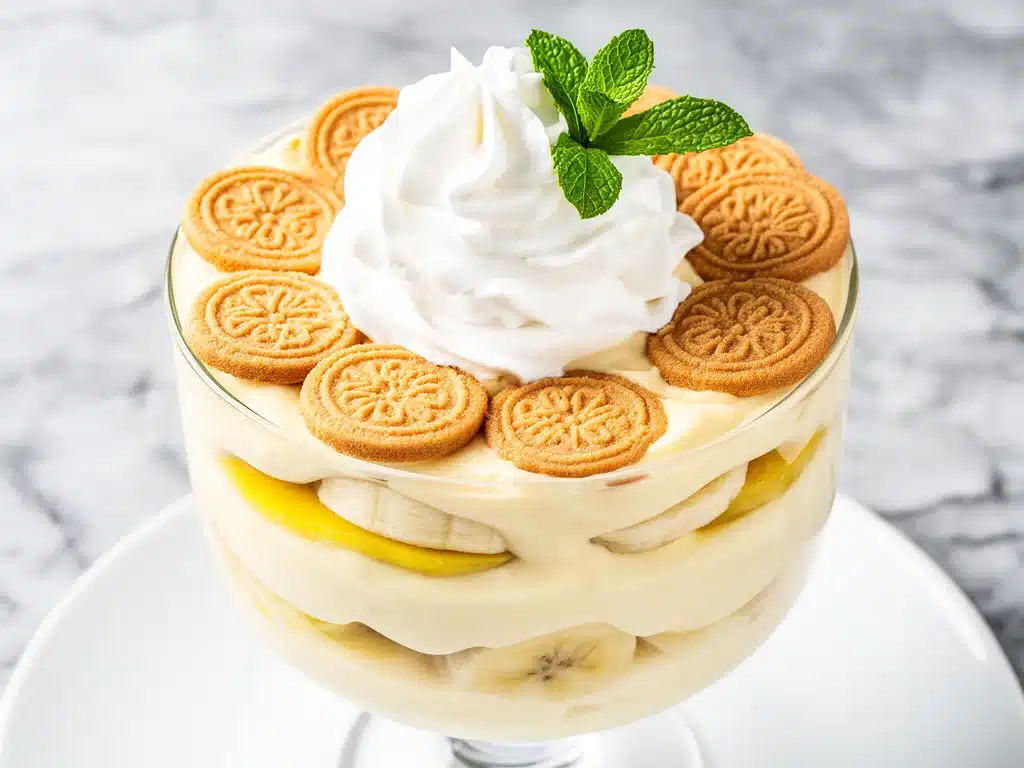
I still remember the exact moment I stopped trying to be a “fancy” baker. It was a humid Sunday in July, the kind where the air feels like a warm, wet towel against your face. I had spent the morning trying to make an elaborate layered cake for my niece’s birthday, and somehow, I’d ended up with a collapsed, sunken mess in the center. I was exhausted, sweaty, and honestly, just done with the stress of perfection. I looked at the ingredients on my counter—bananas that were begging to be used, a tub of heavy cream, and a box of vanilla wafers—and decided that if anyone wanted cake, they could eat it. They wanted banana pudding. The real kind. The kind from the South.
I threw together what I thought would be a mediocre quick fix. But here’s the thing: it turned out better than anything I’d ever painstakingly crafted. The layers were soft but distinct. The custard was silky, not gluey. And the bananas? Sweet, tangy, and perfectly ripe. My family devoured it. My aunt asked for the recipe. My husband, who usually prefers something with a bit more “chew,” asked for seconds. That was the day I realized that sometimes, the best desserts aren’t about complex techniques or expensive ingredients. They’re about simplicity, timing, and knowing exactly what you’re doing.
This creamy banana pudding with vanilla wafers has been in my rotation for over five years. I’ve made it for potlucks, for last-minute guests, and for quiet Tuesday nights when I just need a hug in dessert form. It’s easy, it’s nostalgic, and it tastes like comfort. I’ve tested this recipe dozens of times to ensure that every spoonful is consistent, creamy, and absolutely delicious. No dry wafers. No watery custard. Just pure, vanilla-infused heaven.
Why You’ll Love This Banana Pudding Recipe
There are about ten reasons I keep making this, but let’s be real—you don’t need another complicated dessert that requires three different types of chocolate and a tempering thermometer. This banana pudding is the answer to “what’s for dessert?” when you want something special but don’t want to spend hours in the kitchen. Here’s why this version is the one you’ll keep coming back to.
- Stupid Simple Ingredients — Seriously, if you can boil water and mash a banana, you can make this. I’ve walked my teenage son through it over FaceTime. You only need a handful of items: bananas, vanilla wafers, cream, sugar, and a bit of milk or cream cheese for that extra richness. It’s pantry-friendly and budget-smart.
- Lightning Fast Prep — The active prep time is about 15 minutes. The rest is just chilling. I make this on weeknights when I get home at 7pm and still want something homemade. It’s ready in time for bedtime stories, or you can make it the night before if you’re planning ahead.
- Nostalgia in Every Bite — This tastes like childhood. It tastes like Sunday dinners at grandma’s house. It’s that classic, comforting flavor profile that everyone recognizes and loves. I’ve served this to picky eaters and food snobs, and everyone asks for the recipe.
- Makes Amazing Leftovers — Actually tastes better the next day. The flavors meld together, the wafers soften just right (not mushy, just tender), and the custard sets up beautifully. I deliberately make extra for breakfast-or-lunch treats throughout the week.
- Customizable Texture — You control the crunch. Like your wafers soft? Layer them early. Like them chewy? Add them right before serving. This recipe adapts to your family’s preferences.
This is my go-to when I need dessert to just work. No complicated techniques, no weird ingredients, just reliable, delicious food that makes everyone happy. And if you’re looking for other easy, crowd-pleasing treats, you might also enjoy my no-bake peanut butter banana energy bites—they’re a great snack option if you want something lighter before the big pudding.
Ingredients You’ll Need
Here’s the best part: you probably have most of this already in your kitchen. I’m particular about three ingredients here, and I’ll tell you exactly why. This isn’t just a list; it’s a guide to getting it right every time.
For the Custard Base
Heavy cream (2 cups / 480ml) — This is non-negotiable for that rich, velvety texture. Full-fat only. Low-fat cream will make the pudding thin and icy. I whip it to soft peaks first, which gives the pudding its airy, light structure. Trust me on this.
Cream cheese (8 oz / 225g) — I use full-fat, block cream cheese (not the spreadable kind in a tub). It adds tang and stability to the custard, preventing it from being too sweet or too runny. Let it come to room temperature before mixing so it blends smoothly.
Granulated sugar (½ cup / 100g) — I prefer white sugar for this because it dissolves completely and doesn’t add any caramel flavor. If you like a deeper taste, you can substitute half with brown sugar, but the classic flavor is best with white.
Vanilla extract (2 teaspoons / 10ml) — Use pure vanilla extract, not imitation. The difference is huge in a dessert with so few ingredients. I use a good-quality brand like Nielsen-Massey or McCormick. It’s the backbone of the flavor.
Whole milk (½ cup / 120ml) — Just enough to thin the cream cheese mixture so it’s spreadable. Don’t skip this, or the pudding will be too thick to layer nicely.
For the Layers
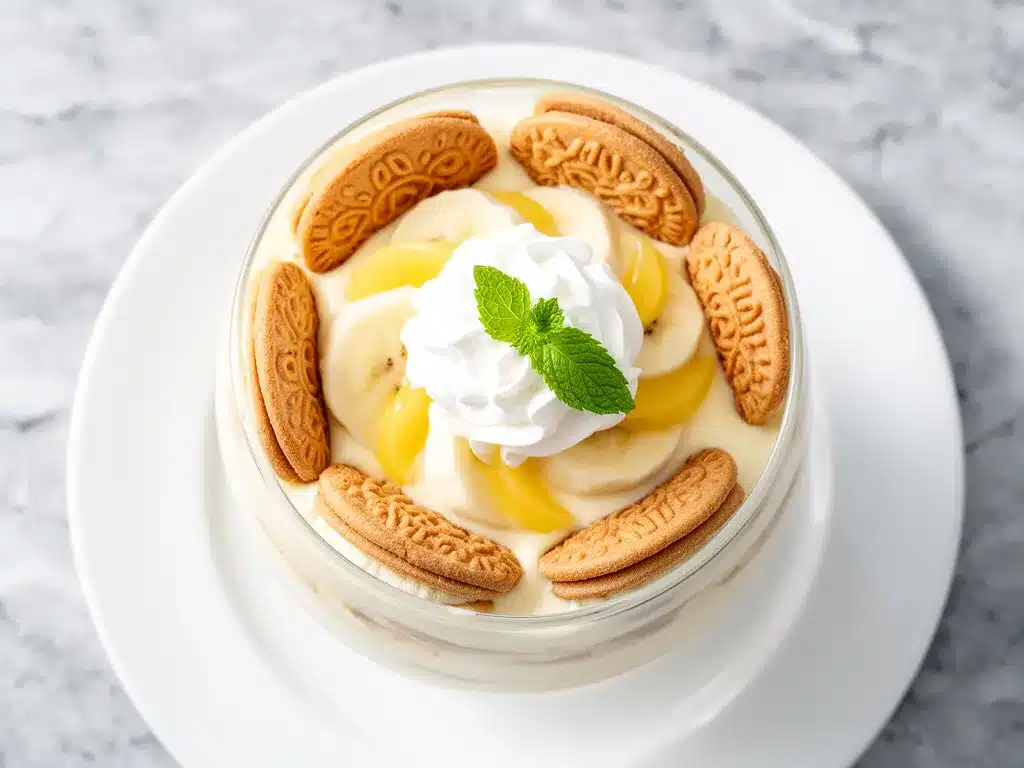
Ripe bananas (4 large / about 1.5 lbs / 680g) — They need to be yellow with brown spots. Too green? They’re tart and hard. Too brown? They turn to mush. Look for that perfect “banana yellow” with just a few freckles. Slice them evenly—about ¼-inch thick—for consistent texture.
Vanilla wafers (1 large box / about 30-40 cookies) — I use Nilla Wafers. They’re the standard for a reason. They hold up well to the custard without disintegrating. Do not substitute with shortbread or ladyfingers unless you want a completely different dessert. The texture won’t be right.
Optional but recommended: Whipped cream topping (store-bought or homemade) — For that classic diner look. Chocolate shavings — A sprinkle on top adds a nice contrast. Chopped peanuts — If you like a salty crunch, this is a Southern twist I love.
Personal Tip: I always buy the block of cream cheese and whip it myself. The pre-whipped tubs often contain stabilizers that can make the texture grainy. It takes 3 minutes in a mixer and makes a huge difference. Also, slice your bananas right before you assemble the pudding to prevent browning. If you slice them too early, they’ll oxidize and turn gray.
Equipment Needed
You don’t need fancy equipment for this. Here’s what I actually use.
Large mixing bowl — I use a 5-quart glass or stainless steel bowl. It needs to be big enough to whip the cream to stiff peaks without splattering. My ancient glass bowl from college still works fine.
Hand mixer or stand mixer — You need to whip the cream and cream cheese until smooth. A hand mixer is perfect for this. I prefer a hand mixer because it’s easier to scrape the sides of the bowl. If you only have a whisk, it’ll take a lot of arm strength, but it works.
9×13 inch baking dish or trifle bowl — A clear glass trifle bowl looks beautiful for serving, but a standard 9×13 dish is easier for layering and storing. I use a 9×13 dish for family gatherings because it feeds more people.
Knife and cutting board — For slicing bananas. A serrated knife works best for bananas because it doesn’t crush them as much as a straight blade.
Rubber spatula — For folding the whipped cream into the custard. This is crucial. You need to fold gently to keep the air in the whipped cream. A metal spoon will deflate it.
Measuring cups and spoons — Standard stuff. Dollar store versions work fine.
Optional but nice: Piping bag — If you want to make little rosettes of whipped cream on top, this makes it look fancy. But a spoon works just as well.
How to Make It: Step-by-Step
Alright, let’s make this! I’m walking you through exactly how I do it, including the little tricks I’ve picked up.
Step 1: Prep Your Ingredients (5 minutes)
Before you start, slice your bananas and set them aside on a plate. Line the plate with parchment paper if you have it, just to catch any juice. Peel the cream cheese and cut it into cubes so it softens faster. Measure out your sugar, vanilla, and milk. Once you start mixing, things move fast, and you don’t want to be hunting for ingredients.
Step 2: Whip the Cream (3-4 minutes)
In your large mixing bowl, pour the cold heavy cream. Start mixing on medium speed, gradually increasing to high. Whip until you see soft peaks—when you lift the beaters, the cream should hold a shape but droop slightly. Don’t over-whip it into butter! If you’re making this ahead, you can whip it to stiff peaks, but soft peaks are easier to fold later. Set the whipped cream aside.
Step 3: Make the Custard Base (2 minutes)
In a separate bowl, beat the room-temperature cream cheese until smooth and creamy. Add the sugar and vanilla extract. Beat on medium speed until well combined and smooth. This should take about 1-2 minutes. If there are lumps, keep beating. Then, slowly pour in the milk while mixing on low. You want a smooth, spreadable consistency. Taste it—it should be sweet and vanilla-forward.
Step 4: Fold It Together (2 minutes)
This is the most important step. Add half of the whipped cream to the cream cheese mixture. Fold it in gently with a rubber spatula until combined. Then, add the remaining whipped cream and fold until just combined. You’re looking for a uniform, fluffy mixture. Do not stir vigorously. You’re trapping air in the pudding, and you want to keep it light. If you stir too hard, you’ll deflate it, and the pudding will be dense.
Step 5: Layer the Pudding (5 minutes)
Start your layering in your 9×13 dish. First, line the bottom with a layer of vanilla wafers. You might need to break a few to fit the corners. Next, spread half of the custard mixture over the wafers. Then, arrange half of the sliced bananas over the custard. Repeat the layers: wafers, custard, bananas. End with a final layer of wafers on top. Press down gently on the top layer of wafers to help them absorb the custard.
Step 6: Chill and Set (At least 4 hours)
Cover the dish tightly with plastic wrap or a lid. Place it in the refrigerator for at least 4 hours, but overnight is best. This is when the magic happens. The wafers soften into a cake-like texture, the bananas release their juice into the custard, and everything melds together. If you’re impatient, wait at least 4 hours. If you eat it too soon, the wafers will be hard and crunchy, and the flavors won’t have blended.
Step 7: Serve
Before serving, you can add a layer of whipped cream on top, sprinkle with chocolate shavings or chopped peanuts. Slice with a sharp knife into squares. Serve cold. The texture should be creamy, soft, and inviting.
Total Time: About 20 minutes active, plus 4+ hours chilling.
Expert Tips & Tricks
Here’s everything I’ve learned from making this dozens of times. These tips will save you from my mistakes.
Keep the Bananas Fresh
This is the #1 tip. Slice your bananas right before you assemble the pudding. If you slice them too early, they’ll turn brown and oxidize. I’ve made the mistake of slicing them the night before, and while they still taste good, they look gray. Not pretty. Slice them fresh, and if you’re worried about browning, you can toss them in a little lemon juice, but it’s not necessary if you eat them within a few hours.
Don’t Skip the Chill Time
I know it’s tempting to eat it immediately. But the wafers need time to soften. If you eat it fresh, it’s basically a bowl of cream cheese and bananas with hard cookies. Let it chill for at least 4 hours. Overnight is ideal. The texture transforms completely.
Room Temperature Cream Cheese
Cold cream cheese is hard to beat smooth. If you try to mix it cold, you’ll get lumps. Take it out of the fridge 30 minutes before you start. If you forget, microwave it for 15-20 seconds. It should be soft but not melted.
Fold, Don’t Stir
When combining the whipped cream and custard, use a folding motion. Cut down through the center, scoop up from the bottom, and turn over. Repeat. This keeps the air in the whipped cream, making the pudding light and fluffy. Stirring will deflate it.
Common Mistakes (and how to avoid them):
Mistake: Pudding is too runny
Fix: You probably didn’t whip the cream enough, or you used low-fat cream. Make sure you whip to soft peaks and use full-fat cream. Also, don’t add too much milk to the cream cheese mixture.
Mistake: Wafers are too hard
Fix: You didn’t chill it long enough, or you didn’t press the wafers down. Make sure to press the top layer of wafers gently so they absorb the custard. Chill for at least 4 hours.
Mistake: Bananas are browning
Fix: Slice them right before assembling. If you’re making it ahead, add a tiny splash of lemon juice to the banana slices, but it’s usually not needed if you chill it properly.
Variations & Substitutions
Once you’ve nailed the basic version, here’s how you can mix it up. I’ve tried all of these.
Chocolate Banana Pudding
Add ¼ cup of cocoa powder to the cream cheese mixture. It turns it into a chocolate custard. It’s rich and decadent. My kids love this version. It tastes like a banana split without the ice cream.
Butterscotch Banana Pudding
Swap the vanilla extract for butterscotch extract. Use butterscotch wafers if you can find them. It’s a Southern classic variation. The flavor is warm and caramel-like.
Gluten-Free
Use gluten-free vanilla wafers. Most brands work well, but check the texture. Some GF wafers are more crumbly. You might need to press them down more firmly. Everything else is naturally gluten-free.
Dairy-Free
Replace heavy cream with full-fat coconut cream (chill the can overnight, scoop out the solid part). Use dairy-free cream cheese (like Miyoko’s) and dairy-free vanilla wafers. It’s different but still tasty. My lactose-intolerant friend requests this version.
Lighter Version
Use Greek yogurt instead of cream cheese and light whipped topping instead of heavy cream. It’s thinner but still good. I make this when I’m trying to be “healthy.” It’s not the same richness, but it’s a decent swap.
With Nuts
Add a layer of chopped roasted peanuts or pecans between the layers. The saltiness contrasts beautifully with the sweet custard. This is a popular Southern twist.
Serving & Storage
How to Serve:
I usually serve this straight from the dish at the dinner table—it looks rustic and stays cool. But here are other ways I’ve enjoyed it:
- Individual Parfaits: Layer the ingredients in small glasses for a fancy presentation. Great for parties.
- With Fresh Fruit: Serve with a side of fresh strawberries or raspberries to cut the sweetness.
- Warm Cookie on the Side: Serve a warm chocolate chip cookie alongside the cold pudding. The temperature contrast is amazing.
Storage Instructions:
Refrigerator: Store in an airtight container or covered tightly with plastic wrap for up to 5 days. The pudding will continue to soften in the fridge. It actually tastes better on day 2 and 3.
Freezing: Honestly, this doesn’t freeze well. The bananas become mushy when thawed, and the cream cheese texture can separate. Make it fresh or store in the fridge for up to 5 days.
Meal Prep: This is perfect for meal prep. Make it on Sunday, and you have dessert ready for the week. Just keep it covered in the fridge.
Pro tip: If the pudding looks dry on top, stir in a tablespoon of milk and cover it. It’ll rehydrate the top layer.
Nutrition Information
I’m not a nutritionist, but here’s the breakdown if you’re tracking.
Per Serving (based on 12 servings):
- Calories: 380
- Protein: 4g
- Carbs: 45g
- Fiber: 2g
- Sugar: 30g
- Fat: 22g
- Saturated Fat: 13g
- Cholesterol: 65mg
- Sodium: 220mg
What’s Good:
– Decent protein from the cream cheese
– Potassium from the bananas
– Can add nuts for healthy fats
What to Know:
– Higher in calories from cream and sugar
– Contains dairy
– Moderate sodium
My Take: Look, this is dessert. It’s sweet, rich, and indulgent. It’s not a diet food. But it’s way better than store-bought pudding, and it’s made with real ingredients. When I want to make it lighter, I use the Greek yogurt version. But usually? I just eat a reasonable portion and enjoy it.
Final Thoughts
So that’s my creamy banana pudding with vanilla wafers! I’ve probably talked your ear off at this point, but when you make a recipe this often, you have a lot to say about it.
This has saved dessert nights more times than I can count. It’s my answer to “what’s for dessert?” when I’m tired, don’t want to bake, and still want something that tastes really good. My kids are happy, my husband’s happy, and I’m happy because I’m not stressed about cooking.
Make it yours! Try different toppings, swap in your favorite wafers, adjust the sweetness. The best recipes are the ones you adapt to your family’s tastes.
If you make this, drop a comment and let me know what you think! I love hearing how recipes turn out in your kitchen. And if something doesn’t work, tell me that too—I’m here to help troubleshoot.
Happy cooking! And I hope your kitchen smells half as good as mine does right now.
Frequently Asked Questions
Q: Can I use instant pudding mix instead of making the custard?
A: You can, but it’s not the same. Instant pudding mix is thicker and has a different texture. If you want to use it, mix it with milk as directed, then fold in whipped cream. It’s faster, but the homemade custard is richer and smoother. I prefer the homemade version because you control the sweetness.
Q: Why did my pudding turn out watery?
A: Usually, this means you didn’t whip the cream enough, or you added too much milk to the cream cheese. Make sure you whip the cream to soft peaks and don’t add more than ½ cup of milk to the cream cheese. Also, bananas release water as they sit, so if you use very ripe bananas, they might add extra liquid. That’s normal, but it can make the pudding looser.
Q: Can I make this ahead for a dinner party?
A: Absolutely! This is actually better when made ahead. Make it up to 2 days ahead and store in the fridge. The flavors meld together, and the wafers soften perfectly. Just add any toppings (like whipped cream or nuts) right before serving.
Q: Why did my bananas turn brown?
A: Bananas oxidize when exposed to air. To prevent this, slice them right before you assemble the pudding. If you’re slicing them early, toss them in a little lemon juice or pineapple juice. This prevents browning and adds a nice flavor.
Q: Can I use frozen bananas?
A: No. Frozen bananas are mushy when thawed and will make the pudding watery. Use fresh, ripe bananas for the best texture. If you have overripe bananas, freeze them for smoothies, but not for this pudding.
Q: How do I store leftovers?
A: Cover the dish tightly with plastic wrap or transfer to an airtight container. Store in the fridge for up to 5 days. The pudding will continue to soften, which is good. Just make sure it’s covered so it doesn’t absorb fridge odors.
Q: Can I double this recipe?
A: Yes! Double all the ingredients and use a larger dish (like a 9×13 instead of an 8×8). The chilling time stays the same. I do this when I’m feeding a crowd. Just make sure your mixing bowl is big enough to whip the cream.
Pin This Recipe!
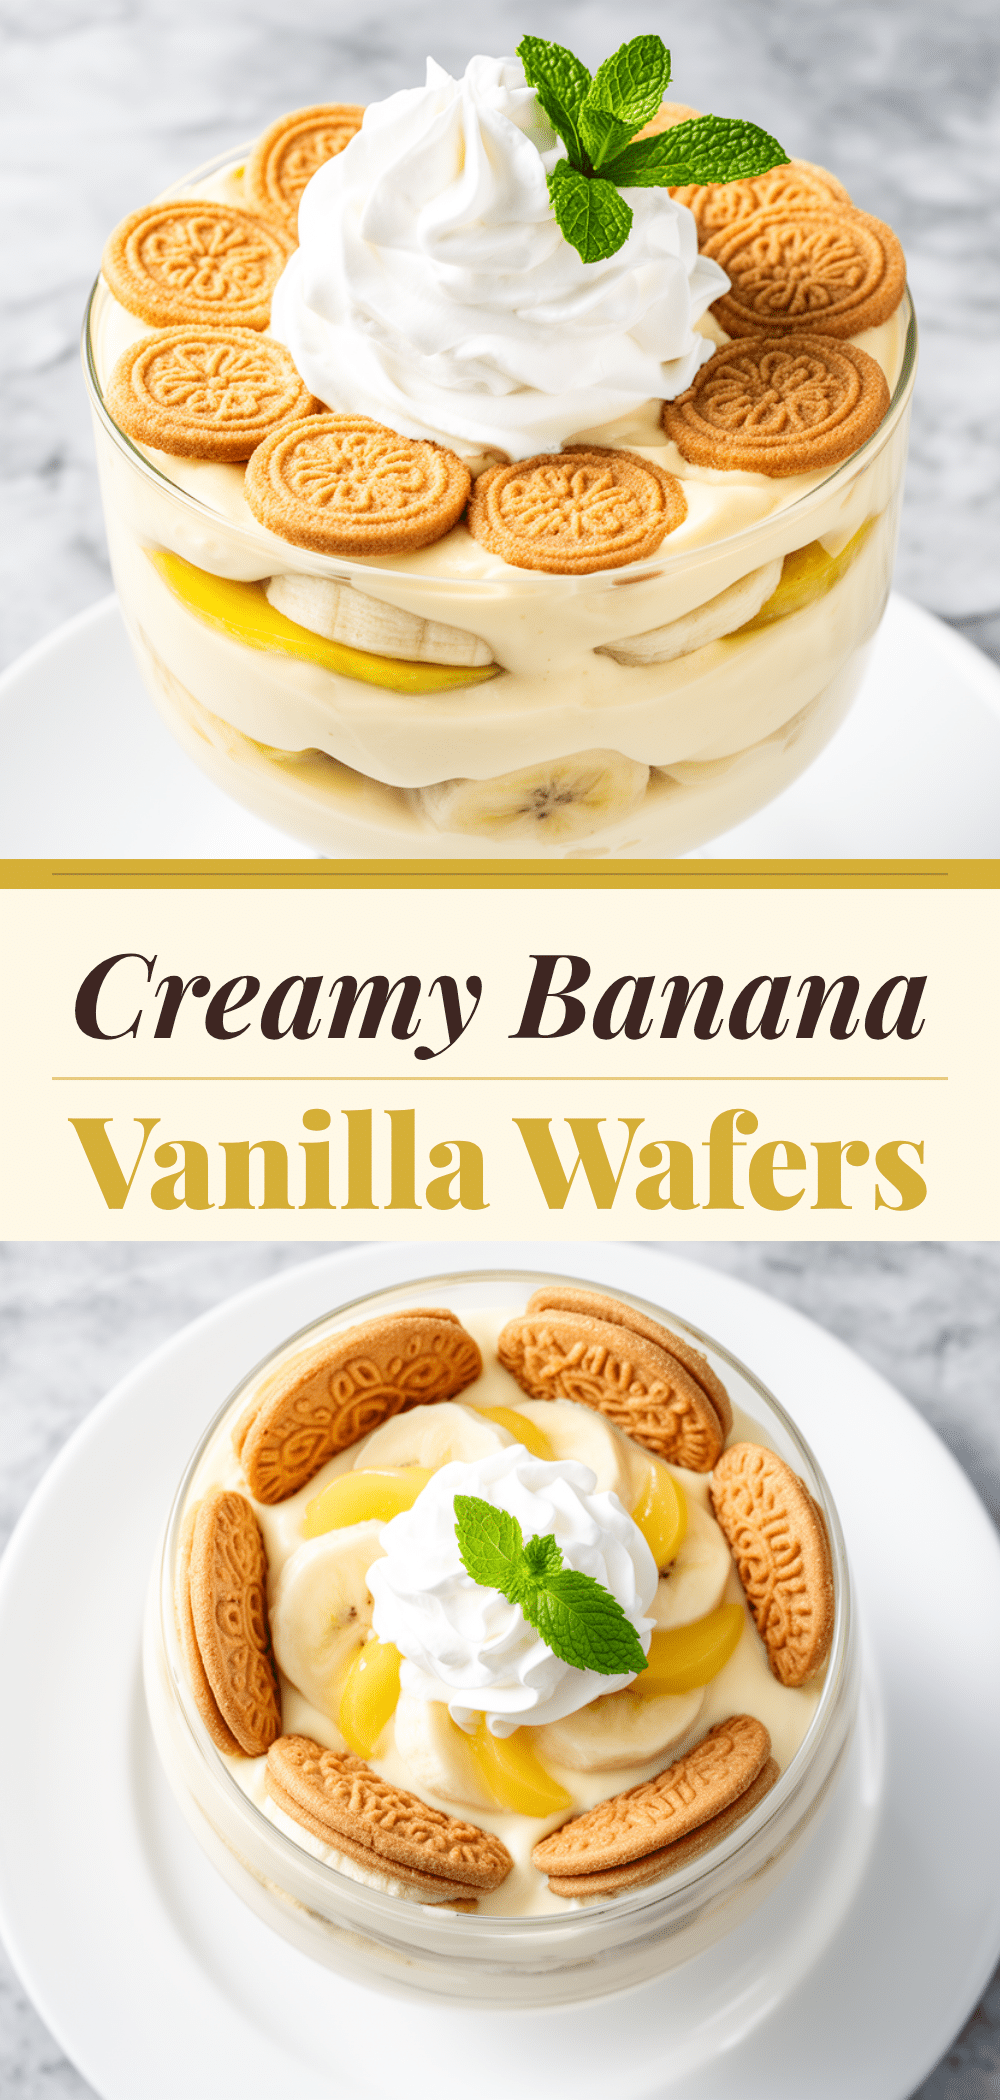
Creamy Banana Pudding with Vanilla Wafers: Easy 3-Ingredient Dessert
- Total Time: 4 hours 15 minutes
- Yield: 12 servings 1x
Description
A nostalgic, no-bake Southern-style banana pudding featuring layers of ripe bananas, vanilla wafers, and a rich, silky custard made from whipped cream and cream cheese. Simple to make and perfect for meal prep.
Ingredients
- 2 cups (480ml) heavy cream, cold
- 8 oz (225g) full-fat block cream cheese, room temperature
- ½ cup (100g) granulated sugar
- 2 teaspoons pure vanilla extract
- ½ cup (120ml) whole milk
- 4 large ripe bananas (yellow with brown spots), sliced ¼-inch thick
- 1 large box (30–40 cookies) vanilla wafers (e.g., Nilla Wafers)
- Optional toppings: Whipped cream, chocolate shavings, chopped peanuts
Instructions
- Slice bananas and set aside. Cut cream cheese into cubes to soften.
- In a large mixing bowl, whip the cold heavy cream on medium-high speed until soft peaks form. Set aside.
- In a separate bowl, beat the room-temperature cream cheese until smooth. Add sugar and vanilla extract, beating until combined. Slowly pour in milk while mixing on low until smooth and spreadable.
- Gently fold half of the whipped cream into the cream cheese mixture. Add the remaining whipped cream and fold until just combined, being careful not to deflate the air.
- In a 9×13 inch baking dish, create layers: start with vanilla wafers, spread half the custard, then half the bananas. Repeat layers, ending with wafers. Press down gently on the top layer.
- Cover tightly with plastic wrap and refrigerate for at least 4 hours, preferably overnight, to allow wafers to soften and flavors to meld.
- Serve cold, optionally topped with additional whipped cream, chocolate shavings, or peanuts.
Notes
Slice bananas immediately before assembling to prevent browning. Ensure cream cheese is at room temperature for a smooth custard. Do not stir vigorously when folding whipped cream to maintain a light texture. This pudding tastes better the next day as flavors meld. It does not freeze well due to texture changes in bananas and cream cheese.
- Prep Time: 15 minutes
- Cook Time: 0 minutes
- Category: Dessert
- Cuisine: American
Nutrition
- Serving Size: 1 slice (approx. 1/1
- Calories: 380
- Sugar: 30
- Sodium: 220
- Fat: 22
- Saturated Fat: 13
- Carbohydrates: 45
- Fiber: 2
- Protein: 4
Keywords: banana pudding, vanilla wafers, no-bake dessert, southern dessert, easy dessert, cream cheese pudding, meal prep dessert, comfort food


