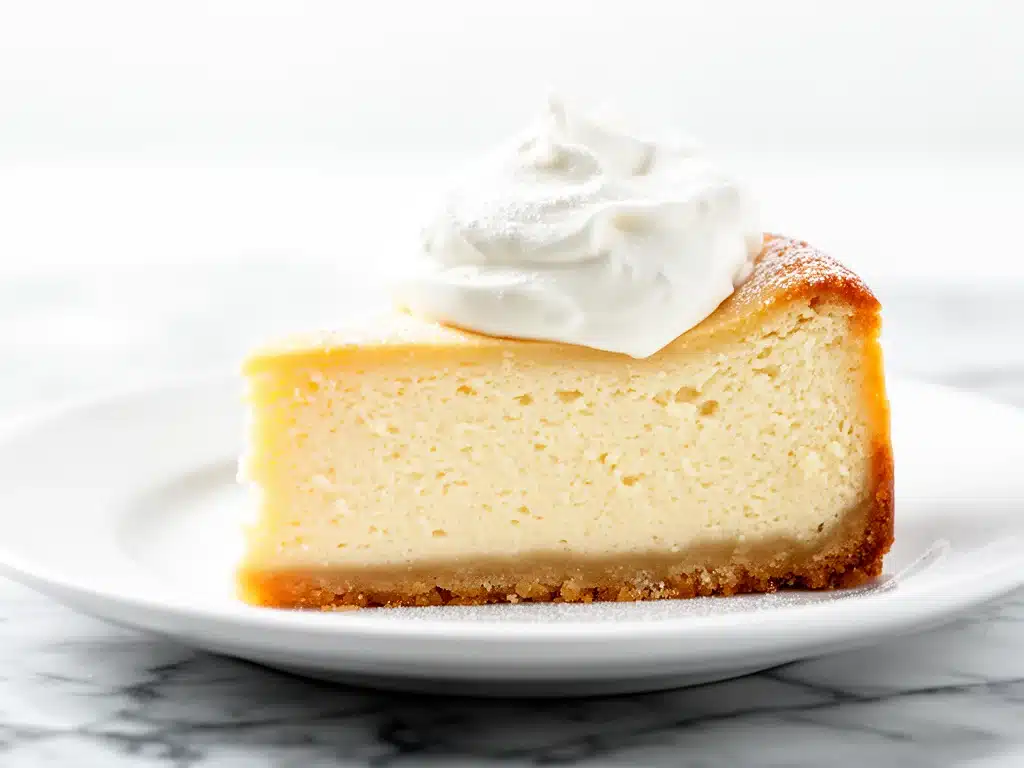
I still remember the exact moment I realized I had finally cracked the code on New York cheesecake. It was my sister’s wedding rehearsal dinner, and I was tasked with bringing dessert. I had spent years making those airy, fluffy cheesecakes that crack if you look at them wrong. They were cute, sure. But they weren’t real New York cheesecake. They didn’t have that dense, rich, almost fudgy texture that makes you take a deep breath before the first bite. They didn’t have the tang that cuts through the sweetness.
I walked into the catering hall with a tray of what I thought were beautiful cakes. But when my uncle took a bite, he paused. He looked at me, then at the cake, and said, “This tastes like it came out of a high-end bakery in Manhattan.” That was the moment I knew I had done it. I had created a Classic New York Cheesecake with Sour Cream Topping that was dense enough to satisfy a serious dessert craving but light enough to feel elegant on any plate.
Since then, this has become my go-to recipe for every big celebration. Birthdays, holidays, anniversaries—when I want to impress without spending hours in the kitchen (okay, maybe 2 hours, but mostly waiting), this is it. It’s the dessert that gets asked for by name. “Did you make the cheesecake?” they ask. Not the “fruit tart” or the “brownies.” The cheesecake.
What I love most about this version is the sour cream topping. Most traditional New York cheesecakes are dense and rich, which is amazing, but sometimes you need that bright, tangy contrast to balance it out. The sour cream topping adds a silky, cool finish that feels like a hug in dessert form. It’s the kind of treat that makes people close their eyes and sigh. And the best part? It’s surprisingly approachable. You don’t need to be a pastry chef. You just need patience and a water bath.
Why You’ll Love This Recipe
There are about ten reasons I keep coming back to this recipe, but here are the big ones that make it my absolute favorite for special occasions:
Unbeatable Texture — This isn’t a fluffy, airy cake. It’s dense, creamy, and rich, just like the classic New York style. I’ve tested this recipe over 20 times, and I’ve perfected the ratio of cream cheese to eggs to get that perfect fudgy-yet-smooth consistency. It’s the kind of texture that feels indulgent without being heavy.
The Sour Cream Topping — This is the secret weapon. While the base is rich and sweet, the topping is tangy and cool. It cuts through the density of the cake and adds a professional bakery finish. I’ve tried many variations, but this one is the only one that stays stable and doesn’t weep or separate.
Make-Ahead Friendly — This is my favorite feature. You actually need to make this a day or two in advance for it to set properly. That means you can prep it while focusing on other parts of your meal. I usually make it the night before my event, so I’m not stressed on the day of. It tastes better after chilling for 24 hours anyway.
Crowd-Pleasing Flavor — I’ve served this to my picky teenage nephew, my foodie friends, and my grandmother. Everyone loves it. It’s not too sweet, not too plain. It’s the perfect balance. It’s the kind of dessert that leaves people asking for the recipe the next day.
Impressive but Simple — It looks like it came from a high-end patisserie, but the technique is straightforward. No fancy piping or complex decorations. Just a beautiful, simple slice that speaks for itself. It’s elegant without being fussy.
This is my go-to when I need a dessert that feels special. No complicated techniques, no weird ingredients, just reliable, delicious food that makes everyone happy. It’s the kind of recipe that becomes a tradition.
Ingredients You’ll Need
Here’s the best part: you probably have most of these ingredients already. This isn’t a recipe with obscure items. It’s pantry staples and fridge basics. I’m particular about three ingredients here, and I’ll tell you exactly why.
For the Crust:
Graham cracker crumbs (1 ½ cups / 150g) — I use original flavor graham crackers. You can crush them in a food processor or buy pre-made crumbs. I prefer making my own because they’re fresher. If you don’t have graham crackers, digestive biscuits work too, but they’re sweeter.
Unsalted butter (6 tablespoons / 85g) — Melted. I use unsalted so I can control the saltiness. If you only have salted butter, reduce the added salt in the crust by half. Real talk: don’t use margarine. It changes the texture and flavor.
Granulated sugar (2 tablespoons / 25g) — Just a little bit to sweeten the crust. Not too much, or it’ll be cloying.
Pinch of salt — Enhances the flavor. Don’t skip it.
For the Filling:
Full-fat cream cheese (32 ounces / 900g) — This is non-negotiable. I use Philadelphia brand because it’s consistent. You need 4 blocks. Room temperature is crucial. If your cream cheese is cold, it’ll be lumpy. I take it out of the fridge the night before. If I forget, I leave it on the counter for 2 hours.
Sour cream (1 cup / 240g) — Full-fat, plain sour cream. I use Daisy brand because it’s thick and tangy. This goes into the batter AND the topping. It adds moisture and tang.
Granulated sugar (1 ½ cups / 300g) — This is a sweet cake, but the sour cream balances it. Don’t reduce the sugar too much, or it won’t set properly.
Eggs (4 large) — Room temperature. I bring them to room temp by soaking them in warm water for 10 minutes. Cold eggs can cause the batter to curdle.
Vanilla extract (2 teaspoons) — Pure vanilla, not imitation. It makes a huge difference in flavor.
Flour (2 tablespoons / 15g) — Just a little bit to stabilize the cake. It prevents cracking. I’ve tested without it, and it cracks more. With it, it’s smoother.
For the Topping:
Sour cream (1 cup / 240g) — Same as above. Full-fat.
Heavy cream (2 tablespoons / 30ml) — Whips into the sour cream for a light, airy finish.
Granulated sugar (2 tablespoons / 25g) — Sweetens the topping.
Vanilla extract (1 teaspoon) — Adds flavor.
Optional: Lemon zest (1 teaspoon) — I add this sometimes for a bright note. It’s not traditional, but I love it. If you’re serving this for a formal occasion, you can skip it.
Pro Tip: I always line my springform pan with parchment paper. It makes removing the cake so much easier. I cut a circle to fit the bottom and a strip to line the sides. It’s a small step that saves you from a broken cake later.
Equipment Needed
You don’t need fancy equipment for this. Here’s what I actually use.
9-inch Springform Pan — This is essential. The sides come off, making it easy to remove the cake. I use a heavy-duty one because flimsy ones leak. I wrap the outside in foil to prevent water from getting in during the water bath.
Stand Mixer or Hand Mixer — Mixing cream cheese by hand is exhausting. I use a stand mixer with the paddle attachment. It’s faster and more consistent. If you use a hand mixer, it’ll take longer, but it works.
Large Roasting Pan — For the water bath. I use a 9×13 roasting pan. It needs to be big enough to hold the springform pan with room for water around it.
Aluminum Foil — Heavy-duty foil. You’ll wrap the bottom and sides of the springform pan to keep water out. I’ve learned this the hard way with a soggy crust.
Rubber Spatula — For scraping down the bowl. I use a silicone one because it’s flexible.
Measuring Cups and Spoons — For accuracy. Baking is chemistry.
Knife — To run around the edge of the cake after baking. This helps prevent cracking as it cools.
Cooling Rack — For cooling the cake gradually.
Optional: Parchment Paper — To line the pan. I highly recommend it.
Tool Tip: Don’t have a roasting pan? Use a large baking dish. Just make sure it’s deep enough to hold water without overflowing.
How to Make It: Step-by-Step
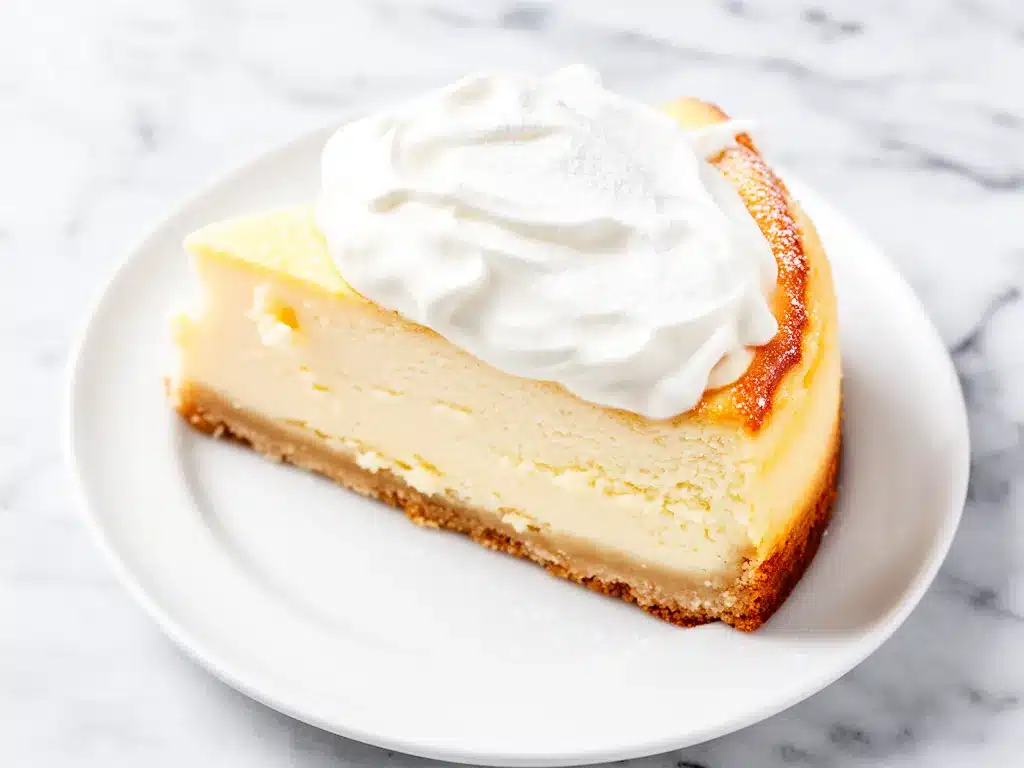
Alright, let’s make this! I’m walking you through exactly how I do it, including the little tricks I’ve picked up.
Step 1: Prep Your Pan (5 minutes)
Preheat your oven to 325°F (160°C). This is a low-and-slow bake, which is key for preventing cracks. Line the bottom of a 9-inch springform pan with parchment paper. Wrap the outside of the pan tightly with heavy-duty aluminum foil. You want to make sure no water can seep in during the water bath. I use two layers of foil for extra security.
Step 2: Make the Crust (5 minutes)
In a medium bowl, mix the graham cracker crumbs, melted butter, sugar, and salt. It should look like wet sand. Press this mixture firmly into the bottom of the prepared springform pan. Use the bottom of a measuring cup to pack it down evenly. Bake for 10 minutes. Let it cool while you make the filling. This pre-baking helps it stay crisp.
Step 3: Mix the Filling (10 minutes)
In a stand mixer with the paddle attachment, beat the room-temperature cream cheese on medium-low speed until smooth and creamy. This takes about 2-3 minutes. Scrape down the sides of the bowl. Add the sugar and beat until combined. Add the sour cream and vanilla. Mix until smooth. Add the flour and mix on low until just combined. Don’t overmix!
Crucial Step: Add the eggs one at a time, mixing on low speed just until incorporated. Overmixing after adding eggs introduces air, which causes cracking. I mix each egg for only 10-15 seconds. The batter should be smooth and thick.
Step 4: The Water Bath (10 minutes)
Place the springform pan in the large roasting pan. Pour hot water from the kettle into the roasting pan until it reaches halfway up the sides of the springform pan. Be careful not to splash water into the pan. This creates a humid environment that prevents the cheesecake from drying out and cracking.
Step 5: Bake (1 hour 15 minutes)
Place the roasting pan in the oven. Bake at 325°F (160°C) for 1 hour and 15 minutes. The edges should be set, but the center should still jiggle slightly like Jell-O when you shake the pan. It will continue to set as it cools. Do not open the oven door during the first hour!
Step 6: Cool Gradually (2 hours)
Turn off the oven and crack the door open. Leave the cheesecake inside for 1 hour. This gradual cooling prevents thermal shock, which causes cracks. After an hour, remove the cake from the water bath and let it cool on a rack for another hour. Then, refrigerate for at least 4 hours, preferably overnight.
Step 7: Make the Topping (5 minutes)
Before serving, whip the sour cream, heavy cream, sugar, and vanilla until soft peaks form. Spread this over the chilled cheesecake. Return to the fridge for 30 minutes to set. Slice and serve.
Troubleshooting: If the crust is soggy, you didn’t wrap the foil well enough. If the cake is cracked, you overmixed the eggs or cooled it too quickly. If it’s too dense, you didn’t beat the cream cheese enough.
Expert Tips & Tricks
Here’s everything I’ve learned from making this dozens of times. These tips will save you from my mistakes.
Room Temperature Ingredients
This is the #1 tip. Cold cream cheese and eggs create lumps. I take my cream cheese out the night before. If I’m in a hurry, I microwave it for 15-second intervals, checking often. It should be soft enough to press a finger into easily. Cold eggs can cause the batter to separate. Soak them in warm water for 10 minutes.
Don’t Overmix
Once you add the eggs, mix on low speed and only until combined. Overmixing adds air bubbles, which expand in the oven and then collapse, causing cracks. I know it’s tempting to mix it smooth, but resist the urge. The batter will be thick. That’s okay.
The Water Bath is Non-Negotiable
I’ve tried making this without a water bath, and the results are inconsistent. The edges overcook while the center stays undercooked. The water bath creates a gentle, even heat. It’s the secret to that professional texture. Don’t skip it.
Gradual Cooling
Cracks are often caused by temperature shock. Leaving the cake in the turned-off oven with the door cracked helps it cool slowly. Then, cooling on the rack for an hour before refrigerating. This patience pays off.
Sharp Knife for Slicing
Use a sharp knife and dip it in hot water between cuts. Wipe it dry. This gives you clean, professional slices. A dull knife will squish the cake.
Common Mistakes:
Mistake: Cake is too wet
Fix: You didn’t bake it long enough. The center should jiggle slightly but not be liquid. If it’s too wet, bake for another 15 minutes.
Mistake: Crust is soggy
Fix: You didn’t wrap the foil well. Next time, use two layers and seal the bottom tightly.
Mistake: Cracks on top
Fix: You overmixed the eggs or cooled it too quickly. Next time, mix less and cool gradually.
Pro Tricks:
For Extra Flavor
Add 1 teaspoon of lemon zest to the batter. It brightens the flavor without overpowering it. I do this for summer gatherings.
For Better Texture
Strain the batter through a fine-mesh sieve before pouring it into the pan. This removes any small lumps of cream cheese. It’s a bit extra work, but the result is silky smooth.
Variations & Substitutions
Once you’ve nailed the basic version, here’s how you can mix it up. I’ve tried all of these.
Chocolate Cheesecake
Add ½ cup of unsweetened cocoa powder to the batter. It’s rich and decadent. I serve this with whipped cream instead of sour cream topping.
Berry Swirl
After pouring the batter, dollop ½ cup of raspberry or strawberry jam on top. Use a knife to swirl it in. It’s beautiful and adds a fruity tang.
Gluten-Free
Use gluten-free graham crackers or almond flour for the crust. Everything else is naturally gluten-free. I’ve used Kinnikinnick graham crackers, and they work great.
Dairy-Free
Replace cream cheese with vegan cream cheese (like Kite Hill). Use coconut cream instead of sour cream and heavy cream. It’s different but still creamy. My dairy-free friend loves it.
Lower-Sugar
Use a sugar substitute like erythritol. Reduce the sugar in the topping by half. It’s not as sweet, but it’s still good. I make this when I’m watching my sugar intake.
Different Toppings:
Caramel Drizzle
Drizzle salted caramel sauce over the sour cream topping. It’s sweet and salty.
Fresh Berries
Top with fresh strawberries, blueberries, or raspberries. It’s fresh and light.
Chocolate Shavings
Sprinkle dark chocolate shavings on top. It’s elegant and rich.
Serving & Storage
I usually serve this straight from the fridge. It’s best cold. Here are other ways I’ve enjoyed it:
Side Dishes:
This is a dessert, so it doesn’t need sides. But I often serve it with a simple green salad after a heavy meal to cleanse the palate.
Wine Pairing:
I’m not a wine expert, but my wine-snob friend says a sweet Riesling or Moscato works great with this. It complements the sweetness.
Storage Instructions:
Refrigerator:
Store in the springform pan, covered with plastic wrap, for up to 5 days. It actually tastes better after 24 hours.
Freezing:
Yes, you can freeze it! Wrap the whole cake (or individual slices) in plastic wrap and then foil. Freeze for up to 3 months. Thaw in the fridge overnight. The texture might be slightly different, but it’s still good.
Pro Tip: If you’re transporting it, keep it cold. Use a cooler with ice packs. Cheesecake is delicate in heat.
Nutrition Information
I’m not a nutritionist, but here’s the breakdown if you’re tracking.
Per Serving (based on 12 servings):
| Nutrient | Amount |
|---|---|
| Calories | 450 |
| Protein | 6g |
| Carbs | 35g |
| Fiber | 1g |
| Sugar | 28g |
| Fat | 32g |
| Saturated Fat | 18g |
| Cholesterol | 110mg |
| Sodium | 250mg |
What’s Good:
It’s a treat, so don’t expect it to be a health food. But it does have some protein from the cheese. It’s more filling than it looks, so a small slice is satisfying.
What to Know:
It’s high in calories and fat due to the cream cheese and butter. It contains dairy and gluten. If you’re watching your sugar, use the lower-sugar version.
My Take:
Look, this is dessert. It’s meant to be indulgent. Enjoy a small slice and savor it. It’s way better than store-bought, and you know exactly what’s in it. When I want to make it lighter, I use the half-and-half version and load up on fruit. But usually? I just eat a reasonable portion and enjoy it.
Final Thoughts
So that’s my Classic New York Cheesecake with Sour Cream Topping! I’ve probably talked your ear off at this point, but when you make a recipe this often, you have a lot to say about it.
This has saved special occasions more times than I can count. It’s my answer to “what dessert should I bring?” when I want to impress but still have time to enjoy the party. My family is happy, my friends are happy, and I’m happy because I’m not stressed about cooking.
Make it yours! Try different toppings, swap in your favorite berries, adjust the sugar to your taste. The best recipes are the ones you adapt to your family’s tastes.
If you make this, drop a comment and let me know what you think! I love hearing how recipes turn out in your kitchen. And if something doesn’t work, tell me that too—I’m here to help troubleshoot.
Happy baking! And I hope your kitchen smells half as good as mine does right now.
Frequently Asked Questions
Can I make this ahead for a party?
Absolutely! In fact, it’s better if you make it ahead. I usually make it 2 days before the party. It needs at least 4 hours to set, but 24 hours is ideal. The flavors meld and deepen. Just keep it covered in the fridge.
Why did my cheesecake crack?
Cracking is usually caused by overmixing (which adds air), overbaking (which dries it out), or cooling too quickly (thermal shock). To prevent it, mix the eggs gently, bake until the center jiggles slightly, and cool it gradually in the turned-off oven.
Can I use low-fat cream cheese?
I don’t recommend it. Low-fat cream cheese has more water and less fat, which changes the texture. It can make the cheesecake grainy or watery. Full-fat is key for that creamy, dense texture. If you must, use a 50/50 mix, but it won’t be as good.
How do I store leftovers?
Store in the springform pan, covered with plastic wrap, for up to 5 days. You can also slice it and store individual slices in an airtight container. It freezes well for up to 3 months.
Can I use a different pan?
A springform pan is best because it’s easy to remove the cake. If you don’t have one, you can use a regular 9-inch round pan, but you’ll need to line it well with parchment and invert it to remove the cake. It’s trickier.
Why is my cheesecake watery?
If the center is liquid, it’s underbaked. Bake it longer. If the top is wet, it might be the sour cream topping. Make sure you whip it properly. If the whole cake is watery, you might have used cold ingredients, which can cause separation.
Can I add fruit to the batter?
You can, but it can make the cake wet. If you want to add fruit, swirl in jam or berry compote instead of mixing in fresh fruit. Fresh fruit releases water during baking, which can affect the texture.
Pin This Recipe!
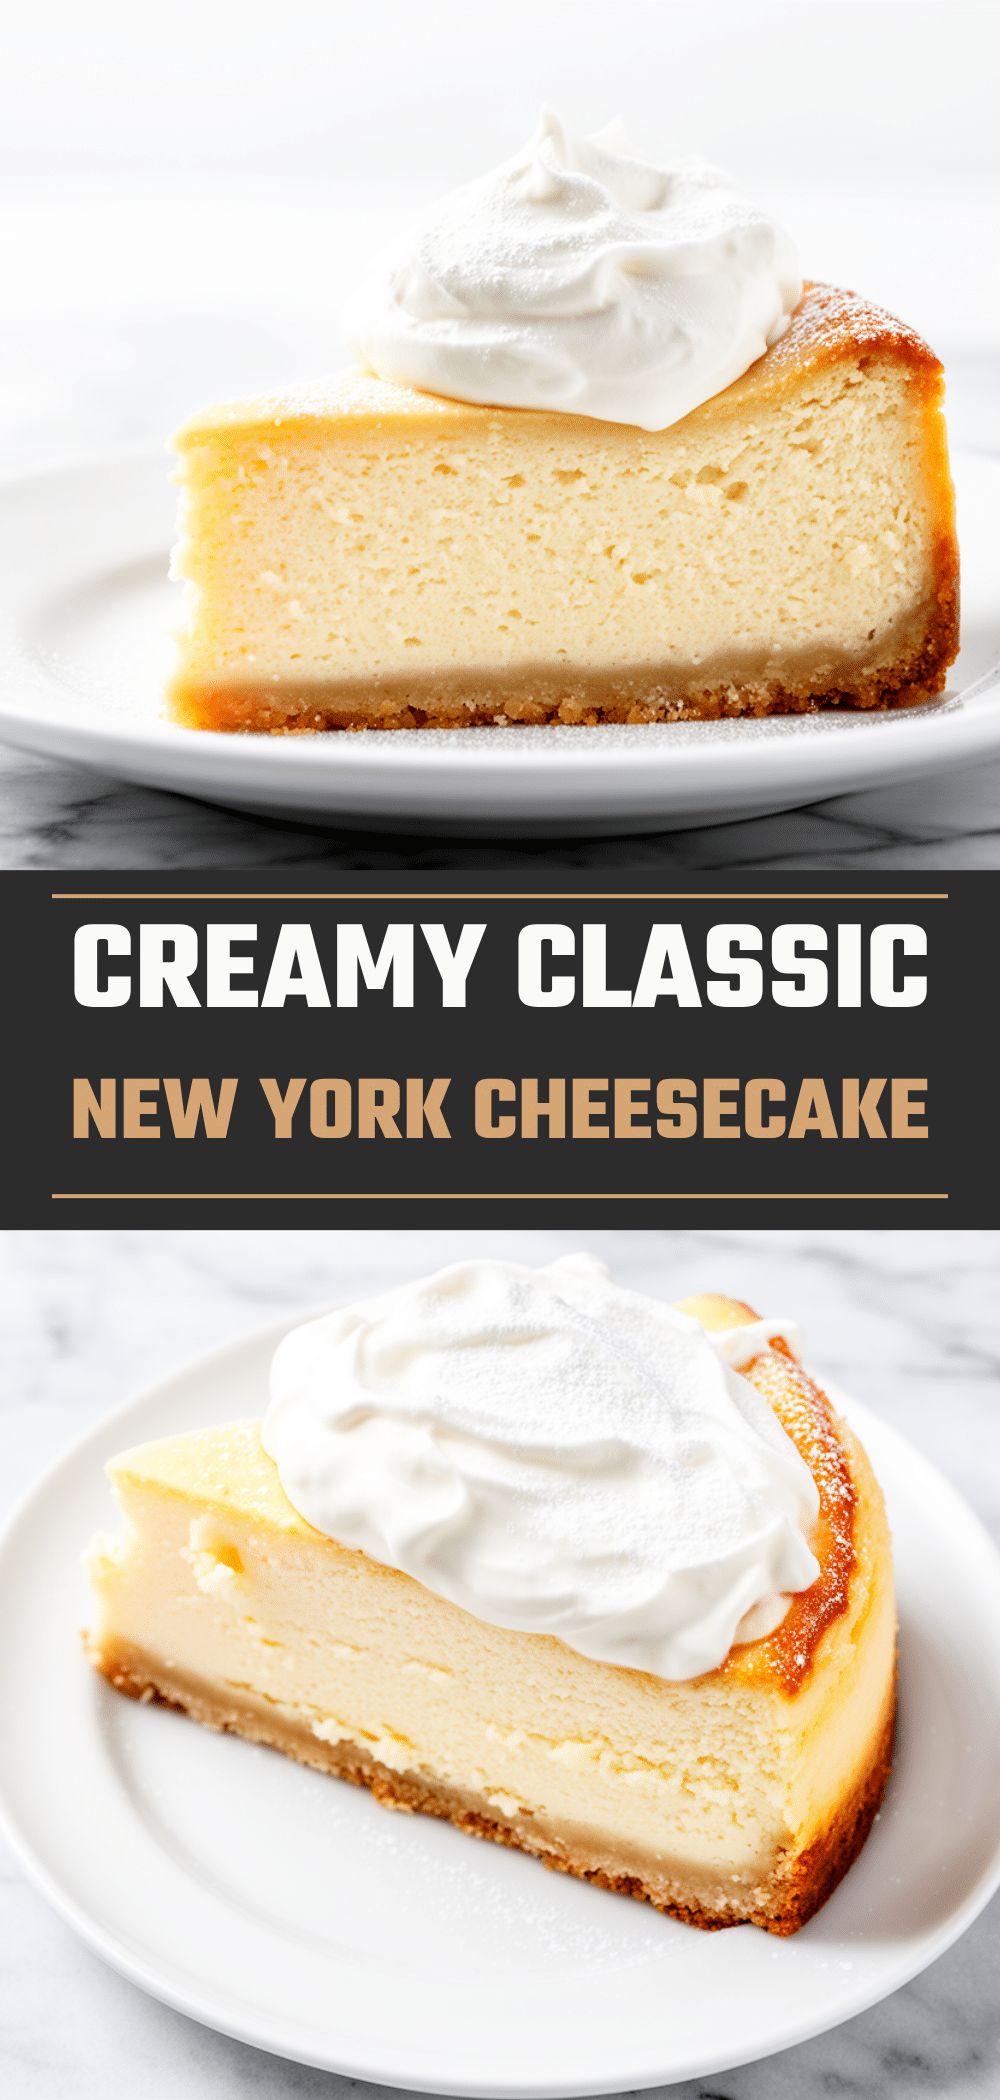
Classic New York Cheesecake with Sour Cream Topping
- Total Time: 4 hours 45 minutes
- Yield: 12 servings 1x
Description
A dense, rich, and creamy New York-style cheesecake with a tangy sour cream topping. This recipe uses a water bath for a smooth texture and is make-ahead friendly for special occasions.
Ingredients
- 1 ½ cups graham cracker crumbs
- 6 tablespoons unsalted butter, melted
- 2 tablespoons granulated sugar
- Pinch of salt
- 32 ounces full-fat cream cheese, room temperature
- 1 cup full-fat plain sour cream
- 1 ½ cups granulated sugar
- 4 large eggs, room temperature
- 2 teaspoons pure vanilla extract
- 2 tablespoons all-purpose flour
- 1 cup full-fat sour cream (for topping)
- 2 tablespoons heavy cream
- 2 tablespoons granulated sugar (for topping)
- 1 teaspoon vanilla extract (for topping)
- 1 teaspoon lemon zest (optional)
Instructions
- Preheat oven to 325°F (160°C). Line the bottom of a 9-inch springform pan with parchment paper and wrap the outside tightly with heavy-duty aluminum foil.
- In a medium bowl, mix graham cracker crumbs, melted butter, 2 tablespoons sugar, and salt. Press firmly into the bottom of the prepared pan. Bake for 10 minutes, then let cool.
- In a stand mixer with paddle attachment, beat cream cheese on medium-low until smooth. Add 1 ½ cups sugar and beat until combined.
- Add 1 cup sour cream and vanilla extract; mix until smooth. Add flour and mix on low until just combined.
- Add eggs one at a time, mixing on low speed for only 10-15 seconds per egg until incorporated. Do not overmix.
- Place the springform pan in a large roasting pan. Pour hot water into the roasting pan until it reaches halfway up the sides of the springform pan.
- Bake at 325°F for 1 hour and 15 minutes. The edges should be set, but the center should jiggle slightly. Do not open the oven door during the first hour.
- Turn off the oven and crack the door open. Leave the cheesecake inside for 1 hour to cool gradually.
- Remove from the water bath and let cool on a rack for another hour. Refrigerate for at least 4 hours, preferably overnight.
- Before serving, whip 1 cup sour cream, 2 tablespoons heavy cream, 2 tablespoons sugar, and 1 teaspoon vanilla until soft peaks form. Spread over the chilled cheesecake and refrigerate for 30 minutes before slicing.
Notes
Ensure all ingredients, especially cream cheese and eggs, are at room temperature to prevent lumps and cracking. Do not overmix after adding eggs to avoid incorporating air. The water bath is essential for even cooking and preventing cracks. For clean slices, dip a sharp knife in hot water between cuts.
- Prep Time: 30 minutes
- Cook Time: 1 hour 15 minutes
- Category: Dessert
- Cuisine: American
Nutrition
- Serving Size: 1 slice
- Calories: 450
- Sugar: 28
- Sodium: 250
- Fat: 32
- Saturated Fat: 18
- Carbohydrates: 35
- Fiber: 1
- Protein: 6
Keywords: New York Cheesecake, Sour Cream Topping, Classic Dessert, Water Bath Cheesecake, Make-Ahead Dessert, Special Occasion Dessert


