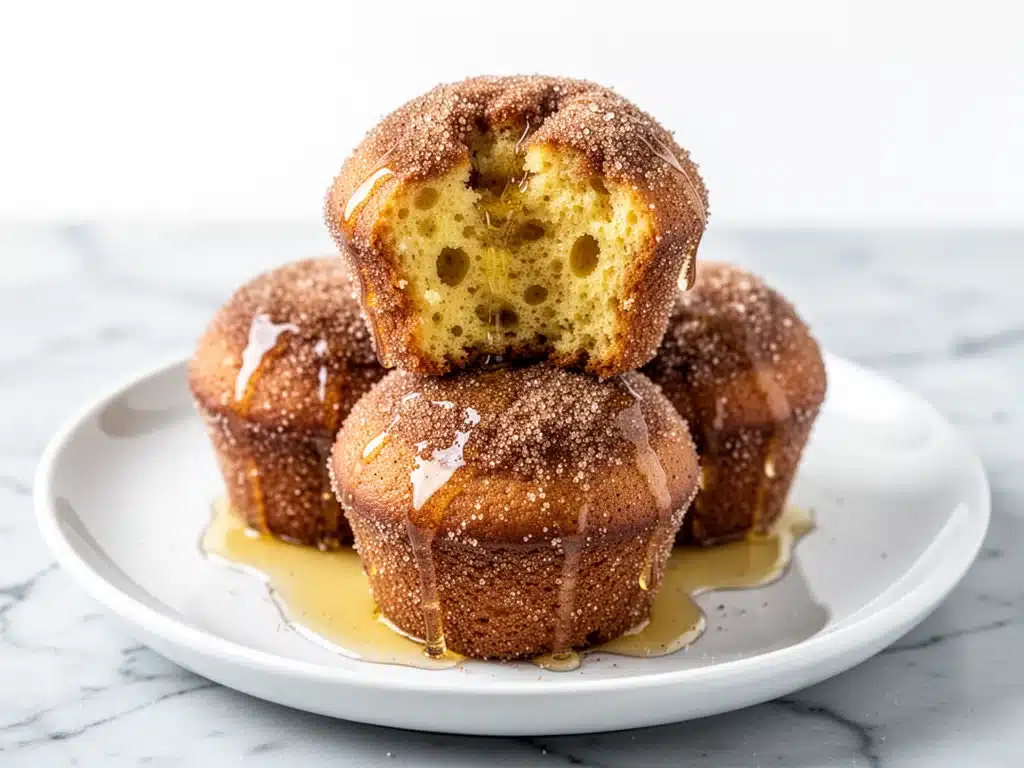
I have a confession to make. Last Saturday morning, I woke up with a craving so specific and intense that I felt physically weak without it. I didn’t want eggs. I didn’t want toast. I wanted the warm, yeasty, sugary goodness of a fresh doughnut, but I didn’t want to spend forty minutes standing over a deep fryer in my kitchen while my house filled with smoke and oil fumes.
I wanted something easier. Something that could sit in a muffin tin. Something that wouldn’t require a degree in fluid dynamics to get right.
So, I improvised. I grabbed some basic pantry staples—flour, sugar, butter, cinnamon—and threw together what I thought would be a decent compromise between a muffin and a doughnut. I baked them. They came out soft. I melted more butter and rolled them in cinnamon sugar like I was back in high school.
When I pulled the first one out of the oven, my husband walked into the kitchen, rubbed the sleep from his eyes, and took one bite. He stopped mid-chew. He looked at me, then at the muffin, then back at me. “Is this… is this a doughnut muffin?” he asked, sounding genuinely confused but incredibly happy.
That was three months ago. Since then, I’ve made these cinnamon sugar donut muffins with melted butter coating at least once a week. They have completely replaced my weekend pancake routine. They are moist, they are spicy-sweet, and they smell like a bakery the second they hit the oven. Plus, they are stupid simple. If you can mix batter and melt butter, you can make these.
Here’s the thing about weekend cooking: it should be fun, not a chore. You want to spend time with your family, not stress over complicated techniques. These muffins give you that “I made something fancy” feeling without the fancy effort. They’re perfect for lazy Saturdays, Sunday brunches, or even just because you deserve a treat on a Tuesday night.
Let’s talk about why these have become my absolute favorite weekend treat, and how you can make them in your own kitchen.
Why You’ll Love These Cinnamon Sugar Donut Muffins
There are a lot of breakfast options out there, and honestly, some of them are great. But these cinnamon sugar donut muffins with melted butter coating hit a different level. I’ve tried making them with different flours, different sugars, and different baking times, and I keep coming back to this exact method. Here’s why they work so well:
- Zero Fryer Stress — Seriously. No hot oil splattering. No waiting for oil to reach 375°F. No disposing of greasy oil later. You just mix, pour, bake, and roll. It’s safe, clean, and incredibly fast.
- Texture Perfection — Most baked doughnuts end up dry or cakey. These stay moist. The buttermilk (or sour cream) keeps the crumb tender, and the cinnamon sugar coating creates that essential crunch that contrasts with the soft inside. It’s the best of both worlds.
- Smells Like Heaven — I’ve had neighbors ask what I’m baking because the smell of cinnamon and butter drifts through the windows. It sets a mood. It makes people happy. It makes you feel like a good host, even if you’re just feeding your own family.
- Pantry Staples Only — You probably have 90% of these ingredients right now. Flour, sugar, butter, eggs, cinnamon. Maybe you need buttermilk, but that’s easy to make or swap. This isn’t a recipe that requires a special trip to the store.
- Make-Ahead Friendly — I often make these on Sunday morning, and they last in an airtight container for three days. Reheating them in the microwave for 15 seconds brings back that fresh-baked softness. Perfect for busy weekdays when you need a quick breakfast.
This recipe has saved my weekends more times than I can count. It’s my go-to when I want to feel indulgent but don’t want to commit to a full baking project. They are reliable, delicious, and always a hit.
Ingredients You’ll Need
Here’s the best part: this ingredient list is short, sweet, and mostly things you already have. I’m particular about a few things here, but mostly, this is about simplicity.
For the Muffin Batter
All-purpose flour (2 cups / 250g) — The base. Don’t use self-rising flour unless you adjust the leavening. I use regular AP flour because it gives that classic doughnut chew.
Baking powder (2 teaspoons) — This is what makes them rise. Make sure it’s fresh! Old baking powder = flat muffins. I check my cans every few months.
Baking soda (½ teaspoon) — Helps with browning and tenderizing. It reacts with the acidic buttermilk.
Salt (½ teaspoon) — Essential for flavor balance. Don’t skip it. It makes the cinnamon pop.
Granulated sugar (¾ cup / 150g) — Sweetness for the batter. You can reduce to ½ cup if you prefer less sweet, but I like them sweet.
Unsalted butter (½ cup / 115g, melted and cooled) — Adds richness. Let it cool slightly so it doesn’t cook the eggs when you mix.
Large eggs (2) — Room temperature is best. They help bind everything and keep the muffins moist.
Buttermilk (¾ cup / 180ml) — This is the secret weapon. The acidity tenderizes the gluten, making them soft. If you don’t have buttermilk, see my substitution tip below.
Vanilla extract (1 teaspoon) — Pure vanilla, please. Artificial tastes weird in baked goods.
For the Cinnamon Sugar Coating
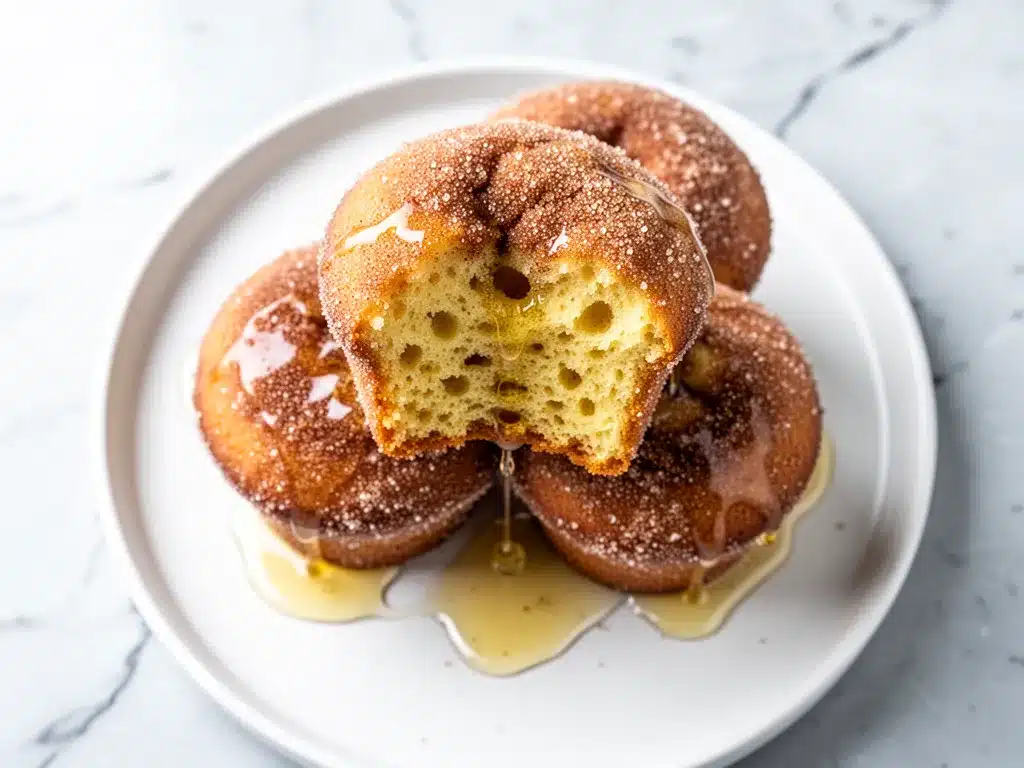
Granulated sugar (½ cup / 100g) — For rolling. You can use coconut sugar for a healthier option, but it changes the color and taste.
Ground cinnamon (2 teaspoons) — Use good quality cinnamon. Cinnamon sticks ground at home are best, but store-bought is fine.
Unsalted butter (¼ cup / 55g, melted) — This is the “glue” that makes the sugar stick. Keep this separate from the melted butter in the batter.
Optional: Pinch of nutmeg — Adds warmth. I add this sometimes, but it’s not mandatory.
Substitutions & Tips
- No Buttermilk? Mix ¾ cup milk with 1 tablespoon lemon juice or white vinegar. Let it sit for 5-10 minutes until it curdles. It works perfectly.
- Gluten-Free? Use a 1:1 gluten-free flour blend. I’ve used Bob’s Red Mill and it works well.
- Dairy-Free? Use almond milk + vinegar for buttermilk, and swap butter for coconut oil or vegan butter. The texture will be slightly different but still good.
Equipment Needed
You don’t need fancy gadgets for this. Here’s what I actually use:
Standard 12-cup muffin tin — I use a non-stick tin. If yours is older and sticks, grease it well.
Liners or grease — I prefer paper liners for easy cleanup, but greased tins work too if you want that crispy edge.
Large mixing bowl — Anything big enough to hold all the dry ingredients comfortably.
Medium mixing bowl — For the wet ingredients.
Whisk — For combining dry ingredients smoothly.
Small bowl — For the cinnamon sugar mixture.
Pastry brush or spoon — For brushing the melted butter on the warm muffins. I use a silicone brush because it’s easier to clean.
Cooling rack — Essential for letting them cool slightly before rolling.
How to Make It: Step-by-Step
Alright, let’s make these! I’m walking you through exactly how I do it, including the little tricks I’ve picked up over the last few months.
Step 1: Prep Your Oven and Pan (5 minutes)
Preheat your oven to 350°F (175°C). This is crucial. If the oven isn’t hot enough, the muffins won’t rise properly. Grease your muffin tin or line it with paper liners. I line them because the sugar coating can get sticky, and I don’t want to fight scrubbing pans later.
Step 2: Mix Dry Ingredients (2 minutes)
In a large bowl, whisk together the flour, baking powder, baking soda, salt, and sugar. I do this first because it ensures everything is evenly distributed. If you don’t whisk well, you might get pockets of baking powder that taste bitter. Whisk until no white streaks remain.
Step 3: Mix Wet Ingredients (2 minutes)
In a separate medium bowl, whisk the melted butter, eggs, buttermilk, and vanilla extract. The mixture might look a little curdled at first—that’s normal. The eggs and buttermilk don’t always play nice immediately, but they’ll come together once you mix them with the dry ingredients.
Step 4: Combine Wet and Dry (3 minutes)
Make a well in the center of the dry ingredients. Pour the wet mixture into the well. Gently fold them together using a spatula or wooden spoon. Stop mixing as soon as the flour disappears. Do not overmix. Overmixing makes tough muffins. It’s okay if there are a few small lumps. The batter should be thick and slightly sticky.
Step 5: Fill the Tins (2 minutes)
Scoop the batter into the muffin cups, filling each about ¾ full. I use an ice cream scoop for consistency, but a spoon works fine. If you fill them too high, they’ll spill over and make a mess. If you fill them too low, they’ll be flat.
Step 6: Bake (18-20 minutes)
Place the tin in the center of the oven. Bake for 18-20 minutes. They are done when the tops are golden brown and a toothpick inserted into the center comes out clean or with just a few moist crumbs. Do not overbake, or they will be dry. The tops should spring back lightly when touched.
Step 7: The Butter & Sugar Coating (5 minutes)
This is the fun part. While the muffins are still hot (but cool enough to handle), melt the ¼ cup of butter for the coating. Take each muffin out of the tin and brush it generously with the melted butter. Then, roll it in the cinnamon-sugar mixture until fully coated. Do this while they are warm—the sugar melts slightly and sticks better. If you wait until they are cold, the sugar will just fall off.
Place the coated muffins back on the cooling rack. They will set as they cool. Enjoy them warm!
Expert Tips & Tricks
Here’s everything I’ve learned from making these dozens of times. These tips will save you from my mistakes.
Don’t Overmix the Batter — I repeat this because it’s the most common mistake. Lumps are good. Smooth batter means tough muffins. Mix until just combined.
Coat While Warm — The sugar coating needs heat to adhere. If the muffins cool completely, the butter won’t stick, and the sugar will slide off. If you’re making them ahead, coat them right after baking, then store them in an airtight container.
Use Room Temperature Eggs — Cold eggs can shock the batter and make it separate slightly. Take your eggs out of the fridge 15 minutes before you start.
Check Your Oven Temperature — Oven thermostats can be off. If your muffins are burning on top but raw in the middle, your oven might be too hot. Use an oven thermometer to check.
Add-Ins — Want to mix it up? Fold in ½ cup of chocolate chips, chopped walnuts, or diced apples into the batter before baking. They work great with the cinnamon flavor.
Variations & Substitutions
Once you’ve nailed the basic version, here’s how you can mix it up. I’ve tried all of these.
Apple Cinnamon Version — Fold in 1 cup of diced apples (peeled) into the batter. It’s like eating a warm apple pie. I love this with a cream cheese glaze drizzled on top.
Maple Glazed — Instead of cinnamon sugar, drizzle a glaze made from powdered sugar, maple syrup, and a splash of milk over the cooled muffins.
Bacon & Maple — Add crumbled cooked bacon to the batter. The salty-sweet combo is addictive. This pairs well with my cheesy sausage and egg breakfast casserole for a huge weekend brunch.
Double Chocolate — Swap ¼ cup of flour for cocoa powder. Add chocolate chips. It’s a chocolate lover’s dream.
Gluten-Free — Use a 1:1 gluten-free flour blend. The texture will be slightly more delicate, but still delicious.
Serving & Storage
How to Serve: I serve these warm, right after coating. They are best enjoyed with a cup of coffee or hot chocolate. They pair wonderfully with a simple green salad if you want a savory contrast, or with a glass of cold milk.
Storage: Store leftover muffins in an airtight container at room temperature for up to 3 days. They will stay soft and moist. If you live in a humid climate, they might get soggy, so refrigerate them.
Reheating: Microwave for 15-20 seconds to restore softness. The sugar coating might get slightly sticky, but it’s worth it.
Freezing: You can freeze these! Bake them, let them cool completely, and store in a freezer bag for up to 2 months. Thaw at room temperature and reheat. Note: The sugar coating might dissolve slightly in the freezer, so you can re-coat them after thawing if you want that fresh crunch.
Meal Prep: Make a batch on Sunday morning. They make a great grab-and-go breakfast for busy weekdays. Just pop one in the microwave and go.
Nutrition Information
I’m not a nutritionist, but here’s the breakdown if you’re tracking. Keep in mind that these are treat-sized muffins, so they are higher in sugar and fat than a standard bran muffin.
Per Muffin (approximate):
- Calories: 220
- Protein: 4g
- Carbs: 32g
- Fiber: 1g
- Sugar: 18g
- Fat: 9g
- Saturated Fat: 5g
Look, this is a weekend treat. It’s not a health food. But it’s way better than store-bought doughnuts, and you know exactly what’s in it. When I want to make it lighter, I reduce the sugar in the batter and use half the butter for coating. But usually? I just enjoy it and move on.
Final Thoughts
So that’s my go-to cinnamon sugar donut muffins with melted butter coating! I’ve probably talked your ear off at this point, but when you make a recipe this often, you have a lot to say about it.
These have saved my weekends more times than I can count. They are my answer to “what’s for breakfast” when I want something special but don’t want to stress. My kids are happy, my husband’s happy, and I’m happy because I’m not stressed about cooking.
Make it yours! Try different add-ins, swap in your favorite spices, or adjust the sugar. The best recipes are the ones you adapt to your family’s tastes. If you make these, drop a comment and let me know what you think! I love hearing how recipes turn out in your kitchen.
Happy baking! And I hope your kitchen smells half as good as mine does right now.
Frequently Asked Questions
Can I use self-rising flour instead of all-purpose flour?
You can, but you need to adjust the leavening. Self-rising flour already has baking powder and salt. If you use it, omit the baking powder and salt in the recipe, and reduce the baking soda to ¼ teaspoon. I prefer using all-purpose flour so I can control the salt and leavening myself.
Why did my muffins turn out dense?
Usually, this means you overmixed the batter. Once you add the wet ingredients to the dry, mix gently until just combined. Lumps are okay. Overmixing develops gluten, which makes muffins tough and dense. Also, check your baking powder. If it’s old, it won’t make them rise.
Can I make these ahead of time?
Yes! Bake them, let them cool completely, and store in an airtight container at room temperature for up to 3 days. For best texture, reheat them in the microwave for 15 seconds before eating. If you want the sugar coating to stay crunchy, coat them right before serving.
Can I freeze these?
Absolutely. Bake them, cool them completely, and freeze in a freezer-safe bag for up to 2 months. Thaw at room temperature. You can re-coat them with butter and sugar after thawing if you want that fresh-baked feel.
What if I don’t have buttermilk?
Make your own! Add 1 tablespoon of lemon juice or white vinegar to a measuring cup, then fill the rest with regular milk. Let it sit for 5-10 minutes until it curdles. It works perfectly as a substitute.
Can I use brown sugar instead of white sugar?
You can use brown sugar for the coating—it adds a caramel-like flavor. For the batter, white sugar is better for texture, but brown sugar works if you prefer a deeper flavor. Just know the muffins will be slightly denser.
Do I need to grease the muffin tin if I use liners?
No, liners usually stick to the tin well enough. But if your liners are cheap or thin, a light spray of non-stick spray helps them stay in place.
Pin This Recipe!
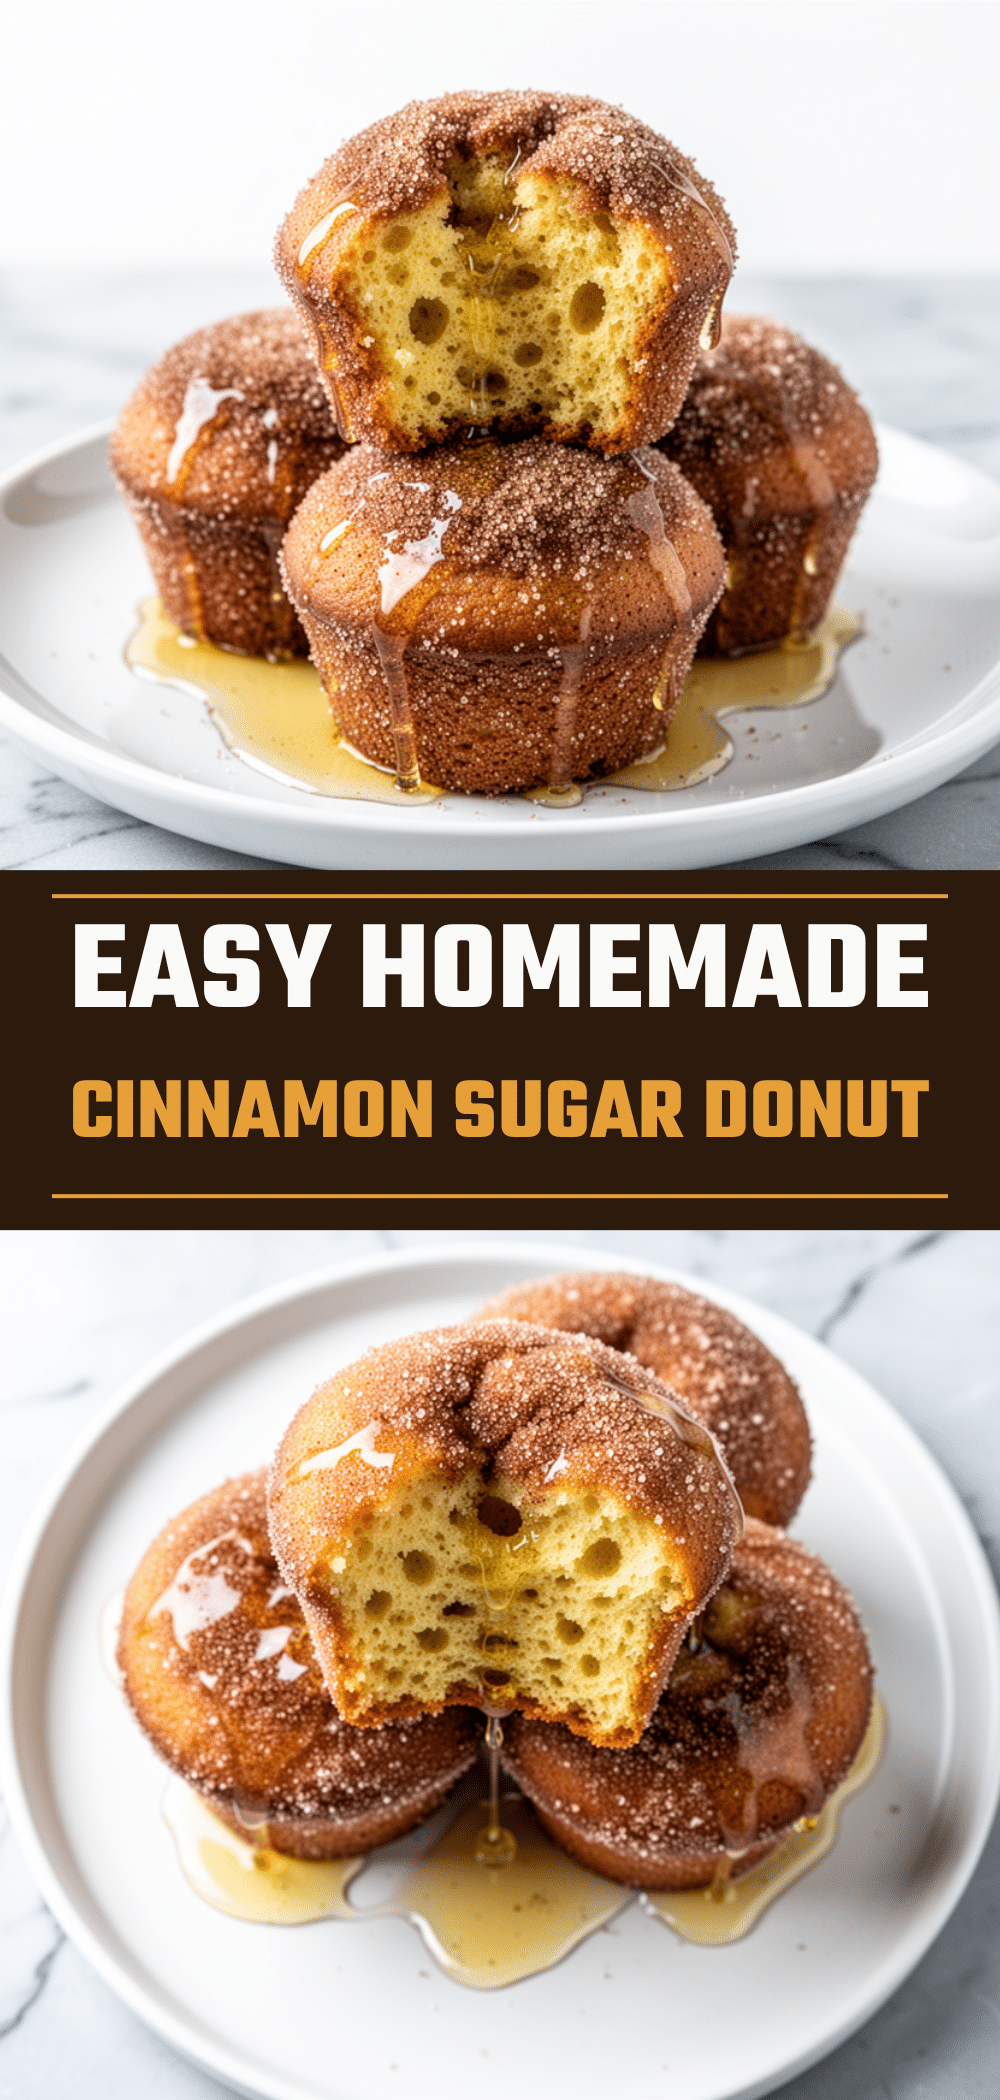
Cinnamon Sugar Donut Muffins: Best Weekend Treat
- Total Time: 35 minutes
- Yield: 12 servings 1x
Description
Soft, moist muffins that taste like cinnamon sugar doughnuts without the deep fryer. These easy-to-make treats are coated in melted butter and cinnamon sugar for a perfect weekend breakfast or snack.
Ingredients
- 2 cups (250g) all-purpose flour
- 2 teaspoons baking powder
- 1/2 teaspoon baking soda
- 1/2 teaspoon salt
- 3/4 cup (150g) granulated sugar
- 1/2 cup (115g) unsalted butter, melted and cooled
- 2 large eggs, room temperature
- 3/4 cup (180ml) buttermilk
- 1 teaspoon vanilla extract
- 1/2 cup (100g) granulated sugar (for coating)
- 2 teaspoons ground cinnamon
- 1/4 cup (55g) unsalted butter, melted (for coating)
- Pinch of nutmeg (optional)
Instructions
- Preheat oven to 350°F (175°C). Grease a standard 12-cup muffin tin or line with paper liners.
- In a large bowl, whisk together flour, baking powder, baking soda, salt, and 3/4 cup sugar until no white streaks remain.
- In a separate medium bowl, whisk melted butter, eggs, buttermilk, and vanilla extract.
- Make a well in the dry ingredients and pour in the wet mixture. Gently fold together with a spatula until just combined; do not overmix. The batter should be thick and slightly sticky.
- Scoop batter into muffin cups, filling each about 3/4 full.
- Bake for 18-20 minutes until tops are golden brown and a toothpick inserted comes out clean.
- While muffins are still hot, melt the 1/4 cup butter for the coating.
- Remove muffins from the tin and brush generously with melted butter, then roll in the mixture of 1/2 cup sugar and cinnamon until fully coated.
- Place coated muffins on a cooling rack to set. Serve warm.
Notes
Do not overmix the batter to avoid tough muffins. Coat the muffins while they are still warm so the sugar adheres properly. If you don’t have buttermilk, mix 3/4 cup milk with 1 tablespoon lemon juice or vinegar and let sit for 5-10 minutes. These can be stored in an airtight container for up to 3 days or frozen for up to 2 months.
- Prep Time: 15 minutes
- Cook Time: 20 minutes
- Category: Breakfast
- Cuisine: American
Nutrition
- Serving Size: 1 muffin
- Calories: 220
- Sugar: 18
- Fat: 9
- Saturated Fat: 5
- Carbohydrates: 32
- Fiber: 1
- Protein: 4
Keywords: cinnamon sugar donut muffins, baked doughnuts, weekend breakfast, easy muffin recipe, butter coated muffins, gluten-free option


