There’s a specific kind of panic that hits every time October rolls around. It’s not about the leaves changing or the first chill in the air. It’s the sudden, crushing realization that I have zero dessert ready for the upcoming season of gatherings. You know the drill. Friends bringing casseroles, neighbors dropping off homemade bread, and me, standing in my kitchen with an empty counter and a growing sense of dread.
Last year, I tried to tackle a traditional apple pie. You can probably guess how that went. My crust was tougher than my resolve, the filling was either too runny or too gluey, and by the time it cooled, I was too tired to care. I ended up eating it cold from the fridge while watching a fall drama, feeling like a failure.
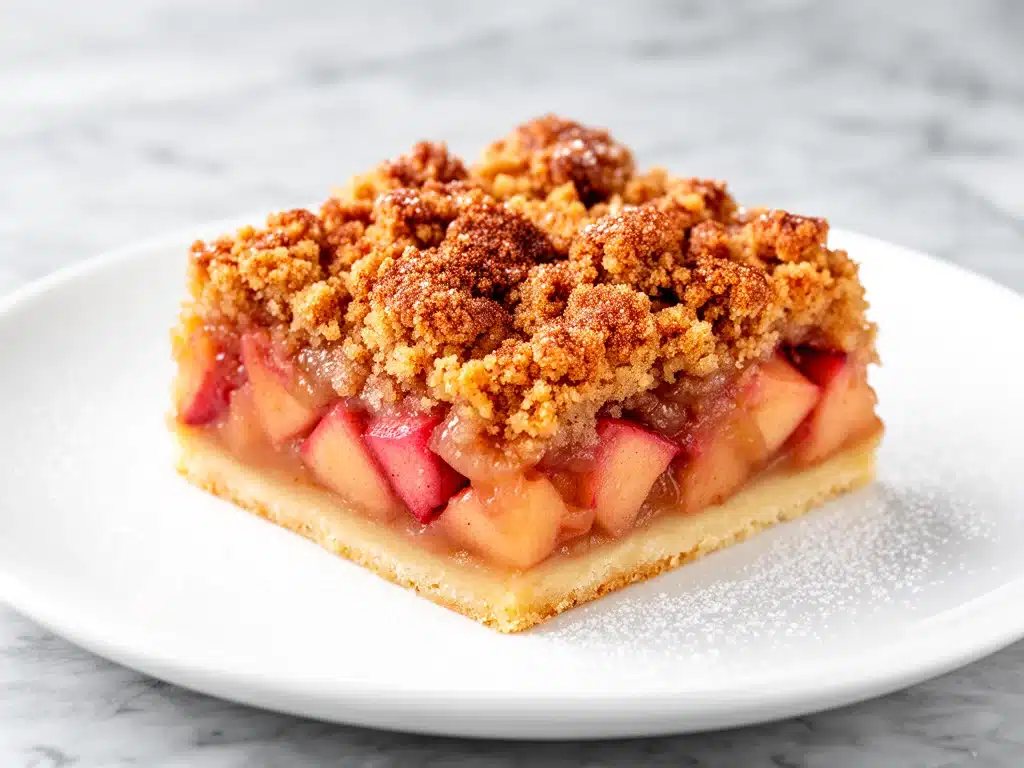
This year, I refused to repeat the mistake. I needed something that screamed “autumn” but didn’t require a degree in pastry arts or three hours of my life. That’s when I stumbled upon the idea for these Apple Pie Bars with Cinnamon Crumble. I wanted the cozy, spiced flavor of a classic pie but the ease of a bar cookie. The result? A dessert that is tender, crumbly, and smells like a bakery window in September.
I’ve made these bars at least a dozen times since last October. They travel well, they hold up in the fridge for days, and they are stupidly easy to make. If you’re looking for a way to impress your guests without stressing yourself out, you need to try this. It’s become my go-to for potlucks, family dinners, and even just treating myself on a rainy Tuesday.
Why You’ll Love This Recipe
I’m not just saying this because I’m biased (though I am). These bars solve the biggest problem with traditional pie: the mess. Here’s why they’ve taken over my kitchen routine:
- Zero Rolling Pin Required — Seriously. If you can mix flour and butter with your fingers, you can make the crust. No special equipment, no patience required. I’ve made these on nights when I was too exhausted to even chop vegetables.
- Perfectly Portioned — Let’s be honest, sometimes you don’t want a whole pie. These bars are cut into squares, making them perfect for sharing. No awkward pie slices that are all crust or all filling. Every bite has the perfect ratio.
- Make-Ahead Friendly — This is huge for me. I can bake these on Sunday, keep them in the fridge, and just pull them out when friends arrive on Saturday. They actually taste better after sitting for a day or two as the flavors meld together.
- Three-Ingredient Magic — The base and topping rely on simple pantry staples. You likely already have the ingredients for the crumble. This isn’t a recipe that requires a special trip to the store.
- Freezer-Friendly — I often double the batch and freeze half. They thaw out in about 20 minutes and taste just as good as fresh. It’s my secret weapon for last-minute guests.
Real talk? These bars are comfort food in the best way. They’re warm, spiced, and satisfying without being overly heavy. They’re the kind of treat that makes people ask for the recipe within five minutes of the first bite.
Ingredients You’ll Need
Here’s the best part: you probably have most of this already. I’m particular about a few things, but overall, this is a very forgiving recipe. I’ll break down exactly what you need and why it matters.
For the Crumble Base & Topping
Yellow Cake Mix (1 box, 15.25 oz / 432g) — I know, I know. Using a box mix sounds lazy. But hear me out. It provides the perfect sweetness and texture without you having to measure sugar, baking powder, and salt separately. I use the standard yellow cake mix. You can use vanilla if that’s all you have, but yellow has a richer, buttery flavor that pairs better with apples.
Unsalted Butter (½ cup / 113g, melted) — This binds the dry mix into a crumbly texture. Make sure it’s melted but not hot. If it’s boiling, it’ll melt the cake mix into a paste. Just warm enough to pour.
Ground Cinnamon (1 teaspoon) — Essential for that fall vibe. Don’t skip it. If you’re using a cinnamon blend, adjust accordingly.
For the Apple Filling
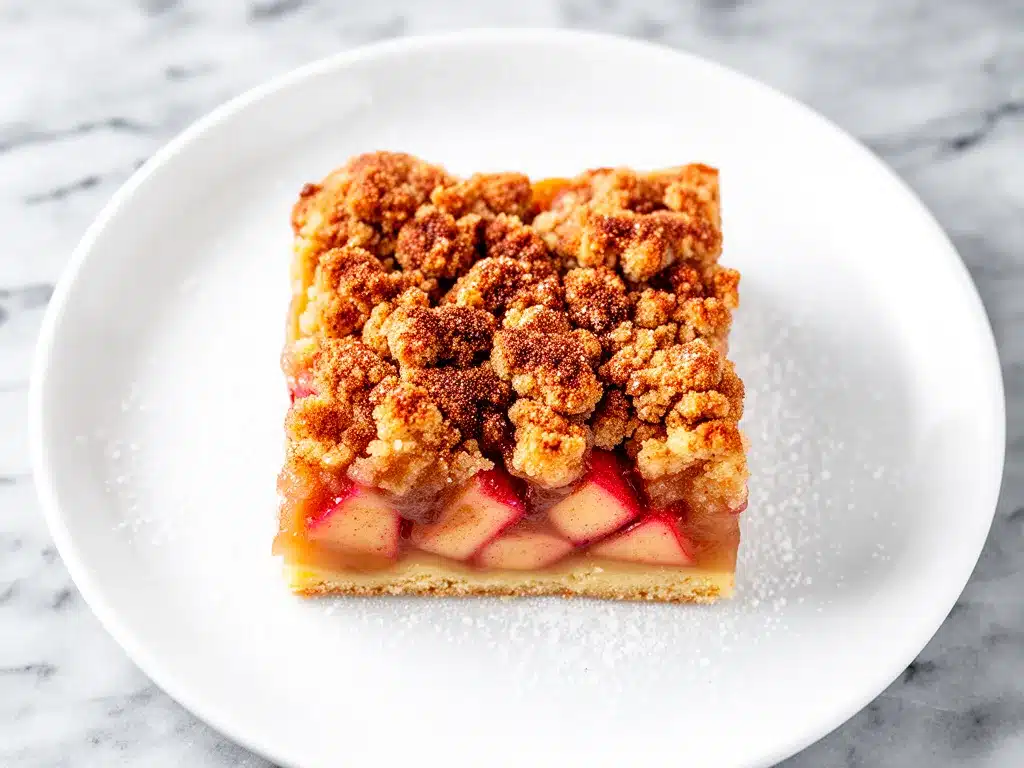
Granny Smith Apples (3 medium / about 450g, peeled and sliced) — This is non-negotiable. You need apples that hold their shape. Granny Smiths are tart and firm. If you use sweet, soft apples like Red Delicious, they’ll turn into applesauce. You can use a mix of Granny Smith and Honeycrisp for a balance of tart and sweet.
Granulated Sugar (¼ cup / 50g) — Just enough to caramelize the apples slightly. If your apples are very tart, you might add an extra tablespoon.
Ground Cinnamon (1 teaspoon) — More cinnamon for the filling. It’s a cinnamon lovers’ dream.
Vanilla Extract (1 teaspoon) — Adds depth. Don’t use imitation vanilla if you can help it.
Optional Add-ins
Walnuts or Pecans (½ cup / 60g, chopped) — I love the crunch these add to the crumble. It breaks up the softness of the apples and cake. If you’re nut-free, you can skip them or add oats.
Butterscotch Chips (½ cup / 85g) — For a fun twist, sprinkle these on top before baking. They melt into gooey pockets of flavor.
Extra Cinnamon Sugar — For a fancy finish, sprinkle a little cinnamon sugar over the bars right after they come out of the oven.
Equipment Needed
You don’t need fancy gadgets for this. Here’s what I actually use:
9×13 Inch Baking Pan — Standard size. I use a glass pan because I can see the bottom browning. Metal works too, but you might need to reduce the baking time by 5 minutes.
Mixing Bowls — Two medium bowls. One for the crumble mixture, one for the apples.
Fork or Pastry Cutter — To mix the butter into the cake mix. A fork works fine. I use my fingers when I’m in a hurry.
Peeler and Knife — For prepping the apples. A mandoline is great if you want uniform slices, but a knife is faster for most people.
Cooling Rack — Essential. Don’t cut these hot. They’ll fall apart. Let them cool completely on a rack.
How to Make It: Step-by-Step
Alright, let’s make these! I’m walking you through exactly how I do it, including the little tricks I’ve picked up.
Step 1: Prep Your Oven and Pan (5 minutes)
Preheat your oven to 350°F (175°C). Grease your 9×13 inch baking pan with butter or cooking spray. I like to line it with parchment paper for easy removal, but it’s not strictly necessary. Just make sure it’s well-greased.
Step 2: Make the Crumble Base (5 minutes)
In a medium bowl, combine the yellow cake mix, melted butter, and 1 teaspoon of cinnamon. Mix with a fork or your fingers until it looks like wet sand. It should clump together when you squeeze it, but still be crumbly.
Press half of this mixture firmly into the bottom of your prepared pan. Use the bottom of a measuring cup or your hands to pack it down. This forms your crust.
Step 3: Prepare the Apple Filling (10 minutes)
Peel and slice your apples. I like thin slices, about ¼ inch thick. Toss them in a bowl with the remaining 1 teaspoon of cinnamon, sugar, and vanilla extract. Make sure they’re evenly coated.
Spread the apple slices over the crust layer in the pan. Try to arrange them in a single layer if possible, but it’s okay if they overlap a bit. They’ll cook down.
Step 4: Add the Topping (5 minutes)
Take the remaining crumble mixture and sprinkle it evenly over the apples. Don’t press it down. You want it to be loose and crumbly. If you’re adding nuts or butterscotch chips, sprinkle them on now.
Step 5: Bake (45-50 minutes)
Place the pan in the preheated oven. Bake for 45-50 minutes. You’ll know it’s done when the top is golden brown and the apples are tender (you can poke one with a knife to check). The crumble should look set, not wet.
If the top is browning too fast, tent it with foil for the last 10 minutes.
Step 6: Cool Completely (1 hour)
This is the hardest part. Let the bars cool in the pan on a wire rack. They need to cool completely before you cut them. If you cut them warm, the layers will separate and it’ll be a mess. Trust me on this. Patience pays off.
Expert Tips & Tricks
Here’s everything I’ve learned from making these dozens of times. These tips will save you from my mistakes.
Choose the Right Apples
I can’t stress this enough. Use firm, tart apples. Granny Smith is my go-to. If you use Gala or Fuji, they’ll get mushy. You want slices that hold their shape after baking. If you’re unsure, buy two types and mix them.
Don’t Skip the Cooling Time
I know it’s tempting. But these bars need time to set. The filling thickens as it cools. If you cut them hot, you’ll get a soupy mess. Set a timer and resist the urge.
Customize the Crumble
Feel free to add oats to the crumble for extra texture. ½ cup of rolled oats works well. You can also add a pinch of nutmeg or cardamom for a more complex spice profile.
Storage is Key
Store these in an airtight container at room temperature for up to 3 days. In the fridge, they’ll last up to 5 days. The cold makes the crumble harder, so let them come to room temperature before serving if you prefer a softer texture.
Variations & Substitutions
Once you’ve nailed the basic version, here’s how you can mix it up. I’ve tried all of these.
Pumpkin Spice Version
Swap the apples for canned pumpkin puree. Add 1 teaspoon of pumpkin pie spice to the crumble and filling. It’s basically a pumpkin pie bar. Delicious and seasonal.
Cherry Crumble Bars
Use tart cherries instead of apples. You can use fresh pitted cherries or frozen (thawed and drained). The tartness pairs beautifully with the cinnamon.
Gluten-Free Option
Use a gluten-free yellow cake mix. Most major brands have one now. The texture might be slightly different, but it still works. Just make sure your other ingredients are certified GF.
Reduced Sugar
Use a sugar-free cake mix and reduce the sugar in the filling to 2 tablespoons. It’s not as sweet, but still tasty. I do this sometimes when I’m watching my sugar intake.
Make-Ahead Breakfast Muffin Cups
If you’re looking for other make-ahead treats, check out my make-ahead breakfast muffin cups for a savory option to balance out the sweet bars.
Serving & Storage
How to Serve:
I usually serve these at room temperature. They’re great for potlucks because they don’t need to be kept warm. I cut them into 12 squares for a standard 9×13 pan. They’re perfect with a cup of coffee or a glass of milk.
Side Dishes:
These are sweet enough on their own. I don’t usually serve them with anything else, but a dollop of whipped cream or a scoop of vanilla ice cream is amazing if you want to go all out.
Storage Instructions:
Refrigerator: Store in an airtight container for up to 5 days. The crumble might soften slightly, but it’s still good.
Freezer: You can freeze these! Wrap the whole pan in plastic wrap and then foil. Or freeze individual bars. They’ll last for up to 3 months. Thaw at room temperature before serving.
Pro Tip: If you’re bringing these to a gathering, transport them in the pan. They hold up well. Just bring a plate for serving.
Nutrition Information
I’m not a nutritionist, but here’s the breakdown if you’re tracking. This is a dessert, so expect some sugar and carbs.
Per Serving (based on 12 servings):
- Calories: 280
- Protein: 3g
- Carbs: 42g
- Fiber: 2g
- Sugar: 28g
- Fat: 12g
- Saturated Fat: 7g
- Sodium: 250mg
What’s Good:
- Apples add some fiber and vitamins.
- Portion control is easier with bars.
What to Know:
- Higher in sugar due to the cake mix and added sugar.
- Contains gluten and dairy.
- Good for occasional treats, not daily snacks.
My Take:
Look, this is a dessert. It’s sweet, buttery, and delicious. It’s not a health food. But it’s a better alternative to buying processed snacks from the store. When I make these, I enjoy a square or two and feel satisfied. Balance is key.
Final Thoughts
So that’s my take on Apple Pie Bars with Cinnamon Crumble. I’ve probably talked your ear off at this point, but when you find a recipe that works this well, you have a lot to say about it.
This has saved me from dessert disasters more times than I can count. It’s my answer to “what should I bring?” when I’m busy, tired, or just don’t want to bake a whole pie. My friends love them, my family begs for them, and I love them because they’re so easy.
Make it yours! Try different apples, add nuts, or swap the spices. The best recipes are the ones you adapt to your tastes. If you make this, drop a comment and let me know what you think! I love hearing how recipes turn out in your kitchen. And if something doesn’t work, tell me that too—I’m here to help troubleshoot.
Happy baking! And I hope your kitchen smells half as good as mine does right now.
Frequently Asked Questions
Can I use a different cake mix?
Yes, but yellow is best for flavor. Vanilla works in a pinch, but it’s less buttery. Spice cake mix would be interesting but might overpower the apples. Stick with yellow for the classic taste.
Why did my bars fall apart when I cut them?
Most likely, you cut them while they were still warm. They need to cool completely to set. Also, make sure you pressed the crust layer down firmly. If it’s too loose, it won’t hold together.
Can I use frozen apples?
You can, but they’ll release more water. Make sure to thaw and drain them first, or reduce the sugar in the filling. Fresh apples are better for texture.
How do I reheat leftovers?
Microwave for 15-20 seconds to warm them up. The crumble might get a little soft, but it’s still good. Oven reheating is better for keeping the crumble crisp.
Can I make these ahead of time?
Absolutely. Bake them, cool them, and store them in the fridge or freezer. They taste even better after a day or two as the flavors meld.
What if I don’t have a 9×13 pan?
You can use an 8×8 pan, but the bars will be thicker. Increase the baking time by 10-15 minutes. Keep an eye on the top to make sure it doesn’t burn.
Can I add chocolate chips?
Yes! Chocolate and apple is a classic combination. Sprinkle them on top before baking or mix them into the crumble.
Pin This Recipe!
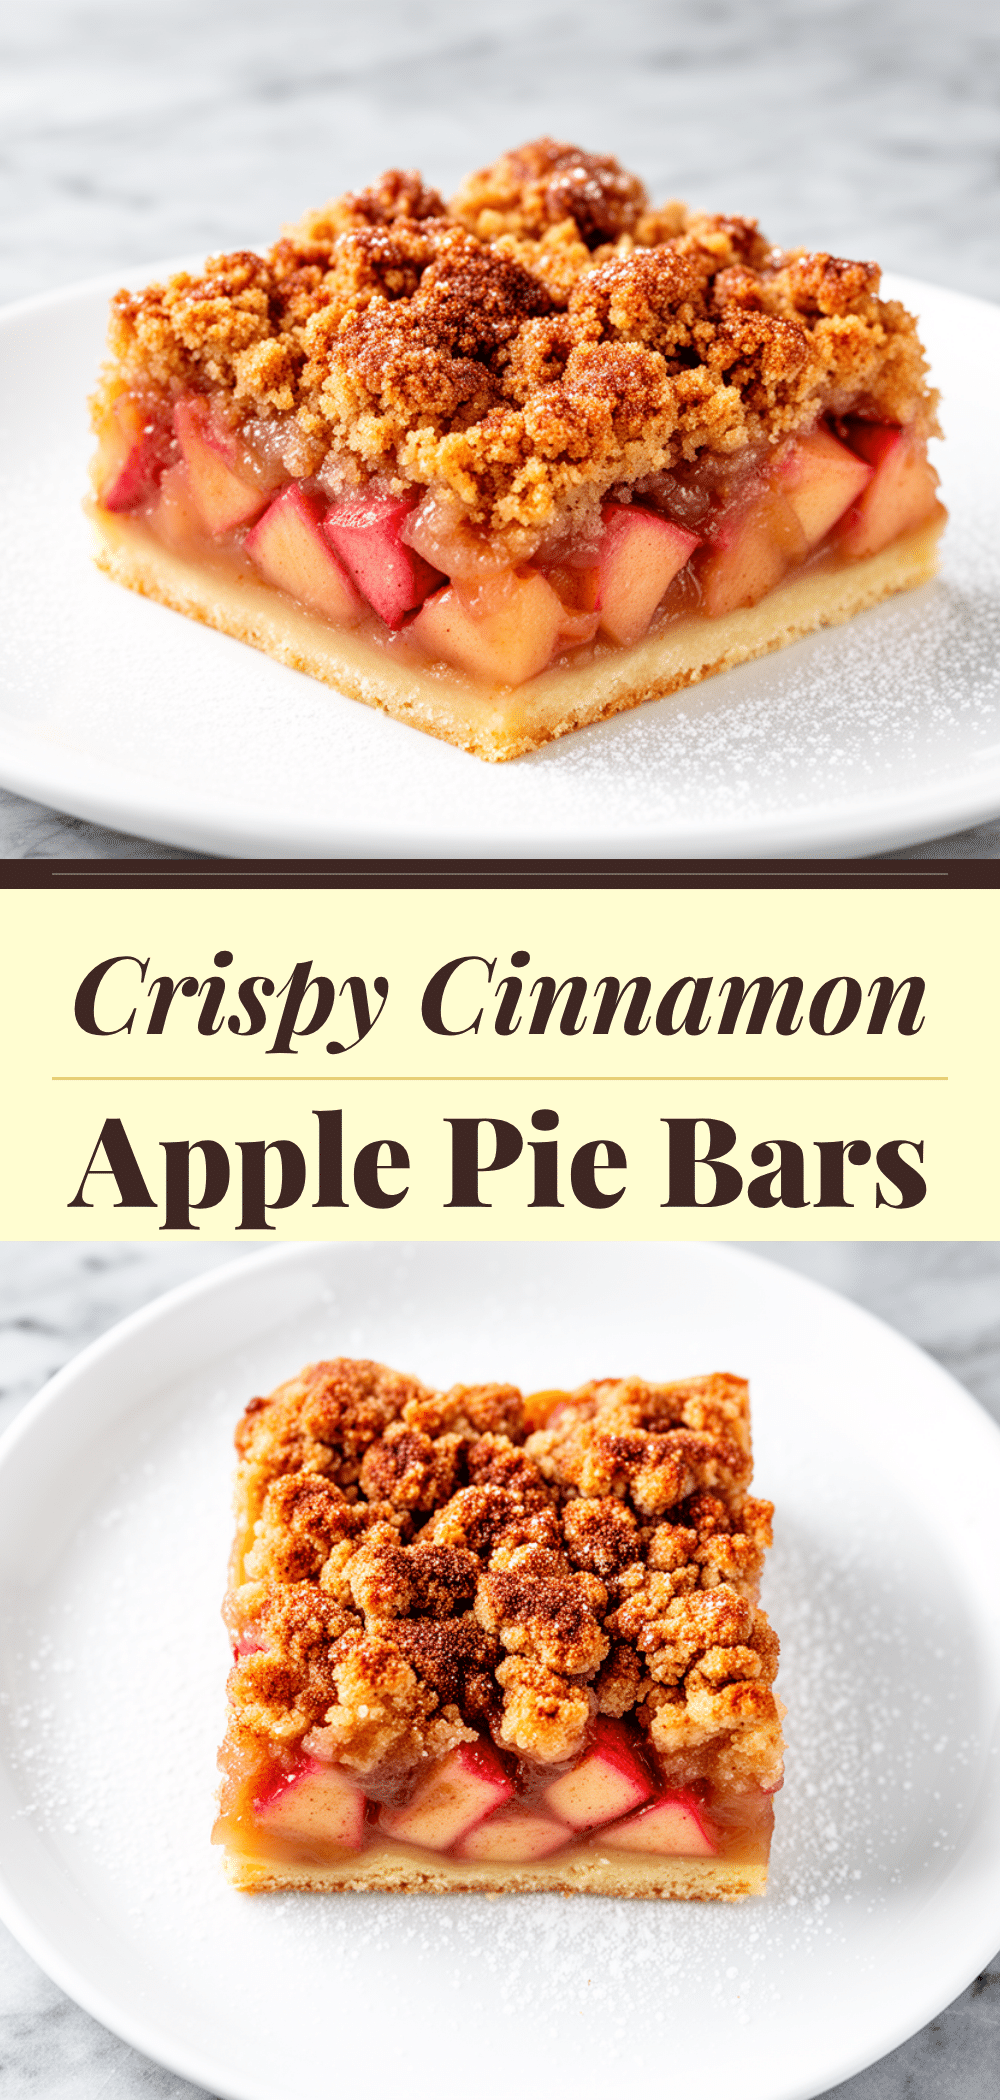
Apple Pie Bars: 3-Ingredient Easy Cinnamon Crumble Treat
- Total Time: 1 hour 5 minutes
- Yield: 12 servings 1x
Description
These easy Apple Pie Bars combine a buttery cinnamon crumble crust and topping with a spiced apple filling. Using a yellow cake mix for the base, this dessert is tender, crumbly, and requires no rolling pin, making it a perfect make-ahead treat for autumn gatherings.
Ingredients
- 1 box (15.25 oz / 432g) yellow cake mix
- ½ cup (113g) unsalted butter, melted
- 2 teaspoons ground cinnamon, divided
- 3 medium Granny Smith apples, peeled and sliced (about 450g)
- ¼ cup (50g) granulated sugar
- 1 teaspoon vanilla extract
- Optional: ½ cup chopped walnuts or pecans
- Optional: ½ cup butterscotch chips
- Optional: Extra cinnamon sugar for finishing
Instructions
- Preheat oven to 350°F (175°C). Grease a 9×13 inch baking pan with butter or cooking spray, optionally lining with parchment paper.
- In a medium bowl, combine the yellow cake mix, melted butter, and 1 teaspoon of cinnamon. Mix until the texture resembles wet sand.
- Press half of the crumble mixture firmly into the bottom of the prepared pan to form the crust.
- In a separate bowl, toss the sliced apples with the remaining 1 teaspoon of cinnamon, granulated sugar, and vanilla extract until evenly coated.
- Spread the apple mixture over the crust layer in the pan.
- Sprinkle the remaining crumble mixture evenly over the apples. Add optional nuts or butterscotch chips if desired.
- Bake for 45-50 minutes, or until the top is golden brown and the apples are tender. Tent with foil if the top browns too quickly.
- Let the bars cool completely in the pan on a wire rack (about 1 hour) before cutting to ensure they set properly.
Notes
It is crucial to let the bars cool completely before cutting, otherwise the layers will separate. For best texture, use firm, tart apples like Granny Smith. The bars can be stored in an airtight container at room temperature for 3 days or in the refrigerator for up to 5 days. They are also freezer-friendly for up to 3 months.
- Prep Time: 20 minutes
- Cook Time: 45-50 minutes
- Category: Dessert
- Cuisine: American
Nutrition
- Serving Size: 1 bar
- Calories: 280
- Sugar: 28
- Sodium: 250
- Fat: 12
- Saturated Fat: 7
- Carbohydrates: 42
- Fiber: 2
- Protein: 3
Keywords: apple pie bars, cinnamon crumble, easy dessert, fall recipes, cake mix dessert, make-ahead dessert, gluten-free option


