It was 5:15 PM on a Tuesday, and I was staring at the clock like it owed me money. My partner had just texted: “Running late. Dinner?” The fridge was basically a sad container of half-used milk and a lemon that had given up on life three days ago. No, I didn’t have a meal plan. No, I didn’t have time to go to the store. And definitely no, I wasn’t going to order takeout again because my wallet was crying.
Then I remembered the block of cream cheese sitting in the back of the fridge. And the graham crackers in the pantry. And a tub of sour cream that I was pretty sure was still good.
I didn’t have a plan, but I had instinct. And instinct told me: make the cheesecake.
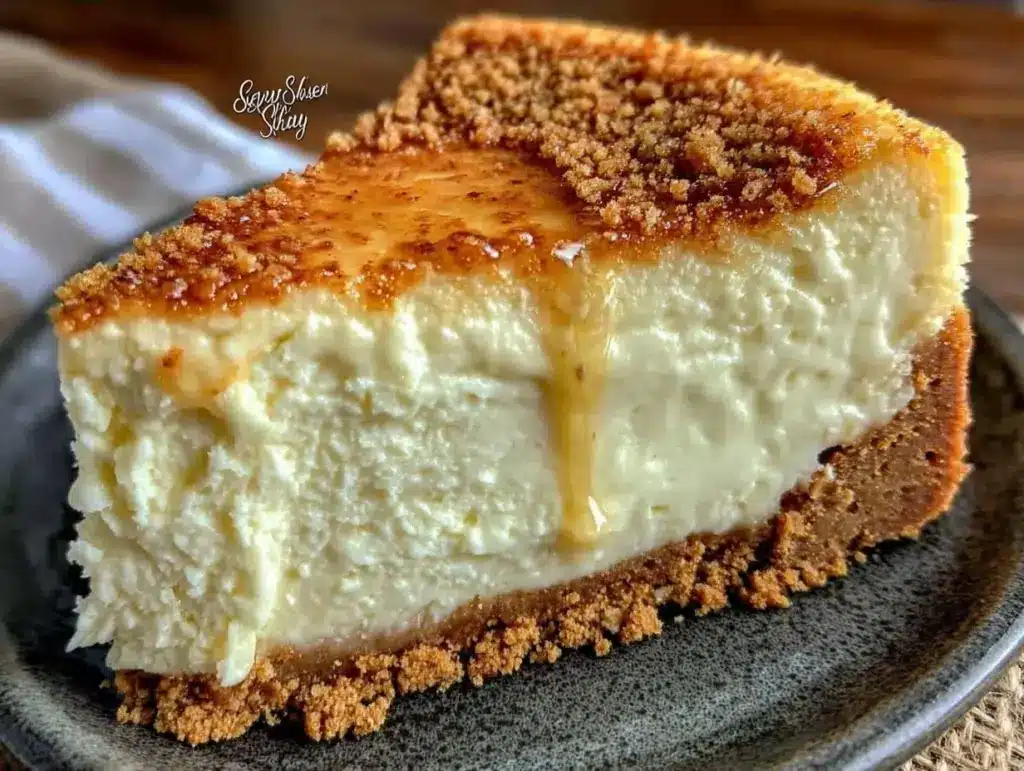
Not the kind that takes six hours of water-bathing and religious chanting. Not the kind where you need a springform pan you haven’t touched since 2019. I’m talking about the kind that comes together in 15 minutes of active time, chills while you binge-watch your show, and tastes like you spent all day in a professional kitchen. This Classic New York Cheesecake with Graham Crust is my secret weapon for “nothing planned” nights. It’s rich, it’s dense, it’s creamy, and it’s ridiculously easy to pull off when the clock is ticking.
I’ve made this thing so many times that I can do it with one hand tied behind my back (metaphorically, please don’t actually tie your hands while baking). It’s become the go-to answer for “what’s for dessert?” when I need something that feels fancy but requires zero stress. If you’ve ever stood in your kitchen at 5pm wondering how to turn pantry staples into a crowd-pleasing dessert, this is your moment. Let’s get into it.
Why You’ll Love This 5pm Cheesecake
Look, I’m not going to lie to you. Making a cheesecake usually sounds like a lot of work. But this version? It’s different. It’s the kind of recipe that feels like magic because it bypasses all the complicated steps that usually make home bakers quit before they even start.
Here’s why this specific cheesecake has earned a permanent spot in my weekly rotation:
- Zero Oven Stress — Seriously. This recipe uses a no-bake method (or a very low-temp bake that’s foolproof). You don’t need to worry about cracks, water baths, or checking the temperature every two minutes. You mix, you chill, you eat. It’s that simple.
- Pantry Staples — You likely have 90% of these ingredients right now. Cream cheese, butter, sugar, graham crackers, vanilla. That’s it. No trip to the grocery store when you’re already running late. It’s the ultimate 5pm dinner saver.
- Makes You Look Like a Pro — The texture is dense, creamy, and utterly luxurious. Guests will assume you bought it from a high-end bakery. They won’t know you threw it together while waiting for the pizza delivery guy to arrive. (Okay, maybe they will. But they’ll still ask for the recipe.)
- Meal Prep Friendly — I make this on Sunday for the week. It keeps in the fridge for days, actually getting better as the flavors meld. It’s perfect for those nights when you’re too tired to cook and need dessert that’s already ready.
- Customizable Chaos — Love berries? Top it with them. Love chocolate? Drizzle it. Hate vanilla? Swap it. This base recipe is so forgiving that you can play with it without ruining the result.
This isn’t just a dessert; it’s a confidence booster. When you serve this, people stop talking about their day and start talking about how good it tastes. That’s power.
Ingredients You’ll Need
Here’s the best part: this list is short. Like, “I can read it in three seconds” short. But don’t let the simplicity fool you. The quality of these few ingredients matters. Here’s what you need and why I’m picky about each one.
For the Graham Crust
Graham Cracker Crumbs (1.5 cups / 150g) — I buy the pre-crushed kind to save time, but if you have whole crackers, just blitz them in a food processor for 30 seconds. You want fine crumbs, not chunks. Don’t skip this—chunky crust doesn’t hold together.
Unsalted Butter (6 tablespoons / 85g, melted) — This is the glue. Use real butter, not margarine. It adds that rich, savory note that balances the sweet filling. Melt it in the microwave or a small saucepan.
Granulated Sugar (2 tablespoons / 25g) — Just a touch to sweeten the crust. You can skip it if you prefer a less sweet base, but I recommend keeping it for balance.
Pinch of Salt — Crucial. It wakes up the flavor of the crackers. Don’t skip it.
For the Cheesecake Filling
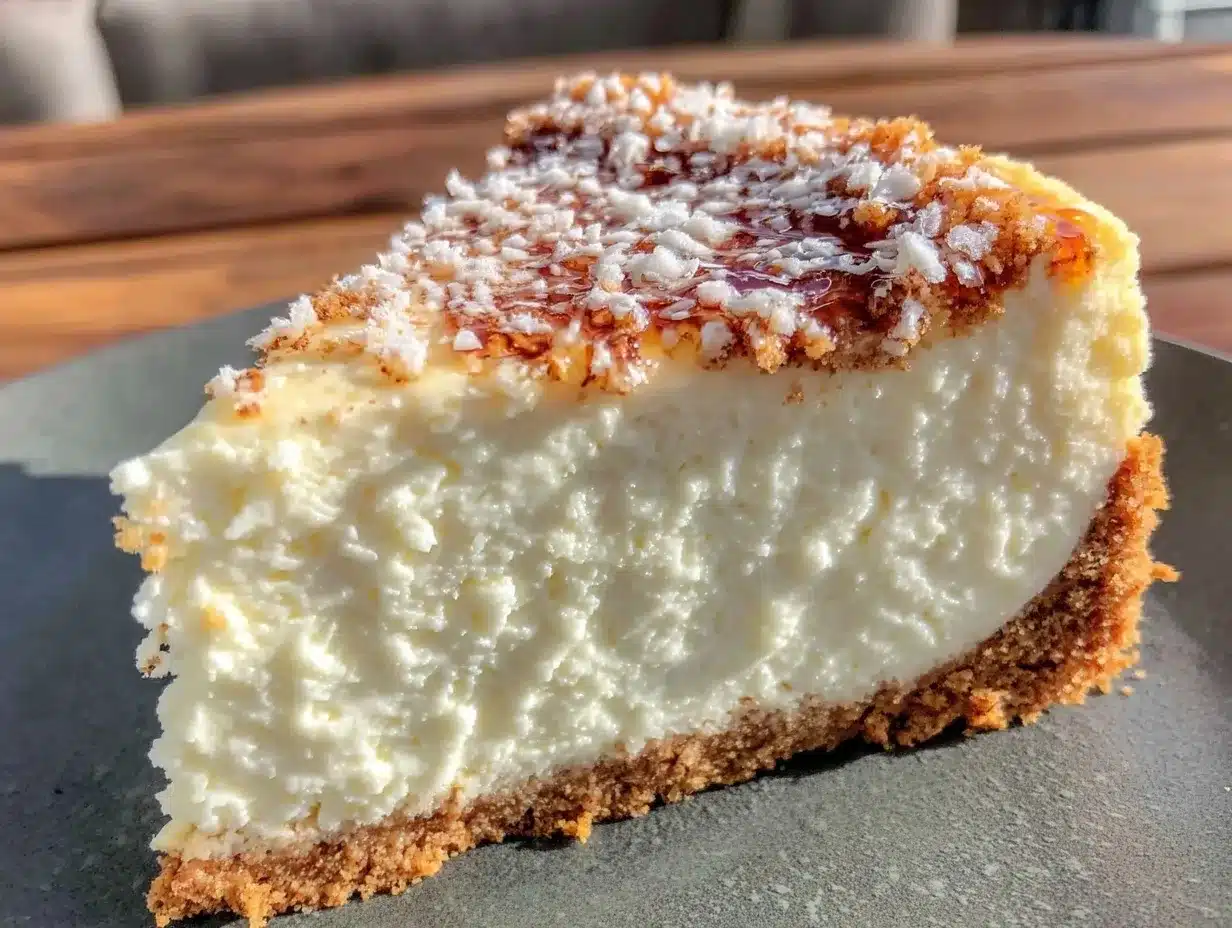
Full-Fat Cream Cheese (24 oz / 680g, 3 blocks) — This is non-negotiable. Use the brick-style cream cheese, not the spreadable kind in the tub. Full-fat is essential for that dense, creamy texture. Let it sit on the counter for 30 minutes before you start so it’s soft enough to mix easily. Hard cream cheese = lumpy batter = sad cheesecake.
Granulated Sugar (1 cup / 200g) — Standard white sugar works best. It dissolves evenly. Brown sugar makes it too moist and tangy, which isn’t the classic NY profile we’re going for.
Sour Cream (1 cup / 240g) — This is the secret ingredient. It adds tang and creaminess without being as heavy as extra cream cheese. It also helps prevent cracks if you are baking it. Use full-fat sour cream.
Heavy Cream (½ cup / 120ml) — Adds richness and helps smooth out the texture. If you’re doing a no-bake version, this helps set the structure slightly when chilled.
Eggs (3 large) — Room temperature is best. They provide structure. If you’re doing a strict no-bake version, you might skip these and use gelatin, but for this classic texture, eggs are key for that firm slice.
Vanilla Extract (2 teaspoons) — Pure vanilla, please. I know it’s expensive, but you’ll taste the difference. Artificial vanilla tastes chemical and cheap in a dessert this simple.
Flour or Cornstarch (1 tablespoon) — Just a little bit to stabilize the filling. It prevents the center from wobbling too much. Cornstarch is slightly lighter; flour is more traditional. Either works.
Optional Toppings
Fresh Berries (Strawberries, raspberries, or blueberries) — The acidity cuts through the richness. I love a pile of fresh strawberries on top.
Chocolate Drizzle — Melted dark chocolate or chocolate chips. For the kids, or just because I’m feeling fancy.
Caramel Sauce — Store-bought is fine. I’m not judging.
Equipment Needed
You don’t need a fancy kitchen for this. Here’s what I actually use:
9-Inch Springform Pan — This is the classic cheesecake pan. The sides come off, making it easy to remove the cake. If you don’t have one, a regular 9-inch cake pan works, but you’ll need to line it well with parchment and invert it to serve.
Food Processor or Blender — For crushing the graham crackers. If you don’t have one, put them in a ziplock bag and smash them with a rolling pin. It’s good exercise.
Mixer — A hand mixer or stand mixer is best. You can do it by hand with a strong arm, but why suffer? Cream cheese is tough to mix without lumps if you don’t use a mixer.
Rubber Spatula — For scraping down the bowl. You want every bit of that creamy goodness.
Wire Rack — To cool the cheesecake evenly.
Plastic Wrap or Foil — To wrap the bottom of the pan if you’re using a water bath (if baking) or just to cover it while it chills.
How to Make It: Step-by-Step
Alright, let’s make this! I’m walking you through exactly how I do it, including the little tricks I’ve picked up over the years.
Step 1: Prep Your Pan (2 minutes)
Grease the bottom and sides of your springform pan with butter. Then, cut a circle of parchment paper to fit the bottom. Press it in. This guarantees no sticking. If you’re worried about water getting in the bottom (if baking), wrap the outside of the pan in heavy-duty aluminum foil.
Step 2: Make the Crust (5 minutes)
In a medium bowl, mix the graham cracker crumbs, melted butter, sugar, and salt. It should look like wet sand. If it’s too dry, add a teaspoon more butter. If it’s too soupy, add a tablespoon more crumbs. Press this mixture firmly into the bottom of your pan. Use the bottom of a measuring cup to pack it down tight. You want it flat and even. Set it aside.
Step 3: Mix the Filling (5-7 minutes)
In a large bowl, beat the softened cream cheese on medium speed until it’s completely smooth and creamy. This is the most important step. Scrape down the sides and beat again. No lumps allowed. Add the sugar and beat until combined.
Add the sour cream, heavy cream, and vanilla. Mix on low until just combined. Don’t overmix now, or you’ll incorporate too much air, which can cause cracks.
Add the eggs one at a time, mixing on low speed just until blended. Finally, stir in the flour or cornstarch by hand with your spatula. This prevents overmixing.
Step 4: Assemble and Chill/Bake
For No-Bake: Pour the filling over the crust. Smooth the top. Cover with plastic wrap and refrigerate for at least 6 hours, preferably overnight. The cold sets the cream cheese and eggs.
For Baked (Classic NY Style): Preheat oven to 325°F (160°C). Place the springform pan on a large baking sheet (to catch leaks if using foil). Bake for 55-65 minutes. The edges should be set, but the center should still jiggle slightly like Jell-O when you shake the pan. This is crucial. If it’s firm, you’ve overbaked it. It will set as it cools.
Let it cool in the oven with the door cracked open for an hour. This gradual cooling prevents cracks. Then, remove and refrigerate for at least 4 hours.
Step 5: Serve
Run a knife around the edge of the pan to loosen it. Unlatch the springform. Slice with a sharp knife dipped in hot water for clean cuts. Top with berries, chocolate, or nothing at all. Enjoy.
Expert Tips & Tricks
Here’s everything I’ve learned from making this dozens of times. These tips will save you from my mistakes.
Softened Cream Cheese is Key
If your cream cheese is cold, you will get lumps. And nobody wants lumpy cheesecake. I leave it on the counter for 30-60 minutes before starting. If you’re in a hurry, microwave it in 10-second bursts, checking frequently. It should be soft enough to leave a fingerprint.
Don’t Overmix
Once you add the eggs, mix on low speed. Overmixing incorporates air bubbles, which expand in the oven and then collapse, causing cracks. We want a dense, smooth texture, not a soufflé.
The Jiggle Test
When baking, pull the cheesecake when the center still wobbles slightly. It looks done when the edges are set and the center is still soft. It will continue to cook from residual heat as it cools. If you wait until the center is firm, it will be dry and cracked.
Gradual Cooling
Temperature shocks cause cracks. After baking, let the cheesecake cool in the turned-off oven with the door cracked for an hour. Then move it to the counter, then to the fridge. Patience pays off.
Sharp Knife for Slicing
Wipe your knife clean between cuts. Dip it in hot water and dry it before each slice. This gives you those beautiful, clean lines that look like they came from a bakery.
Variations & Substitutions
Once you’ve nailed the basic version, here’s how you can mix it up. I’ve tried all of these.
Berry Swirl
Before baking, dollop mixed berry jam or fresh berries on top of the batter. Use a knife to swirl them in gently. It adds color and flavor bursts.
Chocolate Cheesecake
Add ½ cup of cocoa powder to the dry ingredients. You might need a little extra sugar to balance the bitterness. Drizzle with chocolate ganache after chilling.
Lemon Cheesecake
Add the zest of one lemon and 2 tablespoons of lemon juice to the filling. It’s bright and refreshing, perfect for summer.
Gluten-Free
Use gluten-free graham crackers or almond flour for the crust. The rest of the recipe is naturally gluten-free (check your vanilla and flour). I use King Arthur Gluten-Free Measure for Measure Flour.
Lower Sugar
Reduce the sugar in the filling to ¾ cup. It’s still sweet enough, but less cloying. Use a sugar substitute if you prefer, but note that it may affect texture.
Serving & Storage
How to serve this masterpiece:
How to Serve: I usually serve this straight from the fridge. It’s cold and creamy. Top with fresh strawberries and a mint leaf for a pop of color. It looks impressive but is effortless.
Side Dishes: This is a dessert, so pair it with coffee or tea. A cup of dark roast coffee cuts through the richness perfectly. Or try a glass of Labor Day Watermelon Mint Sangria if you want a fruity, light drink to balance the heavy cheesecake.
Storage Instructions:
Refrigerator: Store in an airtight container or covered with plastic wrap for up to 5 days. It actually tastes better on day two or three as the flavors meld.
Freezing: Yes, you can freeze cheesecake! Wrap the whole pan (or individual slices) tightly in plastic wrap, then foil. Freeze for up to 2 months. Thaw in the fridge overnight. The texture might be slightly softer, but it’s still delicious.
Reheating: Don’t reheat cheesecake. Eat it cold. If you must, let it sit at room temperature for 15 minutes to soften slightly.
Nutrition Information
I’m not a nutritionist, but here’s the breakdown if you’re tracking. Keep in mind this is an estimate.
Per Serving (based on 12 slices):
- Calories: 380
- Protein: 6g
- Carbs: 32g
- Fiber: 0g
- Sugar: 22g
- Fat: 24g
- Saturated Fat: 14g
- Cholesterol: 85mg
- Sodium: 280mg
What’s Good: High in protein from the cream cheese. Satisfying, so you don’t need a huge portion.
What to Know: High in sugar and saturated fat. It’s a treat. Enjoy a small slice and savor it.
My Take: Look, this is comfort food. It’s rich and decadent. It’s not a diet recipe. But it’s way better than store-bought, and you know exactly what’s in it. When I want to make it lighter, I use a lighter cream cheese and reduce the sugar, but usually? I just eat a small slice and enjoy the moment.
Final Thoughts
So that’s my go-to Classic New York Cheesecake with Graham Crust! I’ve probably talked your ear off at this point, but when you make a recipe this often, you have a lot to say about it.
This has saved weeknight desserts more times than I can count. It’s my answer to “what’s for dessert?” when I’m tired, don’t want to bake a complicated cake, and still want something that tastes really good. My family is happy, my guests are impressed, and I’m happy because I’m not stressed about cooking.
Make it yours! Try different toppings, swap in your favorite flavors, adjust the sweetness. The best recipes are the ones you adapt to your family’s tastes. If you’re looking for other easy desserts, check out my Classic Vanilla Bean Cheesecake for a slightly different twist, or try my Soft Carrot Cake with Cream Cheese Frosting if you want something spiced and seasonal.
If you make this, drop a comment and let me know what you think! I love hearing how recipes turn out in your kitchen. And if something doesn’t work, tell me that too—I’m here to help troubleshoot.
Happy cooking! And I hope your kitchen smells half as good as mine does right now.
Frequently Asked Questions
Can I use a different pan?
Yes, but a springform pan is best for easy removal. If you use a regular cake pan, line it well with parchment and invert it to serve. The baking time might vary slightly.
Why did my cheesecake crack?
Usually, it’s overbaking or cooling too quickly. Pull it when the center still jiggles. Let it cool gradually in the oven. Also, don’t overmix the batter, as air bubbles expand and then collapse.
Can I make this ahead?
Absolutely. This cheesecake is better the next day. Make it 2-3 days ahead and store in the fridge. It’s perfect for meal prep or party planning.
Why did my cheesecake sink in the middle?
This is normal for cheesecakes. As long as it’s set and not liquid, a slight dip is fine. It happens as the structure sets and cools.
Can I use light cream cheese?
You can, but the texture will be less dense and creamy. It might be softer and harder to slice. Full-fat is recommended for the classic NY experience.
How do I store leftovers?
Store in an airtight container in the fridge for up to 5 days. You can also freeze individual slices for up to 2 months.
Can I add fruit to the batter?
Yes, but add them carefully. Fold in fresh berries gently before baking. Keep in mind they may release juice and affect the texture slightly.
Pin This Recipe!
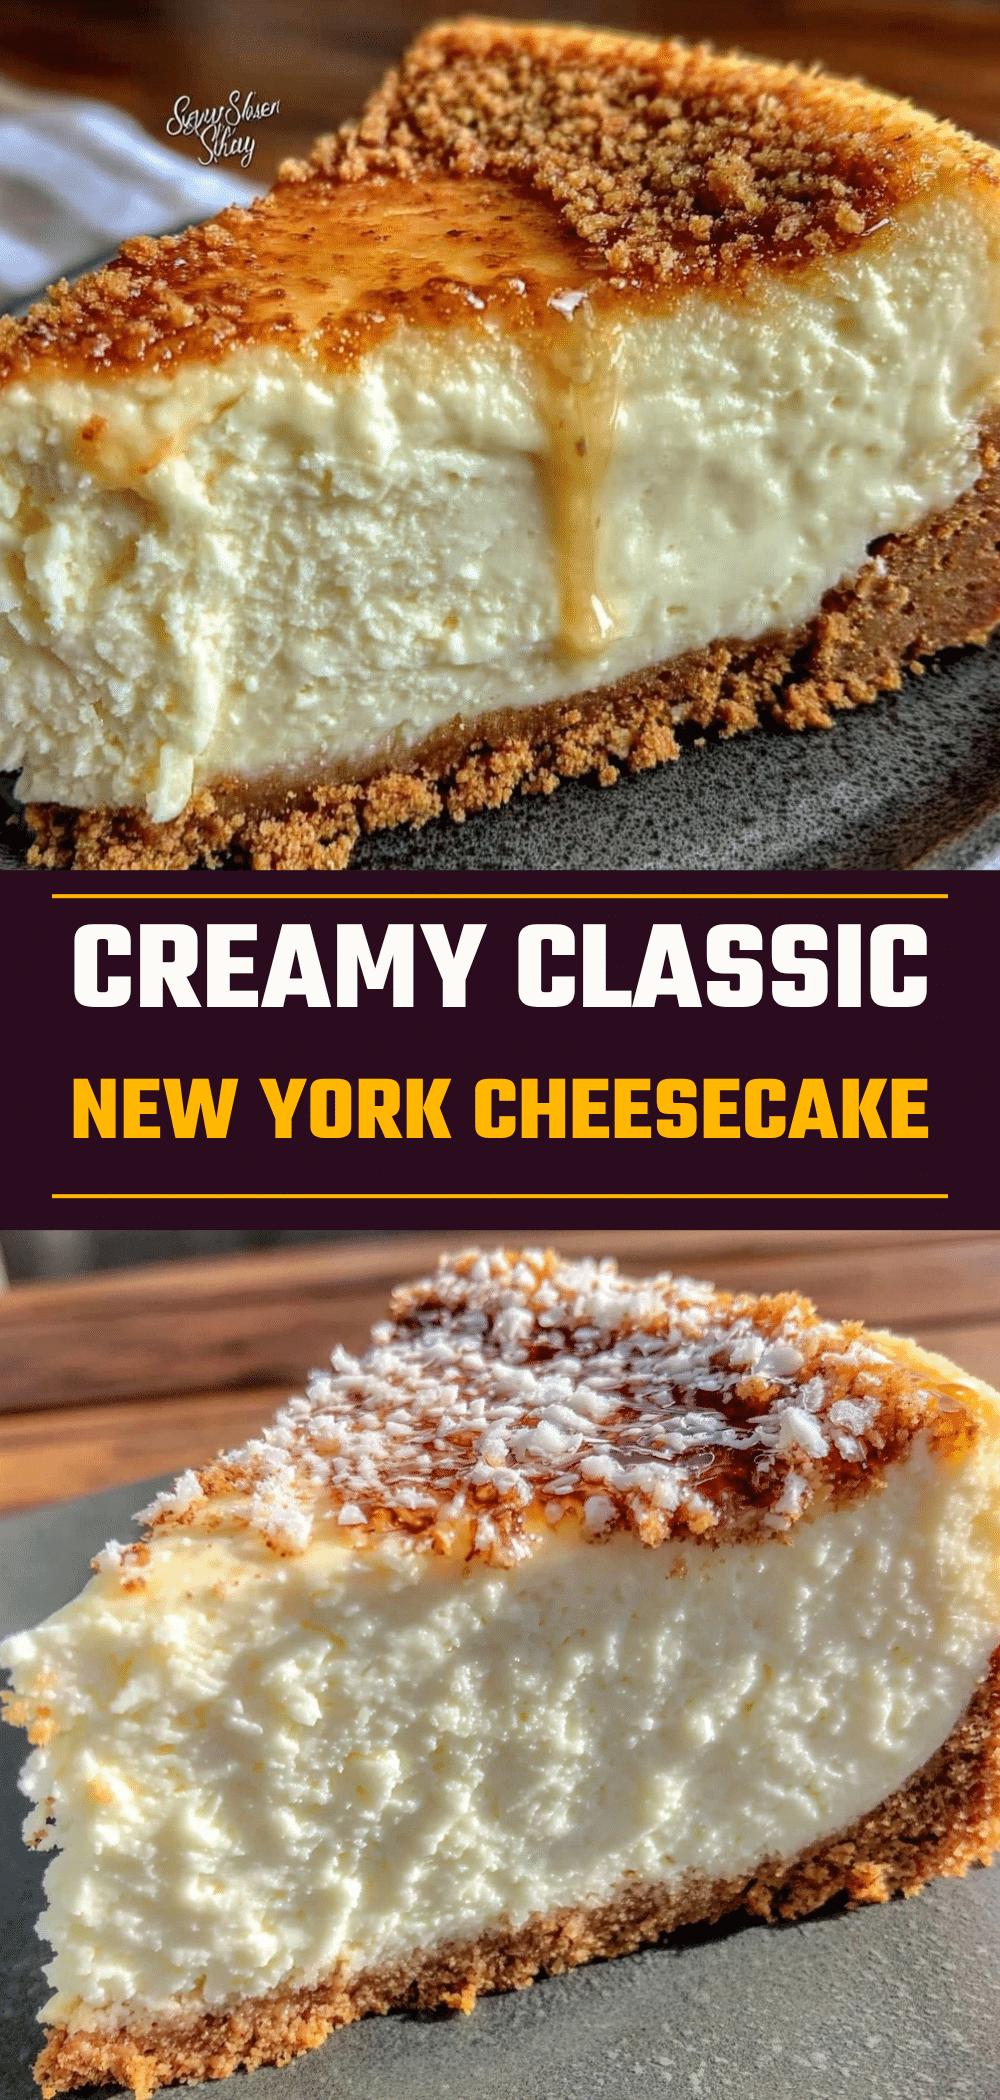
Classic New York Cheesecake with Graham Crust
- Total Time: 75 minutes (plus chilling time)
- Yield: 12 servings 1x
Description
A rich, dense, and creamy no-bake or low-temp baked cheesecake made with pantry staples. This easy recipe yields a professional-quality dessert that chills while you relax, perfect for last-minute dinners or impressing guests without the stress.
Ingredients
- 1.5 cups (150g) Graham Cracker Crumbs
- 6 tablespoons (85g) Unsalted Butter, melted
- 2 tablespoons (25g) Granulated Sugar
- Pinch of Salt
- 24 oz (680g) Full-Fat Cream Cheese, softened
- 1 cup (200g) Granulated Sugar
- 1 cup (240g) Full-Fat Sour Cream
- 1/2 cup (120ml) Heavy Cream
- 3 large Eggs, room temperature
- 2 teaspoons Vanilla Extract
- 1 tablespoon Flour or Cornstarch
- Optional: Fresh Berries, Chocolate Drizzle, or Caramel Sauce
Instructions
- Preheat oven to 325°F (160°C) if baking. Grease a 9-inch springform pan and line the bottom with parchment paper.
- In a medium bowl, mix graham cracker crumbs, melted butter, 2 tablespoons sugar, and salt until it resembles wet sand.
- Press the crust mixture firmly into the bottom of the pan using the bottom of a measuring cup. Set aside.
- In a large bowl, beat the softened cream cheese on medium speed until completely smooth. Scrape down sides and beat again.
- Add 1 cup sugar and beat until combined.
- Add sour cream, heavy cream, and vanilla extract. Mix on low until just combined.
- Add eggs one at a time, mixing on low speed just until blended. Do not overmix.
- Stir in flour or cornstarch by hand with a spatula.
- Pour filling over the crust and smooth the top.
- For Baked Version: Bake for 55-65 minutes until edges are set but the center jiggles slightly. Cool in the oven with the door cracked for 1 hour, then refrigerate for at least 4 hours.
- For No-Bake Version: Cover and refrigerate for at least 6 hours or overnight.
- Run a knife around the edge to loosen, unlatch the springform, and slice with a hot, dry knife.
Notes
Ensure cream cheese is fully softened to avoid lumps. Do not overmix after adding eggs to prevent air bubbles which cause cracking. For baked version, gradual cooling in the turned-off oven prevents cracks. Can be stored in the fridge for up to 5 days or frozen for up to 2 months.
- Prep Time: 15 minutes
- Cook Time: 60 minutes
- Category: Dessert
- Cuisine: American
Nutrition
- Serving Size: 1 slice
- Calories: 380
- Sugar: 22
- Sodium: 280
- Fat: 24
- Saturated Fat: 14
- Carbohydrates: 32
- Protein: 6
Keywords: New York Cheesecake, Graham Crust, No-Bake Cheesecake, Easy Dessert, 5pm Dinner, Cream Cheese Recipe, Classic Cheesecake


