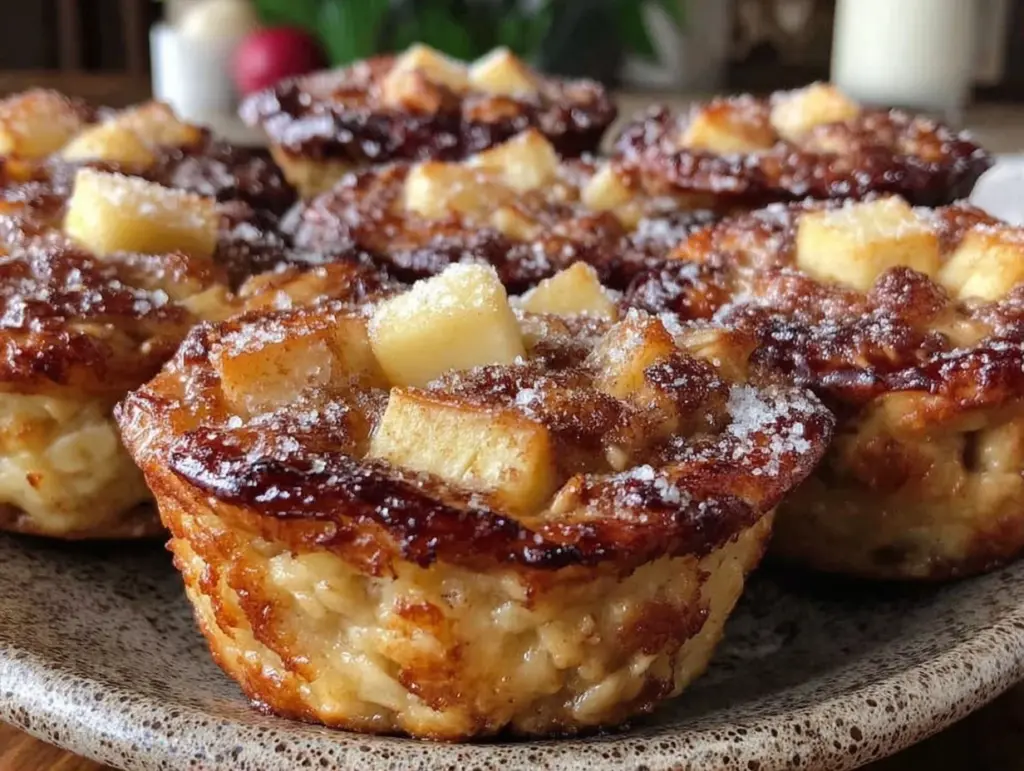
There is a specific kind of panic that hits around 8:00 AM on a Tuesday in September. You’re standing in your kitchen, coffee in one hand, trying to zip up a backpack with the other, while your kids are arguing over who gets the blue cup. The morning rush is real, and let’s be honest: making a full breakfast from scratch is the last thing you want to do when you’re already five minutes behind schedule.
Last week, I was facing this exact chaos. I had promised myself I’d be organized. I had planned to make pancakes. But then I woke up late, spilled juice on my shirt, and realized I had zero time to whisk batter and flip pancakes before the bus arrived. My solution? I threw together a batch of apple cinnamon baked oatmeal cups the night before. I mixed them up in five minutes, popped them in the oven, and slept like a baby. The next morning, I just popped two into the microwave for 30 seconds. Warm, soft, and tasting like a cozy fall morning, they saved our morning routine.
Now, I make these every single Sunday. They are my secret weapon for back-to-school mornings. They’re basically breakfast cookies that taste like apple pie but give you the energy you actually need to get through math class and soccer practice. If you’re drowning in morning chaos or just want a grab-and-go breakfast that isn’t a sad granola bar, you need this recipe in your life.
I’ve tested this apple cinnamon baked oatmeal cups recipe at least a dozen times. I’ve tried different apples, different sweeteners, and different oat types. I’ve figured out exactly what makes them fluffy instead of dense, and how to keep them moist for days. This is hands-down the best method for meal-prepping breakfast that your kids will actually eat without complaining.
Why You’ll Love This Recipe
Real talk: most meal-prep breakfasts are dry, bland, and taste like cardboard by Wednesday. These apple cinnamon baked oatmeal cups are different. They stay moist, they smell incredible, and they actually taste good cold or reheated. Here’s why they’ve completely changed our morning routine:
- Stupid Simple Prep — Seriously, if you can dump ingredients in a bowl, you can make these. It takes me exactly five minutes from start to finish. No chopping, no fuss. Just stir and bake.
- Grab-and-Go Convenience — I keep a stash in the fridge for three days and in the freezer for the rest of the month. When the bus is coming, I grab two, pop them in my bag, and they’re ready to eat in the car. No more stopping for overpriced muffins at the gas station.
- Kid-Approved Flavor — My picky eater who usually only eats white bread loves these. They taste like apple pie but with the heartiness of oatmeal. I’ve served these to my vegetarian sister, my gluten-free neighbor (using GF oats), and my husband who thinks breakfast should be bacon-heavy. Everyone asks for seconds.
- Healthy-ish Comfort — Yes, they have sugar, but they’re packed with fiber, protein, and fruit. It’s better than a donut, and it keeps my kids full until lunch. I use oats, eggs, and yogurt as the base, so it’s not just empty carbs.
- One-Bowl Cleanup — This is huge for me. I mix everything in one large bowl, pour it into the muffin tin, and bake. That’s it. One bowl to wash. In a house with three kids, minimal cleanup is non-negotiable.
- Budget-Smart — Oats, apples, eggs, and milk are pantry staples. You can make a batch of 12 for under $5. That’s less than what I spend on a box of those fancy bakery muffins, and these are way fresher.
This is my go-to when I need breakfast to just work. No complicated techniques, no weird ingredients, just reliable, delicious food that makes everyone happy. It’s the answer to “5pm and nothing planned” for breakfast, because you make them on Sunday evening while you’re already cooking dinner.
Ingredients You’ll Need
Here’s the best part: you probably have most of this already. I’m particular about three ingredients here, and I’ll tell you exactly why. The rest is just pantry basics.
For the Base
Old-fashioned rolled oats (2 cups / 160g) — Do not use quick oats or steel-cut oats. Quick oats turn to mush. Steel-cut take too long to bake. Old-fashioned gives that perfect chewy texture. I use Quaker or Bob’s Red Mill—they’re cheap and reliable.
Milk (1 ½ cups / 360ml) — Any milk works. I use whole milk for richness, but almond or oat milk works fine if you’re dairy-free. Just make sure it’s not too watery, or the cups will be soggy.
Large eggs (2 large) — These act as the binder. They hold everything together so you can grab them and eat them without them falling apart. Don’t try to skip this with flax eggs unless you’re vegan; the texture changes.
For the Flavor

Apples (2 medium, about 3 cups diced) — I use Gala or Fuji because they’re sweet and hold their shape. Granny Smith works too if you like tartness. Peel them? Sure. Unpeeled? Fine, just chop them smaller. I usually leave the peels on to save time.
Brown sugar (½ cup / 100g) — Packed. This gives that caramel-y, apple-pie flavor. White sugar works, but brown is better. If you’re watching sugar, you can reduce to ⅓ cup, but don’t skip it entirely.
Ground cinnamon (1 ½ teaspoons) — Don’t skimp. Cinnamon is what makes these smell like fall. If you don’t have any, use pumpkin pie spice, but cinnamon is classic.
Nutmeg (¼ teaspoon) — Just a pinch. It adds depth. If you don’t have it, skip it, but it’s nice.
For the Moisture & Texture
Greek yogurt (½ cup / 120g) — I use plain or vanilla. This keeps the oats moist and adds protein. Sour cream works too, but yogurt is lighter. If you’re out, sub with applesauce, but the texture will be denser.
Butter or coconut oil (2 tablespoons, melted) — Adds richness. I use butter for flavor, but coconut oil works for dairy-free. Just make sure it’s melted, not hot.
Salt (½ teaspoon) — Crucial. It balances the sweetness. Never skip salt in baking.
Baking powder (1 teaspoon) — Helps them rise slightly so they’re not flat bricks. Make sure it’s fresh.
Vanilla extract (1 teaspoon) — Pure vanilla, not imitation. It adds that warm, bakery smell.
Optional Add-ins
Chopped walnuts or pecans (½ cup) — Adds crunch. I love the texture contrast.
Chopped chocolate chips (¼ cup) — Because why not? It’s breakfast.
Maple syrup (1 tablespoon) — For extra sweetness if your apples aren’t sweet enough.
Equipment Needed
You don’t need fancy equipment for this. Here’s what I actually use.
Large mixing bowl — I use a 4-quart bowl. Needs to be big enough to stir everything comfortably. My old Pyrex bowl works fine.
Muffin tin — Standard 12-cup tin. I prefer metal over silicone because it browns better. Silicone can make them a bit gummy on the bottom.
Silicone liners or cooking spray — I use silicone liners for easy cleanup. Or just spray the tin well with non-stick spray. Grease is your friend here.
Peeler and knife — For dicing the apples. A julienne peeler makes quick work of this.
Measuring cups and spoons — Standard stuff. Dollar store versions work fine.
Microwave — For reheating. Or an air fryer if you’re fancy.
Airtight container — For storage. Glass is better than plastic to keep them from getting soggy.
Optional but nice:
– Food processor — If you want to pulse the oats into a flour-like consistency for a softer texture, but I like the chew.
How to Make It: Step-by-Step
Alright, let’s make this! I’m walking you through exactly how I do it, including the little tricks I’ve picked up.
Step 1: Prep Your Oven and Pan (2 minutes)
Preheat your oven to 350°F (175°C). Line your 12-cup muffin tin with silicone liners or grease it well with cooking spray. I spray mine twice because I’ve had cups stick before, and nobody wants to scrape burnt oats out of a tin. Set the pan aside.
Step 2: Dice the Apples (3 minutes)
Wash and core your apples. Dice them into small, bite-sized pieces—about ½ inch. You want them small enough that they cook through in the oven but big enough to have texture. If you chop them too big, the centers stay raw. If you mash them, you lose the bite. Aim for uniform cubes.
Step 3: Mix the Wet Ingredients (1 minute)
In your large bowl, whisk together the eggs, milk, melted butter (or coconut oil), Greek yogurt, vanilla extract, and brown sugar. Whisk until the sugar is mostly dissolved and the mixture looks smooth. It should look like a thin batter. If it’s too thick, add a splash more milk.
Step 4: Combine Everything (1 minute)
Add the oats, diced apples, cinnamon, nutmeg, salt, and baking powder to the wet mixture. Stir well. You want every oat to get coated. The mixture will look thick and chunky—that’s exactly what you want. Let it sit for 5 minutes. This lets the oats absorb some liquid, which prevents them from being crunchy later.
Step 5: Fill the Muffin Tin (1 minute)
Divide the mixture evenly among the 12 muffin cups. Use a scoop or a spoon to flatten the tops slightly. They’ll rise a bit in the oven, so don’t fill them to the brim. Leave about ½ inch of space at the top.
Step 6: Bake (20-22 minutes)
Place the tin in the oven and bake for 20-22 minutes. They’re done when the tops are golden brown and a toothpick inserted into the center comes out clean (or with just a few moist crumbs). Do not overbake, or they’ll be dry. I usually check at 18 minutes because my oven runs hot.
Step 7: Cool and Store
Let them cool in the pan for 5 minutes, then transfer to a wire rack to cool completely. This step is important so they don’t get soggy from steam. Once cool, store in an airtight container in the fridge for up to 4 days, or freeze for up to 3 months.
Total Time: About 30 minutes (5 minutes prep, 20 minutes baking, 5 minutes cooling)
Expert Tips & Tricks
Here’s everything I’ve learned from making this dozens of times. These tips will save you from my mistakes.
Use Old-Fashioned Oats
This is the #1 tip. Quick oats absorb liquid too fast and turn to mush. Old-fashioned oats give that perfect chew. If you only have quick oats, you can pulse them in a food processor for a few seconds to break them up, but old-fashioned is best.
Don’t Skip the Rest Time
Letting the mixture sit for 5 minutes before baking allows the oats to hydrate. This ensures the oats are soft and tender after baking, not hard and crunchy. I used to skip this, and my kids complained about the texture. Now I always wait.
Chop Apples Uniformly
Small, even pieces cook evenly. Big chunks might stay raw in the middle. I dice them on the small side—about ½ inch. This also makes them easier to eat for little kids.
Cool Completely Before Storing
If you put them in a container while they’re still warm, the steam will make them soggy. Let them cool on a rack first. This keeps them fresh and prevents mold.
Freeze for Longer Storage
I freeze these in bulk. Once they’re cool, I put them in a freezer bag. You can grab them straight from the freezer and microwave them. They thaw and heat up in 60 seconds. Life-saver for busy mornings.
Common Mistakes (and how to avoid them)
Mistake: Cups are dry
Fix: You overbaked them. Check at 18 minutes. They continue to cook slightly after you take them out.
Mistake: Bottoms are soggy
Fix: Your pan wasn’t greased enough, or you didn’t let them cool properly. Use silicone liners or grease well.
Mistake: Apples are hard
Fix: Chunks were too big. Dice them smaller next time.
Variations & Substitutions
Once you’ve nailed the basic version, here’s how you can mix it up. I’ve tried all of these.
Banana Nut Version
Swap the apples for 2 mashed ripe bananas. Add ½ cup chopped walnuts. It’s like banana bread in cup form. My kids love this one.
Pumpkin Spice Version
Replace the apples with ½ cup pumpkin puree. Add 1 teaspoon pumpkin pie spice instead of cinnamon. It’s perfect for fall.
Chocolate Chip Version
Add ½ cup chocolate chips to the mix. It’s basically a cookie now. I use dark chocolate chips for less sugar.
Dairy-Free
Use almond milk and coconut oil. Use dairy-free yogurt. Everything else is naturally dairy-free.
Gluten-Free
Use certified gluten-free oats. Everything else is naturally gluten-free. I’ve used Bob’s Red Mill GF oats, and they work great.
Vegan
Replace eggs with 2 flax eggs (2 tbsp ground flax + 5 tbsp water). Use plant-based milk and yogurt. The texture is slightly different but still good.
Serving & Storage
How to Serve:
I usually serve these warm, straight from the microwave. But they’re also great cold, like a muffin. I’ve packed them in lunches for school, and they hold up well.
Sides:
– A piece of fruit (orange slices, grapes)
– A glass of milk or juice
– A side of bacon or sausage (if you’re feeling fancy)
Storage Instructions:
Refrigerator:
Store in an airtight container for up to 4 days. They stay moist and delicious.
Freezer:
Store in a freezer-safe bag for up to 3 months. You can eat them frozen or thawed. I usually just microwave them.
Reheating:
Microwave for 30-60 seconds. They should be warm and soft. Don’t overheat, or they’ll get tough.
Nutrition Information
I’m not a nutritionist, but here’s the breakdown if you’re tracking. Per cup (based on 12 cups):
- Calories: 180
- Protein: 6g
- Carbs: 32g
- Fiber: 3g
- Sugar: 12g
- Fat: 4g
- Sodium: 120mg
What’s Good: Decent protein, good fiber, natural sugars from fruit.
What to Know: Higher in carbs from oats and sugar. Contains gluten (unless using GF oats). Moderate sugar.
My Take: Look, this is a treat. It’s sweet, it’s comforting, and it’s better than a donut. But it’s not a salad. Enjoy it as a balanced breakfast with a side of protein if you need it.
Final Thoughts
So that’s my apple cinnamon baked oatmeal cups! I’ve probably talked your ear off at this point, but when you make a recipe this often, you have a lot to say about it.
This has saved morning routines more times than I can count. It’s my answer to “what’s for breakfast” when I’m tired, don’t want to cook, and still want something that tastes really good. My kids are happy, my husband’s happy, and I’m happy because I’m not stressed about cooking.
Make it yours! Try different add-ins, swap in your favorite fruit, adjust the sugar. The best recipes are the ones you adapt to your family’s tastes.
If you make this, drop a comment and let me know what you think! I love hearing how recipes turn out in your kitchen. And if something doesn’t work, tell me that too—I’m here to help troubleshoot.
Happy cooking! And I hope your kitchen smells half as good as mine does right now.
Frequently Asked Questions
Can I use quick oats instead of old-fashioned?
You can, but the texture will be softer and mushier. Quick oats absorb liquid faster, so you might need to reduce the milk slightly. I recommend old-fashioned for the best chew, but quick oats work in a pinch.
How do I store these?
Store in an airtight container in the fridge for up to 4 days. For longer storage, freeze them in a freezer bag for up to 3 months. They reheat beautifully in the microwave.
Can I make these ahead for a party?
Absolutely! Make them the day before and serve them warm or at room temperature. They hold up well for breakfast buffets or potlucks. I’ve made these for school bake sales, and they’re always a hit.
Why did my cups turn out dry?
Probably overbaked. Check them at 18 minutes. They should be golden brown, not dark brown. They continue to cook slightly after you take them out of the oven.
Can I use frozen apples?
Yes, but chop them while still frozen, or they’ll turn to mush. You might need to add 2-3 minutes to the baking time. Fresh apples give the best texture, though.
Can I double this recipe?
Yes! Double everything and use two muffin tins. The baking time stays the same. Just make sure your oven has room for both tins, or rotate them halfway through.
What if I don’t have Greek yogurt?
Sour cream works too. Applesauce is a lighter substitute, but the texture will be denser. You can also use regular yogurt, but Greek is thicker and adds more protein.
Pin This Recipe!
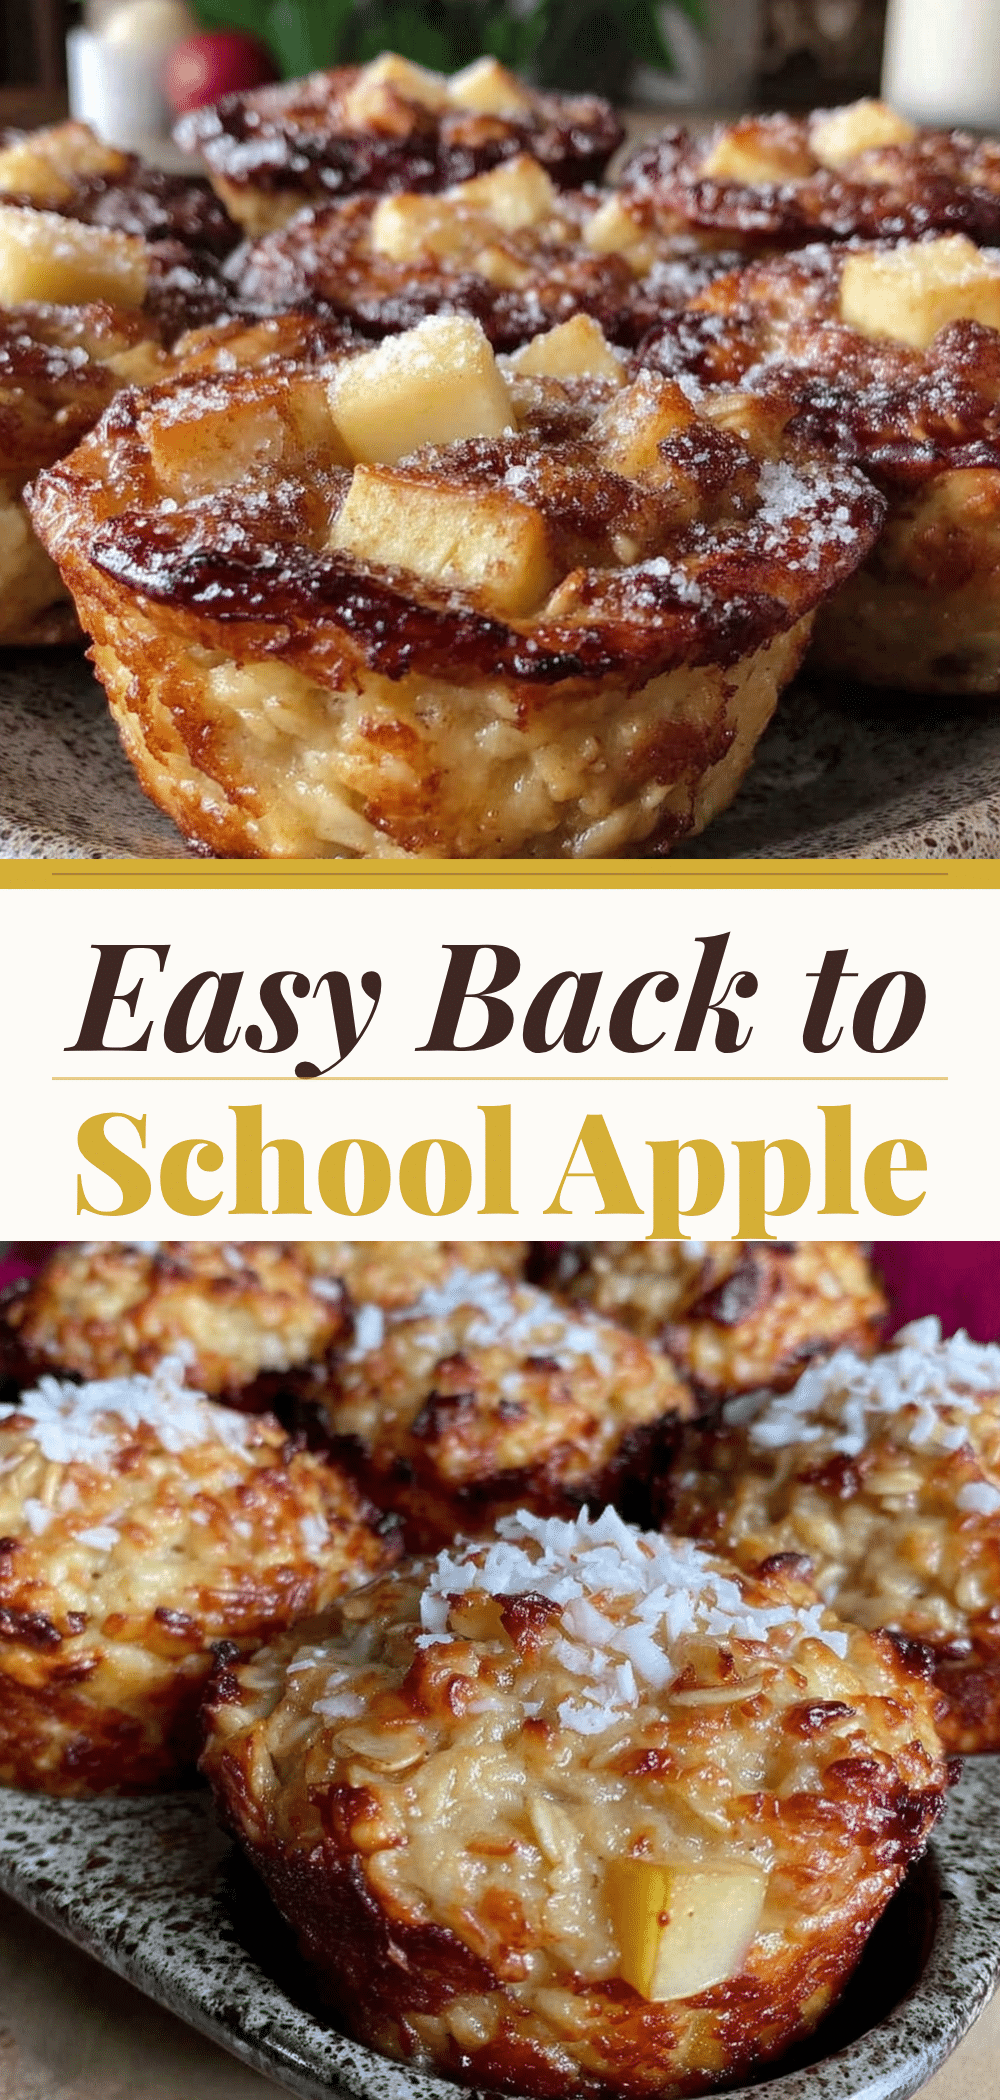

Apple Cinnamon Baked Oatmeal Cups
- Total Time: 30 minutes
- Yield: 12 servings 1x
Description
Grab-and-go breakfast cups that taste like apple pie but provide the energy needed for busy mornings. These are easy to make, kid-approved, and perfect for meal prepping.
Ingredients
- 2 cups old-fashioned rolled oats
- 1 ½ cups milk (whole, almond, or oat)
- 2 large eggs
- 2 medium apples (Gala or Fuji), diced
- ½ cup packed brown sugar
- 1 ½ teaspoons ground cinnamon
- ¼ teaspoon nutmeg
- ½ cup Greek yogurt (plain or vanilla)
- 2 tablespoons butter or coconut oil, melted
- ½ teaspoon salt
- 1 teaspoon baking powder
- 1 teaspoon vanilla extract
- Optional: ½ cup chopped walnuts or pecans
- Optional: ¼ cup chocolate chips
- Optional: 1 tablespoon maple syrup
Instructions
- Preheat oven to 350°F (175°C). Line a 12-cup muffin tin with silicone liners or grease well with cooking spray.
- Wash, core, and dice apples into small, bite-sized pieces (about ½ inch).
- In a large bowl, whisk together eggs, milk, melted butter (or coconut oil), Greek yogurt, vanilla extract, and brown sugar until smooth.
- Add oats, diced apples, cinnamon, nutmeg, salt, and baking powder to the wet mixture. Stir well to coat all oats.
- Let the mixture sit for 5 minutes to allow oats to absorb liquid.
- Divide the mixture evenly among the 12 muffin cups, leaving about ½ inch of space at the top.
- Bake for 20-22 minutes until tops are golden brown and a toothpick inserted into the center comes out clean.
- Let cool in the pan for 5 minutes, then transfer to a wire rack to cool completely before storing.
Notes
Use old-fashioned rolled oats for the best texture; quick oats will turn to mush. Let the mixture sit for 5 minutes before baking to ensure soft oats. Cool completely before storing to prevent sogginess. Can be stored in the fridge for up to 4 days or frozen for up to 3 months.
- Prep Time: 5 minutes
- Cook Time: 20 minutes
- Category: Breakfast
- Cuisine: American
Nutrition
- Serving Size: 1 cup
- Calories: 180
- Sugar: 12
- Sodium: 120
- Fat: 4
- Saturated Fat: 2
- Carbohydrates: 32
- Fiber: 3
- Protein: 6
Keywords: apple cinnamon baked oatmeal, breakfast cups, meal prep breakfast, grab and go breakfast, kid friendly breakfast, healthy oatmeal, fall breakfast


