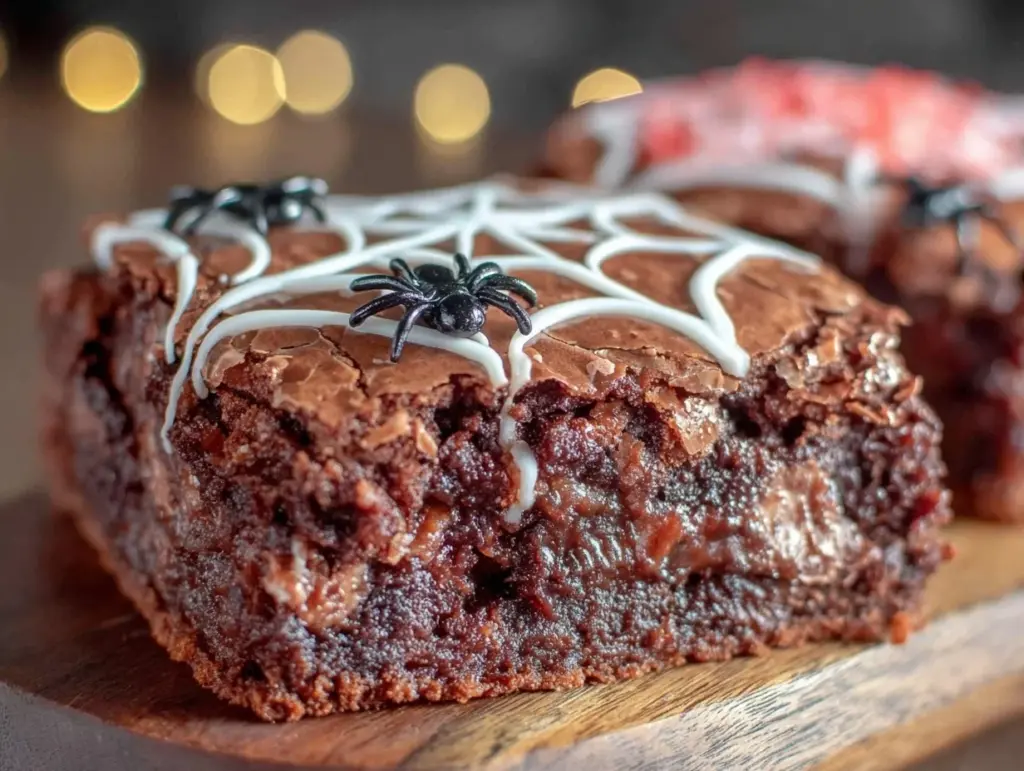
Last week, I walked into the kitchen to find my six-year-old covered in chocolate smudges and my eight-year-old arguing with a piping bag. It was supposed to be a “quick ten-minute activity.” Instead, we ended up with flour on the cat, a spiderweb so intricate it looked like it belonged in a Tim Burton movie, and the best Halloween treat we’ve ever made. If you’re dreading the October rush of costumes, pumpkin carving, and trying to find a dessert that doesn’t involve buying a plastic-wrapped cake from the grocery store, this Halloween chocolate spiderweb cookie cake is your new best friend.
Here’s the thing about baking with kids: most recipes fail because they’re either too technical or too boring. This one hits that sweet spot. It’s essentially a giant, soft-batch chocolate cookie baked in a springform pan, decorated with a dramatic spiderweb drizzle. The cookie part is simple—my kids can handle the mixing. The decorating part? That’s where the magic happens. Watching them squeeze the white chocolate (or cream cheese) into those web patterns is pure joy. It’s messy, it’s fun, and honestly, it’s the kind of memory they’ll remember long after the cookies are gone.
I’ve tested this Halloween chocolate spiderweb cookie cake three times now. The first time, the web was a mess. The second time, it was pretty good. The third time? My husband asked if I’d hired a professional pastry chef. Spoiler: I hadn’t. I just figured out a simple technique using a toothpick that makes even my clumsy kids look like artists. If you’re looking for a way to make fudgy one-bowl brownies or creamy banana pudding later this week, you’ll love this because it uses similar easy, kid-friendly techniques.
Why This Spiderweb Cookie Cake Wins Every Year
There are about a dozen reasons I keep coming back to this recipe, but let’s be real—it’s not just because it looks spooky. It’s because it works. Here’s why this Halloween chocolate spiderweb cookie cake deserves a spot in your holiday rotation:
- It’s a Hands-On Project, Not a Snack — Most cookie recipes involve scooping dough onto a tray. This one involves mixing a big bowl of chocolate batter (kids love that) and then creating art with the drizzle. It keeps them engaged for 45 minutes straight without screens.
- One Bowl, Minimal Cleanup — I’m not exaggerating when I say you can mix the entire cookie base in a single large bowl. No creaming butter separately, no dry ingredients in another bowl. Just dump, stir, bake. This matters when you’re juggling Halloween costumes and pumpkin guts.
- It’s Forgiving — If your spiderweb looks more like a spaghetti tangle? It still tastes amazing. If the cookies are slightly overbaked? They’re just chewier. There’s no “fail” state here, which is crucial when your audience is six years old.
- It Serves a Crowd (or a Hungry Kid) — Baked in a 9-inch springform pan, this cake feeds a class party or a family gathering easily. It’s substantial enough to be a dessert but soft enough that it doesn’t feel heavy. Think of it as the best easy weeknight treat but dressed up for Halloween.
- Make-Ahead Friendly — You can bake the cookie base a day ahead and decorate it right before the party. Or decorate it the night before. It actually gets better as it sits, letting the chocolate set properly.
This is my go-to when I need to buy kids’ cooperation. Ask them to help make this, and they’re in. It’s their chance to be the “chef,” and let me tell you, that power trip is delicious.
Ingredients You’ll Need for the Ultimate Spiderweb Cake
I’m going to keep this list short because you probably have most of it already. The beauty of this Halloween chocolate spiderweb cookie cake is that it relies on pantry staples, not fancy ingredients. Here’s what you need to grab:
For the Chocolate Cookie Base
Unsalted butter (1 cup / 226g) — Softened. Not melted. If you’re in a rush, chop it into cubes and let it sit on the counter for 30 minutes. Cold butter won’t mix well, and melted butter makes the cake too dense. I like to cut it into little squares to speed things up.
Granulated sugar (1 cup / 200g) — This gives the cookie its crisp edges. Don’t swap this for brown sugar if you want that specific texture, though you can use half-and-half if you prefer chewier cookies.
Light brown sugar (1 cup / 220g) — Packed. This adds the moist, chewy center. My kids love this step because they get to push down on the brown sugar with a spoon. It’s surprisingly satisfying.
Large eggs (2) — Room temperature is best, but I’ve never had a disaster with cold eggs. Just whisk them well before adding.
Vanilla extract (2 teaspoons) — Use the real stuff. I know it’s pricier, but artificial vanilla tastes chemical in chocolate desserts. If you run out, check my vanilla bean cheesecake post for more tips on vanilla quality.
All-purpose flour (2 cups / 250g) — Spoon it into the cup and level it off. Don’t scoop directly from the bag, or you’ll pack in too much flour and get a dry cake.
Cocoa powder (½ cup / 45g) — Unsweetened natural cocoa powder. I use Hershey’s, but any brand works. If you want a deeper chocolate flavor, use Dutch-processed cocoa, but it might change the texture slightly.
Baking soda (1 teaspoon) — Make sure it’s fresh. If it’s been in your cabinet for two years, test it with vinegar. If it doesn’t fizz, toss it.
Salt (½ teaspoon) — Essential. It balances the sweetness and makes the chocolate taste more like chocolate.
For the Spiderweb Drizzle
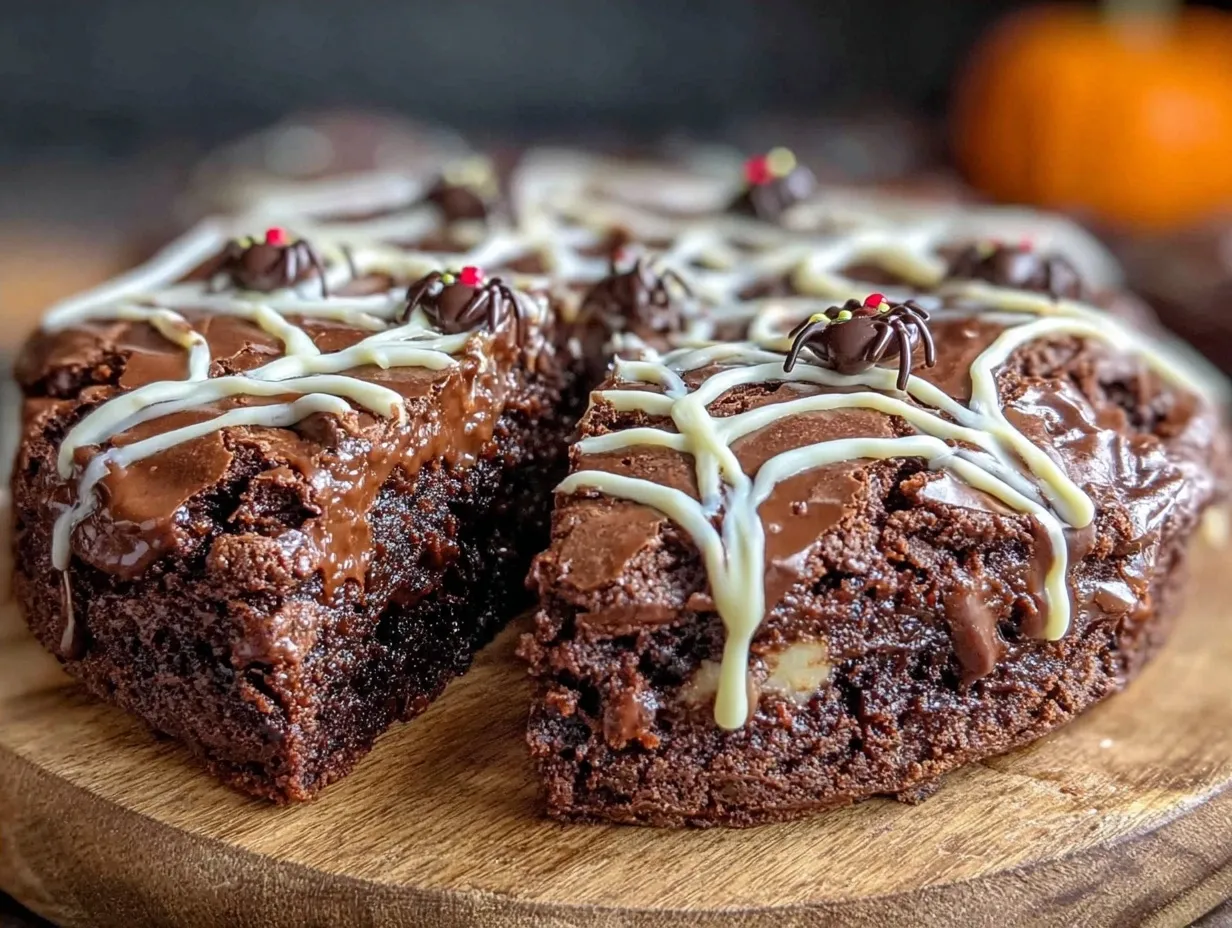
White chocolate chips (1 cup / 170g) — Or white chocolate bars, chopped. I prefer chips because they melt evenly. If you want a less sweet web, use a mix of white and vanilla almond bark.
Shortening or coconut oil (1 teaspoon) — This is the secret ingredient. Adding a little fat to the melting chocolate keeps it fluid and prevents it from seizing up. It makes the drizzle smoother and easier to work with.
Food coloring (Optional) — I usually skip this for a classic black-and-white look, but if you want a purple web, use a tiny dot of gel food coloring. Gel works better than liquid because it won’t thin out the chocolate.
Equipment You’ll Need
You don’t need fancy gear for this. Here’s what I actually use:
9-inch Springform Pan — This is non-negotiable for the “cake” shape. The latch on the side makes it easy to remove the cake without breaking it. If you don’t have one, a regular 9-inch round cake pan works, but you’ll need to line it with parchment paper and slice it out with a knife.
Large Mixing Bowl — Something with a wide mouth so your kids can stick their hands in (after washing, obviously) to mix.
Electric Hand Mixer or Stand Mixer — You can do this by hand, but it takes elbow grease. A mixer makes the creaming step fast and easy.
Piping Bags or Ziploc Bags — For the drizzle. I use cheap disposable piping bags because they hold their shape better, but a Ziploc bag with a corner snipped off works just as well.
Toothpicks — The magic tool for dragging through the drizzle to create the web pattern. You’ll need a handful.
Microplane or Box Grater — Optional, but I like to grate some extra white chocolate on top for garnish. It looks professional.
How to Make It: Step-by-Step
Alright, let’s make this Halloween chocolate spiderweb cookie cake! I’m walking you through exactly how I do it, including the little tricks that keep my kids from burning the house down.
Step 1: Prep the Pan and Oven (5 minutes)
Preheat your oven to 350°F (175°C). Grease your 9-inch springform pan lightly with butter or cooking spray. I also line the bottom with a circle of parchment paper just to be safe. This ensures the cake slides out easily. While the oven heats, set out all your ingredients. My kids like to have everything “mise en place” before we start, even if it’s just dumping the flour in.
Step 2: Cream the Butter and Sugars (3-4 minutes)
In your large bowl, beat the softened butter, granulated sugar, and brown sugar together until light and fluffy. This takes about 3 minutes with a mixer. If you’re doing it by hand, it’ll take 5-7 minutes. You want the mixture to look pale and airy. This step incorporates air, which makes the cake rise properly. My son loves this part because he gets to push the button on the mixer.
Step 3: Add Wet Ingredients (2 minutes)
Beat in the eggs one at a time, mixing well after each addition. Then add the vanilla extract. Scrape down the sides of the bowl with a spatula to make sure everything is combined. The mixture should look smooth and glossy.
Step 4: Mix Dry Ingredients (2 minutes)
In a separate small bowl (or just dump it in if you’re feeling chaotic), whisk together the flour, cocoa powder, baking soda, and salt. Then, add the dry ingredients to the wet mixture on low speed. Mix until *just* combined. Do not overmix! Overmixing makes the cake tough. It’s okay if there are a few streaks of flour left. Stop as soon as the white disappears.
Step 5: Bake the Cookie Base (20-25 minutes)
Pour the batter into your prepared springform pan and spread it out evenly with a spatula. Bake for 20-25 minutes. The edges should be set and slightly firm, but the center should still look soft and slightly underbaked. It will continue to cook as it cools. If you bake it until the center is hard, it’ll be dry. I pull mine out when a toothpick inserted near the edge comes out with a few moist crumbs.
Let the cake cool in the pan for 10 minutes, then run a knife around the edge and remove the springform ring. Let it cool completely on a wire rack. This is the hardest part—waiting for it to cool. Tell the kids they can’t decorate until it’s room temperature, or the chocolate will melt instantly.
Step 6: Make the Spiderweb Drizzle (10 minutes)
Once the cake is cool, it’s time for the art. Melt the white chocolate chips and shortening in a microwave-safe bowl. Microwave in 30-second intervals, stirring between each, until smooth. Let it cool for 2 minutes—it should be warm but not hot, so it doesn’t melt the cookie cake.
Transfer the melted chocolate to a piping bag or a Ziploc bag with a tiny corner snipped off. Squeeze small dots of chocolate all over the top of the cookie cake. Don’t be shy! Cover the surface with dots of varying sizes. Some big blobs, some tiny ones. The more dots, the better the web.
Step 7: Create the Web Pattern (5 minutes)
This is the fun part. Take a toothpick and start at the center. Drag the toothpick outwards toward the edge, then back to the center. Do this again, but angle it slightly differently. Keep going around the cake, alternating directions. You’re creating concentric circles that are slightly offset.
Then, take a toothpick and drag it from the center outwards to the edge, creating radial lines. Mix and match! Drag some lines straight out, some at angles. The pattern will emerge naturally. If you mess up, just drag the toothpick through the chocolate to blend it back into dots and start again. My kids usually get it right on the second try.
Let the chocolate set for 15-20 minutes at room temperature, or put it in the fridge for 5 minutes to speed things up.
Expert Tips & Tricks for Perfect Webs
Here’s everything I’ve learned from making this dozens of times. These tips will save you from my mistakes.
Don’t Rush the Cooling — If the cookie base is even slightly warm, the chocolate will sink in and lose its definition. Patience pays off here. I usually bake it in the morning and decorate it after school.
Keep the Chocolate Fluid — If your chocolate starts to thicken while you’re drizzling, microwave it for 5 seconds. It needs to be thin enough to flow but not so thin that it runs off the cake. The teaspoon of shortening helps, but it’s not a substitute for proper consistency.
Vary the Dot Sizes — Uniform dots look robotic. Mix big and small dots for a more organic, spiderweb look. It also gives you more surface area to work with when dragging the toothpick.
Use Gel Food Coloring — If you want a colored web, use gel paste. Liquid food coloring contains water, which can cause the chocolate to seize and become grainy. Gel keeps it smooth.
Practice on Parchment Paper — If your kids are nervous, let them practice the toothpick drag on a sheet of parchment paper first. It’s less pressure than doing it on the actual cake.
Variations & Substitutions
Once you’ve nailed the basic version, here’s how you can mix it up. I’ve tried all of these.
Dark Chocolate Web — Swap the white chocolate for melted dark chocolate and use white chocolate dots. The contrast is stunning and less sweet.
Orange and Black — Divide the melted chocolate in half. Color one half orange with gel food coloring and leave the other black (or dark brown). Alternate drizzling them for a two-tone effect.
Gluten-Free — Use a 1:1 gluten-free flour blend. The texture will be slightly more crumbly, but it still tastes great. I’ve used Bob’s Red Mill with good results.
Vegan — Use vegan butter and vegan white chocolate chips. The technique remains the same. Just make sure your chocolate chips are dairy-free.
Mini Cupcakes — You can use this batter for cupcakes! Bake for 18-20 minutes. Decorate each cupcake with a tiny spiderweb. These are perfect for holiday party favors or classroom treats.
Serving & Storage
How to serve this beast? I usually slice it like a pizza. The spiderweb pattern radiates from the center, so each slice gets a piece of the web. It looks amazing on a plate.
Storage — Keep leftovers in an airtight container at room temperature for up to 3 days. The cookie cake actually stays moist for days. If it gets too soft, store it in the fridge, but let it come to room temperature before serving.
Freezing — You can freeze the baked cookie base (without the web) for up to 2 months. Wrap it tightly in plastic wrap and foil. Thaw overnight in the fridge before decorating. Do not freeze the decorated cake—the chocolate can bloom or crack.
Nutrition Information
I’m not a nutritionist, but here’s the breakdown if you’re tracking. This is a rich, chocolatey treat, so portion control is key.
Per serving (based on 12 slices):
- Calories: ~320
- Fat: 16g
- Carbs: 42g
- Sugar: 30g
- Protein: 4g
Look, it’s a cookie cake. It’s meant to be indulgent. But it’s better than store-bought cake because you control the ingredients. When I want to make it lighter, I use half the sugar and add some pumpkin puree to the batter (makes it moist and adds fall flavor). But usually? I just enjoy a slice and call it a win.
Final Thoughts
So that’s my go-to Halloween chocolate spiderweb cookie cake! I’ve probably talked your ear off at this point, but when you make a recipe this often, you have a lot to say about it.
This has saved Halloween evenings more times than I can count. It’s my answer to “what do we do with the kids after trick-or-treating?” when they’re full of candy but still have energy. It’s messy, it’s fun, and it’s delicious. My kids are happy, my husband’s happy, and I’m happy because I’m not stressed about cooking.
Make it yours! Try different colors, add sprinkles, or drizzle caramel over the top. The best recipes are the ones you adapt to your family’s tastes. If you make this, drop a comment and let me know what you think! I love hearing how recipes turn out in your kitchen. And if something doesn’t work, tell me that too—I’m here to help troubleshoot.
Happy baking! And I hope your kitchen smells half as good as mine does right now.
Frequently Asked Questions
Can I use a regular cake pan instead of a springform pan?
Yes, but you’ll need to line the bottom with parchment paper and grease the sides well. You’ll also need to slice the cake with a knife rather than popping the sides off. It’s fine, just slightly messier. The springform pan makes presentation much easier.
Why did my spiderweb look like a mess?
Usually, this happens if the chocolate was too hot or too cold. If it was too hot, it melted into the cookie. If it was too cold, it didn’t drag smoothly. Also, if you didn’t use enough dots, there wasn’t enough surface area to create the pattern. More dots = better web. Just drag the toothpick through the center in different angles.
Can I make this ahead of time?
Absolutely. Bake the cookie base up to 2 days ahead. Store it wrapped at room temperature. Decorate it the day of the party. The chocolate web holds up well at room temperature for hours.
Can I use milk chocolate instead of white chocolate?
You can, but the contrast won’t be as dramatic against the dark cookie. White chocolate or vanilla almond bark is best for visibility. If you want a subtle look, use milk chocolate, but it might blend in too much.
My kids are too young to use toothpicks. What can they do?
They can still help! Let them mix the batter, pour it into the pan, and squeeze the chocolate dots onto the cake. You can do the toothpick dragging part. Or, let them drag their finger through the dots (if they’re old enough to wash up after!). It’s about the process, not the perfect result.
How do I store leftovers?
Keep it in an airtight container at room temperature for up to 3 days. Do not refrigerate unless your kitchen is very hot, as the chocolate can sweat. If you do refrigerate, let it come to room temperature before serving to restore the texture.
Pin This Recipe!
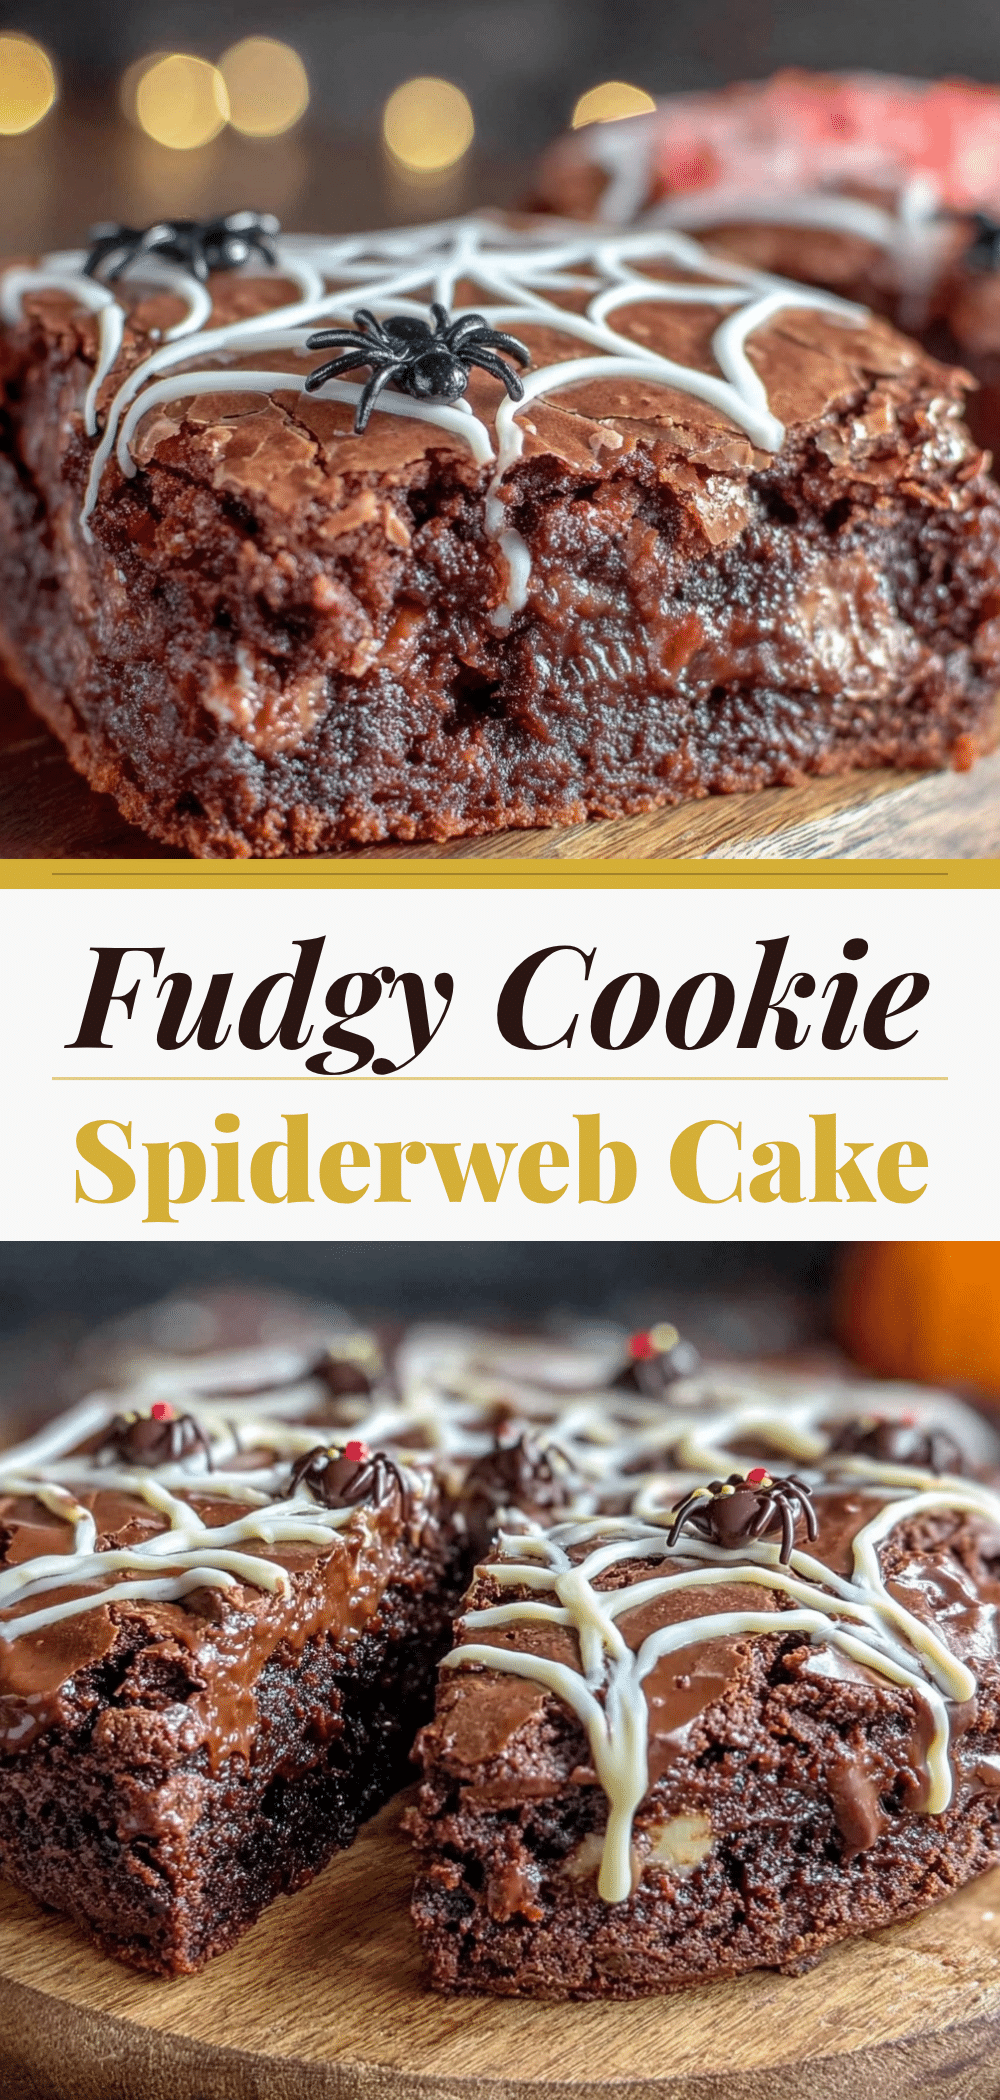

Halloween Chocolate Spiderweb Cookie Cake
- Total Time: 40 minutes
- Yield: 12 servings 1x
Description
A fun, kid-friendly Halloween dessert featuring a soft-batch chocolate cookie base baked in a springform pan, decorated with a dramatic white chocolate spiderweb drizzle.
Ingredients
- 1 cup (226g) unsalted butter, softened
- 1 cup (200g) granulated sugar
- 1 cup (220g) light brown sugar, packed
- 2 large eggs, room temperature
- 2 teaspoons vanilla extract
- 2 cups (250g) all-purpose flour
- 1/2 cup (45g) unsweetened natural cocoa powder
- 1 teaspoon baking soda
- 1/2 teaspoon salt
- 1 cup (170g) white chocolate chips
- 1 teaspoon shortening or coconut oil
- Gel food coloring (optional)
Instructions
- Preheat oven to 350°F (175°C). Grease a 9-inch springform pan and line the bottom with parchment paper.
- In a large bowl, beat the softened butter, granulated sugar, and brown sugar together until light and fluffy (about 3-4 minutes with a mixer).
- Beat in the eggs one at a time, then add the vanilla extract. Scrape down the sides of the bowl.
- In a separate bowl, whisk together the flour, cocoa powder, baking soda, and salt.
- Add the dry ingredients to the wet mixture on low speed and mix until just combined. Do not overmix.
- Pour the batter into the prepared pan and spread evenly. Bake for 20-25 minutes until edges are set but the center looks soft. Cool in the pan for 10 minutes, then remove the ring and cool completely on a wire rack.
- Once the cake is completely cool, melt the white chocolate chips and shortening in 30-second intervals, stirring until smooth. Let cool for 2 minutes.
- Transfer melted chocolate to a piping bag or Ziploc bag with a snipped corner. Squeeze small dots of chocolate all over the top of the cookie cake.
- Using a toothpick, drag from the center outwards to the edge in various directions to create a spiderweb pattern.
- Let the chocolate set for 15-20 minutes at room temperature or 5 minutes in the fridge.
Notes
Ensure the cookie base is completely cool before adding the chocolate drizzle, or the chocolate will melt. If the chocolate thickens while drizzling, microwave for 5 seconds. Use gel food coloring instead of liquid to prevent seizing. Can be made gluten-free using a 1:1 gluten-free flour blend or vegan using vegan butter and chocolate chips.
- Prep Time: 15 minutes
- Cook Time: 25 minutes
- Category: Dessert
- Cuisine: American
Nutrition
- Serving Size: 1 slice
- Calories: 320
- Sugar: 30
- Sodium: 250
- Fat: 16
- Saturated Fat: 10
- Carbohydrates: 42
- Fiber: 2
- Protein: 4
Keywords: Halloween, cookie cake, chocolate spiderweb, kids baking, easy dessert, springform pan, white chocolate drizzle


