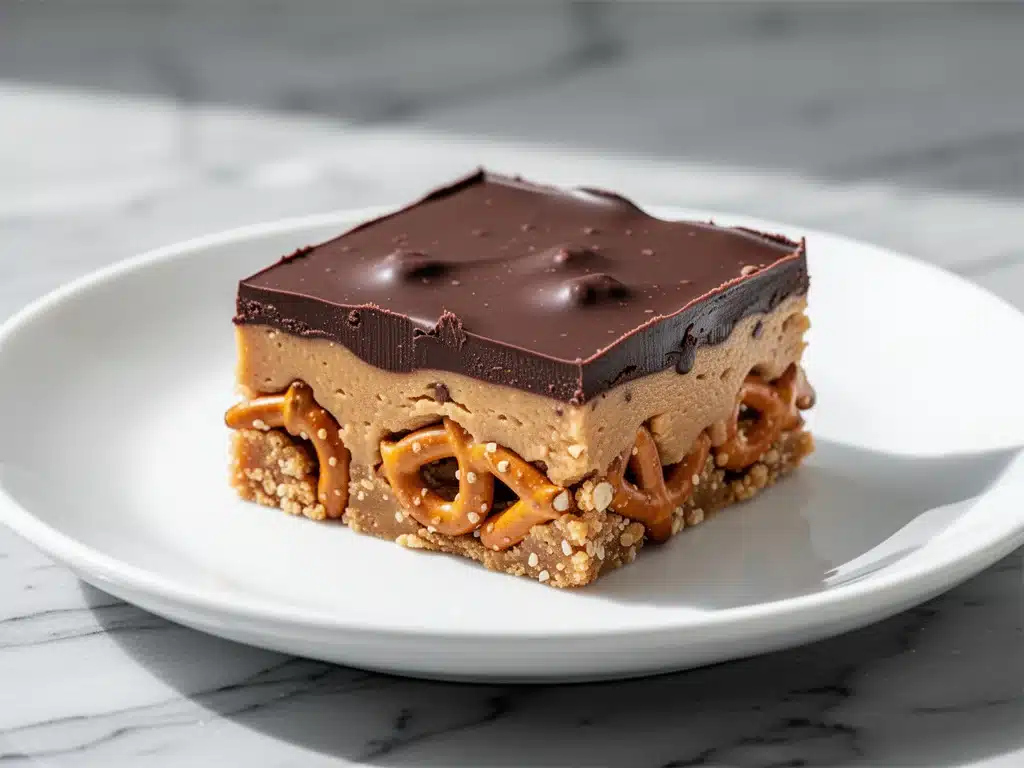
Last December, I was standing in the middle of my kitchen at 11 PM, surrounded by a disaster zone of baking supplies, trying to finish holiday gifts. I had promised my neighbor’s kid a homemade treat for the school party the next morning, but I’d forgotten to buy cookies. I was panic-baking. I pulled out a bag of pretzels, some peanut butter, and a half-empty bag of chocolate chips I’d found in the back of the pantry. I didn’t have a recipe. I just threw things together. Ten minutes later, I had these crunchy, salty, sweet bars. The next day, that neighbor’s kid texted me asking for the recipe. My husband ate three before I could even wrap them. That was the birth of these No-Bake Peanut Butter Pretzel Bars.
It’s been three years, and they’ve become my secret weapon for every holiday gathering, office party, and impromptu dinner. They’re the kind of dessert that disappears faster than hot cookies at a Christmas party. People assume you spent hours in the kitchen. You didn’t. You spent ten minutes and got a compliment that lasts all season.
If you’re looking for a holiday recipe that doesn’t require an oven, doesn’t stress you out, and tastes like a salty-sweet dream come true, you’ve found it. These bars are sturdy enough to travel in a Tupperware but rich enough to feel like a fancy bakery treat. I’ve made them for potlucks where they were the only thing left on the table, and I’ve made them for quiet nights when I just need a snack that feels indulgent. Here’s how to make them, and why they’re about to become your new favorite thing.
Why You’ll Love This Recipe
There are about a dozen reasons I keep making these bars, but let’s be real—you’re here because you want dessert that works. You don’t want to spend your holiday weekend standing over a stove. You don’t want to buy twenty different ingredients you’ll use once. And you definitely don’t want a dessert that turns to mush by noon.
Here’s why these No-Bake Peanut Butter Pretzel Bars are the MVP of holiday desserts:
- Zero Oven Required — Seriously. If you have a refrigerator, you can make this. No preheating, no timing the bake, no worrying if your oven runs hot. This is crucial when your oven is already full of fall caramel apple crumble bars and three pans of roasted veggies.
- Salty and Sweet Perfection — The pretzels provide the crunch and the salt, the peanut butter adds the richness, and the chocolate covers it all in sweetness. It’s the same flavor profile as a Reese’s cup or a salted caramel latte, but in bar form. It hits every craving at once.
- Sturdy Enough to Travel — This is the biggest selling point. Most no-bake bars fall apart if you look at them wrong. These? They hold their shape. You can cut them, wrap them, and put them in a car trunk for the drive to your aunt’s house. They won’t melt (unless it’s 90 degrees outside) or squish. I’ve carried these in a tote bag through three different airports and they arrived perfect.
- Make-Ahead Friendly — You can make these three days before the party. In fact, they’re better the next day because the flavors meld together. You can make the base one night, the chocolate layer the next, and cut them on the day of. It takes the stress off your holiday schedule.
- Only 5 Main Ingredients — You probably have most of these in your pantry right now. Pretzels, peanut butter, butter, sugar, and chocolate chips. If you don’t, it’s a quick stop at the store. No obscure spices or hard-to-find items.
This is my go-to when I need to bring something impressive to a gathering but have zero time to prep. It’s reliable, delicious, and always a crowd-pleaser.
Ingredients You’ll Need
Here’s the best part: this recipe is incredibly simple. You don’t need fancy tools or expensive ingredients. Just five main components that come together to create something magical. I’m particular about two things here: the pretzels and the chocolate. I’ll tell you exactly why.
For the Pretzel Base
Butterflies or Pretzel Thins (12 ounces / 340g) — This is the star of the show. I use “butterflies” (the flat, round pretzels) or thin pretzel rods broken into pieces. Do not use thick, hard pretzel sticks—they’re too dense and don’t crush evenly. If you use butterflies, you can crush them in a food processor for about 10 seconds until they’re chunky crumbs. If you use rods, break them by hand or with a rolling pin. You want small, uneven pieces, not dust. The texture matters.
Unsalted Butter (½ cup / 113g) — You need real butter here. Margarine won’t give you the same rich flavor or binding power. I use unsalted so I can control the saltiness, especially since the pretzels are already salty. If you only have salted butter, reduce any added salt (though you won’t be adding any here).
Granulated Sugar (½ cup / 100g) — This helps bind the pretzels together and adds a bit of sweetness to balance the salt. Some people use brown sugar for a chewier texture, but granulated gives that crisp, shortbread-like base I prefer. It melts into the butter to create a caramel-like coating for the pretzel crumbs.
Vanilla Extract (1 teaspoon) — Just a splash to add depth. It’s subtle, but it makes the base taste less like just “pretzels and butter.” Don’t skip it.
For the Peanut Butter Layer
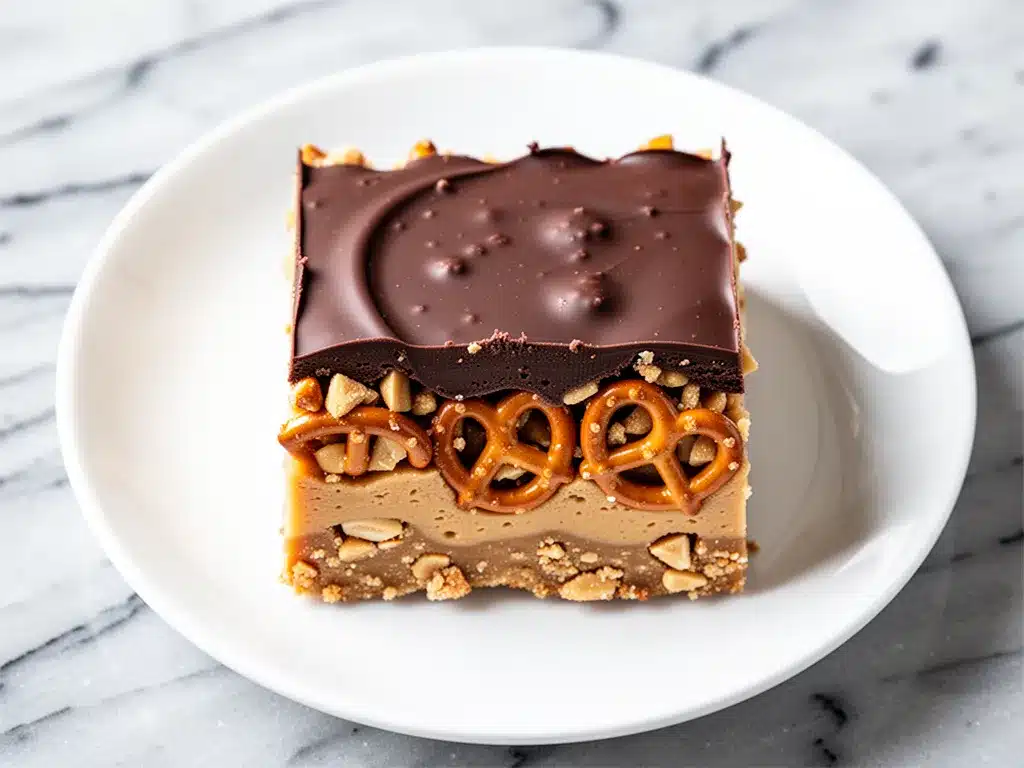
Creamy Peanut Butter (1 cup / 250g) — This is non-negotiable. Do not use natural peanut butter where the oil separates. That will make the layer greasy and runny. Use standard brands like Jif or Skippy. If you want a slightly more sophisticated flavor, you can mix ¾ cup creamy with ¼ cup crunchy, but creamy is the traditional choice for a smooth layer. It needs to be soft and spreadable. If it’s cold from the fridge, microwave it for 15 seconds to soften it up.
Butter (2 tablespoons / 30g) — A little extra butter helps the peanut butter layer spread easily and adds richness. It also helps it set a bit firmer when chilled.
For the Chocolate Topping
Semi-Sweet Chocolate Chips (12 ounces / 340g) — I prefer semi-sweet because it’s not too sweet and balances the salty pretzels and sweet peanut butter. Milk chocolate is too sweet for my taste, and dark chocolate (over 70%) is too bitter. Ghirardelli or Godiva work beautifully. If you can’t find chips, you can use chopped chocolate bars, but chips melt more evenly.
Optional: Sea Salt Flakes — A light sprinkle on top of the chocolate while it’s still soft adds a professional touch and enhances the salty-sweet flavor. I always do this now.
Optional: Pretzel Pieces — For extra crunch on top, press a few small pretzel pieces into the chocolate layer before it sets. It looks pretty and adds texture.
Equipment Needed
You don’t need fancy equipment for this. Here’s what I actually use:
9×13 Inch Baking Pan — I use a standard glass Pyrex pan. It’s easy to see the layers and easy to remove the bars later. You can use metal or ceramic, but glass is my preference for even heating (even though we’re not baking, it holds temperature well). Line it with parchment paper, leaving an overhang on the sides. This is crucial for lifting the whole slab out once it’s set.
Food Processor — For crushing the pretzels quickly. If you don’t have one, a heavy-duty blender or a rolling pin and a zip-top bag work fine. Just be patient.
Microwave-Safe Bowl — For melting the butter and chocolate. I use a large glass measuring cup with a spout—it’s easier to stir and pour. If you melt in the microwave, do it in 30-second intervals, stirring in between, to avoid burning.
Spatula — A silicone spatula is best for spreading the peanut butter and chocolate evenly. You need something flexible to get into the corners.
Sharp Knife — For cutting the bars. Dip the knife in hot water and wipe it dry between cuts for clean, sharp edges. Messy cuts look messy; clean cuts look professional.
How to Make It: Step-by-Step
Alright, let’s make this! I’m walking you through exactly how I do it, including the little tricks I’ve picked up over the years. It’s simple, but the order matters.
Step 1: Prep Your Pan and Pretzels (5 minutes)
Line your 9×13 inch pan with parchment paper. I like to use two strips crossing each other for an “X” shape—this gives you handles to lift the bars out later. Set aside.
Crush your pretzels. If using a food processor, pulse until you have coarse crumbs. You want pieces that are about the size of rice grains mixed with small pebbles. Not powder. Not huge chunks. If crushing by hand, put them in a heavy zip-top bag and smash them with a rolling pin until they’re unevenly crushed. Measure out 2 cups of crumbs. If you have extra, save them for topping later.
Step 2: Make the Pretzel Base (5 minutes)
In a microwave-safe bowl, combine the crushed pretzels, ½ cup melted butter, and ½ cup sugar. Microwave the butter for 30 seconds until melted, then stir it into the pretzels and sugar. Mix well until every crumb is coated. It should look like wet sand.
Press this mixture firmly into the bottom of your prepared pan. Use the bottom of a measuring cup or a flat spatula to pack it down tight. This is the most important step for structure. If the base is loose, the bars will crumble. Press it until it’s smooth and even. Place the pan in the fridge while you make the next layer. Chill for at least 10 minutes to set.
Step 3: Make the Peanut Butter Layer (5 minutes)
In a medium bowl, mix the 1 cup creamy peanut butter with 2 tablespoons melted butter. If the peanut butter is stiff, microwave it for 10 seconds to soften. Stir until smooth and creamy.
Remove the pan from the fridge. Spread the peanut butter mixture evenly over the chilled pretzel base. Use a spatula to smooth it out. Try to get the edges all the way to the corners. This layer should be about ¼ inch thick. It doesn’t need to chill yet, but it helps if you let it sit for 5 minutes to firm up slightly before adding chocolate.
Step 4: Add the Chocolate Topping (5 minutes)
Melt the 12 ounces of chocolate chips. I use the microwave method: spread chips in a microwave-safe bowl, heat for 30 seconds, stir, heat for another 15-20 seconds, and stir until smooth. If there are still lumps, heat in 10-second bursts. Do not overheat, or the chocolate will seize.
Pour the melted chocolate over the peanut butter layer. Use a spatula to spread it evenly. Get it all the way to the edges. If the chocolate starts to harden while you’re spreading it, microwave it for 5 seconds to soften it back up.
Optional: Sprinkle flaky sea salt over the top while the chocolate is still wet. Press a few extra pretzel pieces into the chocolate if you like extra crunch.
Step 5: Chill and Cut (30+ minutes)
Place the pan in the refrigerator for at least 30 minutes, or until the chocolate is completely set and firm. If you’re in a hurry, you can put it in the freezer for 15 minutes, but the fridge is safer to avoid condensation. Once set, lift the entire slab out of the pan using the parchment paper handles. Place it on a cutting board. Use a sharp knife to cut into squares or rectangles. Wipe the knife clean between cuts for neat edges.
Total Time: About 25 minutes active, plus 30 minutes chilling.
Expert Tips & Tricks
Here’s everything I’ve learned from making these dozens of times. These tips will save you from my mistakes.
Press the Base Tight — I can’t stress this enough. If your pretzel base is loose, the bars will fall apart when you cut them. Pack it down hard. It should feel like a solid cake layer, not loose crumbs.
Don’t Skip the Chill — If you add the chocolate layer to a warm pretzel base, the peanut butter will melt and mix into the pretzels, creating a mess. Let the base set in the fridge first. It’s worth the wait.
Use Good Chocolate — Since the chocolate is the top layer, it’s what people see and taste first. Cheap chocolate chips often have wax and don’t melt smoothly. Use real chocolate chips or chopped chocolate bars. It makes a huge difference in the finish.
Soft Peanut Butter — If your peanut butter is cold and stiff, it will tear the pretzel base when you spread it. Warm it slightly in the microwave for 10 seconds to make it spreadable. It should flow like thick honey.
Store Properly — Keep these in an airtight container in the fridge. They last up to two weeks. If you leave them out, the chocolate will sweat and the peanut butter will soften. Fridge is best.
Cutting Clean — Dip your knife in hot water and wipe it dry before every cut. This prevents the chocolate from sticking and tearing. For perfect squares, measure with a ruler first, then score the lines before cutting all the way through.
Variations & Substitutions
Once you’ve nailed the basic version, here’s how you can mix it up. I’ve tried all of these.
Salted Caramel Version — Drizzle store-bought or homemade caramel sauce over the peanut butter layer before adding the chocolate. Sprinkle sea salt on top. This is my favorite variation for holidays.
Peanut Butter Cup Style — Add a layer of mini marshmallows on top of the peanut butter before the chocolate. It adds a chewy texture similar to a Reese’s Cup.
White Chocolate Version — Swap semi-sweet chips for white chocolate chips. Add crushed red peppermint candies on top for a Christmas vibe. This is sweeter and great for kids.
Gluten-Free — Use gluten-free pretzels (many brands now make them). Everything else is naturally gluten-free. Check your chocolate chips to ensure they’re certified GF.
Nut-Free — Substitute the peanut butter with sunflower seed butter or soy nut butter. The texture and flavor are surprisingly similar. The base is already nut-free if you use standard pretzels.
Chocolate Chip Mix-In — Sprinkle mini chocolate chips over the peanut butter layer before adding the top chocolate. It adds extra pockets of chocolate.
Serving & Storage
How to Serve:
I usually serve these cold, right out of the fridge. They’re firm and clean to eat. No messy fingers. They pair well with coffee or milk. I’ve also served them alongside overnight vanilla cinnamon chia pudding for a breakfast bar setup, though they’re definitely more of a dessert.
Side Dishes:
These are self-contained, so they don’t need sides. But if you’re serving them at a party, they go well with hot cocoa, coffee, or even a light fruit salad to cut the richness.
Storage Instructions:
Refrigerator: Store in an airtight container for up to 2 weeks. Place parchment paper between layers if stacking. They taste best after 24 hours when the flavors have melded.
Freezer: Yes, you can freeze these! Cut them into bars first, then wrap each one individually in plastic wrap and place in a freezer bag. They’ll keep for 3 months. Thaw in the fridge overnight. The texture remains good, though the pretzels may soften slightly.
Room Temperature: Not recommended. The peanut butter and chocolate will soften, and the bars may become greasy. Keep them cool.
Nutrition Information
I’m not a nutritionist, but here’s the breakdown if you’re tracking. Keep in mind this is a rich, calorie-dense dessert, so portion control is key.
Per Bar (based on 16 bars):
- Calories: 280
- Protein: 6g
- Carbs: 28g
- Fiber: 2g
- Sugar: 18g
- Fat: 18g
- Saturated Fat: 8g
- Sodium: 220mg
What’s Good:
Decent protein from the peanut butter. The pretzels add some fiber. It’s a manageable treat if you stick to one or two bars.
What to Know:
High in sugar and fat due to the chocolate and peanut butter. Use this as an occasional indulgence. If you want to lighten it up, use dark chocolate and reduce the sugar in the base by 25%.
Final Thoughts
So that’s my go-to No-Bake Peanut Butter Pretzel Bars! I’ve probably talked your ear off at this point, but when you make a recipe this often, you have a lot to say about it. These bars have saved me more times than I can count. They’re my answer to “what do I bring to the party?” when I’m tired, don’t want to bake, and still want something that tastes incredible. My kids are happy, my neighbors are happy, and I’m happy because I’m not stressed about cooking.
Make it yours! Try different chocolates, add caramel, or change the pretzel shape. The best recipes are the ones you adapt to your family’s tastes. If you make this, drop a comment and let me know what you think! I love hearing how recipes turn out in your kitchen. And if something doesn’t work, tell me that too—I’m here to help troubleshoot.
Happy cooking! And I hope your kitchen smells half as good as mine does right now (which is just like a candy factory, honestly).
Frequently Asked Questions
Can I use crunchy peanut butter instead of creamy?
Yes, you can! I actually like a mix of ¾ cup creamy and ¼ cup crunchy for a bit of texture. If you use all crunchy, just make sure it’s well-mixed before spreading. The chunks might make the layer a bit uneven, but it still tastes great.
Why did my pretzel base fall apart?
This usually happens if you didn’t press the base down firmly enough, or if you didn’t use enough butter. The butter acts as the glue. Make sure your butter is fully melted and mixed evenly with the pretzels, then press hard into the pan. Let it chill completely before adding the next layer.
Can I make these ahead of time?
Absolutely. These are best made at least 24 hours in advance. They taste better after the flavors have had time to meld. You can make them up to 2 weeks ahead and keep them in the fridge, or freeze them for up to 3 months.
How do I store these bars?
Keep them in an airtight container in the refrigerator. They will last up to 2 weeks. If you stack them, place parchment paper between the layers to prevent sticking. Do not leave them at room temperature for more than a few hours.
Can I use chocolate bars instead of chips?
Yes, and I actually prefer it! Chopped chocolate bars (like Ghirardelli or Lindt) melt more smoothly and have a better flavor than chips. Just chop them into small pieces before melting. It gives a more professional, glossy finish.
What if I don’t have a food processor?
No problem. Put the pretzels in a heavy-duty zip-top bag and crush them with a rolling pin, meat mallet, or even a heavy can. You want them crushed to a coarse crumb size, not powder. It takes a bit more elbow grease, but it works just as well.
Can I make these gluten-free?
Yes! Simply use gluten-free pretzels. Most major brands now make GF pretzels that taste just like the regular ones. Check your chocolate chips and peanut butter to ensure they are certified gluten-free if you have a severe allergy.
Pin This Recipe!
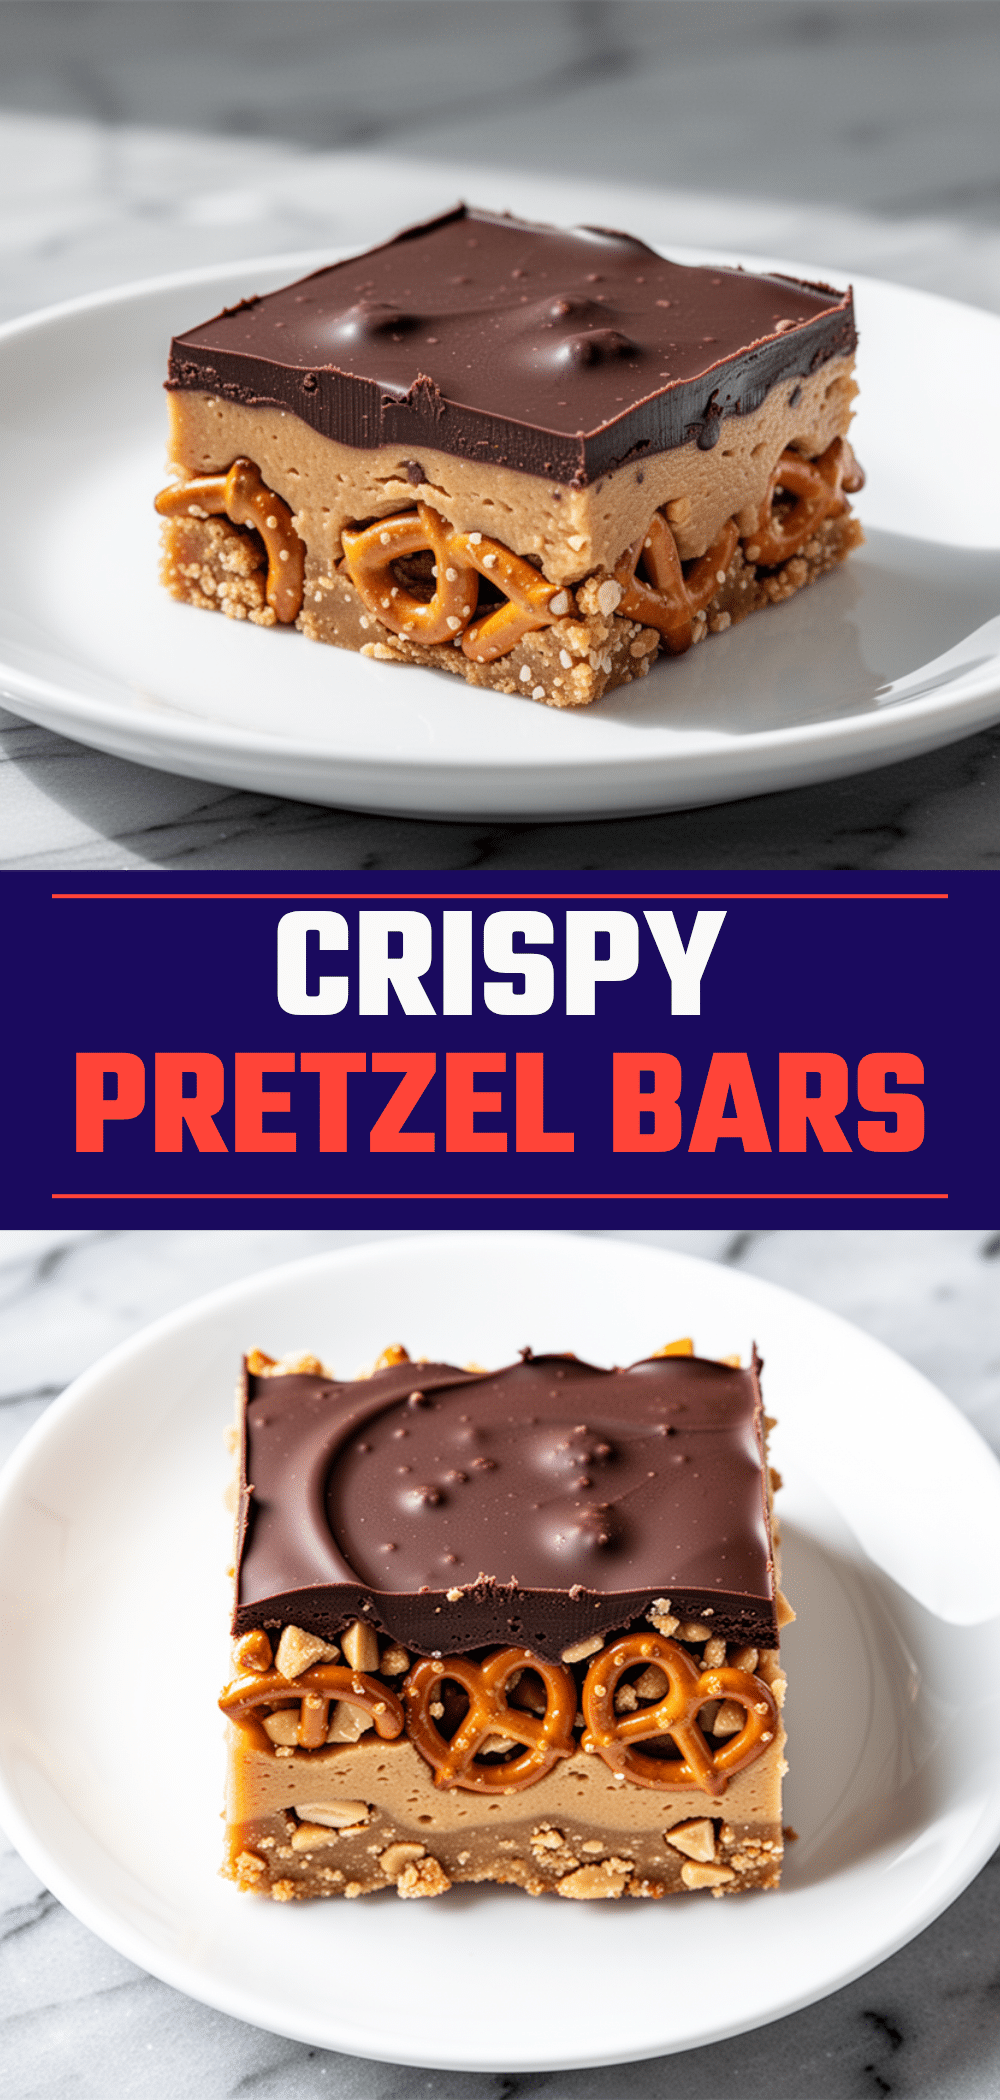
No-Bake Peanut Butter Pretzel Bars
- Total Time: 55 minutes
- Yield: 16 servings 1x
Description
These easy, no-bake bars feature a crunchy salty pretzel base, a rich creamy peanut butter layer, and a smooth semi-sweet chocolate topping. They are sturdy enough to travel and perfect for holiday gatherings.
Ingredients
- 12 ounces (340g) pretzel butterflies or thin pretzel rods
- 1/2 cup (113g) unsalted butter
- 1/2 cup (100g) granulated sugar
- 1 teaspoon vanilla extract
- 1 cup (250g) creamy peanut butter
- 2 tablespoons (30g) butter
- 12 ounces (340g) semi-sweet chocolate chips
- Sea salt flakes (optional)
- Extra pretzel pieces (optional)
Instructions
- Line a 9×13 inch baking pan with parchment paper, creating an ‘X’ shape for handles.
- Crush pretzels into coarse crumbs (about the size of rice grains mixed with small pebbles). Measure out 2 cups.
- In a microwave-safe bowl, combine crushed pretzels, 1/2 cup melted butter, and 1/2 cup sugar. Mix until coated like wet sand.
- Press the pretzel mixture firmly and evenly into the bottom of the prepared pan. Chill in the refrigerator for at least 10 minutes.
- In a medium bowl, mix 1 cup creamy peanut butter with 2 tablespoons melted butter until smooth and spreadable.
- Remove the pan from the fridge and spread the peanut butter mixture evenly over the chilled pretzel base.
- Melt the 12 ounces of chocolate chips in the microwave in 30-second intervals, stirring until smooth.
- Pour the melted chocolate over the peanut butter layer and spread evenly to the edges.
- Optional: Sprinkle with sea salt flakes or press extra pretzel pieces into the chocolate.
- Refrigerate for at least 30 minutes until the chocolate is completely set.
- Lift the slab out of the pan using parchment handles and cut into squares or rectangles using a sharp knife.
Notes
Press the pretzel base down tightly to ensure the bars hold together. Use creamy peanut butter, not natural, to avoid a greasy texture. For clean cuts, dip the knife in hot water and wipe dry between cuts. Store in the refrigerator for up to two weeks.
- Prep Time: 25 minutes
- Cook Time: 0 minutes
- Category: Dessert
- Cuisine: American
Nutrition
- Serving Size: 1 bar
- Calories: 280
- Sugar: 18
- Sodium: 220
- Fat: 18
- Saturated Fat: 8
- Carbohydrates: 28
- Fiber: 2
- Protein: 6
Keywords: no-bake, peanut butter, pretzel bars, holiday dessert, easy dessert, salty sweet, make ahead


