It was 4:45 PM on a Tuesday, and I was staring into the abyss of my refrigerator. The light flickered slightly, casting a dramatic glow over a single, sad-looking bell pepper and a can of black beans that had been hiding in the back since the last time I did actual grocery shopping. My husband was due home in fifteen minutes. My kids were already arguing over who got the last slice of pizza from dinner. And I had exactly zero energy to cook.
Normally, this is the moment I order takeout. But takeout is expensive, and honestly, I’m tired of eating greasy food on weeknights when I could be eating something that actually tastes like I tried. So, I did what any desperate home cook does: I raided the pantry, ignored the recipe cards, and threw together what I thought would be a mediocre backup plan.
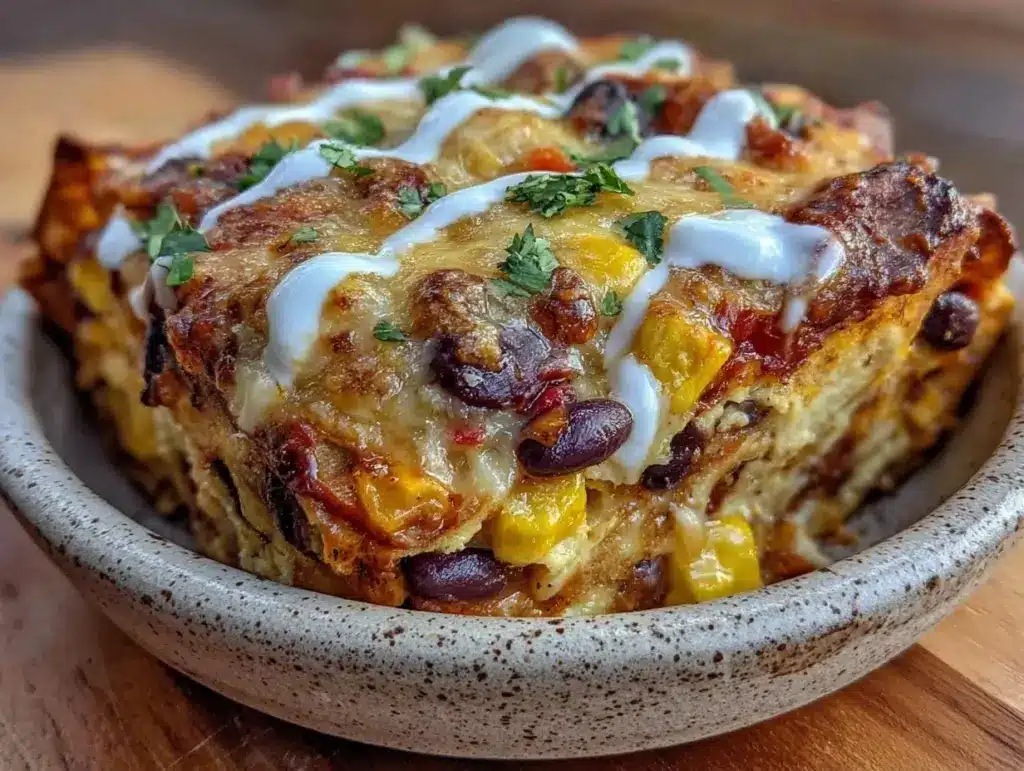
What came out of the oven twenty minutes later wasn’t mediocre. It was cheesy, spicy, deeply savory, and completely addictive. It smelled like a taco shop in the best way possible. My husband took one bite and said, “Is this the new rotation?” My kids, who usually pick around the onions, ate three pieces each.
That was the birth of my Vegetarian Black Bean Enchilada Casserole. It’s not the traditional rolled-up tortilla version. It’s messy, it’s fast, and it’s honestly better for weeknights because there’s no rolling involved. It’s the ultimate “5pm dinner solved” meal. I’ve made this at least a dozen times since that Tuesday, and it has never failed to save my sanity.
Why You’ll Love This Black Bean Enchilada Casserole
Look, I get it. You’re busy. You have a job, kids, laundry, and probably a pile of emails waiting for you. You don’t have time to roll twenty tortillas or chop vegetables for an hour. This vegetarian black bean enchilada casserole is designed for real life. Here’s why it’s become my go-to when I’m stressed:
- Zero Rolling Required — Seriously. Traditional enchiladas take forever to assemble. This casserole is just layers. You break the tortillas, you layer, you bake. It’s foolproof. Even my teenage son can make it without setting off the smoke alarm.
- Under 30 Minutes Total — From opening the cans to pulling the dish out of the oven, it takes about 25 minutes. That’s less time than it takes to drive to a drive-thru and wait in line.
- Pantry-Friendly Ingredients — You likely have most of this already. Black beans, corn, salsa, cheese, tortillas. If you have these, you have dinner. It’s like having a safety net for your meal plan.
- Kid-Approved (and Adult-Approved) — It’s cheesy. It’s warm. It tastes like comfort food. My kids think it’s “taco night,” and I like that they’re eating beans and veggies without complaining.
- Makes Amazing Leftovers — This actually tastes better the next day. The flavors meld together overnight, and the leftovers reheat beautifully in the microwave. I deliberately make extra for lunch on Wednesday.
- One Dish, Minimal Cleanup — You use one baking dish and maybe a spoon to mix. That’s it. No colander for boiling water, no dozen small bowls for prep. Just toss it in the oven and clean as you go.
This is my answer to “What’s for dinner?” when I’m tired, broke, and don’t want takeout. It’s reliable, delicious, and makes everyone happy. No complicated techniques, just good food.
Ingredients You’ll Need
Here’s the best part: you probably have most of this already. This vegetarian black bean enchilada casserole relies on simple, affordable ingredients. I’m particular about three things here—salsa, cheese, and beans—and I’ll tell you exactly why.
For the Base
Canned black beans (2 cans, 15 oz each) — Rinse and drain them. This removes the starchy liquid and improves the texture. I use Goya or Bush’s Best; they’re consistent. If you’re using dry beans, soak and cook them first, but that defeats the purpose of a 5pm dinner.
Yellow corn (1 can, 15 oz, or 1 cup frozen) — Canned is easier, but frozen corn has better sweetness. I like the contrast of sweet corn and savory beans. Drain it well so your casserole doesn’t get watery.
Flour tortillas (8-10 medium) — I use large flour tortillas. Corn tortillas are traditional, but they break easily when you’re rushing, and flour tortillas hold the layers together better in a casserole format. You can use corn if you prefer, but handle with care.
For the Flavor
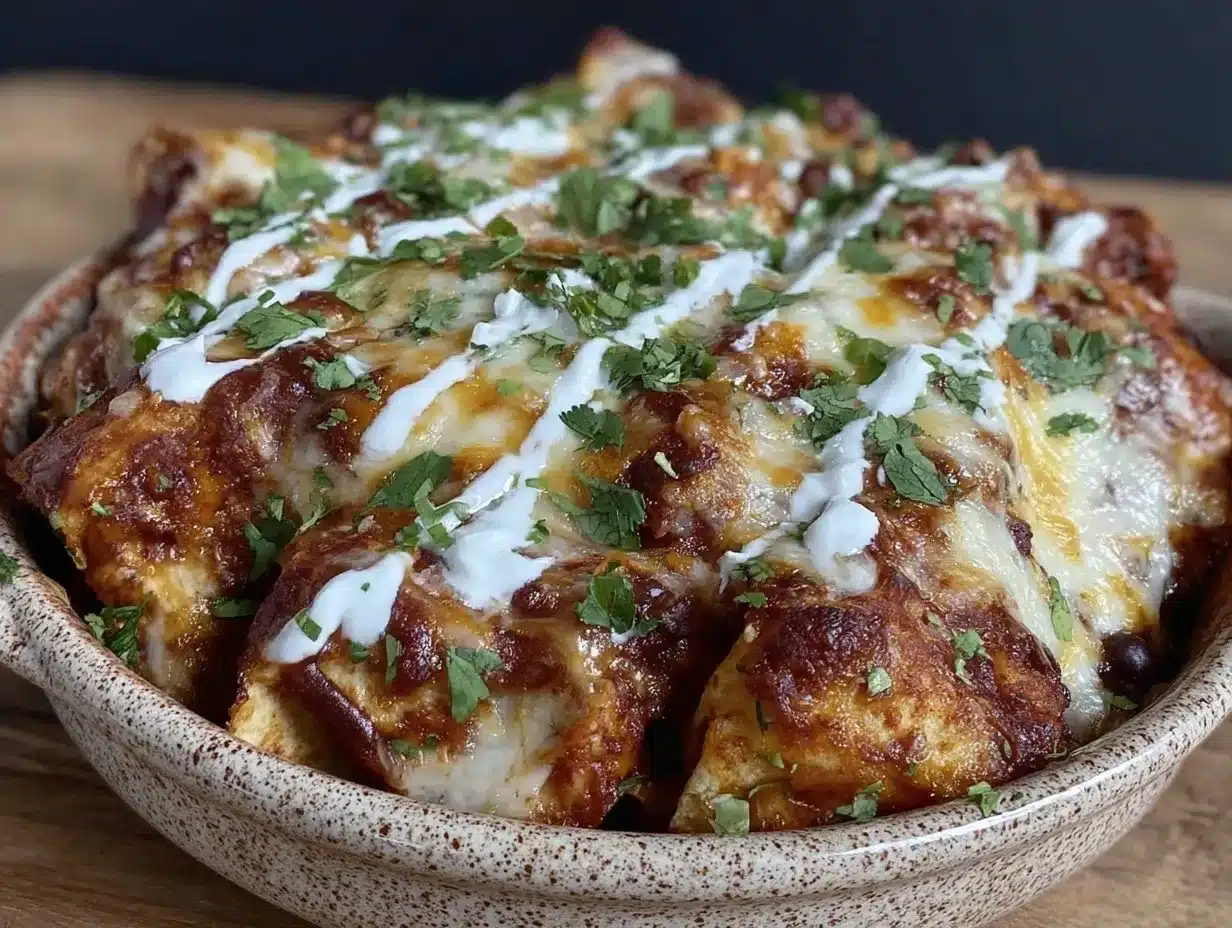
Red salsa (2 cups) — This is the sauce. I use a medium salsa, like Pace or Tostitos. If you like heat, use a hot salsa. If you’re feeding kids, stick to mild or medium. Avoid chunky salsa with huge pieces of onion unless you want big bites of onion in every mouthful.
Green enchilada sauce (1 cup) — I like mixing red and green for complexity, but this recipe works with just red. Green adds a nice tang. I use Herdez or La Costeña. It’s not strictly necessary if you’re out, but it elevates the flavor profile significantly.
Garlic (3 cloves, minced) — Fresh garlic is non-negotiable. Jarred garlic tastes metallic in this context. If you’re being lazy, use half a teaspoon of garlic powder, but fresh is better. It’s only 2 minutes of mincing.
Cumin (1 teaspoon) — Ground cumin gives it that authentic Mexican flavor. Don’t skip it. It’s the backbone of the spice profile.
Chili powder (1 teaspoon) — Adds depth and a little heat. Not the same as pure chili powder blends; just the plain spice.
For the Topping
Shredded Mexican cheese blend (2 cups) — I buy pre-shredded because I’m a realist. It has cellulose to prevent clumping, which actually helps it melt evenly in a casserole. If you have time, shred a block of Monterey Jack and Cheddar. It melts better, but pre-shredded is 90% as good.
Fresh cilantro (¼ cup, chopped) — Optional but recommended. It adds brightness that cuts through the heavy cheese and beans. If your kids hate cilantro, skip it or offer it on the side.
Optional Add-ins — Diced bell peppers (1 cup) — Adds crunch and color. Jalapeños (fresh or pickled) — For extra heat. Cooked rice (1 cup) — If you want to stretch the meal further and add more volume. I do this when feeding a hungry crew.
Equipment Needed
You don’t need fancy equipment for this. Here’s what I actually use:
9×13 inch baking dish — I use a ceramic one. It heats evenly and looks nice on the table. Glass works too, but ceramic holds heat better for leftovers.
Large mixing bowl — For tossing the beans and corn with the spices. Any bowl works.
Measuring cups and spoons — Standard stuff. I have a set that’s seen better days, but it works.
Wooden spoon or spatula — For stirring the bean mixture.
Knife and cutting board — For mincing garlic and chopping cilantro. If you’re using pre-minced garlic, skip this step.
Colander — For draining the beans and corn. Or just use a sieve. I keep a fine-mesh sieve for this.
Optional but nice — Microplane grater — If you’re zesting a lime (highly recommended for serving). Non-stick skillet — If you want to sauté the onions or peppers first for deeper flavor, but it’s not required.
How to Make It: Step-by-Step
Alright, let’s make this! I’m walking you through exactly how I do it, including the little tricks I’ve picked up to ensure it doesn’t turn out dry or bland.
Step 1: Prep Your Ingredients (5 minutes)
Before you turn on the oven, get everything ready. Preheat your oven to 375°F (190°C). Drain and rinse the black beans. Drain the corn. Mince the garlic. Chop the cilantro. Measure out your spices. I know it seems fussy, but it makes the actual assembly way less stressful. Once you start layering, things move fast.
Step 2: Mix the Bean Filling (3 minutes)
In your large mixing bowl, combine the drained black beans, corn, minced garlic, cumin, chili powder, and a pinch of salt. Toss everything together until the beans are evenly coated in the spices. Taste a bean (yes, really). If it needs more salt or spice, add it now. This mixture is the heart of the dish, so get the seasoning right.
Step 3: Start Layering (5 minutes)
Spread about half of the salsa on the bottom of your 9×13 baking dish. This prevents the tortillas from sticking and burning. Tear 4-5 tortillas into rough chunks and scatter them over the salsa. Don’t worry about making them pretty. Then, spread half of the bean mixture over the tortillas. Sprinkle with half of the cheese.
Step 4: Repeat and Finish (3 minutes)
Repeat the layers: tear up the remaining tortillas, add the rest of the bean mixture, and pour the remaining salsa over the top. Finally, sprinkle the rest of the cheese evenly over the top. You want a good crust of cheese on top, so don’t skimp. If you’re adding bell peppers or jalapeños, scatter them over the cheese now.
Step 5: Bake (20 minutes)
Place the dish in the preheated oven. Bake for 20 minutes, or until the cheese is melted, bubbly, and slightly golden on the edges. If you want a crispier top, broil for the last 2 minutes, but watch it like a hawk—cheese burns in seconds.
Step 6: Rest and Serve (5 minutes)
Remove from the oven and let it rest for 5 minutes. This is crucial. If you cut into it immediately, it will be a mess. The layers need to set so it holds together when you serve. Sprinkle with fresh cilantro and serve with lime wedges on the side. Squeeze that lime over the top—it changes everything.
Total Time: About 30 minutes (10 minutes active, 20 minutes hands-off).
Expert Tips & Tricks
Here’s everything I’ve learned from making this dozens of times. These tips will save you from my mistakes.
Don’t Skip the Resting Time
I know you’re hungry. But if you cut into the casserole right out of the oven, it will slide apart. Let it sit for at least 5 minutes. The heat redistributes, and the cheese sets slightly. It’s worth the wait.
Use Fresh Lime Juice
Bottled lime juice tastes artificial. Fresh lime juice adds acidity that cuts through the heavy cheese and beans. It brightens the entire dish. I keep a lime in my fruit bowl year-round for this reason.
Spice It Up
If you like heat, add a diced jalapeño to the bean mixture or use a hot salsa. Start with a little and taste. You can always add more, but you can’t take it away. My husband likes it spicy, so I usually use a mix of mild and hot salsa.
Make It Meaty
This is vegetarian, but if you want more protein, add cooked ground turkey or chicken. Brown it with the onions and garlic, then mix it into the bean mixture. It makes the dish heartier and more filling.
Freeze for Later
This freezes well before baking. Assemble the casserole in a freezer-safe dish, wrap tightly in plastic and foil, and freeze for up to 3 months. Thaw in the fridge overnight and bake as directed. Add 10-15 minutes to the baking time if baking from frozen.
Variations & Substitutions
Once you’ve nailed the basic version, here’s how you can mix it up. I’ve tried all of these.
Green Enchilada Version
Skip the red salsa and use all green enchilada sauce. Add chopped tomatillos if you can find them. It’s tangier and fresher. Great for spring.
Veggie-Loaded
Toss in 1 cup of diced zucchini or spinach with the beans. The spinach wilts right in. This is how I get my kids to eat vegetables without noticing.
Protein-Packed
Add 1 can of drained pinto beans along with the black beans. Or add cooked shredded chicken. I often use leftover rotisserie chicken for this. It makes it more filling for hungry teens.
Gluten-Free
Use corn tortillas instead of flour. They’re naturally gluten-free. Just be careful when tearing them—they break easier. You might need to use a bit more salsa to keep them moist.
Dairy-Free
Use dairy-free cheese shreds. I’ve tried Daiyo and Follow Your Heart, and they melt okay. It’s not exactly the same, but it’s still tasty. Use nutritional yeast for a cheesy flavor without dairy.
Serving & Storage
How to Serve:
I usually serve this straight from the baking dish at the dinner table—it looks rustic and stays warm. But here are other ways I’ve enjoyed it:
- Side Dishes — Simple green salad with lime vinaigrette, Mexican rice, or refried beans. A crunchy slaw adds nice texture contrast.
- Toppings Bar — When I have guests, I put out: sour cream, guacamole, extra cilantro, lime wedges, and hot sauce. Everyone customizes their bowl.
- Wine Pairing — Not a wine expert, but my wine-snob friend says a crisp Sauvignon Blanc or a light-bodied Pinot Noir works great with this.
Storage Instructions:
Refrigerator:
Store in an airtight container for up to 4 days. The flavors actually get better after a day or two.
Reheating:
Best method: Microwave individual portions for 1-2 minutes, covered with a damp paper towel to keep it moist. Or reheat in the oven at 350°F for 15 minutes, covered with foil.
Freezing:
As mentioned above, freeze before baking. It freezes well. Thaw in the fridge and bake as directed.
Pro tip: If leftovers are drying out, sprinkle a little water or salsa over the top before reheating. It brings back the moisture.
Nutrition Information
I’m not a nutritionist, but here’s the breakdown if you’re tracking.
| Per Serving (based on 8 servings) |
|---|
| Calories: 320 |
| Protein: 14g |
| Carbs: 42g |
| Fiber: 8g |
| Sugar: 4g |
| Fat: 12g |
| Sodium: 680mg |
What’s Good:
- High in fiber from the beans
- Good plant-based protein
- Rich in vitamins from the corn and peppers
What to Know:
- Higher in sodium due to canned beans and salsa
- Contains gluten (if using flour tortillas)
- Contains dairy (if using cheese)
My Take:
Look, this is comfort food. It’s not a diet recipe. But it’s way better than takeout, costs less, and I know exactly what’s in it. When I want to make it lighter, I use low-sodium beans and less cheese. But usually? I just eat a reasonable portion and enjoy it.
Final Thoughts
So that’s my go-to vegetarian black bean enchilada casserole! I’ve probably talked your ear off at this point, but when you make a recipe this often, you have a lot to say about it.
This has saved weeknight dinners more times than I can count. It’s my answer to “what’s for dinner” when I’m tired, don’t want takeout, and still want something that tastes really good. My kids are happy, my husband’s happy, and I’m happy because I’m not stressed about cooking.
Make it yours! Try different add-ins, swap in your favorite vegetables, adjust the heat. The best recipes are the ones you adapt to your family’s tastes. If you make this, drop a comment and let me know what you think! I love hearing how recipes turn out in your kitchen. And if something doesn’t work, tell me that too—I’m here to help troubleshoot.
Happy cooking! And I hope your kitchen smells half as good as mine does right now.
Frequently Asked Questions
Q: Can I use canned corn instead of frozen?
A: Absolutely. Canned corn is easier and works fine. Just make sure to drain it well so your casserole doesn’t get watery. I use canned corn about 50% of the time because it’s faster.
Q: Why did my casserole turn out watery?
A: Usually means you didn’t drain the beans and corn well enough, or you used too much salsa. Drain everything thoroughly. If you’re using chunky salsa, drain the liquid from it too. Also, let it rest for 5 minutes after baking—it will absorb some of the moisture.
Q: Can I make this ahead for a dinner party?
A: Yes! Assemble the casserole up to 24 hours ahead and store it in the fridge. Take it out 30 minutes before baking to take the chill off. Bake as directed. This is perfect for parties because you can prep it while you’re getting ready.
Q: Can I freeze this casserole?
A: Yes, but it’s best frozen before baking. Assemble it in a freezer-safe dish, wrap tightly, and freeze. Thaw in the fridge overnight and bake as directed. If you freeze it after baking, the texture of the tortillas might get a bit mushy upon reheating.
Q: Can I use corn tortillas instead of flour?
A: Yes, but they break more easily. You’ll need to handle them gently when tearing. They also absorb more liquid, so you might need a bit more salsa. Corn tortillas are a great gluten-free option.
Q: How do I reheat leftovers without it getting dry?
A: Microwave with a damp paper towel over the top. The steam keeps it moist. Or reheat in the oven at 350°F, covered with foil, for 15 minutes. Avoid the microwave without the damp towel—it tends to dry out the edges.
Q: Can I double this recipe?
A: Yes, but you’ll need a larger baking dish (like a 9×13 or even a 9×16 if you have one). Double all ingredients and bake for an additional 5-10 minutes. Check that the center is hot and bubbly.
If you’re looking for more quick weeknight dinners, check out my cozy fall white chicken chili for a one-pot meal, or try my vegan creamy mushroom stroganoff for another comforting option. Both are just as easy and perfect for busy nights.
Pin This Recipe!
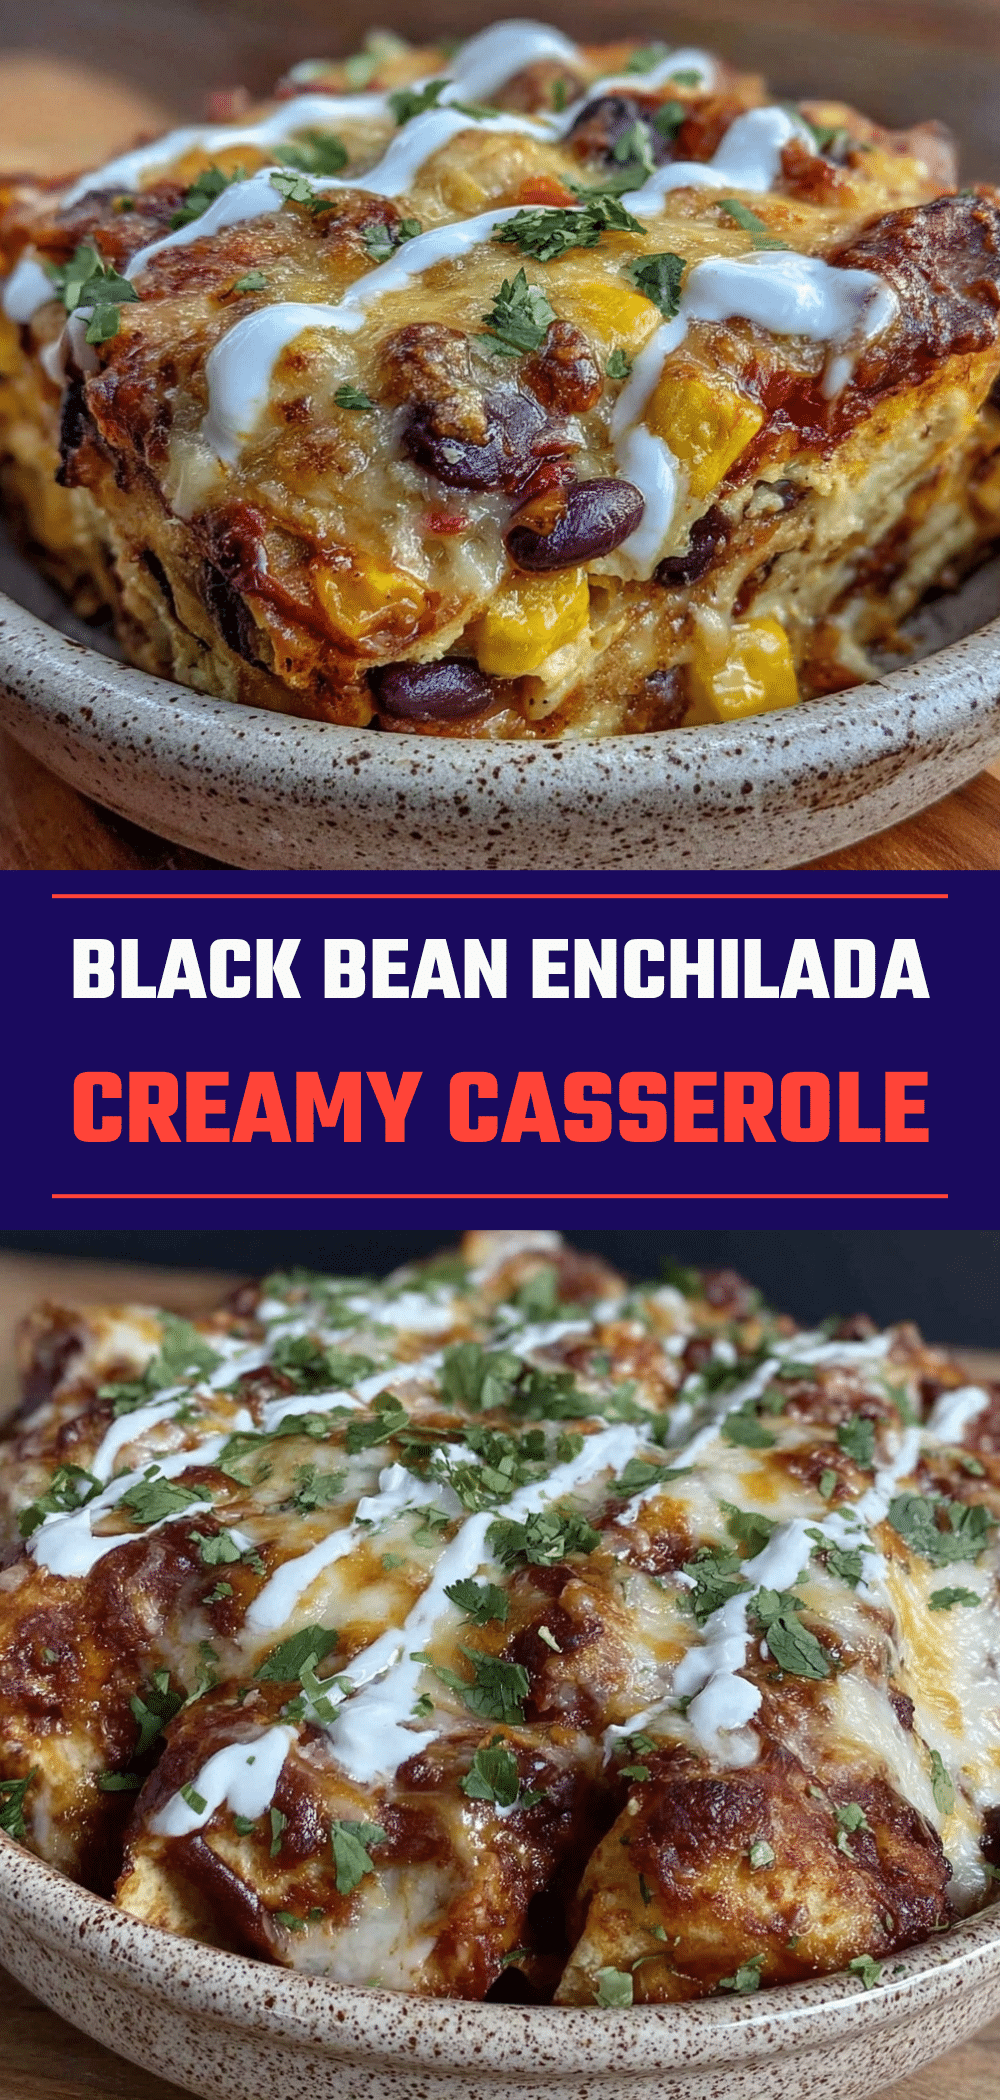

Vegetarian Black Bean Enchilada Casserole
- Total Time: 30 minutes
- Yield: 8 servings 1x
Description
A quick, messy, and delicious weeknight dinner that requires zero rolling. This layered casserole combines black beans, corn, salsa, and cheese for a kid-approved meal ready in under 30 minutes.
Ingredients
- 2 cans (15 oz each) black beans, rinsed and drained
- 1 can (15 oz) yellow corn, drained (or 1 cup frozen)
- 8–10 medium flour tortillas
- 2 cups red salsa
- 1 cup green enchilada sauce
- 3 cloves garlic, minced
- 1 teaspoon ground cumin
- 1 teaspoon chili powder
- 2 cups shredded Mexican cheese blend
- 1/4 cup fresh cilantro, chopped
- Salt to taste
- Optional: 1 cup diced bell peppers, jalapeños, or cooked rice
Instructions
- Preheat oven to 375°F (190°C). Drain and rinse black beans and corn. Mince garlic and chop cilantro.
- In a large mixing bowl, combine drained black beans, corn, minced garlic, cumin, chili powder, and a pinch of salt. Toss to coat evenly.
- Spread about half of the salsa on the bottom of a 9×13 inch baking dish.
- Tear 4-5 tortillas into rough chunks and scatter them over the salsa.
- Spread half of the bean mixture over the tortillas, then sprinkle with half of the cheese.
- Repeat layers: tear remaining tortillas, add rest of bean mixture, pour remaining salsa over top, and sprinkle with remaining cheese.
- Bake for 20 minutes until cheese is melted, bubbly, and slightly golden.
- Remove from oven and let rest for 5 minutes before serving to allow layers to set.
- Garnish with fresh cilantro and serve with lime wedges.
Notes
Do not skip the resting time; the casserole needs 5 minutes to set so it holds together when served. For a gluten-free version, use corn tortillas. For dairy-free, use dairy-free cheese shreds. Fresh lime juice is recommended to brighten the flavors.
- Prep Time: 10 minutes
- Cook Time: 20 minutes
- Category: Main Course
- Cuisine: Mexican
Nutrition
- Serving Size: 1 slice
- Calories: 320
- Sugar: 4
- Sodium: 680
- Fat: 12
- Carbohydrates: 42
- Fiber: 8
- Protein: 14
Keywords: vegetarian, black bean, enchilada casserole, weeknight dinner, quick meals, family friendly, one dish, gluten-free option


