Last Saturday, I woke up with that specific, hollow feeling in my stomach that comes from realizing I have exactly four dollars left until payday. My fridge was holding up a brave front, but really, it was just a jar of pickles, half a lemon, and a carton of eggs that might have been on the edge. I could have made toast. I could have done the cereal thing. But I was tired of eating like a college student who gave up on life.
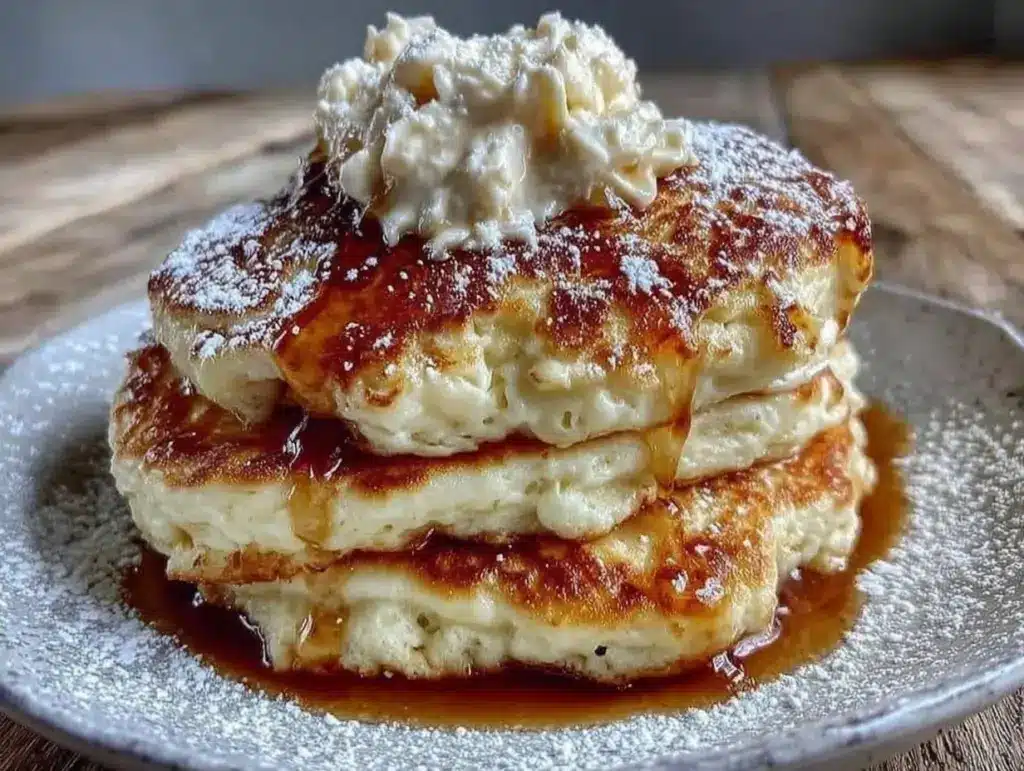
I wanted something fluffy. Something that felt like a treat, not a compromise. I wanted that Instagram-worthy, jiggly, cloud-like Japanese Souffle Pancake experience without paying $12 for a brunch plate at a cafe.
So I stared at my pantry, did some mental math, and decided to try something ridiculous. I thought, “What if I whip up egg whites? What if I fold them in? What if I cook them like a soufflé?”
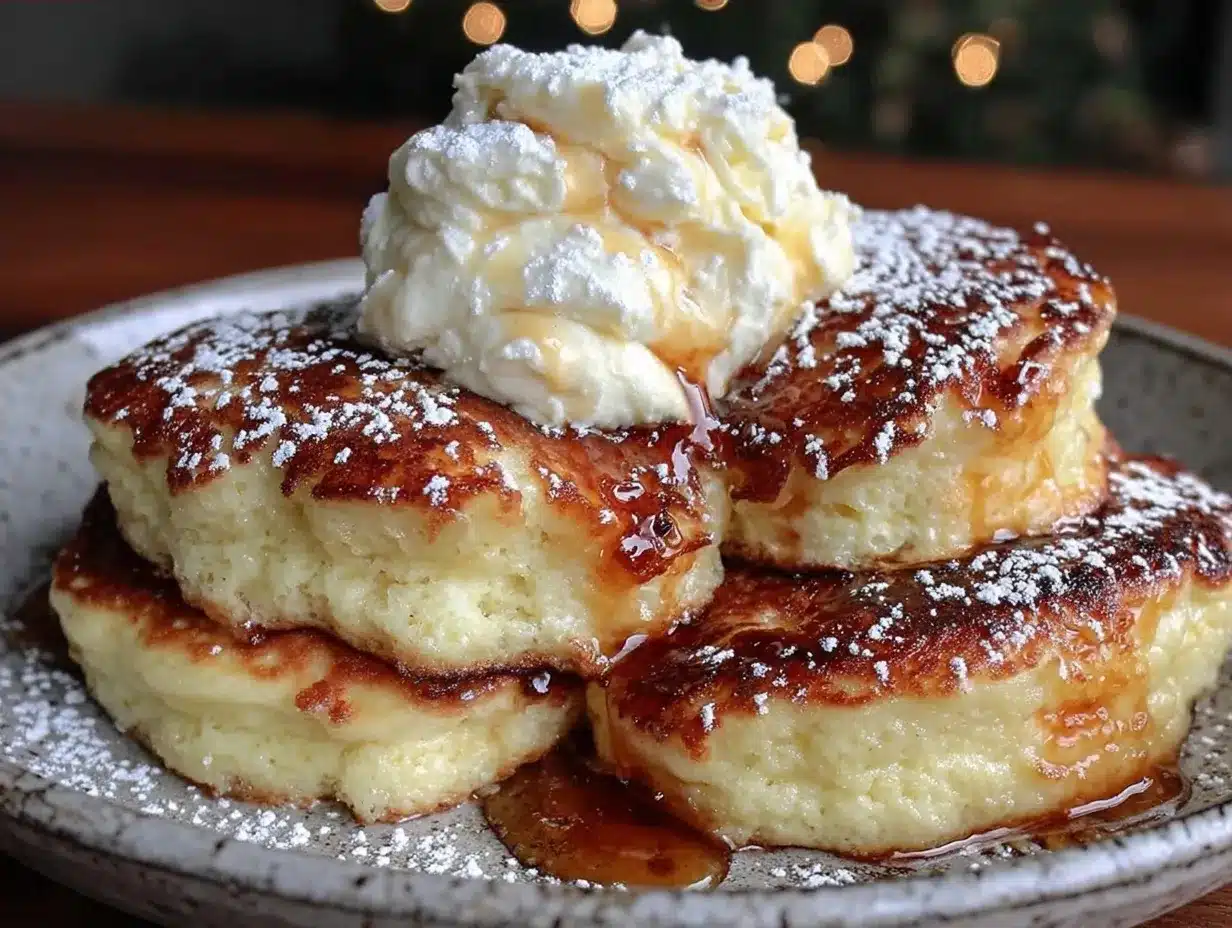
It worked. Actually, it worked so well that I made them three times in a week. And the best part? Each plate cost me about 60 cents. Sixty cents for pancakes that spring back when you poke them, that taste like pure vanilla and comfort, and that make you feel fancy even though you’re eating them in your pajamas at 11 AM.
If you’ve been thinking that Japanese Souffle Pancakes are some complicated, expensive chef’s trick, I’m here to tell you it’s not. It’s just eggs, a little milk, and patience. No fancy flour blends. No expensive cream cheese fillings. Just budget-friendly ingredients and a technique that turns simple breakfasts into something magical.
Why You’ll Love This Budget Souffle Pancake Recipe
There are about ten reasons I keep making these, but let’s be real: you’re here because you want breakfast that doesn’t feel like a chore, and you definitely want it to not break the bank.
Cheap as Chips — Seriously. The main ingredient is eggs. And if you buy a dozen, you’re paying pennies per pancake. I’ve calculated the cost, and unless you’re buying organic, free-range, rainbow-grain-fed eggs, you’re looking at less than $1 for a stack of four.
Zero Waste Cooking — This is perfect for my one-person household. You use exactly three eggs. No half-used containers of buttermilk sitting in the back of the fridge for two weeks until they smell like regret. You use what you need, and you’re done.
The Jiggle Factor — There is a specific joy in cutting into a pancake that wobbles like Jell-O. It feels luxurious. It feels like you spent hours in the kitchen (you didn’t, it took 20 minutes). It’s a mood booster that costs less than a single coffee at a drive-thru.
Actually Healthy-ish — Compared to a traditional pancake loaded with butter and sugar syrup, these are mostly air and protein. They’re lighter. You can eat two stacks and still feel good about yourself. Plus, you control the sugar. I keep it low because, again, budget. But you can drizzle honey if you want to go fancy.
One-Person Friendly — Most pancake recipes serve four. This recipe serves one hungry person or two light eaters. No leftovers getting dry and rubbery by lunch. Just fresh, hot, fluffy pancakes, exactly when you want them.
This is my go-to when I need to stretch my grocery budget but still want to feel like I’m treating myself. It’s practical, it’s cheap, and it tastes like heaven.
Ingredients You’ll Need (The Budget Edition)
Here’s the best part: you probably have most of this already. This isn’t a recipe that requires a trip to a specialty store. It’s built on staples.
For the Batter
Eggs (3 large) — The star of the show. You need whole eggs plus extra whites. If you’re on a tight budget, check your local discount grocer or ethnic markets for cheaper eggs. I always buy the 18-count carton because the unit price is lower. Use the extra whites for things like ultra-fudgy one-bowl brownies where you need extra egg whites!
Milk (2 tablespoons / 30ml) — Any milk works. Whole, skim, almond—it doesn’t matter for the texture as much as the eggs do. I use whatever is about to expire in my fridge. If you have none, water works in a pinch, though it’s less rich.
Vanilla Extract (½ teaspoon) — This is where I split. I buy the cheap imitation vanilla for baking because the flavor holds up well here. It saves money, and honestly, you can’t tell the difference in these fluffy pancakes.
All-Purpose Flour (2 tablespoons / 15g) — Just regular, boring flour. No cake flour needed. No self-rising. Just the stuff in the blue box. It’s cheap and it works.
Cornstarch (1 teaspoon) — This is the secret weapon. It makes them lighter and more tender. It’s also super cheap. A box lasts forever. If you absolutely don’t have it, you can skip it, but the texture will be slightly denser.
Baking Powder (½ teaspoon) — Check if it’s still active. If your pancakes from last year were flat, your baking powder is dead. Buy a new can—it’s $1. Don’t skip this.
Sugar (1 tablespoon / 12g) — White granulated sugar. You don’t need brown sugar here. You just need a little sweetness to help with browning and to balance the eggs. I use less than most recipes call for because I’m trying to save money and keep it light.
Salt (a pinch) — Essential for flavor. Never skip the salt.
For Cooking
Butter or Oil (1 teaspoon) — For greasing the pan. I use a bit of butter for flavor, but vegetable oil works fine and is cheaper. You don’t need much.
Water (2 tablespoons) — For the steam bath. Just tap water.
Equipment Needed
You don’t need fancy gadgets. Here’s what I actually use:
Two Bowls — One for yolks, one for whites. I use cheap ceramic bowls from the dollar store. They work fine.
Electric Mixer — Or a really strong arm. Hand-whisking egg whites to stiff peaks is a workout. If you have a hand mixer, use it. If not, a whisk and patience will get you there.
Non-Stick Skillet — 8-inch is perfect. It needs to have a lid. If your non-stick is peeling, it’s time to replace it for health reasons, but any pan that doesn’t stick will work.
Spatula — A flexible silicone one is best for folding without deflating the eggs.
Thermometer (Optional but Helpful) — If you want to be precise, these cook best at low heat. A kitchen thermometer helps you keep the pan around 250°F (120°C). But honestly, I just cook on the lowest setting and guess. It works.
How to Make It: Step-by-Step
Alright, let’s make this! I’m walking you through exactly how I do it, including the little tricks I’ve picked up so you don’t end up with flat disks.
Step 1: Separate Your Eggs (2 minutes)
Cold eggs separate easier, but room-temperature whites whip up to a higher volume. I usually separate them while they’re cold, then let the whites sit on the counter for 15 minutes while I prep the rest. Make sure your bowl for the whites is completely clean—no trace of yolk or oil, or they won’t whip.
Step 2: Mix the Yolks (2 minutes)
In a medium bowl, whisk the 3 egg yolks with the milk, vanilla, sugar, and salt. Whisk until it’s pale and combined. Then, sift in the flour, cornstarch, and baking powder. Whisk gently until smooth. It should look like a thick, creamy batter. Set aside.
Step 3: Whip the Egg Whites (5 minutes)
This is the most important part. Beat the egg whites with an electric mixer on medium-high speed. Start slow, then crank it up. You’re looking for stiff peaks. When you lift the beaters, the peaks should stand straight up without drooping. It should look like glossy marshmallow fluff. This usually takes 3-5 minutes. Don’t rush this. If you under-whip, they’ll be dense. If you over-whip, they’ll be crumbly.
Step 4: Fold Them Together (3 minutes)
Add one-third of the egg whites to the yolk mixture and whisk gently to lighten it. Then, dump that mixture back into the rest of the egg whites. Use a spatula to fold. Cut down the middle, scrape the bottom, and flip over. Rotate the bowl. Do this gently. You want to keep as much air in there as possible. Stop when you see no more white streaks. Don’t over-mix, or you’ll deflate the magic.
Step 5: Cook Low and Slow (10-12 minutes)
Heat your skillet on the lowest possible setting. Add a tiny bit of butter or oil. Once warm, spoon the batter into the pan. I make two small pancakes or one large one, depending on my pan size. They will be tall—don’t flatten them.
Cover the pan with a lid. Add the 2 tablespoons of water to the side of the pan (not on the batter) and immediately cover again. The steam helps them cook through without burning the bottom. Let them cook for 6-7 minutes. You’ll see them puff up and turn white on top.
Step 6: Flip and Finish (5 minutes)
Uncover the pan. The bottom should be golden brown. Carefully flip the pancakes. They are fragile! Use two spatulas if you need to. Cover the pan again and cook for another 4-5 minutes. The steam is still helping, but now you’re just setting the structure.
Step 7: Serve Immediately
These pancakes deflate slightly as they cool, so eat them right away. Stack them, drizzle with a little syrup or honey, and enjoy.
Expert Tips & Tricks
Here’s everything I’ve learned from making these dozens of times. These tips will save you from my mistakes.
The Lid is Non-Negotiable
You cannot make authentic Japanese souffle pancakes without a lid. They need the steam to rise and set before the outside gets too brown. If your pan doesn’t have a lid, use a baking sheet or foil. It has to be tight.
Low Heat is Key
I know it’s tempting to crank up the heat, but these pancakes are delicate. If the heat is too high, the outside burns before the inside is cooked. You want a gentle simmer. If your stove runs hot, use a heat diffuser. I learned this the hard way when I ended up with charcoal pancakes.
Don’t Open the Lid
Resist the urge to peek. Every time you lift the lid, you lose steam and heat, which can cause them to collapse. Set a timer and trust the process.
Use a smaller pan
Thicker pancakes hold their shape better. If you make them too wide, they spread out and become flat. Aim for about 3-4 inches in diameter.
Room Temperature Ingredients
Make sure your eggs and milk are room temp. Cold ingredients can shock the mixture and make folding harder. I usually take my eggs out of the fridge when I start breakfast.
Variations & Substitutions
Once you’ve nailed the basic version, here’s how you can mix it up. I’ve tried all of these.
Berry Bliss
Add a handful of fresh or frozen blueberries to the batter right before cooking. The acid in the berries can sometimes make them slightly denser, so fold them in gently. It adds a burst of flavor for almost no extra cost if you buy frozen berries.
Chocolate Chip
Drop a few chocolate chips on top after flipping. They melt into the side. I use cheap chocolate chips because they melt faster and taste just as good in this context.
Pumpkin Spice
Swap the milk for pumpkin puree (2 tablespoons) and add ½ teaspoon pumpkin pie spice. It’s a great way to use up pumpkin puree if you have it from a can. It pairs well with the pumpkin spice banana bread vibe.
Gluten-Free
Use a 1:1 gluten-free flour blend. The cornstarch helps mimic the texture, so GF versions work surprisingly well. Just make sure your baking powder is GF.
Dairy-Free
Use water instead of milk and oil instead of butter. The texture remains fluffy because the structure comes from the eggs, not the dairy.
Serving & Storage
How to Serve:
I usually serve these with a simple drizzle of maple syrup. But if you want to get fancy (and you have the budget), top with fresh fruit, whipped cream, or a dusting of powdered sugar. I like them plain to taste the egg vanilla flavor.
Side Dishes:
Since these are light, I often pair them with something savory. A side of bacon or sausage is classic. Or, if you’re keeping it budget and light, just a piece of toast or some fruit. I also love them with a side of roasted butternut squash soup on a cold morning.
Storage:
These are best eaten immediately. They deflate quickly. If you must store them, keep them in an airtight container in the fridge for up to 2 days. Reheat in a toaster oven or skillet to restore some fluffiness. They won’t be quite as good as fresh, but they’re still decent.
Freezing:
You can freeze them, but the texture changes. They become a bit spongy. I freeze them for quick breakfasts when I’m too tired to cook. Reheat in the microwave for 30 seconds.
Nutrition Information
I’m not a nutritionist, but here’s the breakdown if you’re tracking. This is per serving (2 pancakes).
– Calories: 180
– Protein: 10g
– Carbs: 15g
– Fiber: 1g
– Sugar: 8g
– Fat: 9g
What’s Good:
– High protein from the eggs.
– Low calorie compared to traditional pancakes.
– No butter in the batter.
What to Know:
– The carbs come from the flour and sugar. You can reduce sugar to 1 teaspoon to save money and calories.
– Contains eggs and dairy (unless modified).
My Take:
This is a lighter breakfast option. It’s not a diet food, but it’s certainly not a heavy, greasy stack. It’s a fun, treat-like breakfast that fits into a budget-conscious lifestyle.
Final Thoughts
So that’s my go-to ultra-fluffy Japanese souffle pancake recipe! I’ve probably talked your ear off at this point, but when you make a recipe this often, you have a lot to say about it.
This has saved my mornings more times than I can count. It’s my answer to “what’s for breakfast” when I’m broke, tired, and still want something that tastes really good. My wallet is happy, my stomach is happy, and I’m happy because I’m not stressed about cooking.
Make it yours! Try different toppings, swap in your favorite fruit, adjust the sugar. The best recipes are the ones you adapt to your tastes and budget.
If you make this, drop a comment and let me know what you think! I love hearing how recipes turn out in your kitchen. And if something doesn’t work, tell me that too—I’m here to help troubleshoot.
Happy cooking! And I hope your kitchen smells half as good as mine does right now.
Frequently Asked Questions
Why did my pancakes turn out flat?
This usually happens if the egg whites weren’t whipped to stiff peaks, or if you deflated them while folding. Make sure you whip them until they hold their shape, and fold gently. Also, check your baking powder—it might be old.
Can I use a different pan?
You need a pan with a lid. If you don’t have one, you can use a baking sheet or aluminum foil to cover the pan. The steam is essential for the fluffy texture.
Can I make these ahead of time?
No, these are best made fresh. The batter deflates quickly, and the cooked pancakes lose their fluffiness as they cool. I recommend making them right before you eat.
Can I double the recipe?
You can, but you’ll need to cook them in batches. The batter volume increases, and you don’t want to overcrowd the pan. Cook one or two at a time for best results.
Do I really need cornstarch?
It’s not strictly necessary, but it helps make the pancakes lighter and more tender. If you don’t have it, you can skip it, but the texture will be slightly denser.
Can I use almond milk?
Yes, almond milk or any non-dairy milk works fine. It won’t affect the texture significantly.
How do I keep them warm while cooking the next batch?
Place the finished pancakes on a wire rack in a 200°F oven while you cook the rest. This keeps them warm without steaming them, which can make them soggy.
Pin This Recipe!
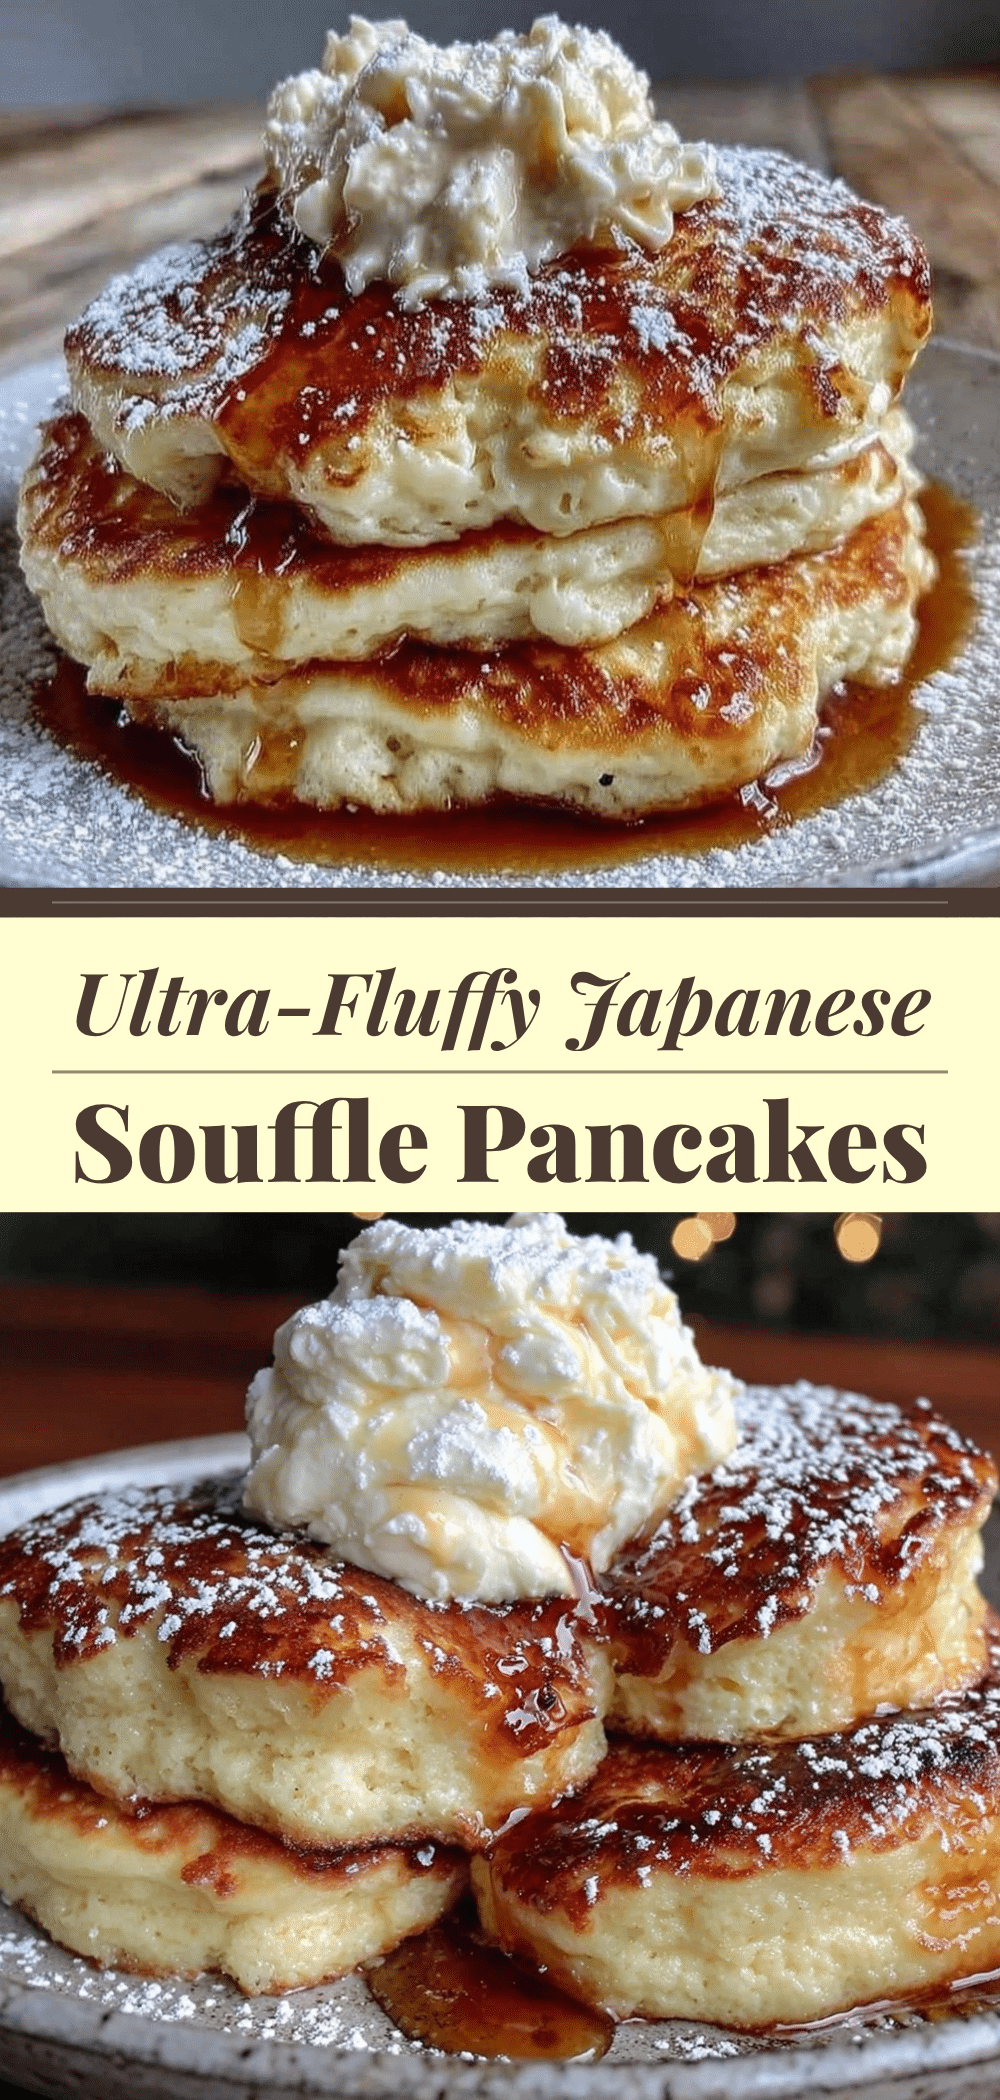
Ultra-Fluffy Japanese Souffle Pancakes
- Total Time: 22 minutes
- Yield: 1 serving (2 pancakes) 1x
Description
Budget-friendly, ultra-fluffy Japanese soufflé pancakes made with simple ingredients like eggs, milk, and flour. These light, jiggly pancakes are perfect for a cheap and delicious breakfast.
Ingredients
- 3 large eggs
- 2 tablespoons milk
- 1/2 teaspoon vanilla extract
- 2 tablespoons all-purpose flour
- 1 teaspoon cornstarch
- 1/2 teaspoon baking powder
- 1 tablespoon sugar
- a pinch of salt
- 1 teaspoon butter or oil (for greasing)
- 2 tablespoons water (for steam bath)
Instructions
- Separate the eggs, placing yolks in one bowl and whites in another. Let whites sit for 15 minutes to reach room temperature.
- In the bowl with yolks, whisk together milk, vanilla, sugar, and salt until pale and combined.
- Sift in flour, cornstarch, and baking powder. Whisk gently until a smooth, thick batter forms. Set aside.
- Beat egg whites with an electric mixer on medium-high speed until stiff peaks form (glossy marshmallow fluff).
- Add one-third of the egg whites to the yolk mixture and whisk gently to lighten. Fold the remaining whites into the yolk mixture using a spatula until no white streaks remain.
- Heat a non-stick skillet on the lowest setting. Grease with butter or oil.
- Spoon batter into the pan to form 2 small or 1 large pancake. Cover with a lid.
- Add 2 tablespoons of water to the side of the pan (not on the batter) and immediately cover again.
- Cook for 6-7 minutes until puffed and white on top.
- Uncover, carefully flip the pancake, cover again, and cook for another 4-5 minutes.
- Serve immediately while hot.
Notes
The lid is non-negotiable for creating steam. Cook on low heat to prevent burning before the inside sets. Do not open the lid during cooking. These pancakes deflate as they cool, so eat immediately. For gluten-free, use a 1:1 GF flour blend. For dairy-free, use water instead of milk and oil instead of butter.
- Prep Time: 10 minutes
- Cook Time: 12 minutes
- Category: Breakfast
- Cuisine: Japanese
Nutrition
- Serving Size: 2 pancakes
- Calories: 180
- Sugar: 8
- Sodium: 150
- Fat: 9
- Saturated Fat: 2
- Carbohydrates: 15
- Fiber: 1
- Protein: 10
Keywords: Japanese soufflé pancakes, budget breakfast, fluffy pancakes, cheap recipes, easy breakfast, egg white pancakes, gluten-free option


