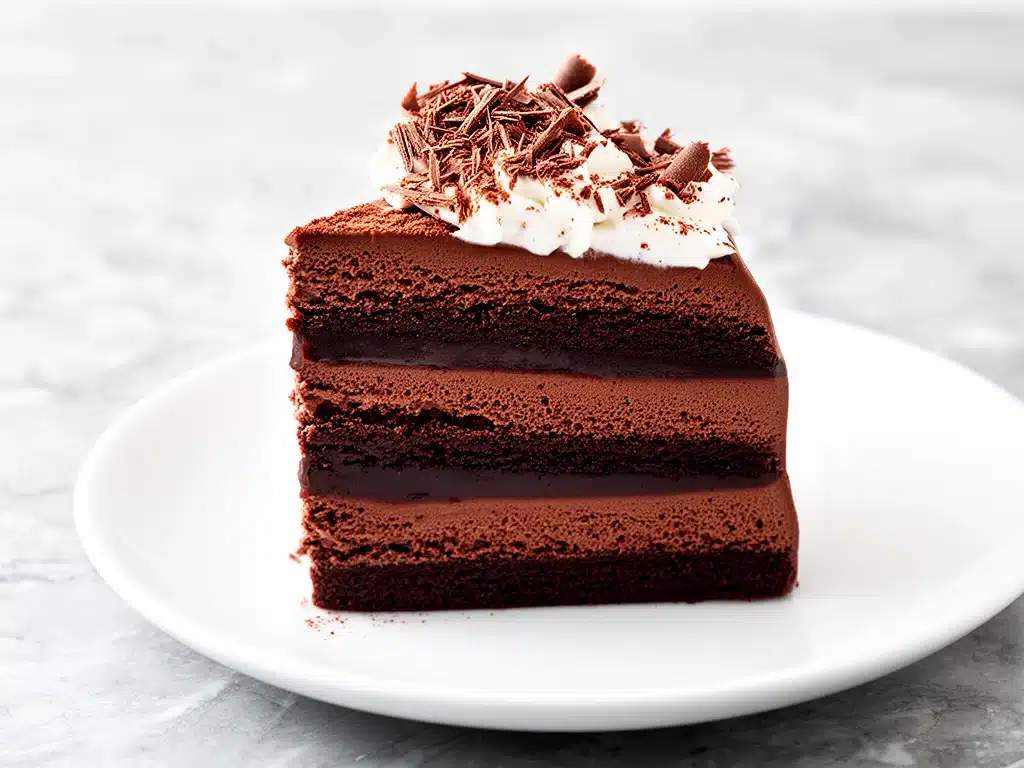
I have a confession to make. Last Saturday, I was supposed to be hosting a dinner party for eight people. I had planned a fancy roast, spent forty minutes on a complicated salad, and even bought expensive flowers. But then, at 4:00 PM, I realized I hadn’t made dessert. Not even a hint of it. My pantry was mostly empty, my energy was at zero, and the panic was setting in.
I stared into my fridge like it held the secrets of the universe. There was milk. There was chocolate. And there was, weirdly enough, some heavy cream that was about to expire. That’s it. No gelatin, no fancy cocoa powder blends, no tempering chocolate for hours like some kind of mad scientist.
So I did what any desperate, chocolate-obsessed home cook would do. I threw three types of chocolate into a bowl, heated them with cream, folded in whipped cream, and hoped for the best. I called it my “Panic Mousse.” I plated it with zero flair, just a dollop in a glass and a sprinkle of sea salt.
Here’s the thing about that dessert: it was the best thing anyone ate all night. My guests didn’t care that it was simple. They cared that it was rich, velvety, and tasted like I’d spent all day in the kitchen. They kept asking for the recipe. They called it “restaurant quality.” I laughed because, honestly, it took me twenty minutes to make and used ingredients I already had.
That night, I realized I had stumbled onto something special. I’ve made this Triple Chocolate Mousse Cake over forty times since then. Forty. I’ve tweaked it, failed at it (mostly by using the wrong chocolate), and perfected it until it’s foolproof. It’s now my go-to for impressing people when I have absolutely no time, no money, and no desire to go to the store.
This isn’t just a dessert; it’s a lifesaver. It’s the Triple Chocolate Mousse Cake with simple ingredients that proves you don’t need a degree in pastry arts to make something incredible. If you can melt chocolate and whip cream, you can make this. And once you taste it, you’ll never buy a boxed mix or order dessert again.
Why You’ll Love This Simple 4-Ingredient Dessert
Look, I get it. You’re tired. You don’t want to hunt down twelve different ingredients. You don’t want to buy a special mold or a candy thermometer. You just want something sweet, something that feels luxurious, and something that doesn’t require a PhD to figure out.
This Triple Chocolate Mousse Cake is the answer. It’s elegant enough for a dinner party but simple enough for a Tuesday night treat. Here’s why it’s become a staple in my kitchen:
- Stupid Simple Ingredients — Seriously. Four ingredients. Chocolate, cream, milk, and a touch of sugar (optional). That’s it. I’m not even kidding. You probably have three of these already. It’s the Triple Chocolate Mousse Cake with simple ingredients that makes me feel like a genius.
- Zero Baking Required — No oven, no stove-top tempering, no risk of burning. It’s all about melting and folding. If you can boil water, you can make this. It’s a true no-bake dessert that saves you from heating up your kitchen in the summer.
- Restaurant-Quality Texture — People think mousse is hard because they’ve had dry, eggy versions. This one is airy, light, and incredibly rich. The combination of dark, milk, and white chocolate creates a depth of flavor that feels complex, even though it’s basic.
- Make-Ahead Friendly — This is actually better the next day. The flavors meld together in the fridge, and the texture firms up perfectly. I often make this the morning of a party so I can focus on the main course instead of stressing over dessert.
- Budget-Friendly — You don’t need expensive Belgian chocolate. A decent grocery store brand works perfectly. It’s cheaper than takeout and way healthier than a slice of cake from a bakery.
I’ve served this to picky eaters, chocolate snobs, and kids who usually only like vanilla. Everyone goes back for seconds. It’s the ultimate crowd-pleaser because it tastes like it took hours, but it takes minutes.
Ingredients You’ll Need
Here’s the best part: this recipe is so simple that the quality of your ingredients matters more than the quantity. You’re not hiding flavors with spices or extracts. You’re just highlighting chocolate. I’m particular about three things here, and I’ll tell you exactly why.
For The Chocolate Base
Dark Chocolate (4 oz / 115g) — I use 60-70% cocoa. Not too bitter, not too sweet. This provides the structure and the deep chocolate flavor. Avoid baking bars that are super bitter (85%+); they’ll make the mousse too intense. I like Ghirardelli or Lindt chips for this.
Milk Chocolate (4 oz / 115g) — This adds creaminess and sweetness. It balances the dark chocolate. If you hate sweet desserts, you can reduce this to 2 oz, but I recommend keeping it for that classic “chocolate bar” taste. Use chips or chopped bars—both work.
White Chocolate (4 oz / 115g) — This is the secret weapon. White chocolate isn’t “chocolate” in the traditional sense (no cocoa solids), but it adds incredible silkiness and a vanilla note. It makes the texture incredibly smooth. Use high-quality white chocolate chips; low-quality ones with palm oil can make it grainy.
Heavy Cream (1 ½ cups / 360ml) — Full fat only. Do not use half-and-half or light cream. The high fat content is what allows the mousse to hold its air and stay fluffy. Cold cream whips better, but the cream you melt the chocolate with can be warm.
For The Finish
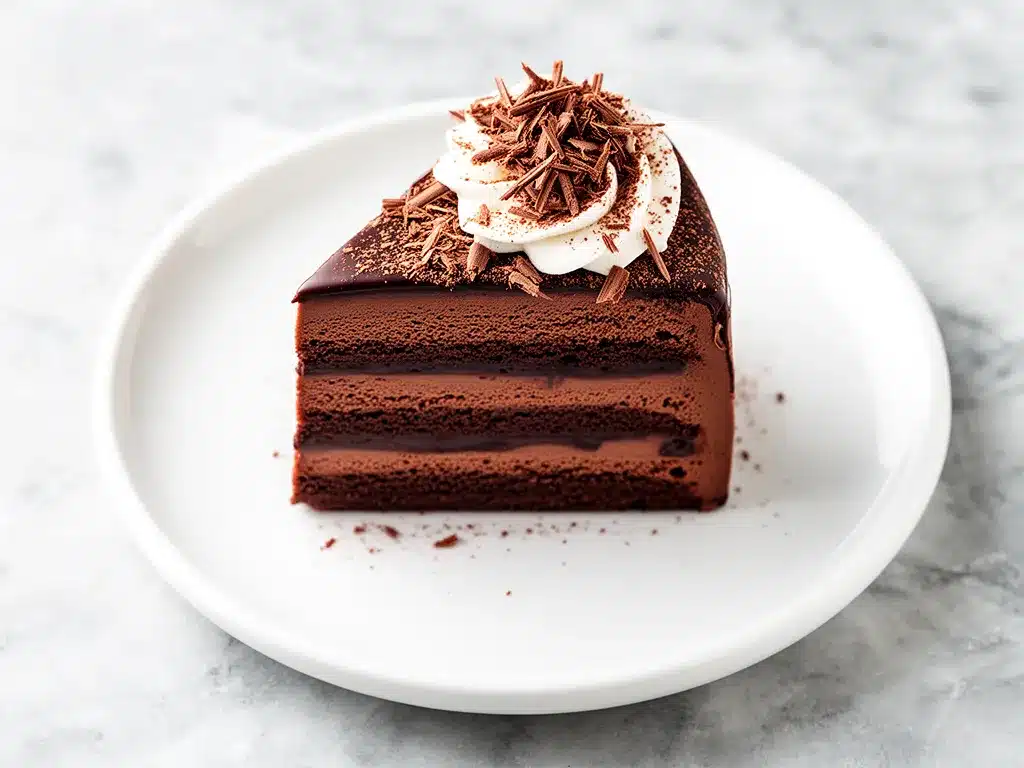
Sugar (2 tablespoons / 25g, optional) — Depending on your chocolate, you might not need this. Taste your melted chocolate first. If it’s sweet, skip it. If it’s bitter, add it. I usually skip it because the milk and white chocolate are sweet enough.
Vanilla Extract (1 teaspoon) — Just a splash to round out the flavors. It makes the chocolate taste like chocolate, not just sugar.
Salt (½ teaspoon flaky sea salt) — This is non-negotiable. Salt enhances chocolate flavor. Without it, the dessert tastes flat. Sprinkle it on top before serving.
Pro Tip: I always buy my chocolate in bags of chips rather than bars for this recipe. It melts faster and more evenly. If you use bars, chop them finely before melting.
Equipment Needed
You don’t need fancy gadgets for this. In fact, keeping it simple is the point. Here’s what I actually use:
Microwave-Safe Bowls — I use two medium bowls. One for the dark and milk chocolate, one for the white. Microwave melts chocolate faster than a double boiler, and it’s less messy. Just be careful not to burn it.
Electric Hand Mixer or Stand Mixer — You *can* whip cream by hand, but it takes forever and your arm will hurt. A hand mixer makes it effortless. I use my KitchenAid attachment for this.
Spatula — A silicone spatula is essential for folding. You need to be gentle to keep the air in the mousse. A metal spoon will deflate it.
Serving Glasses or a Trifle Bowl — You can unmold this into a bowl if you use a ring mold, but I prefer serving it in individual glasses or a large glass bowl. It looks rustic and elegant, and it’s easier to scoop.
Microplane or Grater — For shaving chocolate on top. It looks pro, but a knife works too.
How to Make It: Step-by-Step
Alright, let’s make this! I’m walking you through exactly how I do it. It’s easy, but there are a few tricks to get that perfect airy texture.
Step 1: Prepare Your Chocolate (5 minutes)
Chop your dark, milk, and white chocolate into small pieces if they aren’t chips. This helps them melt evenly. You want three separate bowls for this process because each type of chocolate has a different melting point.
Step 2: Melt the Chocolate (2 minutes each)
Microwave the dark and milk chocolate together in one bowl. Heat in 30-second intervals, stirring in between. Stop when there are still a few small lumps; the residual heat will melt them. Do the same with the white chocolate in a separate bowl. White chocolate burns easily, so be extra gentle with it. Let both bowls sit for 5 minutes to cool slightly. They should be warm, not hot.
Step 3: Whip the Cream (3 minutes)
Take 1 cup of your cold heavy cream and whip it in a large bowl until you get stiff peaks. This means when you lift the beater, the cream stands up straight. Don’t over-whip it into butter! Set this aside.
Step 4: Make the Chocolate Mixtures (2 minutes)
Whip the remaining ½ cup of cold heavy cream until it’s soft peaks (just starting to hold shape). Gently fold this whipped cream into each bowl of melted chocolate. You now have two chocolate creams: a dark/milk blend and a white chocolate blend.
Step 5: Layer the Mousse (5 minutes)
This is where the magic happens. Take a spoonful of the white chocolate mousse and dollop it into the bottom of your serving glasses or bowl. Smooth it out. Then, take a spoonful of the dark/milk mousse and layer it on top. Repeat until you reach the top. You don’t need to be perfect; swirls look beautiful.
Step 6: Chill (At least 4 hours)
Cover the mousse and refrigerate. It needs time to set. I usually make it the night before. The longer it sits, the firmer it gets. If you rush it, it’ll be more like pudding than mousse.
Step 7: Serve
Before serving, sprinkle with flaky sea salt and chocolate shavings. Add a mint leaf if you want to look fancy. Dig in.
Expert Tips & Tricks
Here’s everything I’ve learned from making this dozens of times. These tips will save you from my mistakes.
Don’t Burn the Chocolate
Chocolate seizes (turns into a hard lump) if it gets too hot or if even a drop of water gets in it. Always dry your bowls completely. When microwaving, if you see steam, stop. The chocolate is done.
Temperature Matters
Your melted chocolate should be room temperature or slightly warm when you fold in the cream. If it’s hot, it will melt the cream and you’ll end up with a soup. If it’s cold, it won’t mix well. Let it sit for 5 minutes after melting.
Fold, Don’t Stir
When combining the cream and chocolate, use a folding motion. Cut down the middle, scrape the bottom, and fold over. Rotate the bowl. This keeps the air bubbles intact, which gives the mousse its light texture. Stirring vigorously will deflate it.
Use High-Quality Chocolate
Since there are only four ingredients, the chocolate flavor is everything. Cheap chocolate with lots of additives can taste waxy. Spend the extra dollar on good chips or bars. Your taste buds will thank you.
Common Mistakes
– Mousse is too runny: You didn’t whip the cream enough, or the chocolate was too hot. Fix: Whip more cream and chill the mousse longer.
– Mousse is grainy: The chocolate wasn’t fully melted or mixed. Fix: Melt again gently and fold more thoroughly.
Variations & Substitutions
Once you’ve nailed the basic version, here’s how you can mix it up. I’ve tried all of these.
Espresso Mousse
Add 1 teaspoon of instant espresso powder to the melted dark chocolate. It enhances the chocolate flavor without making it taste like coffee. My husband loves this version.
Sea Salt Caramel
Drizzle store-bought caramel sauce between the layers. It adds a salty-sweet crunch that’s addictive.
Gluten-Free
This recipe is naturally gluten-free! Just ensure your chocolate chips are certified gluten-free (some brands use shared facilities).
Dairy-Free
Use dairy-free chocolate chips and coconut cream (chilled overnight, scoop the solid part). The texture will be denser, but still delicious.
Berry Swirl
Swirl in some raspberry or strawberry jam between the layers. The tartness cuts through the richness perfectly.
Serving & Storage
How to Serve:
I serve this in clear glasses so people can see the layers. It looks stunning. Pair it with fresh berries or a dollop of whipped cream if you want extra flair.
Storage:
Store in the refrigerator for up to 5 days. It actually gets better after day 2. Cover tightly with plastic wrap to prevent it from absorbing fridge smells.
Freezing:
You can freeze this! Wrap individual portions tightly in plastic wrap and foil. Freeze for up to 2 months. Thaw in the fridge overnight. The texture might be slightly less airy, but it’s still good.
Nutrition Information
I’m not a nutritionist, but here’s the breakdown if you’re tracking. This is a rich dessert, so portions matter.
Per Serving (based on 8 servings):
- Calories: 320
- Protein: 4g
- Carbs: 28g
- Fiber: 2g
- Sugar: 24g
- Fat: 22g
- Saturated Fat: 13g
It’s high in sugar and fat, obviously, but it’s also satisfying. A small portion goes a long way. If you want to lighten it up, use less chocolate and more whipped cream, but honestly? It’s a treat. Enjoy it guilt-free.
Final Thoughts
So that’s my go-to Triple Chocolate Mousse Cake! I’ve probably talked your ear off at this point, but when you make a recipe this often, you have a lot to say about it.
This has saved weeknight desserts more times than I can count. It’s my answer to “what’s for dessert” when I’m tired, don’t want takeout, and still want something that tastes really good. My kids are happy, my husband’s happy, and I’m happy because I’m not stressed about cooking.
Make it yours! Try different add-ins, swap in your favorite chocolate, adjust the sweetness. The best recipes are the ones you adapt to your family’s tastes.
If you make this, drop a comment and let me know what you think! I love hearing how recipes turn out in your kitchen. And if something doesn’t work, tell me that too—I’m here to help troubleshoot.
Happy cooking! And I hope your kitchen smells half as good as mine does right now.
Frequently Asked Questions
Can I use milk chocolate only?
You can, but it won’t be “triple” chocolate. You’ll lose the complexity of flavors. The dark chocolate provides depth, the milk provides sweetness, and the white provides creaminess. If you must, use all milk chocolate, but add a pinch of sea salt to balance the sweetness.
Why is my mousse runny?
This usually happens if the chocolate was too hot when you folded in the cream, or if you didn’t whip the cream enough. Make sure your cream is cold and whip it to stiff peaks. Also, chill the mousse for at least 4 hours to let it set.
Can I make this ahead?
Yes! This is actually better the next day. The flavors meld together, and the texture firms up. You can make it up to 3 days in advance. Just keep it covered in the fridge.
What kind of chocolate should I use?
Use high-quality chocolate chips or chopped bars. Avoid “baking chips” that are designed to hold their shape in cookies, as they can be waxy. Look for brands like Ghirardelli, Lindt, or Callebaut for the best texture.
Can I use a blender instead of a mixer?
I don’t recommend a blender. It can over-whip the cream and turn it into butter. A hand mixer or stand mixer gives you more control over the texture.
Is this gluten-free?
Yes, this recipe is naturally gluten-free. Just ensure your chocolate chips are certified gluten-free, as some brands may have cross-contamination.
Can I add alcohol?
Absolutely. Add 1 tablespoon of Baileys, Kahlúa, or rum to the melted chocolate. It adds a nice kick and enhances the chocolate flavor.
Pin This Recipe!
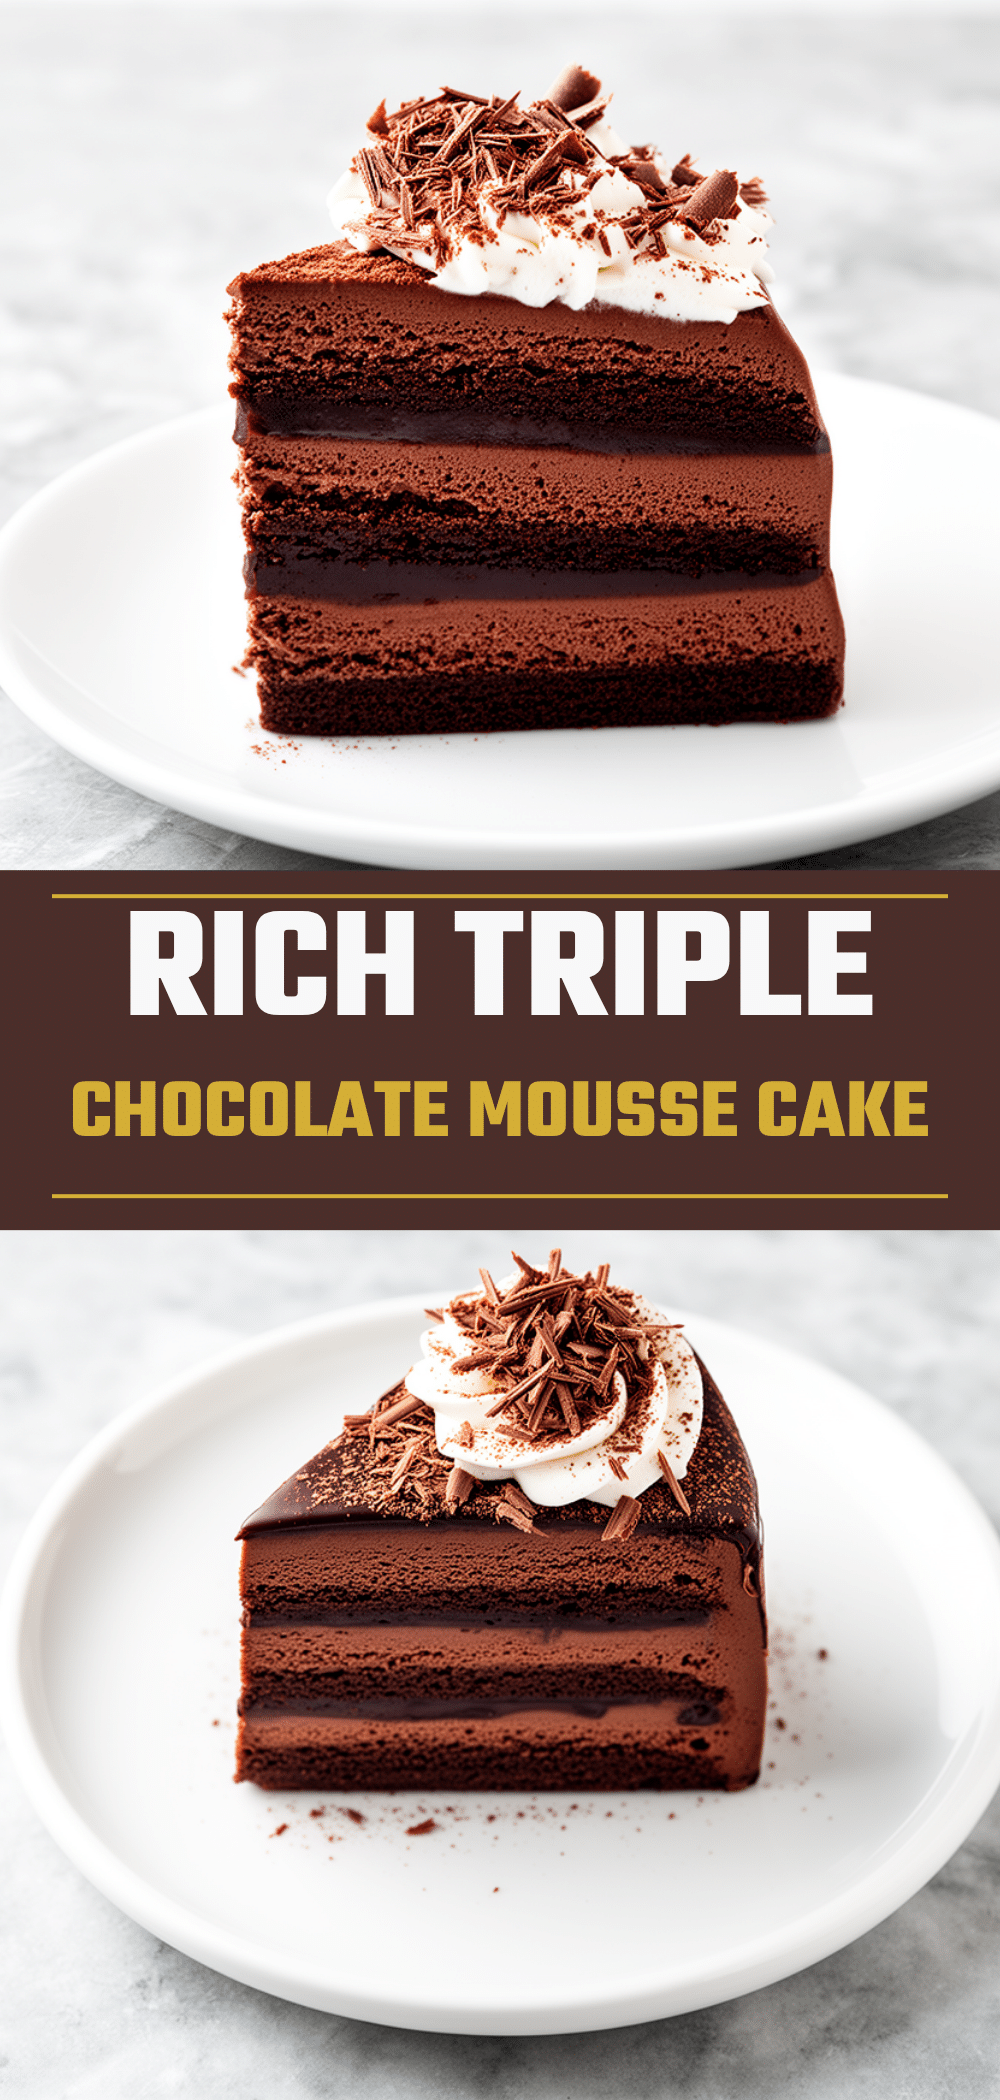
Triple Chocolate Mousse Cake
- Total Time: 4 hours 20 minutes
- Yield: 8 servings 1x
Description
A rich, velvety, and elegant no-bake dessert made with just four simple ingredients. This foolproof mousse combines dark, milk, and white chocolate with whipped cream for a restaurant-quality treat that is ready in minutes.
Ingredients
- 4 oz (115g) Dark Chocolate (60-70% cocoa)
- 4 oz (115g) Milk Chocolate
- 4 oz (115g) White Chocolate
- 1 ½ cups (360ml) Heavy Cream (full fat)
- 2 tablespoons (25g) Sugar (optional)
- 1 teaspoon Vanilla Extract
- ½ teaspoon Flaky Sea Salt
Instructions
- Chop dark, milk, and white chocolate into small pieces if not using chips. Place dark and milk chocolate in one microwave-safe bowl and white chocolate in a separate bowl.
- Microwave the dark and milk chocolate in 30-second intervals, stirring between each, until mostly melted. Let residual heat melt remaining lumps. Do the same for the white chocolate, being careful not to burn it. Let both bowls sit for 5 minutes to cool slightly.
- In a large bowl, whip 1 cup of cold heavy cream until stiff peaks form. Set aside.
- Whip the remaining ½ cup of cold heavy cream until soft peaks form. Gently fold this whipped cream into each bowl of melted chocolate to create two chocolate creams.
- Layer the mousses in serving glasses or a trifle bowl, alternating between the dark/milk blend and the white chocolate blend. Smooth the tops.
- Cover and refrigerate for at least 4 hours, or preferably overnight, to allow the mousse to set firmly.
- Before serving, sprinkle with flaky sea salt and chocolate shavings. Garnish with mint leaves if desired.
Notes
Ensure bowls are completely dry to prevent chocolate from seizing. The melted chocolate should be warm, not hot, when folding in cream to avoid melting the whipped cream. This dessert improves in flavor and texture after sitting in the fridge for 24 hours. It can be stored in the refrigerator for up to 5 days or frozen for up to 2 months.
- Prep Time: 20 minutes
- Cook Time: 0 minutes
- Category: Dessert
- Cuisine: American
Nutrition
- Serving Size: 1 glass or bowl port
- Calories: 320
- Sugar: 24
- Fat: 22
- Saturated Fat: 13
- Carbohydrates: 28
- Fiber: 2
- Protein: 4
Keywords: triple chocolate mousse, no-bake dessert, easy chocolate cake, 4 ingredient dessert, rich mousse, make-ahead dessert, gluten-free dessert


