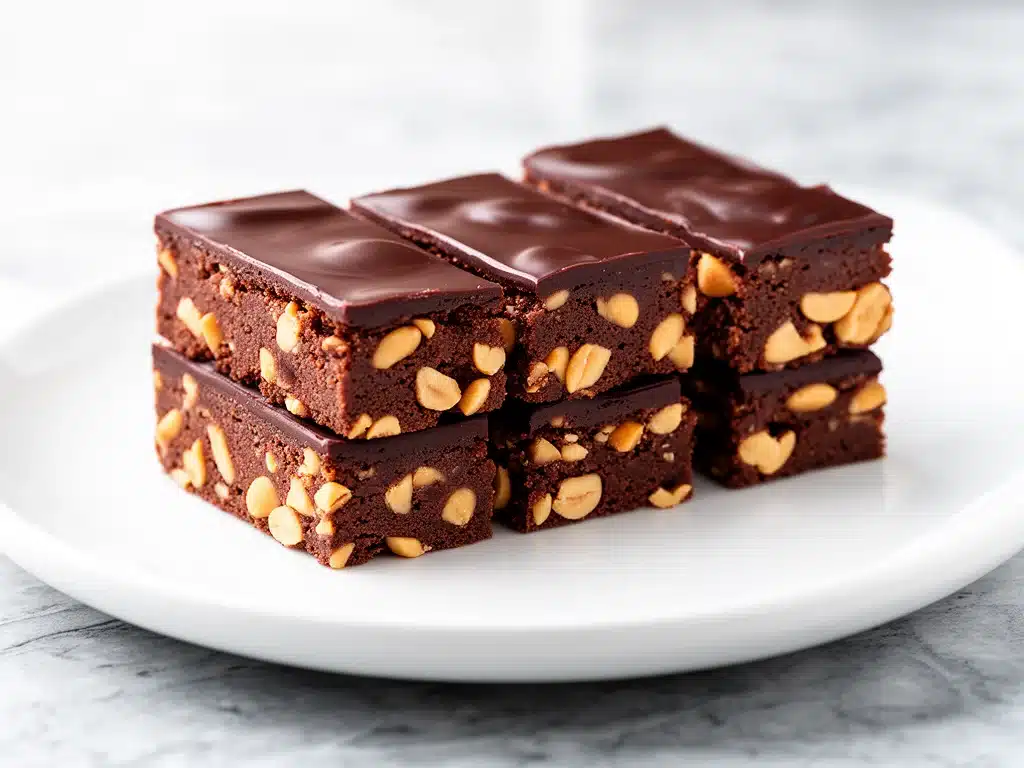
It was 11:45 PM on a Tuesday, and I was standing in my kitchen, staring into the open refrigerator like it was going to magically produce a solution to my hunger. My kids were asleep, my husband was snoring in the other room, and I had a sudden, overwhelming craving for something sweet. But here’s the thing: I didn’t want to bake. I didn’t want to preheat the oven, wait 30 minutes for it to heat up, stand over a mixing bowl, and then clean up a mountain of dishes. I wanted chocolate. I wanted peanut butter. I wanted it now.
So, I did what any sleep-deprived adult does: I raided the pantry. I found a jar of peanut butter, a bag of chocolate chips, and a box of graham crackers. I tossed them into a bowl, melted them together in the microwave, pressed them into a dish, and put them in the fridge. Twenty minutes later, I had the best snack I’d ever tasted. It was rich, crunchy, creamy, and ridiculously easy. I ate half the batch that night. I ate the rest the next day.
That accidental midnight snack became the inspiration for these no-bake chocolate peanut butter bars. I’ve made them dozens of times since that night, tweaking the ratios until they were perfect. They are hands-down my favorite dessert for lazy weeknights, hot summer days, or when I need a sweet treat that doesn’t require a single pot to wash. If you’re looking for a recipe that delivers maximum flavor with minimum effort, you’ve found it. These bars are simple, indulgent, and surprisingly healthy-ish (okay, maybe not that last part, but they’re packed with protein from the peanut butter!).
Why You’ll Love This Recipe
There are about a million reasons I keep making these bars, but here are the big ones that keep them in my regular rotation:
- Stupid Simple — Seriously, if you can melt butter and stir, you can make this. I’ve walked my teenage daughter through it over FaceTime while she was at college. No fancy techniques, no special skills required.
- Lightning Fast — From start to finish, it takes about 15 minutes of active time, plus 1 hour in the fridge. That’s it. I make these on weeknights when I get home from work and just want to sit on the couch.
- Pantry-Friendly — You probably have 90% of these ingredients already. I keep peanut butter, chocolate chips, and butter stocked specifically for these. It’s my emergency dessert plan.
- Crowd-Pleaser — I’ve served these to my nut-allergic neighbor (using sunflower seed butter), my picky kids, and my foodie friends. Everyone loves them. They’re universally delicious.
- Makes Amazing Leftovers — Actually, they taste better the next day because the flavors meld together. I deliberately make a double batch for lunchbox snacks or after-school treats.
- Budget-Smart — Feeds 12-16 people for under $10. That’s less than a dollar a serving. Cheaper than buying a box of fancy chocolates at the store.
This is my go-to when I need a dessert that just works. No complicated steps, no weird ingredients, just reliable, delicious food that makes everyone happy. Plus, it’s no-bake, which means you don’t have to deal with a hot kitchen in the summer.
Ingredients You’ll Need
Here’s the best part: you probably have most of this already. The beauty of these no-bake chocolate peanut butter bars is how few ingredients they use. Let’s break down what you need and why it matters.
For the Base:
Graham crackers (1 sleeve, about 24 full sheets / 200g) — I use regular graham crackers, not the honey or cinnamon ones. You want a neutral, slightly sweet base. Crush them into small pieces—think cookie crumbs, not powder. I use a food processor for speed, but a ziplock bag and a rolling pin work fine if you’re feeling manual.
Unsalted butter (½ cup / 115g) — This binds everything together. Use real butter, not margarine. It makes a huge difference in flavor. Let it soften slightly before melting so it blends easier.
Powdered sugar (1 cup / 120g) — Also known as confectioners’ sugar. This adds sweetness and helps create that fudgy texture. Don’t skip it, even if you’re watching sugar—it balances the saltiness of the peanut butter.
For the Flavor:
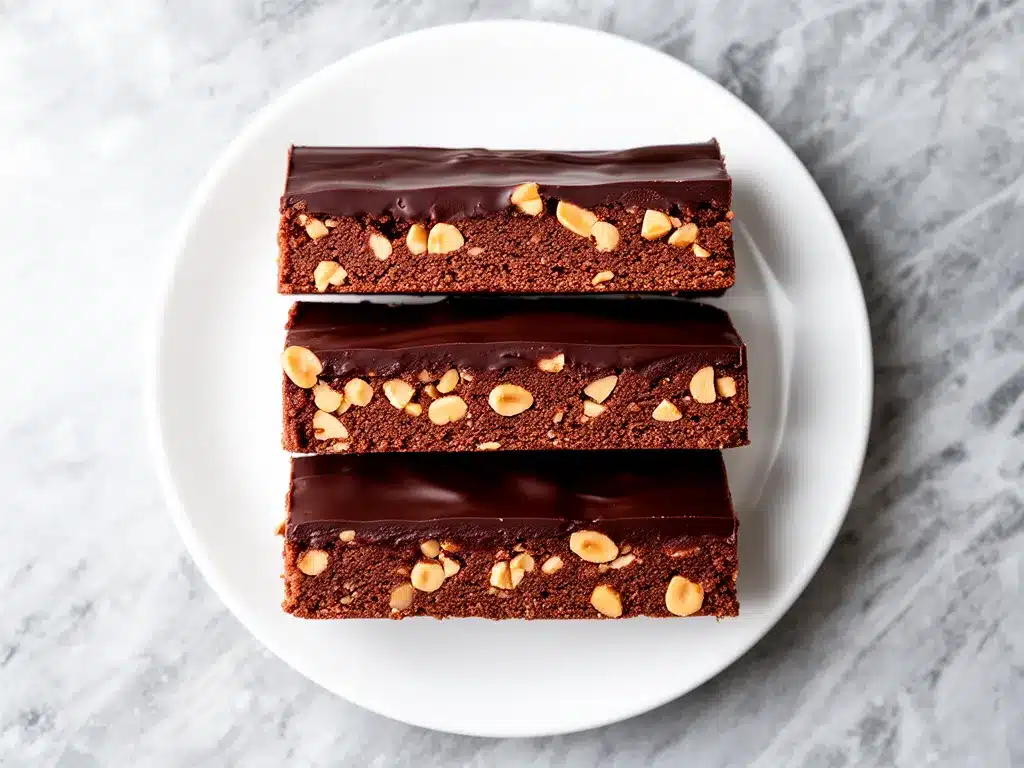
Peanut butter (½ cup / 120g) — This is the star. Use creamy, natural peanut butter. I love Jif or Skippy for consistency, but if you use natural peanut butter, make sure it’s well-stirred and not too oily. Chunky peanut butter adds crunch, but creamy is smoother. Avoid “no-stir” varieties with hydrogenated oils if you want the best texture.
Vanilla extract (1 teaspoon) — Just a splash to round out the flavors. Don’t use imitation vanilla if you can help it. Real vanilla makes a difference.
For the Topping:
Chocolate chips (1 cup / 170g) — Semi-sweet or milk chocolate chips work great. I use semi-sweet because it balances the sweetness of the base. You can also use chopped chocolate bars for a more professional look.
Optional: Sea salt flakes — A light sprinkle on top before the chocolate sets adds a fancy touch and enhances the chocolate flavor. I always do this now.
Optional: Crushed peanuts — For extra crunch and peanut flavor. Sprinkle on top of the chocolate layer.
Equipment Needed
You don’t need fancy equipment for this. Here’s what I actually use:
- 9×9 inch baking dish — I use a glass Pyrex dish. It’s easy to see the layers and clean up. A metal pan works too, but glass distributes heat evenly if you ever decide to bake it (though we’re not baking!).
- Food processor or ziplock bag — For crushing graham crackers. A food processor takes 30 seconds. A ziplock bag and rolling pin takes 2 minutes and feels satisfying.
- Microwave-safe bowl — For melting the butter and peanut butter. A large bowl prevents spillage.
- Spatula — For mixing and spreading. Silicone spatulas are best for scraping every bit of mixture out of the bowl.
- Parchment paper — Line your baking dish with parchment paper, leaving an overhang on the sides. This is a game-changer for lifting out the bars later. No more digging them out with a knife.
- Small microwave-safe bowl — For melting the chocolate chips.
Tool Tip: Don’t have a food processor? No problem. Put the graham crackers in a heavy-duty ziplock bag, seal it tight, and crush them with a rolling pin or a heavy pan. It’s a great workout for your arms!
How to Make It: Step-by-Step
Alright, let’s make these no-bake chocolate peanut butter bars! I’m walking you through exactly how I do it, including the little tricks I’ve picked up over the years.
Step 1: Prep Your Pan (2 minutes)
Line your 9×9 inch baking dish with parchment paper. Leave an overhang on the long sides so you can lift the bars out later. This is crucial—if you skip this, you’ll be digging for pieces and breaking them. Spray the parchment with non-stick spray if you’re being extra cautious.
Step 2: Crush the Graham Crackers (2 minutes)
Crush the graham crackers into small, uneven pieces. You want them to look like coarse crumbs, not fine powder. If you use a food processor, pulse until desired consistency. If using a bag, crush until you’re happy with the size. Transfer the crumbs to a large mixing bowl.
Step 3: Melt the Base Ingredients (2 minutes)
In a microwave-safe bowl, combine the softened butter, powdered sugar, peanut butter, and vanilla extract. Microwave on high for 30-45 seconds, stirring halfway through, until the mixture is smooth and creamy. If your peanut butter is cold, it might take a bit longer. The goal is a smooth, spreadable consistency.
Step 4: Mix It All Together (2 minutes)
Pour the melted peanut butter mixture over the graham cracker crumbs. Stir vigorously with a spatula until all the crumbs are evenly coated and the mixture holds together when pressed. It should look like wet sand. If it’s too dry, add a teaspoon more melted butter. If it’s too wet, add a few more crumbs.
Step 5: Press Into the Pan (3 minutes)
Transfer the mixture to your prepared baking dish. Use the back of a spoon or your fingers to press it down firmly and evenly. The more firmly you press, the cleaner the bars will cut. Don’t skimp on this step—loose bars are messy bars.
Step 6: Melt the Chocolate (2 minutes)
In a small microwave-safe bowl, combine the chocolate chips. Microwave in 15-second intervals, stirring between each, until the chocolate is almost completely melted. Stir until smooth and glossy. If it looks too thick, add a teaspoon of butter or coconut oil to thin it out.
Step 7: Spread the Chocolate (2 minutes)
Pour the melted chocolate over the pressed graham cracker base. Use a spatula to spread it evenly to the edges. Don’t worry if it’s not perfect—it’s rustic! Sprinkle with sea salt flakes or crushed peanuts if using.
Step 8: Chill and Set (1 hour)
Place the dish in the refrigerator for at least 1 hour, or until the chocolate is completely set. If you’re in a hurry, you can freeze it for 30 minutes, but the fridge is safer to avoid condensation.
Step 9: Cut and Serve
Lift the bars out of the pan using the parchment paper overhang. Use a sharp knife to cut into squares or bars. Wipe the knife clean between cuts for neat edges. Enjoy!
Total Time: About 15 minutes active, plus 1 hour chilling.
Expert Tips & Tricks
Here’s everything I’ve learned from making these dozens of times. These tips will save you from my mistakes.
Press Firmly
The #1 mistake people make is not pressing the base down hard enough. If the base is loose, the bars will crumble when you cut them. Press it down like you mean it. I use the bottom of a measuring cup to get it really flat and tight.
Don’t Overheat the Chocolate
Chocolate seizes up if it gets too hot. Always melt it in short bursts (15 seconds) and stir frequently. If it looks like it’s getting too thick, stop microwaving and just stir. The residual heat will melt the rest.
Use Real Butter
Don’t substitute with margarine or oil. Butter has a flavor and texture that oil just can’t match. It’s the foundation of the base, so use good quality butter.
Chill Before Cutting
I know it’s tempting to cut them as soon as you pour the chocolate, but wait! If the chocolate isn’t set, it will smear and look messy. Give it the full hour in the fridge. Patience pays off.
Storage is Key
These bars are best stored in the fridge. They’ll get soft at room temperature, which is fine for eating, but for clean cuts and longer storage, keep them cold.
Variations & Substitutions
Once you’ve nailed the basic version, here’s how you can mix it up. I’ve tried all of these.
Almond Butter Version
Swap peanut butter for almond butter. It’s slightly more expensive but tastes amazing. Great for nut-allergy-friendly versions if you use sunflower seed butter.
Cookie Butter Version
Use Biscoff spread instead of peanut butter. Pair with graham crackers and chocolate chips. It’s like a speculoos bar. My kids love this version.
Snickerbar Version
Add a layer of caramel sauce or dulce de leche between the base and the chocolate. Drizzle with white chocolate on top. Fancy!
Gluten-Free
Use gluten-free graham crackers or crushed gluten-free cookies. Everything else is naturally gluten-free. I use Kinnikinnick graham crackers and they work perfectly.
Lower Sugar
Reduce powdered sugar to ½ cup and use sugar-free chocolate chips. It’s still sweet from the peanut butter and chocolate, but less sugary.
Protein Boost
Add a scoop of vanilla protein powder to the base mixture. You might need a little more peanut butter to bind it. Great for post-workout snacks.
Serving & Storage
How to Serve:
I usually serve these straight from the fridge—they’re firmer and cleaner to cut. But here are other ways I’ve enjoyed them:
- With Coffee: A bar with a cup of coffee is the perfect afternoon pick-me-up.
- With Milk: Classic combo. The cold milk balances the rich chocolate.
- For Parties: Cut them into small bite-sized squares for a dessert table. They’re easy to eat and don’t melt as fast as other desserts.
Storage Instructions:
Refrigerator: Store in an airtight container for up to 1 week. Layer them between parchment paper to prevent sticking. They’ll stay fresh and firm.
Freezer: Yes, you can freeze these! Wrap individual bars in plastic wrap, then place in a freezer bag. They’ll last for up to 3 months. Thaw in the fridge overnight before eating. The texture might be slightly crumbly, but the flavor is still great.
Room Temperature: You can leave them out for a few hours for a party, but they’ll soften. In warm weather, keep them in the fridge.
Pro Tip: If leftovers are drying out, store them with a slice of bread in the container. The bread releases moisture and keeps the bars soft. I’ve done this and it works!
Nutrition Information
I’m not a nutritionist, but here’s the breakdown if you’re tracking. This is per bar (based on 16 bars).
- Calories: 180
- Protein: 4g
- Carbs: 22g
- Fiber: 1g
- Sugar: 16g
- Fat: 10g
- Saturated Fat: 5g
- Cholesterol: 10mg
- Sodium: 90mg
What’s Good:
- Decent protein from peanut butter
- Quick energy from carbs
- Easy to control portions (cut them small!)
What to Know:
- Higher in sugar from chocolate and powdered sugar
- Contains dairy and gluten
- Calorie-dense due to peanut butter and chocolate
My Take:
Look, this is a dessert. It’s sweet, rich, and indulgent. It’s not a health food. But it’s way better than store-bought candy bars, and you know exactly what’s in it. When I want to make it lighter, I use sugar-free chocolate chips and reduce the powdered sugar. But usually? I just eat one bar and enjoy it. Moderation is key!
Final Thoughts
So that’s my go-to no-bake chocolate peanut butter bars! I’ve probably talked your ear off at this point, but when you make a recipe this often, you have a lot to say about it.
This has saved me more times than I can count. It’s my answer to “what’s for dessert” when I’m tired, don’t want to bake, and still want something that tastes really good. My kids are happy, my husband’s happy, and I’m happy because I’m not stressed about cooking.
Make it yours! Try different nut butters, swap in your favorite chocolate, or add sprinkles for a fun twist. The best recipes are the ones you adapt to your family’s tastes.
If you make this, drop a comment and let me know what you think! I love hearing how recipes turn out in your kitchen. And if something doesn’t work, tell me that too—I’m here to help troubleshoot.
Happy cooking! And I hope your kitchen smells half as good as mine does right now.
Frequently Asked Questions
Can I use chunky peanut butter?
Yes, you can! Chunky peanut butter adds a nice crunch. However, it might make the base a bit more difficult to press down evenly. If you use it, make sure the chunks aren’t too large. I prefer creamy for a smoother texture, but chunky is delicious if you like the extra bite.
Why did my bars fall apart when I cut them?
This usually happens for two reasons: the base wasn’t pressed down firmly enough, or the bars weren’t chilled long enough. Make sure you press the base down tightly with the bottom of a measuring cup. Also, ensure the chocolate is completely set before cutting. If it’s still soft, it will smear and the bars will crumble.
Can I freeze these bars?
Absolutely! They freeze beautifully. Wrap individual bars in plastic wrap, then place them in a freezer-safe bag. They’ll last for up to 3 months. Thaw in the fridge overnight before eating. The texture might be slightly different, but the flavor is still great. I often make a big batch and freeze half for later.
Can I use almond butter instead of peanut butter?
Yes, almond butter works perfectly. It has a slightly different flavor, but it’s still delicious. Just make sure it’s a smooth, spreadable almond butter. If it’s too thick, you might need to add a little more melted butter to the base to help it bind.
How do I store these bars?
Store them in an airtight container in the refrigerator for up to 1 week. They’ll stay fresh and firm. If you leave them out at room temperature, they’ll soften and might become sticky. For best quality, keep them cold.
Can I make this recipe gluten-free?
Yes! Simply use gluten-free graham crackers or crushed gluten-free cookies. Everything else is naturally gluten-free. I’ve used Kinnikinnick graham crackers and they work perfectly. Just check the labels on your chocolate chips and peanut butter to ensure they’re certified gluten-free if you have a severe allergy.
Can I double this recipe?
Yes, you can double it! Just use a 9×13 inch baking dish instead of a 9×9 inch. The cooking times stay the same. I do this when I’m feeding a crowd or meal-prepping. Just make sure your bowl is big enough to mix everything thoroughly.
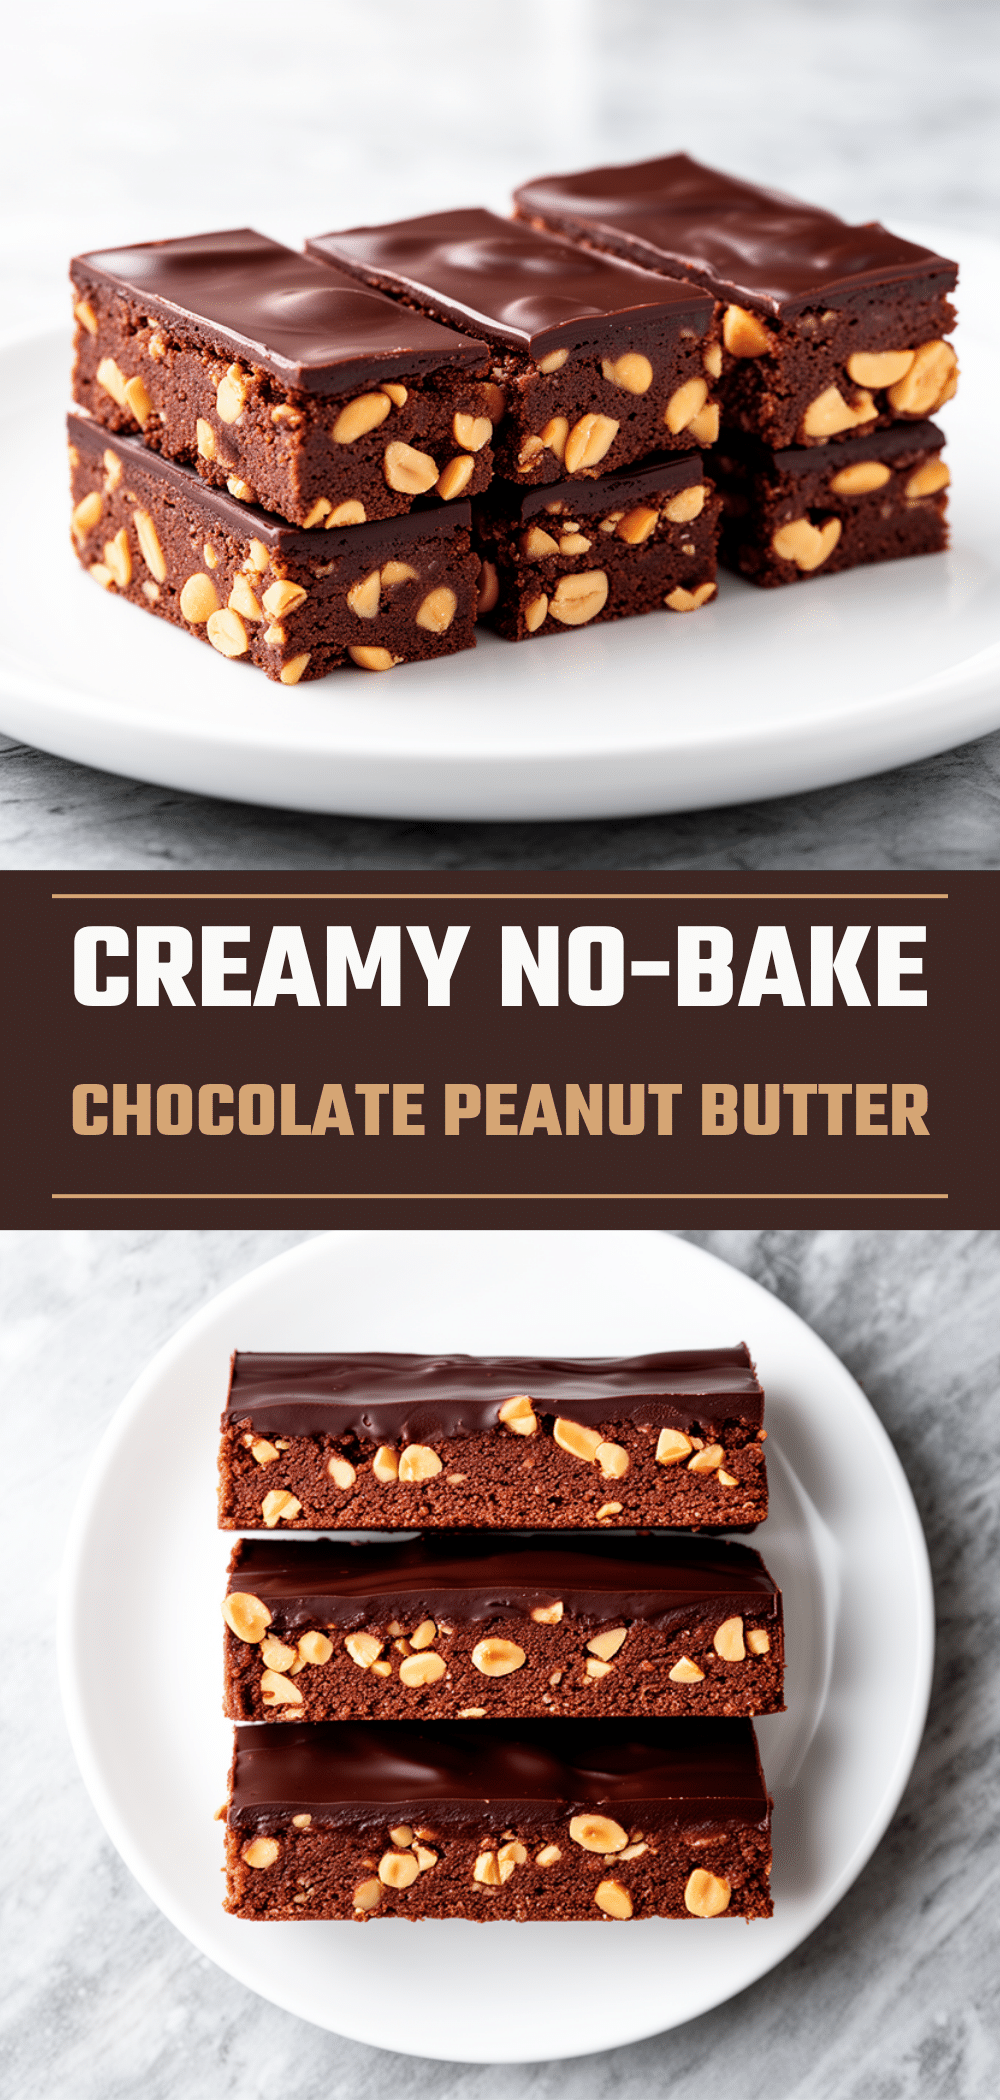
Pin This Recipe!
No-Bake Chocolate Peanut Butter Bars: 3 Ingredients
- Total Time: 1 hour 15 minutes
- Yield: 16 servings 1x
Description
These no-bake chocolate peanut butter bars are a simple, pantry-friendly dessert made with just a few ingredients. They require no baking, take only 15 minutes of active time, and are perfect for lazy weeknights or hot summer days.
Ingredients
- 1 sleeve (about 24 full sheets / 200g) graham crackers
- ½ cup (115g) unsalted butter, softened
- 1 cup (120g) powdered sugar
- ½ cup (120g) creamy peanut butter
- 1 teaspoon vanilla extract
- 1 cup (170g) semi-sweet chocolate chips
- Sea salt flakes (optional)
- Crushed peanuts (optional)
Instructions
- Line a 9×9 inch baking dish with parchment paper, leaving an overhang on the long sides for easy removal.
- Crush the graham crackers into coarse crumbs using a food processor or a ziplock bag and rolling pin. Transfer crumbs to a large mixing bowl.
- In a microwave-safe bowl, combine the softened butter, powdered sugar, peanut butter, and vanilla extract. Microwave on high for 30-45 seconds, stirring halfway through, until smooth and creamy.
- Pour the melted peanut butter mixture over the graham cracker crumbs. Stir vigorously with a spatula until all crumbs are evenly coated and the mixture holds together when pressed.
- Transfer the mixture to the prepared baking dish. Press it down firmly and evenly using the back of a spoon or the bottom of a measuring cup.
- In a small microwave-safe bowl, melt the chocolate chips in 15-second intervals, stirring between each, until smooth and glossy.
- Pour the melted chocolate over the pressed base and spread evenly to the edges. Sprinkle with sea salt flakes or crushed peanuts if desired.
- Refrigerate for at least 1 hour, or until the chocolate is completely set.
- Lift the bars out of the pan using the parchment paper overhang. Use a sharp knife to cut into squares or bars, wiping the knife between cuts for neat edges.
Notes
Press the base firmly to prevent crumbling. Do not overheat the chocolate to avoid seizing. Store in the refrigerator for up to 1 week or freeze for up to 3 months. For gluten-free version, use gluten-free graham crackers.
- Prep Time: 15 minutes
- Cook Time: 0 minutes
- Category: Dessert
- Cuisine: American
Nutrition
- Serving Size: 1 bar
- Calories: 180
- Sugar: 16
- Sodium: 90
- Fat: 10
- Saturated Fat: 5
- Carbohydrates: 22
- Fiber: 1
- Protein: 4
Keywords: no-bake, chocolate, peanut butter, bars, dessert, easy recipe, 3 ingredients, graham crackers, quick dessert, family friendly


