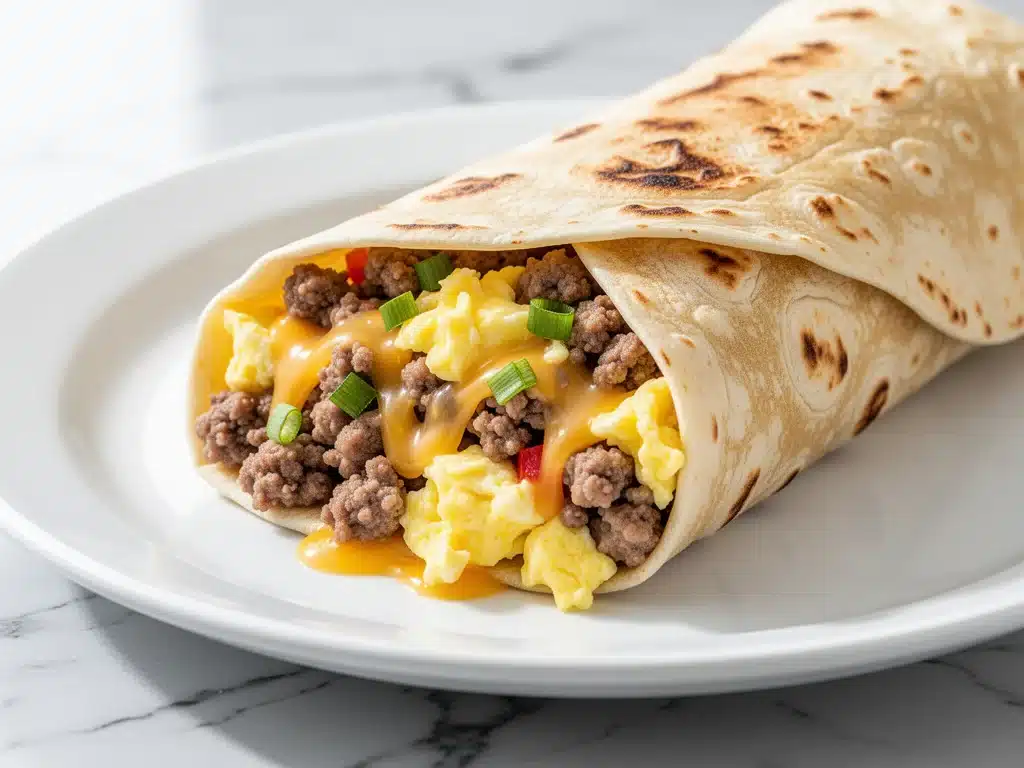
Let me tell you about the morning of March 14th. It was 5:45 AM. The house was dark, the kids were still asleep (a miracle), and I was running on three hours of sleep and pure panic. I had a work presentation at 9 AM, I needed to pack lunches, and I realized I had absolutely nothing prepared for breakfast. I stood in my kitchen in the dark, staring at a bag of stale bagels like they held the answers to my life choices.
I ate a piece of cheese standing over the sink. It wasn’t glamorous. It wasn’t nutritious. And it definitely wasn’t sustainable.
That was the breaking point. I realized I was spending half my life either cooking breakfast or regretting not cooking it. So, I made a deal with myself: I would spend one Saturday morning making a massive batch of make-ahead freezer breakfast burritos that I could grab and go for the next month. No more panic. No more stale bagels. Just hot, hearty, delicious food that’s ready in two minutes.
It’s been six months since that cheese-over-the-sink incident. I’ve made these burritos probably fifty times. I’ve tweaked the fillings, tested different wrapping methods, and even got my kids involved in the assembly line. Now, when I wake up in a rush, I just pull a frozen brick from the freezer, wrap it in a damp paper towel, and microwave it. It feels like cheating, but it’s actually just smart cooking.
These make-ahead freezer breakfast burritos for busy mornings have saved my sanity. They’re customizable, they freeze beautifully, and they taste surprisingly fresh even after being frozen for weeks. If you’re tired of scrambling eggs at 6 AM while trying to find your keys, you need this system in your life.
Why You’ll Love This Freezer Breakfast System
I know what you’re thinking. “Making breakfast burritos sounds like a lot of work on a Saturday.” And you’re right—it is work. But it’s the kind of work that pays off every single weekday morning. Here’s why this method has completely changed our mornings:
Zero Morning Stress — Seriously, if you can use a microwave, you can handle breakfast. No chopping, no heating a pan, no cleaning up scrambled eggs from the stovetop. Just grab, wrap, and heat. I’ve made these during flu seasons when I was too sick to stand at a stove, and they kept us fed.
Actually Tastes Good Frozen — Most frozen breakfast sandwiches at the gas station taste like cardboard and regret. These? They’re fluffy. The eggs stay tender, the cheese melts perfectly, and the tortilla doesn’t get soggy (if you wrap them right). I’ve tested dozens of methods, and this is the only one that works.
Stops the “What’s for Breakfast?” Arguments — My kids used to fight every morning about who got the last piece of toast. Now, they just grab their own burrito and eat it in the car. It’s peaceful. It’s quiet. It’s a miracle.
Budget-Friendly — Buying frozen breakfast sandwiches at the store runs you about $4-5 each. Making these at home costs about $1.50 per burrito. That’s a huge savings over a month, especially if you have a family.
Customizable for Everyone — My husband wants extra bacon. My daughter wants just cheese and hash browns. My son is trying to eat more protein. These burritos adapt to whoever grabs them first. No cooking five different breakfasts. Just one big batch with different fillings.
Once you try this, you’ll never go back to the morning scramble. It’s the ultimate time-saver for busy families, working parents, or anyone who just wants to sleep in five extra minutes.
Ingredients You’ll Need for the Ultimate Breakfast Burritos
Here’s the best part: you probably have most of this already. These burritos rely on simple, pantry-friendly staples. I’m particular about three things here: the tortilla size, the egg texture, and the cheese quality. But everything else is flexible.
For the Eggs:
Eggs (12 large) — I use large eggs for consistency. If you’re making a double batch, use 24. Don’t use liquid egg whites unless you want a rubbery texture. Fresh eggs taste better, but frozen ones work fine too.
Milk or Cream (1/4 cup) — I use whole milk for richness. Heavy cream makes them extra fluffy, but milk is lighter. Don’t skip this—it keeps the eggs tender so they don’t dry out in the freezer.
Salt and Pepper (to taste) — Season the eggs well before cooking. They’ll lose some flavor when frozen, so go a little heavier than you think.
For the Fillings (Pick Your Favorites):
Cooked Bacon or Sausage (2 cups, crumbled) — I use thick-cut bacon for crunch. If you prefer sausage, pork sausage works best. Make sure it’s fully cooked and crumbled. Grease drains off better if you blot it with paper towels first.
Shredded Cheese (2 cups, divided) — Cheddar is classic. Pepper jack adds heat. A Mexican blend works too. Avoid pre-shredded cheese if you can—it has anti-caking agents that prevent it from melting smoothly. Buy blocks and shred them yourself. It takes 2 minutes and makes a huge difference.
Hash Browns or Potatoes (2 cups) — I use frozen shredded hash browns for speed. They’re pre-cooked and easy to brown. If you use fresh potatoes, dice them small and pan-fry until crispy. Cold, hard potatoes freeze poorly and turn mushy.
Vegetables (1 cup, optional) — Diced bell peppers, onions, or spinach. Sauté these first to remove excess moisture. Wet veggies are the enemy of good burritos. If you add raw veggies, they’ll make the tortilla soggy.
For the Wrap:
Large Flour Tortillas (12-15, 10-inch) — This is non-negotiable. You need 10-inch flour tortillas. Smaller ones tear. Corn tortillas don’t stretch enough and will crack. I like Mission brand, but any large flour tortilla works. Keep them room temperature before wrapping—cold tortillas crack instantly.
For the Sauce (Optional but Recommended):
Hot Sauce or Salsa (1/2 cup) — I mix hot sauce with a little mayo for a creamy kick. Or just use your favorite salsa. Add this inside the burrito for flavor. Just don’t make it too wet, or it’ll leak.
Pro Tip: I always buy extra cheese and tortillas when they’re on sale. These are the items I go through fastest. Stock up when the price drops.
Equipment Needed
You don’t need fancy gadgets for this. Here’s what I actually use:
Large Skillet or Non-Stick Pan — I use a 12-inch skillet. It needs to be big enough to scramble 12 eggs comfortably. Stainless steel works, but non-stick is easier for cleanup.
Mixing Bowl — For whisking eggs. Any size works.
Whisk — For beating eggs with milk. Fork works too, but whisk is faster.
Cutting Board — For chopping veggies or slicing bacon.
Sharp Knife — For cutting bacon or dicing peppers. Dull knives slip—don’t risk it.
Cooling Rack — This is crucial. You need a place to cool the fillings before wrapping. Hot fillings steam the tortilla and make it soggy. A wire rack lets air circulate.
Aluminum Foil — For wrapping. Heavy-duty foil is better—it doesn’t tear as easily.
Freezer Bags or Containers — Large zip-top bags work, but I prefer wrapping in foil first, then storing in bags to prevent freezer burn.
Optional: Pastry Brush — For brushing tortillas with oil or butter before heating. Not necessary, but helps prevent tearing.
How to Make Make-Ahead Freezer Breakfast Burritos: Step-by-Step
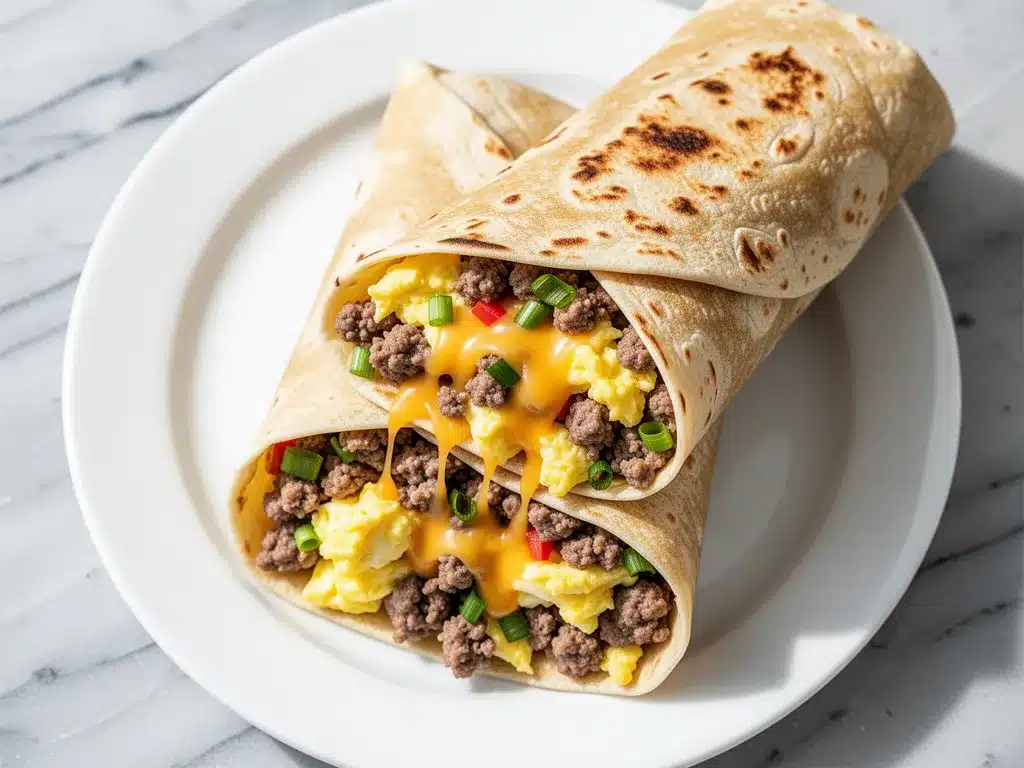
Alright, let’s make this! I’m walking you through exactly how I do it, including the little tricks I’ve picked up after 50+ batches.
Step 1: Cook the Fillings (20-25 minutes)
Start by cooking your proteins. If using bacon, cook it until crispy. Crumble it into large pieces. If using sausage, brown it well and drain excess grease. Set aside on paper towels to cool. Next, cook your vegetables. If using peppers and onions, sauté them in a little oil until soft. If using hash browns, brown them in a skillet until crispy. The key here is to remove all excess moisture. Wet fillings = soggy burritos. Let everything cool completely on a wire rack. This step is vital. If you wrap hot fillings, you’ll create steam, and your burritos will be mushy.
Step 2: Scramble the Eggs (5 minutes)
Whisk 12 eggs with 1/4 cup milk, salt, and pepper. Heat a non-stick skillet over medium-low heat with a little butter or oil. Pour in the eggs. Let them sit for 10 seconds, then gently push them from the edges toward the center. You want soft curds, not dry, crumbly eggs. Remove from heat when they’re still slightly runny—they’ll continue cooking from residual heat. Spread the eggs on a plate to cool. Don’t rush this. Cool eggs mean better texture.
Step 3: Prepare the Tortillas (2 minutes)
Take your tortillas out of the package. Let them sit at room temperature for 10 minutes. Cold tortillas are brittle and will crack when you roll them. If they’re still stiff, microwave them for 10 seconds wrapped in a damp paper towel. They should be pliable and soft.
Step 4: Assemble the Burritos (15 minutes)
Lay a tortilla flat. Place a generous scoop of eggs in the center. Top with cheese, then your chosen fillings (bacon, hash browns, veggies). Leave a 2-inch border at the top and bottom. If using sauce, add it now. Don’t overfill—the burrito will be hard to roll. Remember the golden rule: less is more. A tightly packed burrito bursts in the freezer. A loosely packed one falls apart. Find the balance.
Step 5: Roll Properly (3 minutes per burrito)
This is where most people fail. Fold the bottom edge up over the filling. Fold the left and right sides in tightly. Then, roll upward firmly but gently. You want a tight cylinder, not a loose packet. The tighter you roll, the less likely it is to unravel. If you hear a crinkling sound, you’re rolling too tight. If it looks lumpy, you didn’t fold the sides in enough.
Step 6: Wrap for Freezing (5 minutes)
Immediately wrap each burrito in aluminum foil. Wrap it tightly, sealing the edges. Then, place the foil-wrapped burrito in a heavy-duty freezer bag. Squeeze out as much air as possible before sealing. Label with the date and filling type. These will keep for up to 3 months. For best quality, eat within 6 weeks.
Step 7: Heat and Eat (2 minutes)
When ready to eat, remove the foil. Wrap the burrito in a damp paper towel. Microwave on high for 1.5 to 2 minutes. Let it rest for 1 minute before eating—the filling is molten hot. The damp towel steams the tortilla, keeping it soft. The foil-wrapped method I use ensures the tortilla doesn’t dry out.
Total Time: About 45 minutes for the batch. Then, 2 minutes per burrito in the morning.
Expert Tips & Tricks for Perfect Freezer Burritos
Here’s everything I’ve learned from making this dozens of times. These tips will save you from my mistakes.
Let Fillings Cool Completely — I can’t stress this enough. I once wrapped hot hash browns and got a soggy, broken tortilla. Now, I spread everything on a cooling rack. If it’s not cool to the touch, it’s not ready to wrap.
Don’t Overfill — It’s tempting to load them up, but you need room to roll. If the burrito looks like it’s about to burst, take some filling out. It’s better to have a slightly smaller burrito than a leaking one.
Brush with Butter — Before microwaving, brush the outside of the tortilla with a little melted butter. It adds flavor and helps crisp the edges slightly. It’s a small step that makes a big difference.
Use Heavy-Duty Foil — Regular foil tears. Heavy-duty foil holds up better in the freezer and during reheating. It’s worth the extra few cents.
Separate Cheese — If you’re using a lot of cheese, mix it with the eggs rather than layering it on top. This prevents the cheese from sliding out when you bite into it.
Freeze Flat — Place the wrapped burritos flat in the freezer for the first hour. This helps them keep their shape. Once solid, you can stack them.
Common Mistakes:
Mistake: Tortilla cracks — Fix: Tortillas were too cold. Let them sit at room temperature before wrapping. If they’re cracked, patch them with a small piece of tortilla.
Mistake: Burrito is soggy — Fix: Fillings were too wet. Always blot cooked meats and sauté veggies. Use dry hash browns.
Mistake: Burrito falls apart — Fix: Not rolled tightly enough. Fold the sides in securely. Roll firmly but gently.
Variations & Substitutions
Once you’ve nailed the basic version, here’s how you can mix it up. I’ve tried all of these.
Classic Breakfast — Eggs, cheddar cheese, bacon, and hash browns. The standard. Reliable. Delicious.
Mexican Style — Eggs, pepper jack cheese, chorizo, black beans, and salsa. Top with cilantro after heating. Spicy and flavorful.
Southwest Veggie — Eggs, cheddar, roasted bell peppers, onions, black beans, and avocado (add avocado after heating to prevent browning). Meat-free and hearty.
BBQ Chicken — Eggs, smoked gouda, shredded chicken, and BBQ sauce. Sounds weird, but it’s amazing. Use leftover rotisserie chicken.
Ham and Swiss — Eggs, Swiss cheese, diced ham, and caramelized onions. Tastes like a fancy breakfast sandwich.
Breakfast Pizza — Eggs, mozzarella, pepperoni, and Italian sausage. Yes, really. It’s like a breakfast calzone.
Gluten-Free — Use gluten-free tortillas. Note: They are more fragile. Handle gently and don’t overfill. I like the Mission Gluten-Free ones—they hold up well.
High-Protein — Add an extra egg white per burrito and use turkey bacon instead of pork. Boosts protein without adding much fat.
Dairy-Free — Skip the cheese or use a dairy-free alternative. Use olive oil instead of butter. The texture is different, but still good.
Serving & Storage
How to Serve: I usually serve these straight from the microwave. They’re best eaten hot. Add a side of fresh fruit or a glass of orange juice. Sometimes I serve them with a simple side salad if I’m feeling fancy.
Storage Instructions:
Freezer: Store wrapped burritos in a heavy-duty freezer bag for up to 3 months. For best quality, consume within 6 weeks. Label with the date so you don’t forget.
Reheating: Remove foil. Wrap in a damp paper towel. Microwave on high for 1.5-2 minutes. Let rest for 1 minute. The damp towel is key—it steams the tortilla so it stays soft. If you skip the towel, the tortilla will be tough and chewy.
Air Fryer Option: If you want a crispier tortilla, air fry at 350°F for 5-6 minutes. No paper towel needed. The outside gets slightly crispy, which I actually prefer.
Pro Tip: If leftovers are drying out, brush with a little butter before reheating. It brings back the richness.
Nutrition Information
I’m not a nutritionist, but here’s the breakdown if you’re tracking. This is per burrito (based on 12 burritos with classic filling).
Per Serving:
- Calories: 380
- Protein: 22g
- Carbs: 35g
- Fiber: 2g
- Sugar: 2g
- Fat: 18g
- Saturated Fat: 7g
- Cholesterol: 210mg
- Sodium: 520mg
What’s Good: High protein from eggs and cheese. Good source of calcium. Filling and satisfying.
What to Know: Higher in calories from cheese and bacon. Contains dairy and gluten. Sodium can be high—use low-sodium bacon and cheese to reduce.
My Take: This is comfort food. It’s not a diet recipe. But it’s way better than a gas station sandwich, costs less, and you know exactly what’s in it. When I want to make it lighter, I use turkey bacon and less cheese. But usually? I just enjoy it.
Final Thoughts
So that’s my system for make-ahead freezer breakfast burritos! I’ve probably talked your ear off at this point, but when you make a recipe this often, you have a lot to say about it.
These burritos have saved my sanity. They’re my answer to “what’s for breakfast” when I’m tired, don’t want takeout, and still want something that tastes really good. My kids are happy, my husband’s happy, and I’m happy because I’m not stressed about cooking.
Make it yours! Try different fillings, swap in your favorite cheeses, adjust the spice level. The best recipes are the ones you adapt to your family’s tastes. If you make these, drop a comment and let me know what you think! I love hearing how recipes turn out in your kitchen. And if something doesn’t work, tell me that too—I’m here to help troubleshoot.
Happy cooking! And I hope your mornings are half as peaceful as mine are now.
Frequently Asked Questions
Can I freeze these burritos without foil?
You can use freezer bags directly, but I don’t recommend it. The tortillas will stick together and tear when you try to separate them. Foil provides a barrier that keeps them intact. If you must use bags, wrap each burrito in plastic wrap first, then bag them. But foil is easier.
Why did my tortilla crack when I rolled it?
Cold tortillas are brittle. Always let them sit at room temperature for 10 minutes before wrapping. If they’re still stiff, microwave them for 10 seconds with a damp paper towel. This makes them pliable and easy to roll.
Can I make these ahead and refrigerate instead of freezing?
You can refrigerate them for up to 3 days. But the texture isn’t as good. The tortillas tend to get soggy in the fridge. Freezing is better for long-term storage. If you’re eating them within 3 days, refrigerate in an airtight container.
How do I reheat without a microwave?
Use an air fryer at 350°F for 5-6 minutes. Or wrap in foil and bake in a 350°F oven for 15-20 minutes. The air fryer gives a crispier exterior. The oven is better if you’re heating multiple burritos at once.
Can I use corn tortillas?
Not really. Corn tortillas don’t stretch and will crack when you roll them. They’re also smaller. Stick to large flour tortillas for these. If you need gluten-free, use gluten-free flour tortillas.
What’s the best cheese for freezing?
Cheddar and pepper jack hold up well. Mozzarella can get stringy. Avoid soft cheeses like brie or goat cheese—they don’t freeze well in this application. Stick to hard, shredded cheeses.
Can I double this recipe?
Absolutely! Double everything and use your biggest skillet. The cooking times stay the same. I do this when I’m meal-prepping for the whole family. Just make sure you have enough freezer space.
Pin This Recipe!
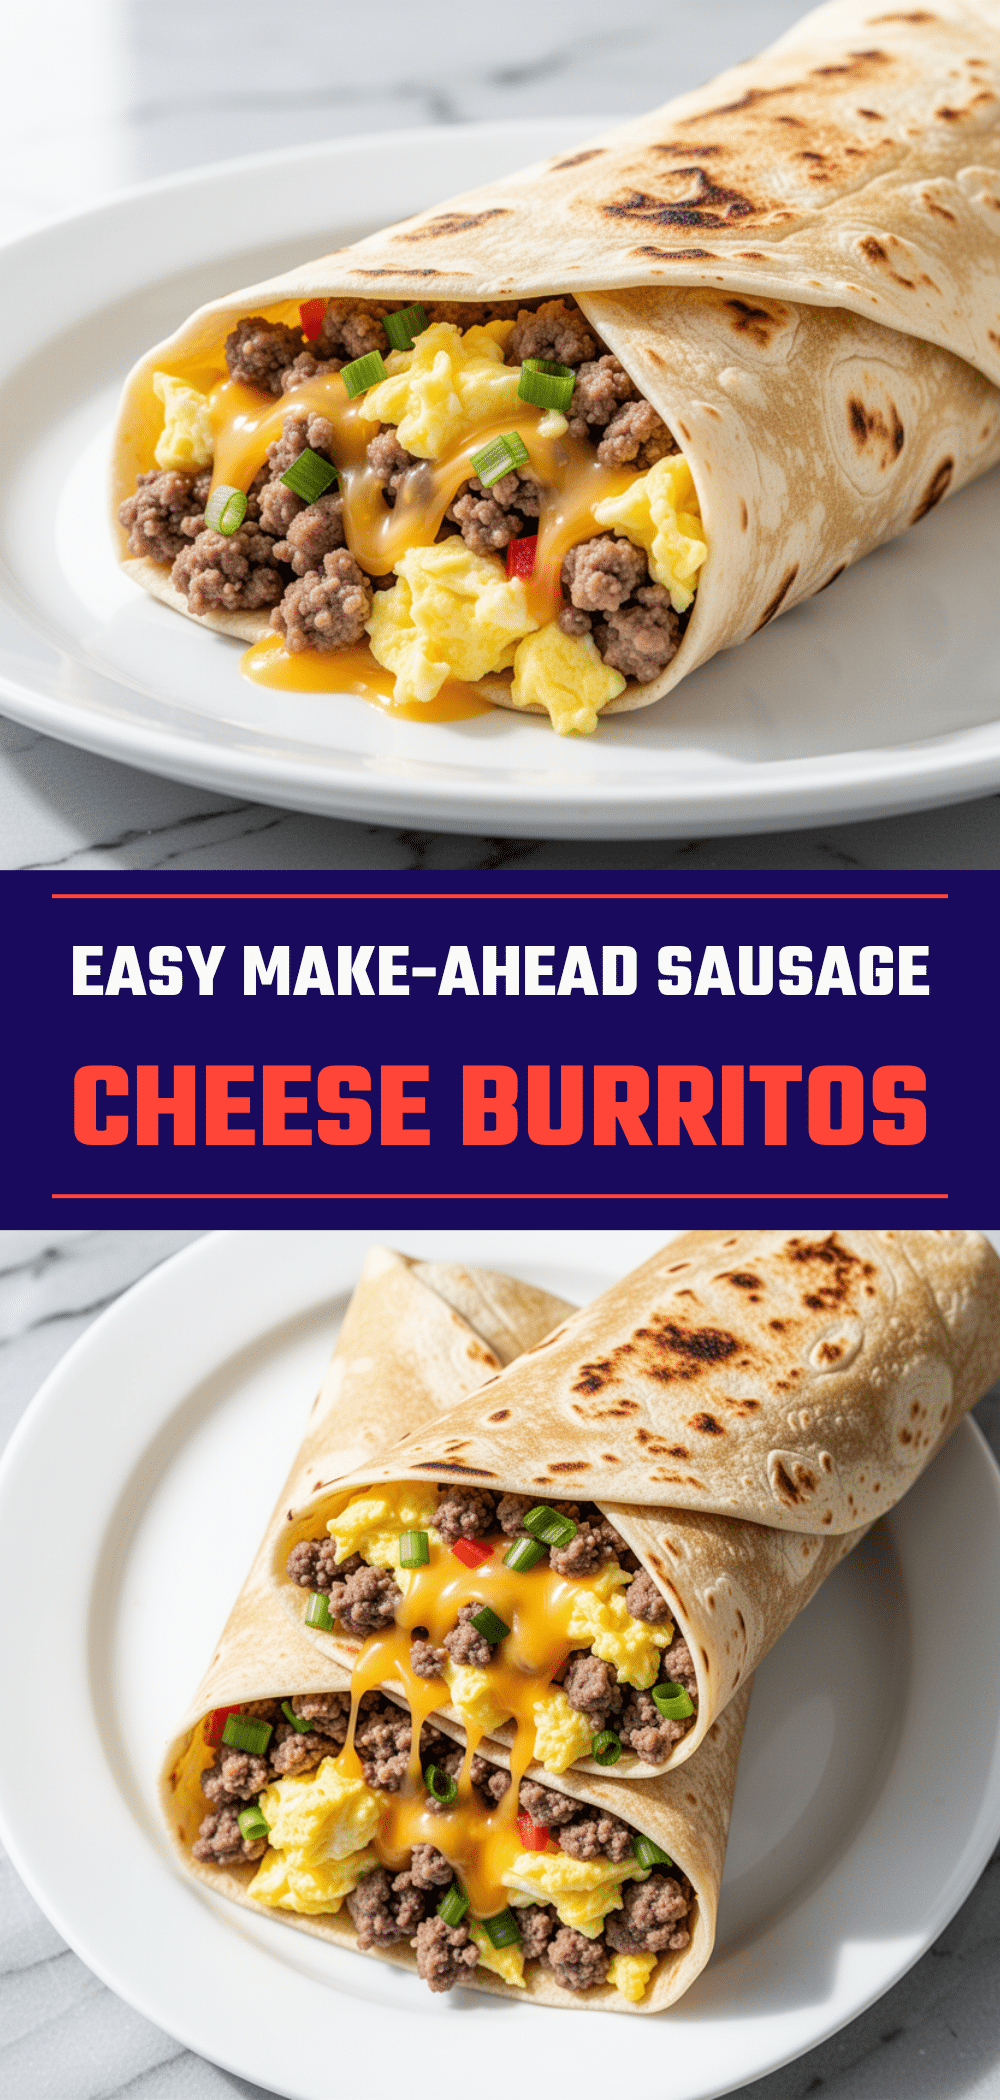
Make-Ahead Freezer Breakfast Burritos: 5 Easy Recipes
- Total Time: 45 minutes
- Yield: 12 servings 1x
Description
Save time and reduce morning stress with these customizable, freezer-friendly breakfast burritos. Perfect for busy families, these burritos can be prepped in one session and reheated in just two minutes.
Ingredients
- 12 large eggs
- 1/4 cup milk or cream
- Salt and pepper to taste
- 2 cups cooked bacon or sausage, crumbled
- 2 cups shredded cheese (cheddar, pepper jack, or Mexican blend)
- 2 cups hash browns or diced potatoes
- 1 cup diced vegetables (bell peppers, onions, spinach)
- 12–15 large flour tortillas (10-inch)
- 1/2 cup hot sauce or salsa (optional)
Instructions
- Cook proteins (bacon or sausage) until crispy, crumble, and drain excess grease. Set aside to cool.
- Sauté vegetables until soft and remove excess moisture. Let cool completely.
- Brown hash browns or potatoes until crispy. Let cool completely.
- Whisk eggs with milk, salt, and pepper. Scramble in a skillet over medium-low heat until slightly runny. Spread on a plate to cool.
- Let tortillas sit at room temperature for 10 minutes to become pliable.
- Assemble burritos by placing eggs, cheese, and fillings in the center of a tortilla, leaving a 2-inch border.
- Fold the bottom edge up, fold sides in tightly, and roll upward firmly into a cylinder.
- Wrap each burrito tightly in heavy-duty aluminum foil, then place in a freezer bag, squeezing out air.
- Label with date and filling type. Freeze for up to 3 months.
- To eat, remove foil, wrap in a damp paper towel, and microwave on high for 1.5-2 minutes. Let rest for 1 minute.
Notes
Ensure all fillings are completely cool before wrapping to prevent soggy tortillas. Use heavy-duty foil to prevent tearing. Let tortillas reach room temperature before rolling to avoid cracking. For best quality, consume within 6 weeks.
- Prep Time: 40 minutes
- Cook Time: 25 minutes
- Category: Breakfast
- Cuisine: American
Nutrition
- Serving Size: 1 burrito
- Calories: 380
- Sugar: 2
- Sodium: 520
- Fat: 18
- Saturated Fat: 7
- Carbohydrates: 35
- Fiber: 2
- Protein: 22
Keywords: freezer breakfast, make-ahead meals, breakfast burritos, meal prep, busy mornings, egg recipes, family breakfast


