I have a confession. The last time I actually planned dinner, it was probably three Tuesdays ago. I came home from work at 5:30 PM, my brain was basically mush, and the fridge looked like a sad, empty wasteland. I had half a bag of tortilla chips, some ground beef that was slowly thawing on the counter, and a block of cheese that had seen better days. I didn’t want to order takeout (my wallet was crying), and I definitely didn’t have the energy to chop vegetables for a stir-fry.
So I did what I always do when I’m desperate: I threw everything into a skillet and prayed.
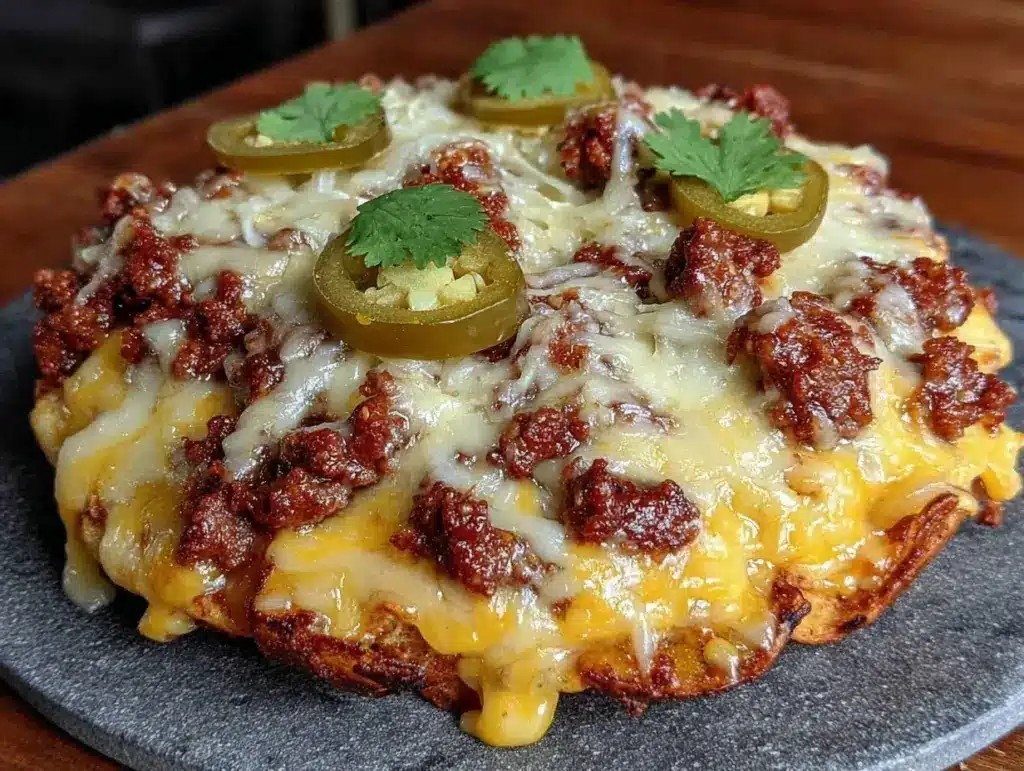
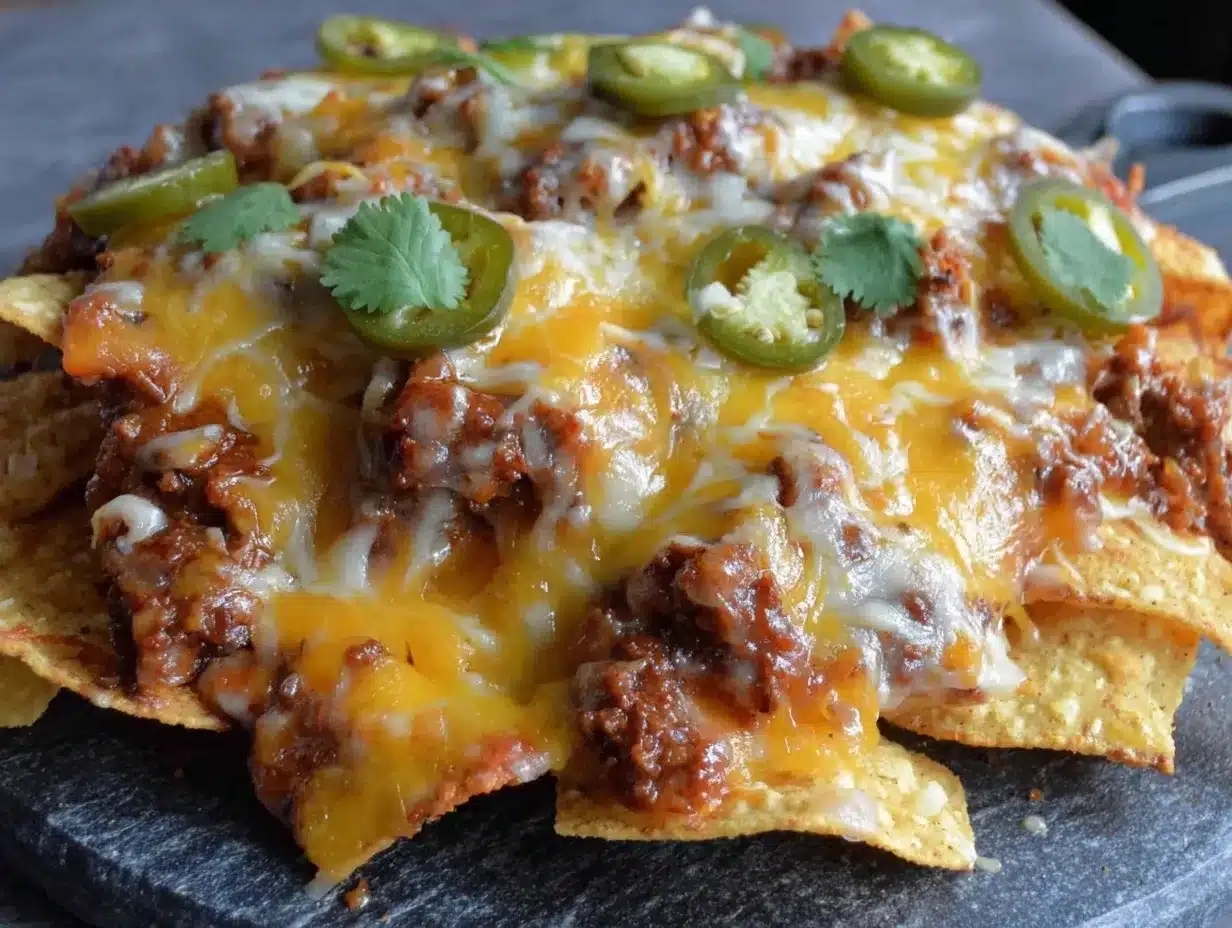
That was the birth of my go-to loaded cheesy nachos with ground beef. And honestly? It’s saved my weeknight sanity more times than I can count. It’s not just a snack anymore; it’s a legitimate, hearty, one-pan dinner that feeds my family for under 30 minutes. No fancy techniques. No obscure ingredients. Just good food, fast.
I’ve tested this recipe roughly a dozen times in the last few months, tweaking the spice levels and cheese ratios until it was perfect. My kids, who usually pick at everything, devour it. My husband asks for it on rotation. And the best part? You only have to wash one pan. One. Pan. If you’re tired, stressed, or just need a meal that works without the drama, this is your answer.
Why You’ll Love This One-Pan Dinner
Look, I know “nachos for dinner” sounds a little indulgent. But hear me out. This isn’t those sad, burnt chips from a movie theater. This is a robust, flavorful meal that hits every craving spot without leaving you feeling sluggish. Here’s why this loaded cheesy nachos with ground beef has replaced so many other dinners in our weekly rotation:
- Stupid Simple Prep — Seriously, if you can brown meat and sprinkle cheese, you can make this. I’ve made this while helping my youngest with homework. It’s that easy.
- Lightning Fast — From fridge to table in about 20 minutes. That’s faster than waiting for a pizza delivery driver. I use this on nights when I get home at 6 PM and everyone is hangry.
- One-Pan Wonder — This is the biggest selling point for me. I hate doing dishes. This recipe uses one skillet for the meat and cheese, and maybe a small bowl for toppings. Cleanup takes two minutes.
- Customizable for Everyone — My son wants it mild. I want it spicy. My daughter wants extra veggies. We all pile our plates from the same pan, and everyone gets exactly what they want. It’s the ultimate compromise dinner.
- Pantry-Friendly — You probably have the base ingredients already. Ground beef, chips, cheese, and some spices. I keep these stocked specifically for nights when I have zero ideas.
- Budget-Smart — Feeds 4-6 people for under $15. That’s less than a single large pepperoni pizza from delivery, and it tastes way better because you control the quality.
This is my go-to when I need dinner to just work. No complicated techniques, no weird ingredients, just reliable, delicious food that makes everyone happy. It’s comfort food that actually feels like a meal.
Ingredients You’ll Need
Here’s the best part: you probably have most of this already. I’m particular about a few things here, but mostly, this is about using what you have. Let’s break it down.
For the Base
Ground beef (1 pound / 450g) — I use 80/20 lean-to-fat ratio. The fat adds flavor, which is crucial here. If you’re watching calories, 90/10 works, but it won’t be as juicy. Drain most of the grease, but leave a little for flavor.
Tortilla chips (2 large bags / about 10-12 cups) — You need sturdy chips. Look for “restaurant style” or thick-cut chips. Thin, flimsy chips will turn to mush under the weight of the cheese and meat. I like the thick ones that don’t break when you scoop them.
Shredded Mexican blend cheese (3 cups / 300g) — This is my secret weapon. Pre-shredded is fine here because you’re using a lot of it, and the anti-caking agents actually help it melt evenly without clumping. I buy the big bags of “Mexican Blend” (cheddar, Monterey Jack, Asadero, Queso Quesadilla) because it melts like a dream.
Canned black beans (1 can / 15 oz, drained and rinsed) — This adds bulk and protein, stretching the meal further. It’s optional, but I always add it. It makes the nachos heartier.
For the Flavor
Onion (1 medium yellow onion, diced / about 200g) — Sweetness balances the spice. I use yellow onion because it’s cheap and flavorful. Finely diced so you get a bit in every bite.
Garlic (3 cloves, minced / about 1 tablespoon) — Fresh only. No jarred garlic in this recipe. It changes the flavor profile completely.
Taco seasoning (2 tablespoons) — I usually use a store-bought packet (like Old El Paso or McCormick) because it’s consistent. But you can make your own: 1 tsp cumin, 1 tsp chili powder, 1/2 tsp paprika, 1/2 tsp garlic powder, 1/2 tsp onion powder, salt, and pepper.
Tomato sauce (½ cup / 120ml) — This is what keeps the meat moist and creates a saucy base so the nachos aren’t dry. Don’t skip it. It binds everything together.
For the Toppings (The Fun Part)
Sharp cheddar cheese (1 cup / 100g, freshly grated) — I grate this myself for the final layer. It adds a nice sharp bite that contrasts with the mild Mexican blend.
Green onions (3 stalks, sliced) — For that fresh, oniony crunch on top.
Jalapeños (½ cup, sliced) — Fresh or pickled. I like pickled for a tangy kick, but fresh is hotter. Adjust to your spice tolerance.
Sour cream (½ cup) — Essential for cooling down the heat. I drizzle it on right before serving.
Black olives (½ cup, sliced) — My kids love these. I throw them in too. They add a nice salty, briny contrast.
Tomatoes (1 medium, diced) — I skip these sometimes because they make it watery, but if you like it fresh, add them on top, not in the pan.
Equipment Needed
You don’t need fancy equipment for this. Here’s what I actually use.
Large skillet or oven-safe pan — I use a 12-inch stainless steel skillet. It needs to be big enough to hold the chips in a single layer (or two layers max) with room to stir. If you don’t have an oven-safe pan, you can cook the meat in a regular skillet and then transfer everything to a baking sheet.
Wooden spoon or spatula — For browning the meat and stirring the sauce. I prefer silicone or wood to avoid scratching my pan.
Colander — For rinsing the beans. Or just use the lid to drain—I do this when I’m being lazy.
Grater — Optional, but I grate my cheddar for the top layer. Box grater works fine.
Measuring cups and spoons — Standard stuff. Dollar store versions work fine.
Baking sheet — Only if your skillet isn’t oven-safe. I use a large rimmed baking sheet if I’m cooking for a crowd.
How to Make It: Step-by-Step
Alright, let’s make this! I’m walking you through exactly how I do it, including the little tricks I’ve picked up over the years.
Step 1: Prep Your Ingredients (5 minutes)
Before you start cooking, dice your onion, mince your garlic, and slice your jalapeños and green onions. Measure out your cheeses. I know it seems fussy, but it makes the actual cooking way less stressful. Once you start cooking, things move fast. Grate your cheddar while you’re at it.
Step 2: Brown the Beef (5-7 minutes)
Heat your large skillet over medium-high heat. Add the ground beef and diced onion. Break up the meat with your wooden spoon as it cooks. You want to cook it until the beef is no longer pink and the onions are soft and translucent. This should take about 5-7 minutes. Drain most of the grease, but leave about a tablespoon in the pan for flavor.
Step 3: Build the Sauce (3 minutes)
Add the minced garlic to the beef and onion mixture. Cook for 30 seconds until fragrant—don’t let it burn. Then, stir in the taco seasoning and the tomato sauce. Mix well. Let this simmer for 2-3 minutes. The sauce will thicken slightly and coat the meat. Taste it and add salt if needed (usually not necessary because of the seasoning packet).
Step 4: Layer the Nachos (2 minutes)
Reduce the heat to low. Add half of the tortilla chips to the skillet. Spread them out in a single layer. Spoon half of the beef mixture over the chips. Sprinkle half of the Mexican blend cheese on top. Repeat with the remaining chips, beef, and cheese. You want two distinct layers so every chip gets some love.
Step 5: Melt the Cheese (3-5 minutes)
Cover the skillet with a lid. Let it cook on low heat for 3-5 minutes. You’re waiting for the cheese to melt completely and the chips to warm through. Check after 3 minutes. If the cheese is melted and the chips are hot, you’re good. If not, give it another minute. Do not turn up the heat—this will burn the chips.
Step 6: Add the Toppings (2 minutes)
Remove the skillet from heat. Sprinkle the grated cheddar cheese on top. Add the sliced black olives and jalapeños. If you’re adding tomatoes, add them now. Drizzle with sour cream and scatter the sliced green onions over everything.
Step 7: Serve Immediately
Serve right out of the pan. These nachos are best when they’re hot and melty. Pass around extra sour cream and hot sauce if you want to let everyone customize their own bowl.
Total Time: About 20 minutes (10 minutes active, 10 minutes mostly hands-off)
Expert Tips & Tricks
Here’s everything I’ve learned from making this dozens of times. These tips will save you from my mistakes.
Choose the Right Chips
This is the #1 tip. If you use thin, fragile chips, they will disintegrate under the weight of the cheese and meat. Look for “restaurant style” or thick-cut chips. They hold up much better. I’ve tried cheaper brands, and they just turn into croutons. Spend the extra dollar on good chips.
Don’t Overcrowd the Pan
If you’re making a huge batch, don’t try to fit everything in one small skillet. Use two pans or a baking sheet. Overcrowding leads to steamed chips instead of crispy ones. You want that contrast between the crispy chip and the gooey cheese.
Use a Lid to Melt
Using a lid traps the steam and helps the cheese melt evenly without burning the bottom of the pan. If you don’t have a lid, you can transfer the skillet to a 375°F (190°C) oven for 3-5 minutes. But the stovetop method is faster and easier for weeknights.
Add Beans for Bulk
I always add black beans. They absorb the sauce and add protein, making the nachos more filling. It’s a cheap way to stretch the meal, especially if you’re feeding a hungry family. Just rinse them well so they don’t make the nachos soggy.
Common Mistakes (and how to avoid them)
Mistake: Nachos are dry
Fix: You didn’t use enough tomato sauce or you drained all the grease. Leave a little fat in the pan, and make sure the sauce is simmering before you add the chips. The moisture from the sauce is key.
Mistake: Chips are burnt
Fix: The heat was too high. Keep it on low when melting the cheese. Burnt chips taste bitter and ruin the whole dish. Patience pays off.
Mistake: Toppings are soggy
Fix: Add wet toppings (tomatoes, sour cream, salsa) after you remove the pan from heat. If you cook them with the chips, they’ll get mushy. Fresh toppings go on last.
Variations & Substitutions
Once you’ve nailed the basic version, here’s how you can mix it up. I’ve tried all of these.
Chicken Nachos
Swap the ground beef for diced cooked chicken (rotisserie works great). Season it with taco seasoning just like the beef. This is lighter but still satisfying. My daughter prefers this version.
Veggie-Loaded
Add 2 cups of fresh spinach and 1 cup of halved cherry tomatoes in the last minute. The spinach wilts right in. This is how I get my kids to eat vegetables. You can also add sliced bell peppers with the onions.
Slow Cooker Version
If you’re meal-prepping, you can make the beef mixture in a slow cooker. Cook beef, onions, and seasoning on low for 4 hours. Then assemble and bake in the oven. It’s great for parties.
Gluten-Free
Use certified gluten-free tortilla chips. Everything else is naturally gluten-free. I’ve used Store Brand gluten-free chips and they work great. Just check the label to be sure.
Dairy-Free
Replace Mexican blend cheese with dairy-free shreds (like Daiya or Violife). They melt okay, but not as perfectly as dairy. Use nutritional yeast for a cheesy flavor boost. It’s different but still tasty.
Spicy Kick
Add a can of diced green chiles to the beef mixture. Or use spicy taco seasoning. If you like heat, add chopped serrano peppers with the jalapeños.
Serving & Storage
How to Serve
I usually serve this straight from the skillet at the dinner table—it looks rustic and stays warm. But here are other ways I’ve enjoyed it:
- Side Dishes: A simple green salad with balsamic vinaigrette cuts through the richness. Or some spicy chipotle corn on the side for extra flavor.
- Toppings Bar: When I have guests, I put out extra sour cream, hot sauce, guacamole, and pickled onions. Everyone customizes their bowl.
- Wine Pairing: Not a wine expert, but a crisp IPA or a light red like Pinot Grigio works great with this.
Storage Instructions
Refrigerator: Store leftovers in an airtight container for up to 3 days. The chips will lose their crunch, so they’ll be softer. That’s okay—it’s still delicious.
Reheating: Best method: Reheat in a skillet over low heat with a splash of water to steam the chips back to life. Add a little fresh cheese on top. Microwave works too, but it makes them chewy. Heat in 30-second intervals, stirring in between.
Freezing: Honestly, this doesn’t freeze well. The chips get soggy and the cheese separates. Make it fresh. If you have leftovers, eat them within 3 days.
Meal Prep
You can prep the beef mixture ahead of time. Cook the beef, onions, and seasoning, and store it in the fridge for up to 3 days. When you’re ready to eat, just reheat the meat, add the chips and cheese, and melt. Takes 10 minutes.
Nutrition Information
I’m not a nutritionist, but here’s the breakdown if you’re tracking. Keep in mind, this is comfort food, so it’s rich!
Per Serving (based on 6 servings):
- Calories: 480
- Protein: 22g
- Carbs: 45g
- Fiber: 4g
- Sugar: 3g
- Fat: 24g
- Saturated Fat: 10g
- Cholesterol: 50mg
- Sodium: 650mg
What’s Good: Decent protein from beef and cheese. Calcium from the cheese. Can add vegetables to boost nutrition.
What to Know: Higher in calories and sodium from the cheese and seasoning. Use low-sodium beans and broth if you’re watching salt.
My Take: Look, this is comfort food. It’s not a diet recipe. But it’s way better than takeout, costs less, and I know exactly what’s in it. When I want to make it lighter, I use leaner beef and less cheese. But usually? I just eat a reasonable portion and enjoy it.
Final Thoughts
So that’s my go-to loaded cheesy nachos with ground beef! I’ve probably talked your ear off at this point, but when you make a recipe this often, you have a lot to say about it.
This has saved weeknight dinners more times than I can count. It’s my answer to “what’s for dinner” when I’m tired, don’t want takeout, and still want something that tastes really good. My kids are happy, my husband’s happy, and I’m happy because I’m not stressed about cooking.
Make it yours! Try different add-ins, swap in your favorite vegetables, adjust the garlic (though more is always better in my opinion). The best recipes are the ones you adapt to your family’s tastes.
If you make this, drop a comment and let me know what you think! I love hearing how recipes turn out in your kitchen. And if something doesn’t work, tell me that too—I’m here to help troubleshoot.
Happy cooking! And I hope your kitchen smells half as good as mine does right now.
Frequently Asked Questions
Can I use ground turkey instead of beef?
Yes, you can. Ground turkey is leaner, so it won’t be as juicy. I recommend adding a little extra olive oil or butter to the pan to keep it moist. It’s a lighter option, but the flavor is slightly different. My family likes it, but they prefer beef.
Why did my nachos get soggy?
This usually happens if you use chips that are too thin, or if you add wet toppings (like salsa or tomatoes) before melting the cheese. Use sturdy chips, and add wet toppings after you remove the pan from heat. Also, don’t overcrowd the pan—steam makes chips soggy.
Can I make this in the oven?
Absolutely. If you don’t have an oven-safe skillet, assemble the nachos on a large baking sheet. Bake at 375°F (190°C) for 5-7 minutes until the cheese is melted and bubbly. It’s great for parties because you can make a big batch.
How do I reheat leftovers without them getting dry?
Add a splash of water to a skillet, add your leftover nachos, and heat gently over low heat, stirring frequently. The steam brings back the moisture. Microwave sort of works but tends to make them chewy. If you do microwave, definitely add a splash of water and heat in short bursts.
Can I double this recipe?
Yes, but you’ll need a larger skillet or a baking sheet. Double everything and cook in batches if your pan is small. Don’t try to fit too much in one layer, or the chips won’t get properly melted. I usually make two batches for a crowd.
What’s the best cheese to use?
Mexican blend is easiest because it’s pre-shredded and melts well. But for the best flavor, use a mix of cheddar and Monterey Jack. Grate your own cheese if you can—it melts smoother than pre-shredded. Avoid pre-shredded for the top layer if you want that gooey, restaurant-style texture.
Can I make this ahead for a dinner party?
Sort of. Prep the beef mixture ahead of time. Assemble the nachos right before serving. If you assemble them too early, the chips will get soggy. I recommend keeping the components separate and assembling just before eating. It’s worth the last-minute effort.
Pin This Recipe!
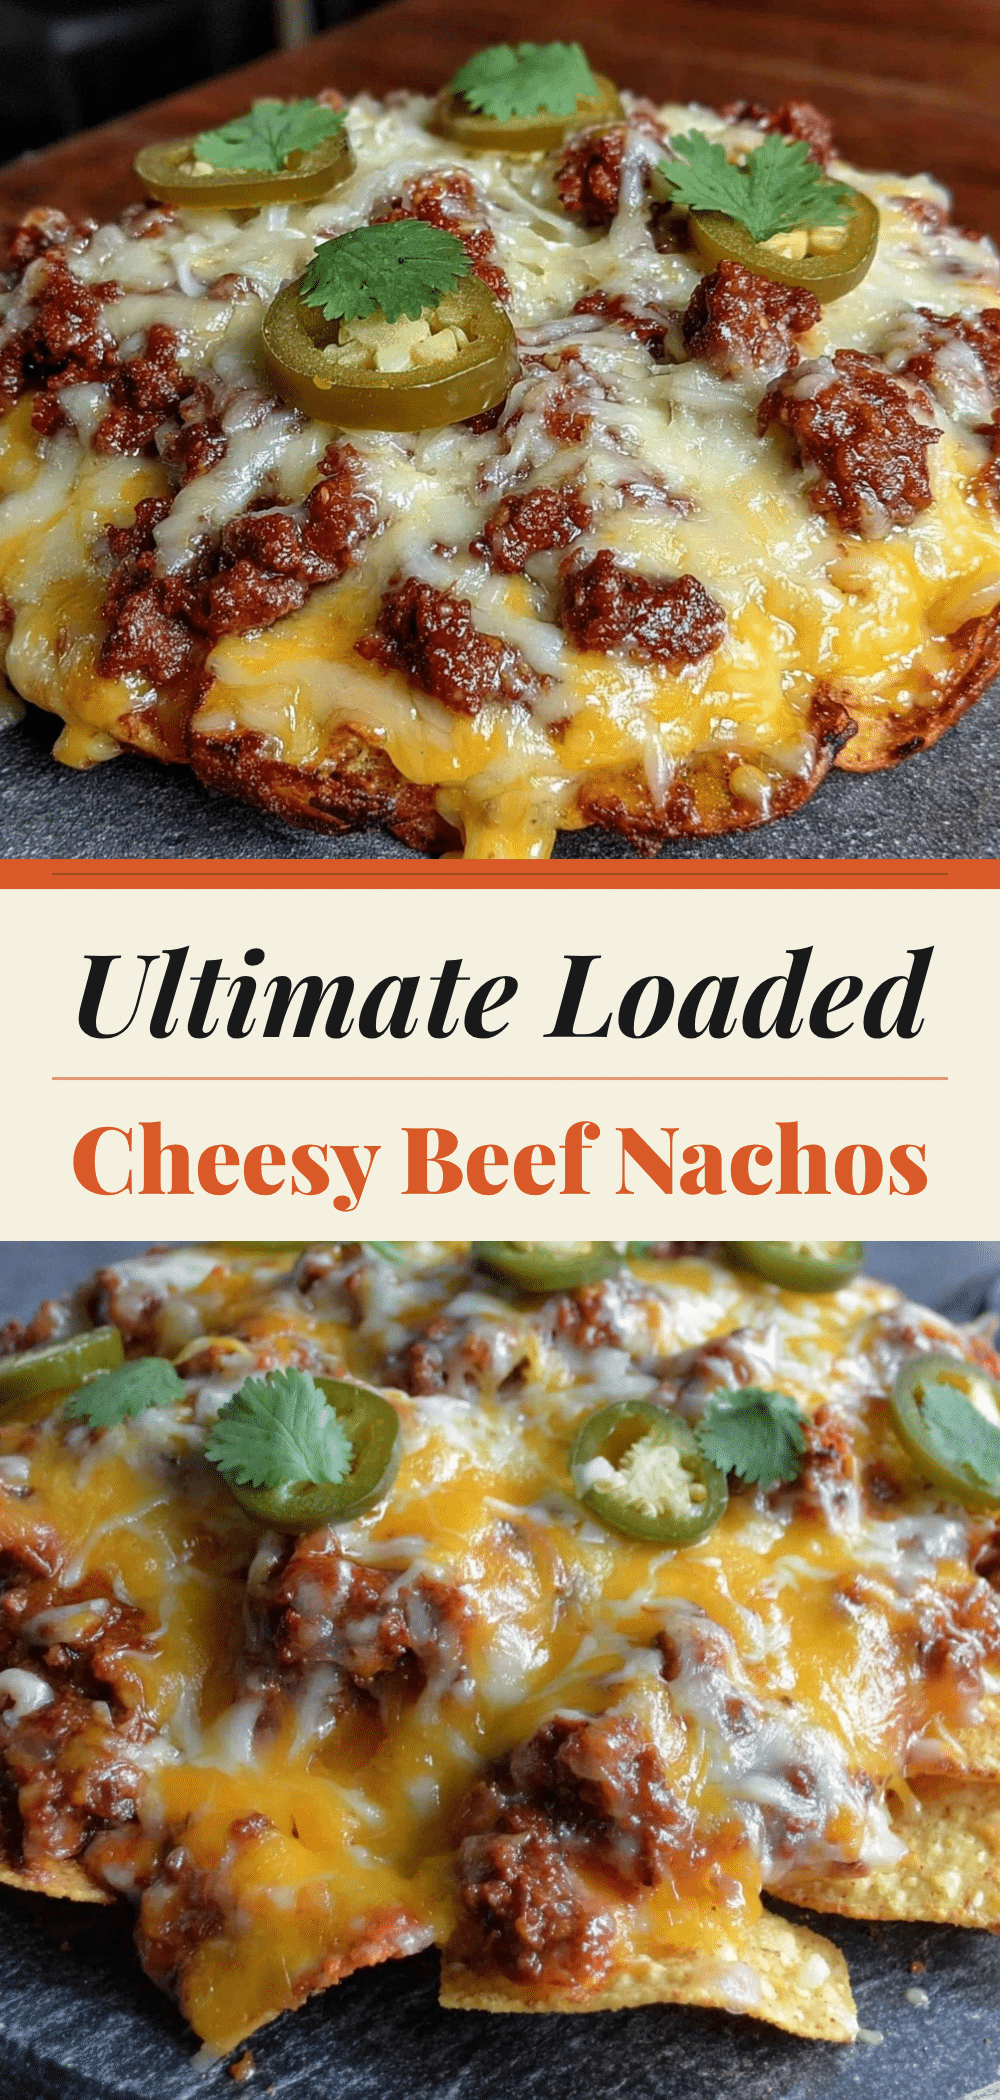

Loaded Cheesy Nachos with Ground Beef: Easy 1-Pan 5PM Dinner
- Total Time: 20 minutes
- Yield: 6 servings 1x
Description
A hearty, one-pan weeknight dinner featuring ground beef, tortilla chips, and melted cheese, ready in under 30 minutes with minimal cleanup.
Ingredients
- 1 pound ground beef (80/20 lean-to-fat ratio)
- 2 large bags tortilla chips (about 10–12 cups, sturdy/restaurant style)
- 3 cups shredded Mexican blend cheese
- 1 can (15 oz) black beans, drained and rinsed
- 1 medium yellow onion, diced
- 3 cloves garlic, minced
- 2 tablespoons taco seasoning
- ½ cup tomato sauce
- 1 cup sharp cheddar cheese, freshly grated
- 3 stalks green onions, sliced
- ½ cup jalapeños, sliced
- ½ cup sour cream
- ½ cup black olives, sliced
- 1 medium tomato, diced (optional)
Instructions
- Dice the onion, mince the garlic, and slice the jalapeños and green onions. Measure out the cheeses.
- Heat a large skillet over medium-high heat. Add the ground beef and diced onion. Break up the meat and cook until no longer pink and onions are soft (5-7 minutes). Drain most grease, leaving about a tablespoon.
- Add minced garlic to the beef mixture and cook for 30 seconds until fragrant. Stir in taco seasoning and tomato sauce. Simmer for 2-3 minutes until sauce thickens.
- Reduce heat to low. Add half the tortilla chips to the skillet in a single layer. Spoon half the beef mixture over the chips, then sprinkle with half the Mexican blend cheese. Repeat layers with remaining chips, beef, and cheese.
- Cover the skillet with a lid and cook on low heat for 3-5 minutes until cheese is melted and chips are warm. Do not turn up the heat.
- Remove skillet from heat. Sprinkle grated cheddar cheese on top. Add black olives, jalapeños, and tomatoes if using. Drizzle with sour cream and scatter green onions over everything.
- Serve immediately while hot and melty.
Notes
Use sturdy ‘restaurant style’ chips to prevent mushiness. If your skillet is not oven-safe, you can transfer the nachos to a baking sheet and bake at 375°F (190°C) for 3-5 minutes. Do not overcrowd the pan. Add wet toppings like sour cream and tomatoes after removing from heat to prevent sogginess. Leftovers do not freeze well.
- Prep Time: 5 minutes
- Cook Time: 15 minutes
- Category: Main Course
- Cuisine: Mexican
Nutrition
- Serving Size: 1 serving (approx. 1
- Calories: 480
- Sugar: 3
- Sodium: 650
- Fat: 24
- Saturated Fat: 10
- Carbohydrates: 45
- Fiber: 4
- Protein: 22
Keywords: nachos, ground beef, one pan dinner, weeknight meals, easy dinner, cheesy nachos, family friendly, quick meals


