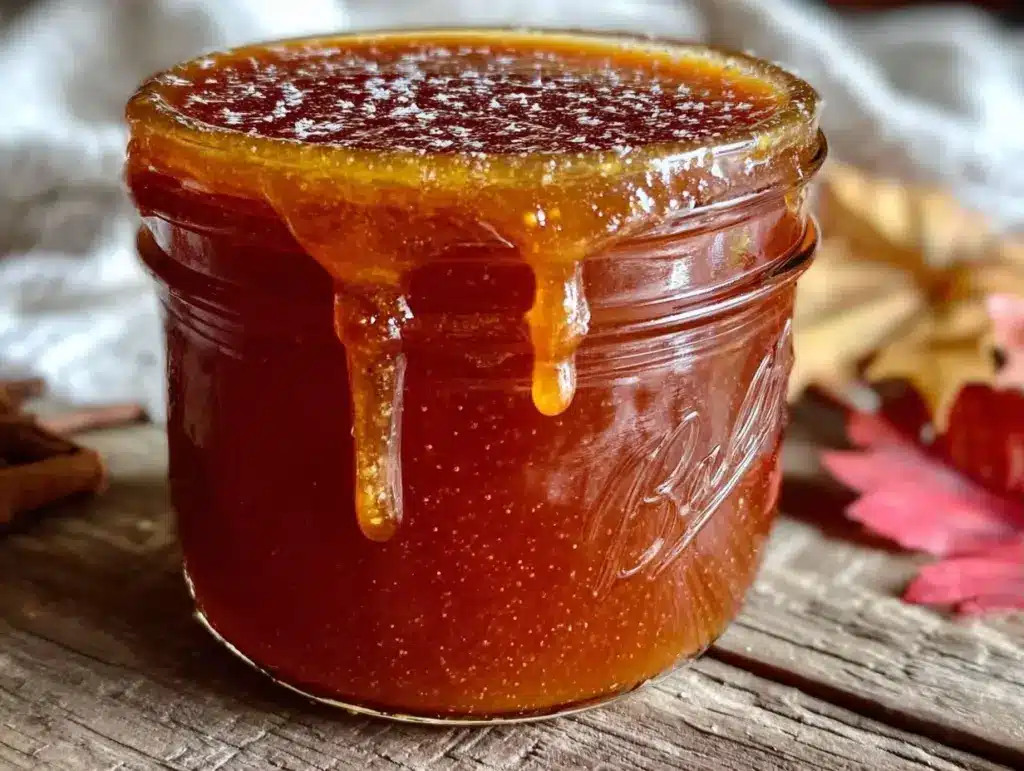
Last Saturday, I was standing in line at the local coffee shop, watching my husband hesitate over the menu. He wanted that fancy pumpkin caramel latte, the one that costs nearly $7 and tastes suspiciously like artificial syrup and sugar. I looked at the price tag, then at the empty spot on our kitchen counter where I keep our coffee supplies, and I had an epiphany. We were wasting so much money on drinks we could make for pennies.
I went home and raided the pantry. I had pumpkin puree. I had brown sugar. I had heavy cream. It seemed too simple to work, but I figured, what’s the worst that could happen? We drink bad coffee for a week? I’ve survived worse breakfasts.
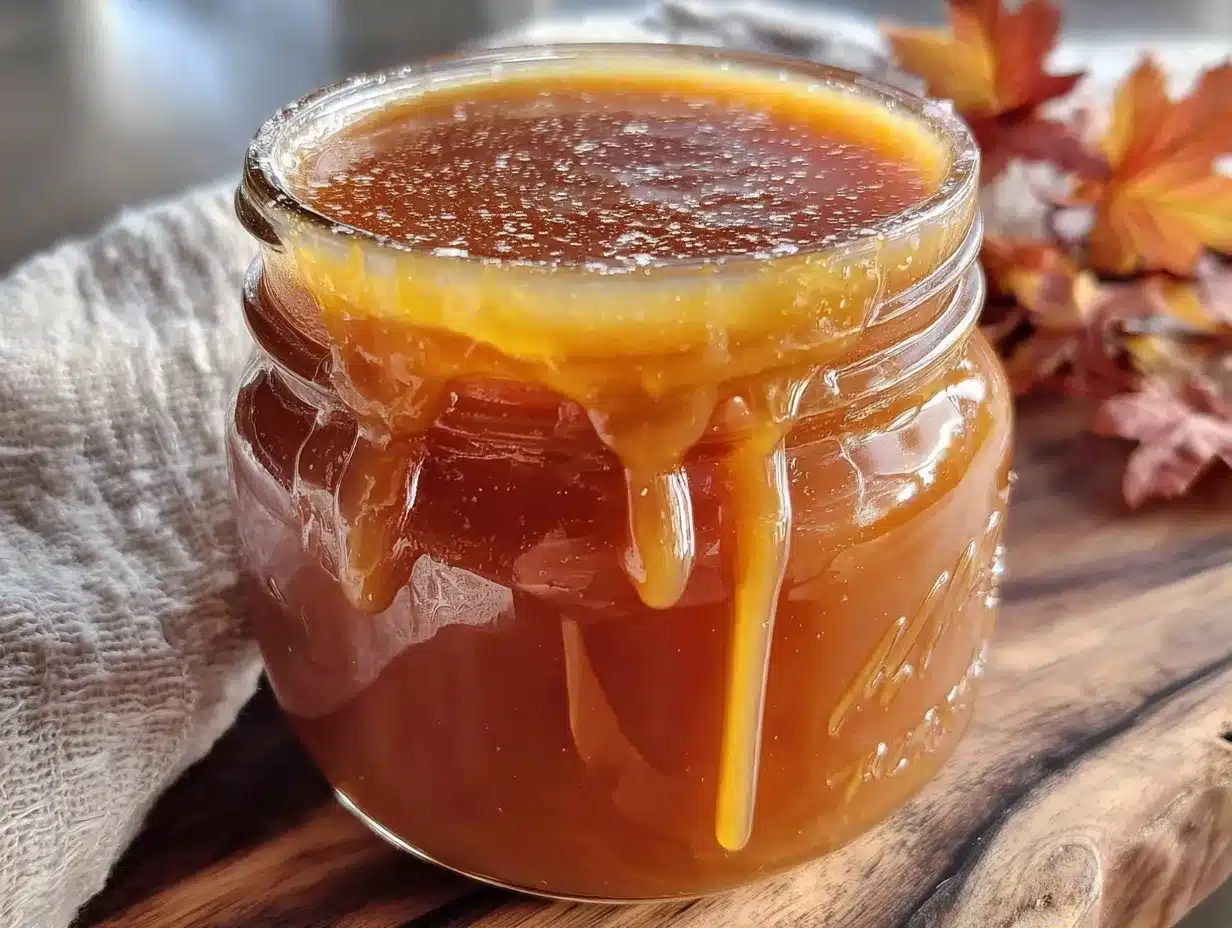
That weekend, I tested this homemade pumpkin caramel syrup recipe three times. The first batch was too thin. The second was too sweet. But the third? It was golden, rich, and tasted exactly like the expensive stuff, if not better. It’s sticky, it’s aromatic, and it transforms a basic cup of coffee into something that feels like a hug in a mug. Plus, it costs about $2 to make a batch that lasts all month. That’s a win in my book.
If you’re tired of the seasonal price hikes and want to create a budget-friendly coffee bar at home, this is the recipe you need. It’s not just for coffee, either. I’ve drizzled it over my sugar-free pumpkin spice iced coffee for guests who want the flavor without the sugar crash, and it’s a game-changer for pancakes too.
Why You’ll Love This Pumpkin Caramel Syrup
I know what you’re thinking: “Can syrup really be that good with only three ingredients?” Yes. And here’s why this homemade pumpkin caramel syrup has replaced every store-bought bottle in my house.
It’s Dirt Cheap — Seriously. Store-bought pumpkin syrup runs $6 to $8 per bottle. My batch costs about $2.50 to make and yields enough for 12-15 servings. That’s less than 20 cents a drink. For a family of four, that’s saving $100+ over the fall season.
It’s Actually Pumpkin — Most coffee shop syrups are just sugar water with pumpkin spice flavoring. This uses real pumpkin puree. You get the actual flavor of fall, not just the perfume of it. It adds a tiny bit of texture and body that sugar syrup just can’t match.
It’s Ready in 10 Minutes — You don’t need to simmer it for hours like a traditional caramel. It comes together in the microwave or on the stove in about 10 minutes of active time. I make it while the coffee brews.
Kid-Approved — My picky eaters love it. We put it in hot chocolate, oatmeal, and yes, coffee (decaf for them). It’s sweet enough to satisfy the craving but not so overpowering that it masks the coffee flavor.
Perfect for Meal Prep — Make one batch on Sunday, and you’re set for the week. It keeps in the fridge for up to 3 weeks, so you’re never caught without your favorite flavor.
This syrup has completely changed our morning routine. No more rushing out the door for overpriced drinks. Just grab a mug, add a spoonful, and enjoy. It’s practical, affordable, and delicious.
Ingredients You’ll Need
Here’s the best part: you probably have everything you need right now. This recipe relies on pantry staples and one fresh ingredient. No weird extracts or hard-to-find items.
For the Syrup Base
Brown Sugar (1 cup / 200g) — I use light brown sugar for a milder molasses flavor, but dark brown sugar works if you want a deeper, richer caramel taste. Don’t use white sugar; it won’t give you that same molasses depth.
Heavy Cream (½ cup / 120ml) — This is non-negotiable for the caramel texture. If you use milk, it’ll be too thin and won’t coat the spoon. Half-and-half works in a pinch, but it’s not as rich. I buy the small cartons of heavy cream for recipes like this so it doesn’t go bad in my fridge.
Pumpkin Puree (2 tablespoons / 30g) — Make sure it’s 100% pure pumpkin, not pumpkin pie filling. Pie filling has sugar and spices already added, which will mess up the balance. I keep a can of Libby’s or a homemade batch in the pantry year-round.
For the Flavor
Pumpkin Pie Spice (1 teaspoon) — This is your flavor powerhouse. It usually contains cinnamon, ginger, nutmeg, and cloves. If you don’t have a pre-mixed blend, you can make your own with ½ tsp cinnamon, ¼ tsp ginger, ¼ tsp nutmeg, and a pinch of cloves. Freshly ground spices make a huge difference.
Salt (¼ teaspoon) — A pinch of salt is crucial. It cuts the sweetness and enhances the caramel flavor. Don’t skip it, even if you like things sweet.
Vanilla Extract (½ teaspoon) — Pure vanilla, not imitation. It rounds out the flavors and adds that warm, cozy note.
Butter (1 tablespoon / 14g) — Optional, but I recommend it. It adds a silky mouthfeel and richness. I use unsalted butter so I can control the salt level.
Equipment Needed
You don’t need fancy gadgets for this. Here’s what I actually use in my kitchen.
Microwave-Safe Bowl — A large glass measuring cup or a wide ceramic bowl works best. I use a 4-cup glass measuring cup because it’s easy to pour and clean. Make sure it’s big enough to handle the bubbling; it will expand.
Whisk — A small balloon whisk is perfect for breaking up any lumps in the pumpkin puree. Forks work too, but a whisk is faster.
Small Saucepan — If you prefer stovetop, a small 1-quart saucepan works. I usually just use the microwave because it’s faster and I don’t have to watch it constantly.
Measuring Cups and Spoons — Standard stuff. Accuracy matters here because sugar and cream ratios affect the texture.
Storage Jar — A clean glass jar or bottle with a tight lid. I use an old mason jar or a repurposed syrup bottle from the store. Clean it well so the syrup doesn’t spoil.
Optional: Silicone Spatula — For scraping the sides of the bowl. Helps get every last bit of syrup out.
How to Make It: Step-by-Step
Alright, let’s make this! It’s incredibly simple, but there are a few tricks to keep it smooth and prevent burning.
Step 1: Mix the Dry Ingredients (1 minute)
In your microwave-safe bowl, combine the brown sugar and pumpkin pie spice. Whisk them together first. This helps distribute the spices evenly so you don’t get a mouthful of pure cinnamon later. If you’re using fresh spices, mix those in now too.
Step 2: Add Wet Ingredients (1 minute)
Add the heavy cream, pumpkin puree, salt, and vanilla extract to the bowl. If you’re using butter, add it now too. Whisk everything together until it’s smooth. The pumpkin puree can be tricky to mix in, so take your time. You want a uniform, golden-orange mixture with no white streaks of cream or orange clumps of pumpkin.
Step 3: Microwave in Intervals (3-4 minutes)
This is the key step. Do NOT microwave it all at once. It will boil over and make a mess.
First Interval: Microwave on high for 2 minutes. Stop and whisk vigorously. The mixture will start to bubble and look thickened. Scrape down the sides of the bowl.
Second Interval: Microwave for another 1-2 minutes. Watch it closely. It’s done when it bubbles vigorously across the surface and thickens to a syrup consistency. It should coat the back of a spoon. Be careful not to overcook it, or it will become hard candy when it cools.
Step 4: Stir and Cool (5 minutes)
Remove the bowl from the microwave. Stir in the butter if you’re using it. The residual heat will melt it into the syrup. Let it cool for 5 minutes. It will thicken further as it cools. If it seems too thick after cooling, you can stir in a teaspoon of hot water to thin it out.
Step 5: Store
Pour the syrup into your clean jar or bottle. Let it cool completely before sealing. It keeps in the fridge for up to 3 weeks.
Total Time: About 10 minutes (5 minutes prep, 5 minutes cook/cool)
Expert Tips & Tricks
Here’s everything I’ve learned from making this dozens of times. These tips will save you from my mistakes.
Don’t Skip the Whisking — The pumpkin puree and cream can separate if you don’t mix well. Whisking between microwave intervals ensures a smooth, emulsified syrup. If it looks grainy, you didn’t whisk enough.
Watch the Microwave Power — Every microwave is different. If yours is high-powered (1000+ watts), reduce the time by 30 seconds. If it’s low-powered, you might need an extra minute. The bubbles are your guide. You want active, rolling bubbles, not just a few lazy ones.
Use Fresh Pumpkin Puree — While canned works great, I’ve found that fresh roasted pumpkin puree has a deeper flavor. If you roast your own, make sure it’s very smooth. Any stringy bits will make the syrup chunky. I usually blend canned puree with a fork to ensure smoothness.
Adjust Sweetness to Taste — If you prefer less sweet, reduce the brown sugar to ¾ cup and add a splash more cream. If you like it super sweet, add an extra tablespoon of sugar. The pumpkin adds natural earthiness, so you don’t need as much sugar as plain caramel syrup.
Thinning It Out — This syrup thickens as it cools. If you find it too thick to pour, add a teaspoon of hot water or hot milk and stir. It will loosen up immediately. You can adjust the consistency to your liking.
Variations & Substitutions
Once you’ve nailed the basic version, here’s how you can mix it up. I’ve tried all of these.
Dairy-Free Version — Swap heavy cream for full-fat coconut cream and butter for coconut oil. It adds a slight coconut flavor, but it’s delicious. Use coconut milk instead of cream for a lighter option, but it won’t be as thick.
Lower Sugar — Use a brown sugar substitute like erythritol or monk fruit blend. Note: Sugar substitutes don’t caramelize the same way, so the texture will be thinner. It works great for my sugar-free pumpkin spice iced coffee though!
Spiced Latte Syrup — Add an extra ½ teaspoon of cinnamon and a pinch of cardamom for a more complex spice profile. Great for lattes.
Maple Pumpkin Syrup — Replace half the brown sugar with pure maple syrup. It adds a different kind of sweetness and pairs beautifully with autumn flavors.
Gluten-Free — This recipe is naturally gluten-free, but double-check your pumpkin pie spice and vanilla extract labels to ensure they’re certified GF.
Serving & Storage
How to Serve
I usually stir 1-2 tablespoons of syrup into hot coffee or milk. For iced drinks, stir it into a little hot water first to dissolve it, then add ice. It’s also amazing drizzled over oatmeal, yogurt, or pancakes. My kids love it on their morning waffles.
Side Dishes: It pairs well with fall apple cinnamon baked oatmeal or creamy roasted butternut squash soup for a savory-sweet contrast.
Toppings Bar: When I have guests, I put out a small pitcher of the syrup, a bowl of whipped cream, and some cinnamon sticks. Everyone customizes their drink.
Storage Instructions
Refrigerator: Store in an airtight glass jar for up to 3 weeks. The syrup will thicken in the fridge. Let it sit at room temperature for 10 minutes before using to loosen it up.
Reheating: If it’s too thick, microwave for 15 seconds or stir in a teaspoon of hot water. Never heat it in the microwave for too long, or it will harden.
Freezing: You can freeze this syrup, but the texture might change slightly. Thaw it in the fridge overnight and stir well before using. It’s not necessary since it lasts 3 weeks in the fridge, but it’s an option if you make a huge batch.
Pro Tip: I always double this recipe. It takes the same amount of time to make one batch as two, and having extra means I’m never out during the busy holiday season. I keep one jar in the fridge and one in the pantry for guests.
Nutrition Information
I’m not a nutritionist, but here’s the breakdown if you’re tracking. This is a treat, so enjoy it in moderation.
Per Serving (1 tablespoon, based on 16 servings):
- Calories: 60
- Protein: 0g
- Carbs: 10g
- Fiber: 0g
- Sugar: 9g
- Fat: 2g
- Saturated Fat: 1g
- Cholesterol: 5mg
- Sodium: 15mg
What’s Good: It’s lower in calories than store-bought syrups because you control the sugar. The pumpkin adds a tiny bit of volume without many calories.
What to Know: It’s still high in sugar and fat from the cream and brown sugar. If you’re watching your intake, use less syrup or dilute it with more milk.
My Take: Look, this is a treat. It’s not a health food. But it’s way better than the artificial stuff, and it’s affordable. When I make it, I use it sparingly to flavor my drink, not drown it. That way, I get the taste without the guilt.
Final Thoughts
So that’s my go-to homemade pumpkin caramel syrup! I know I’ve talked a lot about how cheap and easy it is, but when you taste it, you’ll see why. It’s rich, it’s flavorful, and it makes your kitchen smell like fall.
This has saved us so much money on coffee shop runs. My husband says it’s better than the real thing, and I have to agree. It’s become a staple in our fall routine. Whether you’re making coffee, hot chocolate, or just drizzling it on dessert, this syrup is worth the 10 minutes it takes to make.
Make it yours! Try different spices, adjust the sweetness, or add a splash of bourbon for an adult twist. The best recipes are the ones you adapt to your family’s tastes.
If you make this, drop a comment and let me know what you think! I love hearing how recipes turn out in your kitchen. And if something doesn’t work, tell me that too—I’m here to help troubleshoot.
Happy cooking! And I hope your kitchen smells half as good as mine does right now.
Frequently Asked Questions
Can I use milk instead of heavy cream?
You can, but the syrup will be thinner and less rich. If you want to try it, use whole milk and add an extra tablespoon of brown sugar to compensate for the lack of fat. It won’t have that creamy caramel texture, but it will still taste good. Half-and-half is a better middle ground if you want something lighter than heavy cream.
My syrup came out too thick—what happened?
Usually, this means you microwaved it too long. Sugar continues to thicken as it cools. If it’s too thick to pour, stir in a teaspoon of hot water or hot milk. It will loosen up immediately. Next time, remove it from the microwave a little earlier when it’s still a bit runny.
Can I make this ahead for a party?
Absolutely! Make it up to 2 weeks ahead and store in the fridge. It keeps well. Just let it come to room temperature before serving so it’s pourable. I often make a big batch on Sunday and put it in a nice bottle for guests to use during the week.
Why did my syrup separate?
If the syrup looks oily or separated, it means the heat was too high or you didn’t whisk enough. Pumpkin puree and cream can separate if not emulsified properly. Whisk vigorously after microwaving. If it’s already separated, you can try whisking in a teaspoon of hot water to bring it back together.
Can I use pumpkin pie filling instead of puree?
No, please don’t. Pumpkin pie filling already has sugar and spices added, which will make your syrup way too sweet and alter the flavor balance. Use 100% pure pumpkin puree. If you only have pie filling, you’d need to drastically reduce the brown sugar and skip the pumpkin pie spice, which is risky. Stick to puree.
How do I reheat leftovers without it getting hard?
Sugar syrups harden when cold. To reheat, microwave for 15-20 seconds or stir in a teaspoon of hot water. Never microwave it for more than 30 seconds at a time, or it will become hard candy. Gentle heat is key.
Can I double this recipe?
Yes! Double everything and use a larger microwave-safe bowl. The cooking time might increase by 30-60 seconds because there’s more volume. Watch it closely to ensure it doesn’t boil over. I usually double it because it’s just as easy to make two batches as one.
Pin This Recipe!
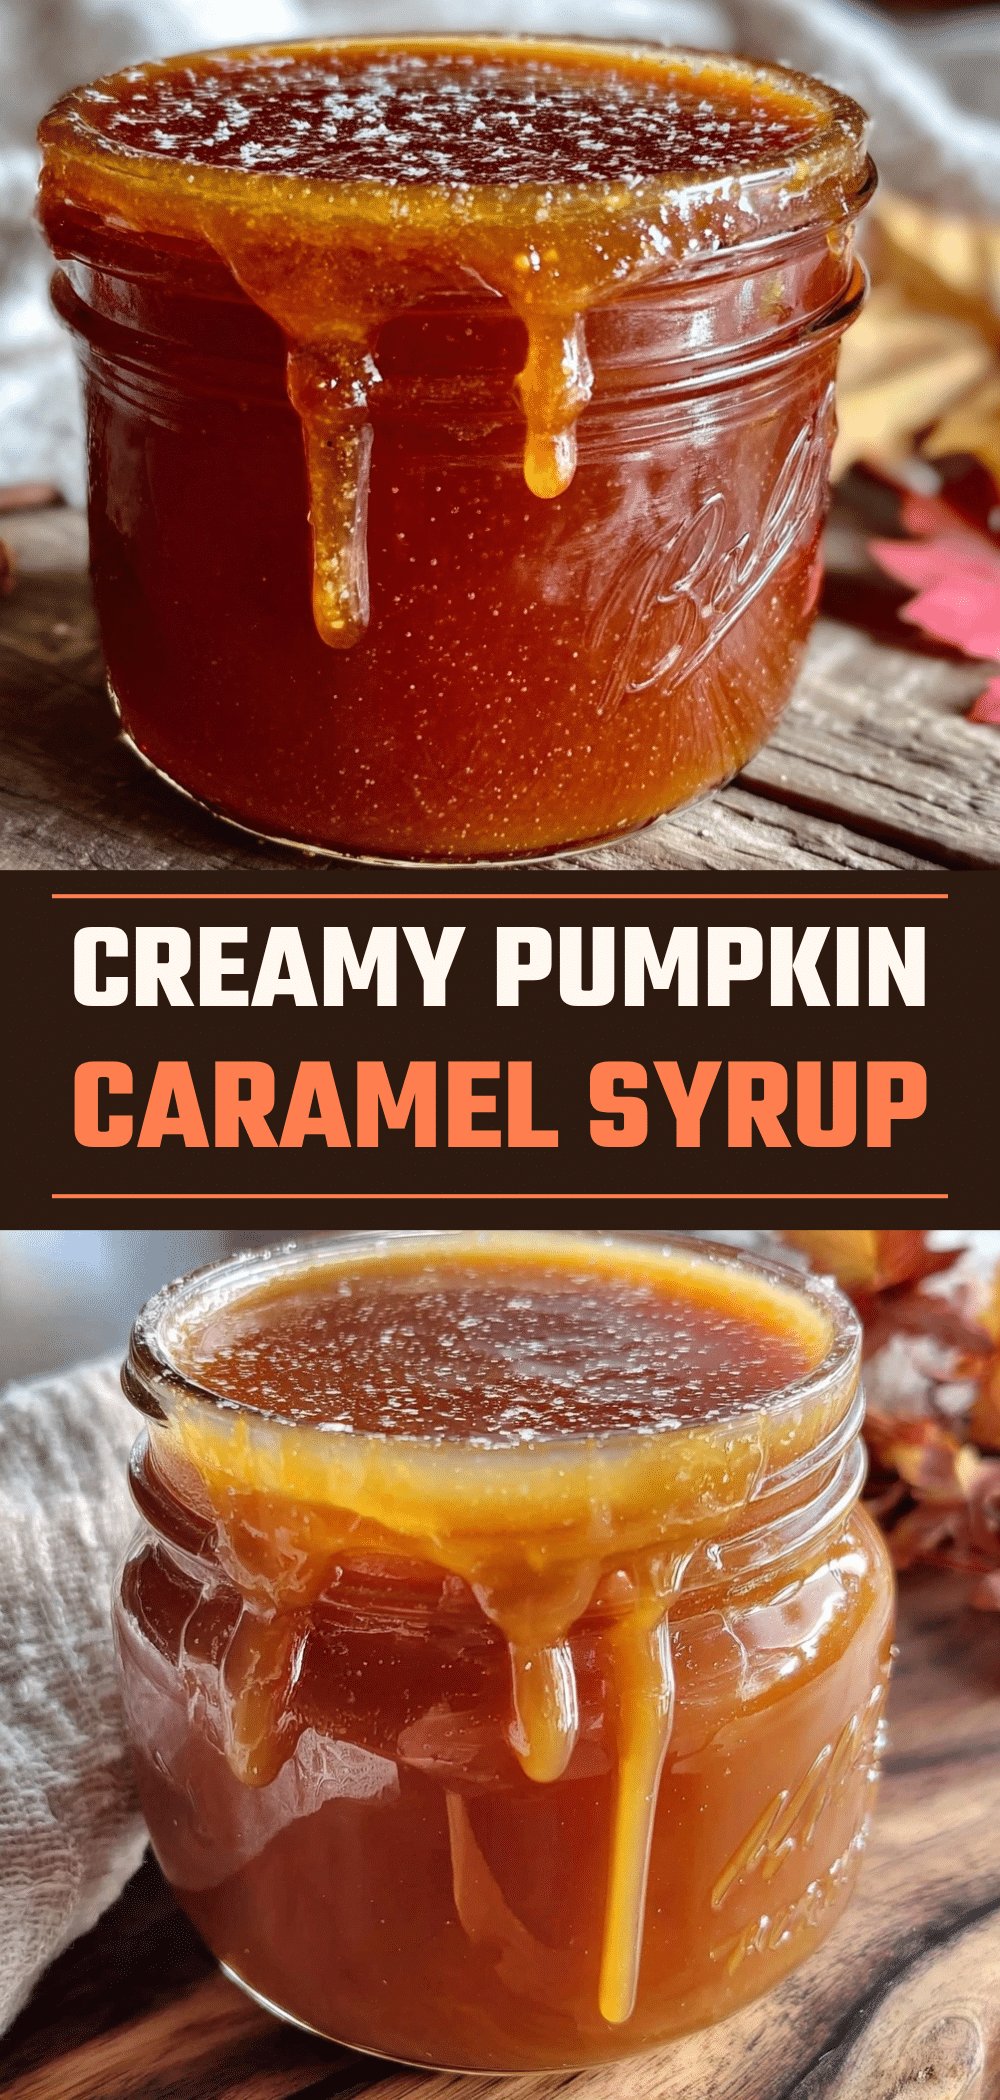
Homemade Pumpkin Caramel Syrup: 3-Ingredient Budget Recipe
- Total Time: 10 minutes
- Yield: 16 servings 1x
Description
A budget-friendly, homemade pumpkin caramel syrup made with just a few pantry staples. Ready in 10 minutes, this rich and aromatic syrup transforms coffee, oatmeal, and pancakes into fall-inspired treats.
Ingredients
- 1 cup (200g) light brown sugar
- ½ cup (120ml) heavy cream
- 2 tablespoons (30g) 100% pure pumpkin puree
- 1 teaspoon pumpkin pie spice
- ¼ teaspoon salt
- ½ teaspoon pure vanilla extract
- 1 tablespoon unsalted butter (optional)
Instructions
- In a microwave-safe bowl, combine the brown sugar and pumpkin pie spice. Whisk together to distribute spices evenly.
- Add the heavy cream, pumpkin puree, salt, vanilla extract, and butter (if using) to the bowl. Whisk vigorously until the mixture is smooth and uniform with no lumps.
- Microwave on high for 2 minutes. Stop and whisk vigorously to prevent boiling over and ensure emulsification. Scrape down the sides of the bowl.
- Microwave for another 1-2 minutes, watching closely. The syrup is done when it bubbles vigorously across the surface and coats the back of a spoon. Do not overcook.
- Remove from microwave and stir in the butter if using. Let cool for 5 minutes; the syrup will thicken further as it cools.
- Pour into a clean glass jar or bottle. Let cool completely before sealing. Store in the refrigerator for up to 3 weeks.
Notes
Ensure you use 100% pure pumpkin puree, not pumpkin pie filling. If the syrup becomes too thick after cooling, stir in a teaspoon of hot water to thin it out. For dairy-free, swap heavy cream for coconut cream and butter for coconut oil. This recipe is naturally gluten-free, but check spice labels.
- Prep Time: 5 minutes
- Cook Time: 5 minutes
- Category: Condiments
- Cuisine: American
Nutrition
- Serving Size: 1 tablespoon
- Calories: 60
- Sugar: 9
- Sodium: 15
- Fat: 2
- Saturated Fat: 1
- Carbohydrates: 10
Keywords: pumpkin caramel syrup, homemade coffee syrup, budget recipe, fall coffee, pumpkin spice, microwave syrup, dairy-free option


