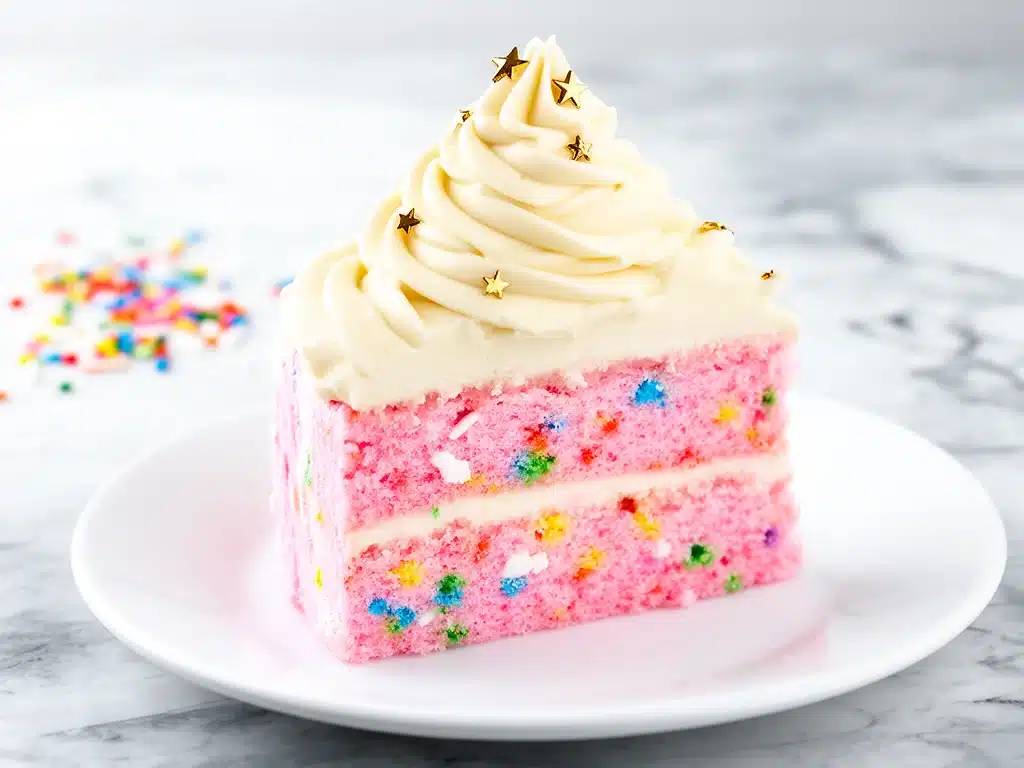
I have a confession to make: I used to buy funfetti cake mix. Not just occasionally—like, when I was desperate and the oven was already hot, I’d grab the box. But then I realized something shocking. Store-bought funfetti cake mix tastes like sugar and regret. It’s too dense, the frosting is weirdly sweet, and honestly? It just doesn’t feel like a real celebration.
So, I started experimenting. I wanted that nostalgic, bright pink cake with the rainbow sprinkles, but I wanted it to taste like something made with love, not a factory. After about six failed attempts (yes, six—I burned the edges on two of them and made a cake that looked like a sponge in others), I finally cracked the code. This homemade funfetti birthday cake is everything I wanted it to be: incredibly moist, tender, bursting with vanilla flavor, and loaded with colorful sprinkles that don’t sink to the bottom.
It’s become our family’s go-to for birthdays, but honestly, I make it for random Tuesdays too. There’s just something about the smell of vanilla and baking cake that turns a regular day into a mini-celebration. If you’re looking for a recipe that’s easier than you think but tastes like you spent hours in the kitchen, you’re in the right place. This is the best homemade funfetti birthday cake recipe you’ll ever try, and I’m going to walk you through exactly how to make it.
Why You’ll Love This Recipe
Let’s be real: baking a cake from scratch can feel intimidating. You might be worried about dry ingredients, lumpy batter, or frosting that won’t stay put. But this homemade funfetti birthday cake recipe changes the game. It’s designed for home bakers who want professional results without the stress. Here’s why this one keeps coming back to our dinner table (and yes, our dessert plates):
- It’s Foolproof Moist — I’ve tested this recipe with both cake flour and all-purpose flour, and it stays incredibly moist for days. Seriously. I made one last week, and it was still soft and delicious four days later. No dry crumbs, no sadness.
- Simple Ingredients — You probably have most of these in your pantry. Flour, sugar, butter, eggs, milk, vanilla, and sprinkles. No weird chemical additives or hard-to-find items. Just good, honest baking staples.
- Perfect for Any Occasion — Sure, it’s perfect for birthdays, but it’s also great for school bake sales, office parties, or just because. It’s a crowd-pleaser that kids and adults both love. I’ve served it at my daughter’s 7th birthday, and even the pickiest eater went back for seconds.
- Easy to Customize — Want to change the sprinkles? Go for it. Want to add a different flavor? The base recipe is versatile enough to handle it. I’ve made a version with blue sprinkles and lemon zest for summer, and it was amazing.
- Quick to Make — This homemade funfetti birthday cake comes together in about 30 minutes of prep time. The baking time is quick too, so you’re not waiting around all day. It’s perfect for last-minute celebrations or busy weeknights.
This recipe has saved me more times than I can count. It’s my go-to when I need to impress without the hassle. And the best part? It tastes like happiness.
Ingredients You’ll Need
Here’s the best part: you probably have most of this already. I’m particular about a few things, but overall, this is a very forgiving recipe. Let’s break down what you need and why it matters.
For the Cake
- All-Purpose Flour (2 ½ cups / 315g) — This is your base. Don’t use cake flour unless you want a lighter texture, but all-purpose gives that classic funfetti bite. Sift it if it’s lumpy!
- Baking Powder (2 teaspoons) — This is what makes your cake rise. Make sure it’s fresh—if it’s old, your cake might not puff up properly. I keep mine in the fridge to keep it fresh longer.
- Salt (1 teaspoon) — Yes, salt in a sweet cake? Absolutely. It balances the sugar and makes the vanilla flavor pop. Don’t skip it.
- Unsalted Butter (1 cup / 2 sticks / 226g) — Room temperature is key here. If your butter is too cold, it won’t cream properly with the sugar. If it’s too melted, your cake will be dense. Soft and pliable is the goal.
- Granulated Sugar (1 ½ cups / 300g) — This provides sweetness and helps create that tender crumb. Don’t reduce the sugar too much, or you’ll lose texture.
- Eggs (3 large) — Room temperature eggs mix better into the batter. Cold eggs can cause the butter to seize up. I take them out of the fridge 30 minutes before I start.
- Vanilla Extract (2 teaspoons) — Use real vanilla, not imitation. It makes a huge difference in flavor. I love using Nielsen-Massey vanilla for its rich, complex taste.
- Whole Milk (1 cup / 240ml) — Room temperature milk blends seamlessly. You can use 2% if you prefer, but whole milk gives the richest flavor.
- Rainbow Sprinkles (½ cup / 60g) — This is the fun part! I use standard rainbow jimmies. Do not use nonpareils (the tiny round ones) as they tend to bleed color into the batter and turn it pink.
For the Vanilla Buttercream Frosting
- Unsalted Butter (1 cup / 2 sticks / 226g) — Again, room temperature. It needs to be soft enough to whip but not melted.
- Powdered Sugar (4 cups / 480g) — Sift this if it’s clumpy. You want a smooth, silky frosting.
- Vanilla Extract (2 teaspoons) — For that classic vanilla flavor.
- Heavy Cream (2-3 tablespoons) — This helps thin out the frosting to a spreadable consistency. Add it one tablespoon at a time.
- Salt (½ teaspoon) — To balance the sweetness.
Pro Tip: I always measure my flour by spooning it into the cup and leveling it off, rather than scooping directly. Scooping packs the flour in, which can make your cake dry. This small habit has saved me from many dense cakes.
Equipment Needed
You don’t need fancy equipment for this. Here’s what I actually use:
- Two 9-inch Round Cake Pans — Grease and line them with parchment paper. This is crucial for easy removal. I use parchment rounds to ensure the cake doesn’t stick.
- Mixing Bowls — One large bowl for dry ingredients, one medium for wet.
- Electric Mixer — Handheld or stand mixer. I prefer a stand mixer for the creaming process, but a hand mixer works fine too. You need to beat the butter and sugar until fluffy.
- Rubber Spatula — For folding in the sprinkles and scraping down the bowl. Essential for getting all the batter out.
- Cooling Rack — Let your cakes cool completely before frosting. Warm cake = melted frosting = mess.
- Offset Spatula — For spreading the frosting smoothly. It makes a huge difference in the final look.
Optional: A kitchen scale is great for precision, but measuring cups work perfectly fine if you’re careful. I use both, depending on my mood.
How to Make It: Step-by-Step
Alright, let’s make this! I’m walking you through exactly how I do it, including the little tricks I’ve picked up over the years.
Step 1: Prep Your Pans and Oven
Preheat your oven to 350°F (175°C). Grease your two 9-inch cake pans with butter or cooking spray, then line the bottoms with parchment paper. This ensures the cakes release easily and stay moist. Dust the sides with a little flour if you’re worried about sticking, but the parchment is the key.
Step 2: Mix the Dry Ingredients
In a medium bowl, whisk together the flour, baking powder, and salt. This distributes the leavening agent evenly, which helps the cake rise uniformly. Set this aside.
Step 3: Cream the Butter and Sugar
In a large bowl, beat the room-temperature butter and granulated sugar on medium-high speed for about 3-4 minutes. You want it to look pale and fluffy. This step incorporates air into the batter, which is essential for a light texture. Don’t rush this part!
Step 4: Add Eggs and Vanilla
Add the eggs one at a time, beating well after each addition. Mix in the vanilla extract. Scrape down the sides of the bowl with a spatula to ensure everything is incorporated. The mixture should look smooth and creamy.
Step 5: Combine Wet and Dry Ingredients
With the mixer on low speed, add the dry ingredients in three parts, alternating with the milk in two parts. Start and end with the dry ingredients. Mix just until combined—overmixing can make the cake tough. You’ll have a thick, smooth batter.
Step 6: Fold in the Sprinkles
Using a rubber spatula, gently fold in the rainbow sprinkles. To prevent them from sinking, you can toss them in a tablespoon of flour first, but I’ve found that folding gently works well enough. Be careful not to overmix here.
Step 7: Bake
Distribute the batter evenly between the two prepared pans. Bake for 25-30 minutes, or until a toothpick inserted into the center comes out clean. The cakes should spring back when lightly touched. Do not overbake, or they’ll dry out.
Step 8: Cool
Let the cakes cool in the pans for 10 minutes, then turn them out onto a cooling rack to cool completely. This is crucial—frosting a warm cake will melt the frosting and make a mess.
Step 9: Make the Frosting
While the cakes cool, make the vanilla buttercream. Beat the butter until creamy, then gradually add the powdered sugar, vanilla, and salt. Add heavy cream one tablespoon at a time until you reach a spreadable consistency. Beat on high for 2-3 minutes until fluffy.
Step 10: Assemble and Decorate
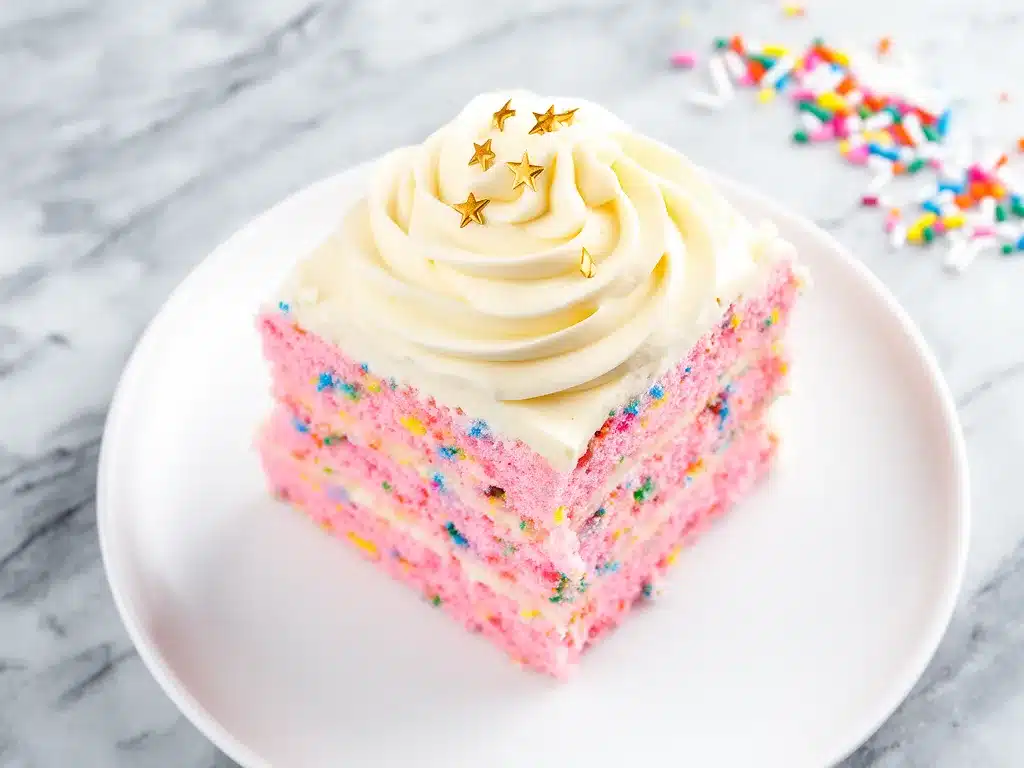
Place one cake layer on a serving plate. Spread a layer of frosting on top. Place the second layer on top and frost the top and sides. Decorate with extra sprinkles. Enjoy!
Expert Tips & Tricks
Here’s everything I’ve learned from making this dozens of times. These tips will save you from my mistakes.
Room Temperature Ingredients Are Non-Negotiable
Cold eggs, butter, or milk will cause your batter to curdle. Take everything out of the fridge at least 30 minutes before you start. If you forget, you can warm the milk slightly in the microwave for 15 seconds, or beat the butter until soft.
Don’t Overmix the Batter
Once you add the flour, mix until just combined. Overmixing develops gluten, which leads to a tough, chewy cake instead of a tender one. Stop mixing as soon as you don’t see dry streaks.
Use Good Sprinkles
As mentioned, avoid nonpareils. They bleed color. Use standard jimmies or even edible glitter for a sparkly effect. I love sprinkles from Sprinkles Inc. or local bakery brands.
Level Your Layers
If your cakes dome in the middle, use a serrated knife to slice off the dome. This creates flat layers that are easier to frost and stack. It’s a small step that makes a big difference in the final look.
Chill Before Serving
Once frosted, chill the cake for at least 30 minutes before slicing. This sets the frosting and makes clean slices easier. It also enhances the flavor as the cake settles.
Variations & Substitutions
Once you’ve nailed the basic version, here’s how you can mix it up. I’ve tried all of these.
Chocolate Sprinkles
Swap the rainbow sprinkles for chocolate jimmies. It’s a funfetti-chocolate combo that’s delicious.
Strawberry Funfetti
Add 1 tablespoon of freeze-dried strawberry powder to the dry ingredients. It gives a natural pink color and strawberry flavor.
Gluten-Free
Use a 1:1 gluten-free flour blend. The texture might be slightly different, but it’s still moist and tasty.
Dairy-Free
Use dairy-free butter and milk. The frosting can be made with coconut cream for a richer flavor.
Single Layer Cake
Halve the recipe and bake in a 9-inch round pan. Adjust baking time to 20-25 minutes.
Cupcakes
Fill liners 2/3 full and bake for 18-20 minutes. Makes about 24 cupcakes.
Serving & Storage
How to Serve: I usually serve this cake at room temperature. It’s the best texture. Slice with a sharp knife for clean cuts.
Side Dishes: Pair with fresh berries, whipped cream, or a simple vanilla ice cream. A glass of cold milk is classic.
Storage: Store covered at room temperature for up to 3 days. In the fridge for up to 5 days. Let it come to room temperature before serving for the best texture.
Freezing: You can freeze unfrosted cake layers for up to 3 months. Wrap tightly in plastic wrap and foil. Thaw overnight in the fridge before frosting.
Nutrition Information
I’m not a nutritionist, but here’s the breakdown if you’re tracking. Per serving (based on 12 slices):
- Calories: 450
- Protein: 5g
- Carbs: 60g
- Fat: 22g
- Sugar: 45g
Look, this is a celebration cake. It’s sweet and rich. But it’s also better than store-bought because you control the ingredients. When I want to make it lighter, I use less frosting and add fruit on top. But usually? I just enjoy a slice and savor the moment.
Final Thoughts
So that’s my homemade funfetti birthday cake! I’ve probably talked your ear off at this point, but when you make a recipe this often, you have a lot to say about it. This has saved my baking life more times than I can count. It’s my answer to “what dessert should I make?” when I want something special but easy.
Make it yours! Try different sprinkles, add a different flavor, or just enjoy the classic version. The best recipes are the ones you adapt to your family’s tastes. If you make this, drop a comment and let me know what you think! I love hearing how recipes turn out in your kitchen.
Happy baking! And I hope your kitchen smells half as good as mine does right now.
Frequently Asked Questions
Can I use cake flour instead of all-purpose?
Yes, but the texture will be lighter and more tender. If you use cake flour, you might need slightly less flour by volume. I stick to all-purpose for that classic funfetti chew.
Why did my cake sink in the middle?
Usually, this means it was underbaked or the oven temperature was too high. Make sure to test with a toothpick. Also, avoid opening the oven door too early, which can cause temperature drops.
Can I make this ahead of time?
Yes! Bake and cool the layers, then wrap tightly and freeze. Frost the day of. Or, bake and frost the day before and store in the fridge. It actually tastes better after a day as the flavors meld.
What if I don’t have an electric mixer?
You can use a whisk and arm strength, but it will take longer. You need to beat the butter and sugar until very fluffy, which is hard by hand. A hand mixer is a good middle ground.
Can I use colored sprinkles that bleed?
Not recommended. They will turn your batter pink and look muddy. Use jimmies or non-bleeding sprinkles for bright, distinct colors.
How do I get smooth frosting?
Make sure your frosting is at room temperature. If it’s too cold, it won’t spread smoothly. Use an offset spatula and chill the cake briefly to set the layer before adding the next.
Can I add food coloring?
You can, but the sprinkles provide enough color. If you want a pink cake, add a few drops of pink gel food coloring to the batter. Gel colors are better than liquid as they don’t thin the batter.
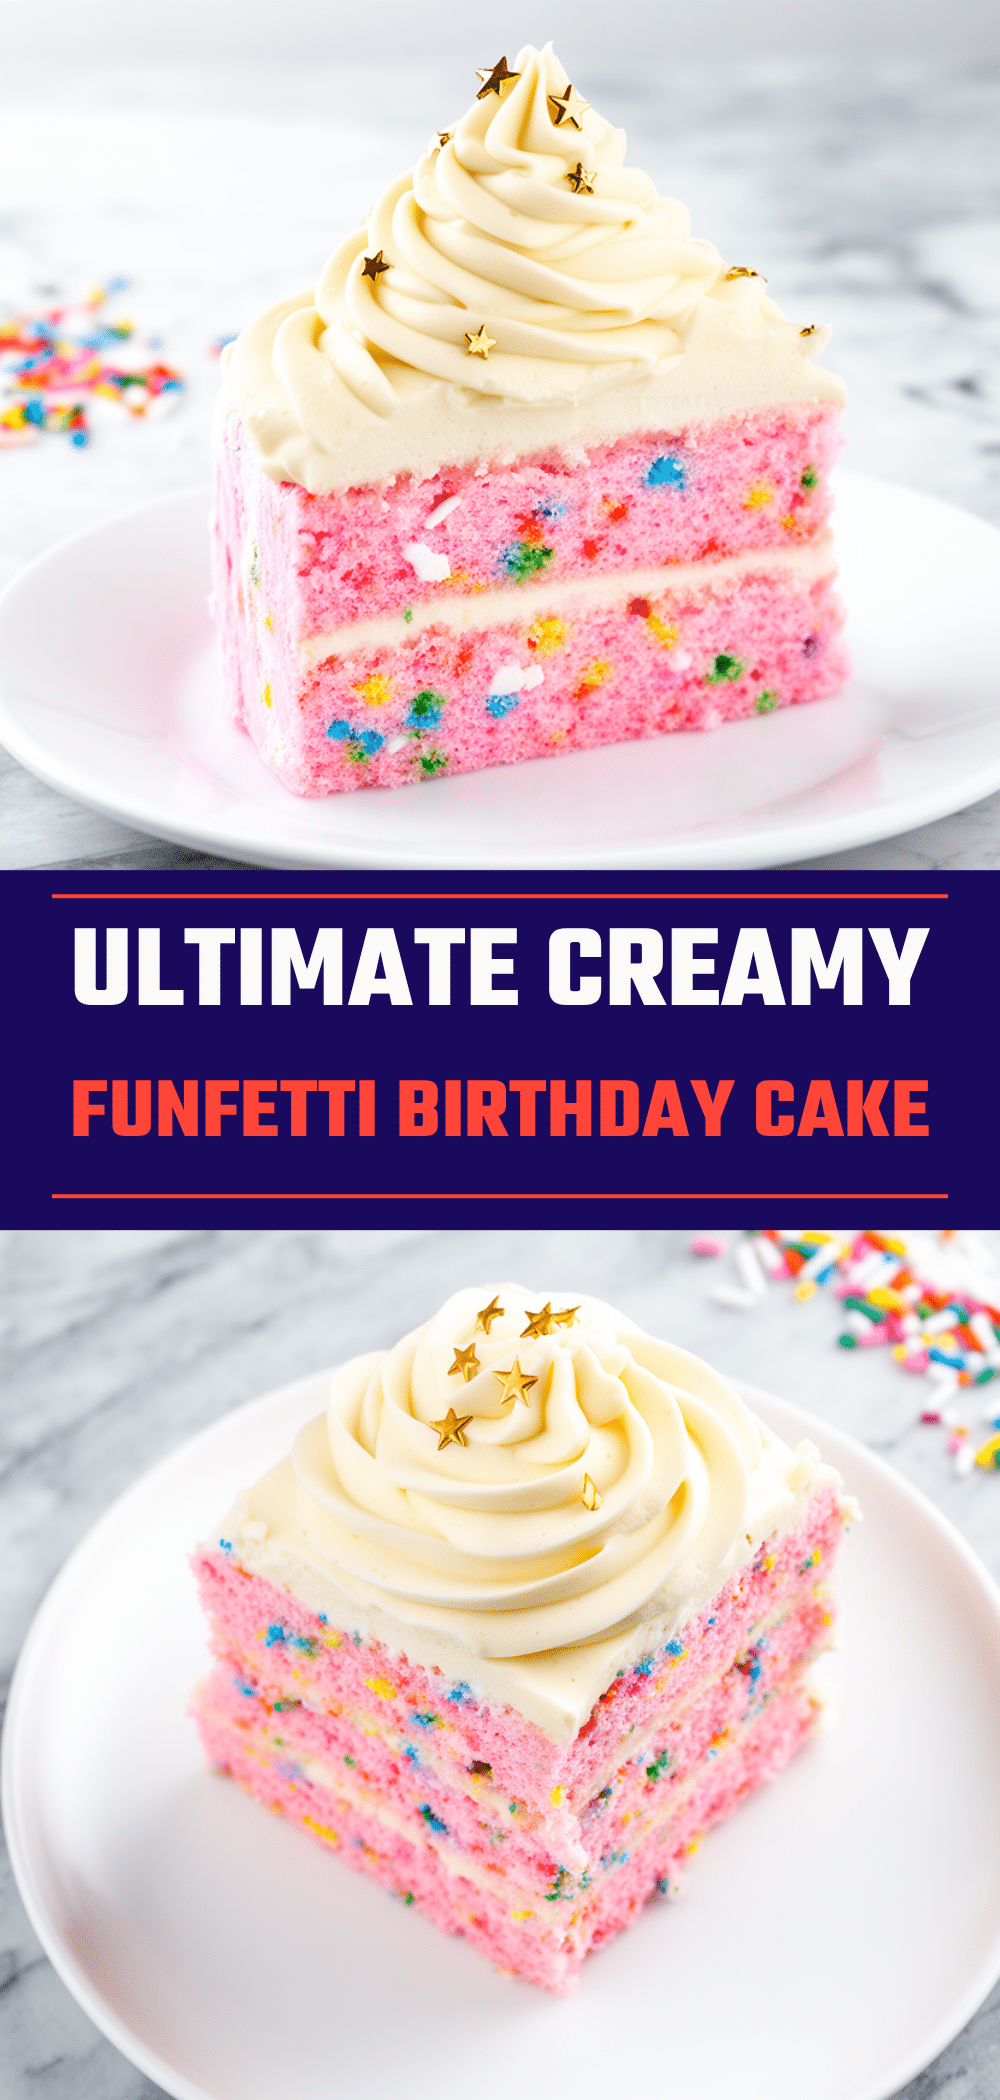
Pin This Recipe!
Homemade Funfetti Birthday Cake
- Total Time: 1 hour
- Yield: 12 servings 1x
Description
An incredibly moist and tender homemade funfetti birthday cake with classic vanilla flavor and rainbow sprinkles, topped with smooth vanilla buttercream frosting.
Ingredients
- 2 ½ cups all-purpose flour
- 2 teaspoons baking powder
- 1 teaspoon salt
- 1 cup unsalted butter (room temperature)
- 1 ½ cups granulated sugar
- 3 large eggs (room temperature)
- 2 teaspoons vanilla extract
- 1 cup whole milk (room temperature)
- ½ cup rainbow sprinkles (jimmies)
- 1 cup unsalted butter (for frosting, room temperature)
- 4 cups powdered sugar (for frosting)
- 2 teaspoons vanilla extract (for frosting)
- 2–3 tablespoons heavy cream (for frosting)
- ½ teaspoon salt (for frosting)
Instructions
- Preheat oven to 350°F (175°C). Grease two 9-inch round cake pans and line bottoms with parchment paper.
- In a medium bowl, whisk together flour, baking powder, and salt. Set aside.
- In a large bowl, beat room-temperature butter and granulated sugar on medium-high speed for 3-4 minutes until pale and fluffy.
- Add eggs one at a time, beating well after each addition. Mix in vanilla extract. Scrape down the sides of the bowl.
- With mixer on low speed, add dry ingredients in three parts, alternating with milk in two parts. Start and end with dry ingredients. Mix just until combined.
- Gently fold in rainbow sprinkles using a rubber spatula.
- Distribute batter evenly between prepared pans. Bake for 25-30 minutes or until a toothpick inserted into the center comes out clean.
- Let cakes cool in pans for 10 minutes, then turn out onto a cooling rack to cool completely.
- While cakes cool, make frosting: Beat butter until creamy, then gradually add powdered sugar, vanilla, and salt. Add heavy cream one tablespoon at a time until spreadable. Beat on high for 2-3 minutes until fluffy.
- Place one cake layer on a serving plate, spread frosting on top, add second layer, and frost top and sides. Decorate with extra sprinkles.
Notes
Ensure all ingredients are at room temperature for best results. Do not overmix the batter to avoid a tough cake. Use standard rainbow jimmies rather than nonpareils to prevent bleeding color. Chill the frosted cake for 30 minutes before slicing for clean cuts.
- Prep Time: 30 minutes
- Cook Time: 30 minutes
- Category: Dessert
- Cuisine: American
Nutrition
- Serving Size: 1 slice
- Calories: 450
- Sugar: 45
- Sodium: 350
- Fat: 22
- Saturated Fat: 13
- Carbohydrates: 60
- Fiber: 1
- Protein: 5
Keywords: funfetti cake, birthday cake, homemade cake, vanilla cake, sprinkles, buttercream frosting, easy baking


