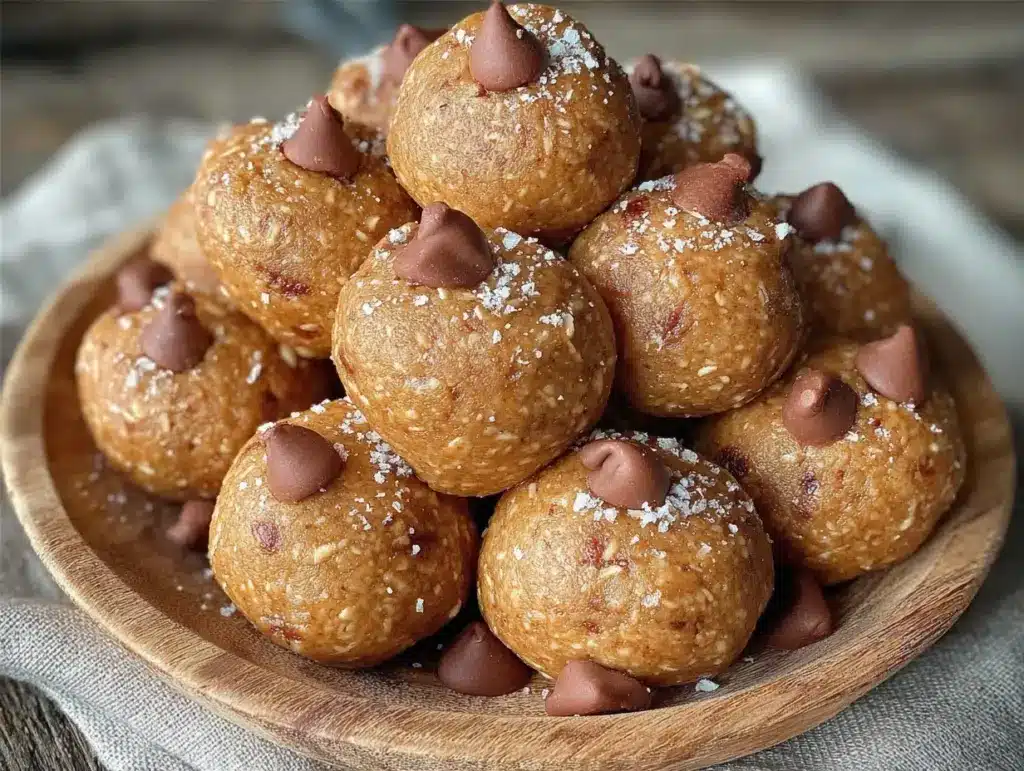
Last Tuesday, I stood in the snack aisle of my local grocery store, holding a box of those “premium” protein bars for about twenty minutes. They were six dollars for a box of four. Four. Dollars. For four little compressed bricks of oats and mystery powder. I put them back. I’ve been there too many times, staring at the price tag, trying to convince myself that I need $1.50 per snack just to get through the afternoon slump.
I’m not trying to be a hero. I’m just trying to stretch a $40 grocery budget to last me a week, and spending $1.50 on a single snack is a fast track to instant noodles for dinner. So, I went home and raided my pantry. I had old oats, a jar of peanut butter that was half-empty, a tub of whey protein I bought on clearance three months ago, and a handful of cheap chia seeds. I mixed them up in a bowl, rolled them into balls, and tossed them in the fridge.
The next day, I grabbed one for my 3 PM hunger pang. It tasted like a Reese’s Cup that actually had some fiber in it. It kept me full until dinner. And it cost me about 40 cents to make.
That was six months ago. These high-protein peanut butter protein balls have become my absolute lifeline. They are my go-to for budget snacks because they turn the cheapest staples in my kitchen into a meal-prep powerhouse. I make a big batch on Sunday, stash them in a container, and I have lunchbox filler or afternoon snack covered for days. No baking required, no fancy equipment, and definitely no breaking the bank.
If you’re cooking for one and watching every dollar, this is the recipe you need. It’s simple, it’s cheap, and it tastes way better than anything you’ll buy in a wrapper.
Why You’ll Love This Recipe for Your Budget
I’ve tried dozens of no-bake snack recipes over the years. Some are too sweet, some fall apart in your hand, and some require ingredients I have to drive to three different stores to find. These peanut butter protein balls are different. They are the definition of practical cooking.
Here’s why they’ve earned a permanent spot in my weekly rotation:
Stupid Cheap — Seriously. If you already have peanut butter, oats, and protein powder (which you probably do, or can buy for $10 and last months), you’re set. The cost per ball is pennies. I’m talking less than $0.50 each. That’s a fraction of the cost of a granola bar.
Zero Baking — I don’t have a big oven, and I certainly don’t want to turn it on just for snacks. These are mixed in a bowl and rolled. Done. No oven, no mess, no waiting for things to cool. It’s perfect for small kitchens or lazy afternoons.
One-Person Friendly — Most protein ball recipes make 30 balls. Who needs 30 balls? I make a batch that gives me about 12-15 balls. That’s exactly enough for my work week. I don’t have to freeze half of them or worry about them going stale. It’s the perfect portion size for a single cook.
Keeps Me Full — This isn’t just a sugar rush. With the protein powder and peanut butter, these actually curb my appetite. I had a snack at 3 PM and didn’t raid the pantry again until dinner at 7 PM. That’s huge for budgeting because it stops me from buying late-night convenience store food.
Freezer Friendly — I make these on Sunday, and they last all week in the fridge. But if I’m feeling lazy, I freeze half of them. They thaw out in about 10 minutes if I grab one from the freezer in the morning. It’s like having fresh snacks ready to go, all the time.
Real talk? These have saved my grocery budget more times than I can count. They are the ultimate “I need to eat something but I don’t have money for takeout” solution.
Ingredients You’ll Need
Here’s the best part: the ingredient list for these high-protein peanut butter protein balls is shorter than most coffee orders, and you probably have 80% of it already. I’m not asking you to buy exotic superfoods or expensive nuts. Just the basics.
Oats (1 cup / 90g) — I use old-fashioned rolled oats. They hold together better than quick oats. If you’re on a tight budget, buy the large canister, not the small box. It’s cheaper per ounce. I also grind half of them in my blender for a finer texture, but you can skip that step if you’re in a hurry.
Peanut Butter (½ cup / 128g) — Use natural, creamy peanut butter. The kind with just peanuts and salt. Avoid the ones with added sugar or hydrogenated oils. It’s cheaper and healthier. If your natural PB is runny, just microwave it for 15 seconds to thicken it up. Skip the crunchy unless you like texture surprises.
Whey Protein Powder (½ scoop / approx. 15-20g) — This is the secret weapon. It boosts the protein and adds sweetness so you don’t need extra sugar. Chocolate or vanilla works best. I use whatever flavor is on sale. If you don’t have protein powder, you can use more oats or a tablespoon of honey, but you’ll lose the protein punch. If you’re into keto snacks, these fat bombs are another cheap option, but for regular protein, this is the way to go.
Chia Seeds (2 tablespoons / 15g) — They add fiber and help bind everything together. They’re cheap if you buy them in bulk. If you can’t find them, skip them or use flaxseed. They’re basically flavorless, so you won’t miss them.
Milk (2-3 tablespoons / 30-45ml) — Any milk works. Water works too, but milk helps the mixture come together smoother. I use whatever milk is left in my carton, usually almond or dairy. Just add it slowly.
Honey or Maple Syrup (1 tablespoon / 15ml) — Optional, but it helps with sweetness and binding. If your protein powder is already sweet, you might not need this. I add it if I’m using unsweetened protein powder.
Salt (a pinch) — Just a tiny pinch to balance the sweetness. Don’t skip it. It makes the peanut butter taste more like peanut butter.
Dark Chocolate Chips (optional, 2 tablespoons) — I toss these in sometimes for a treat. If you’re strictly budgeting, skip them. The balls are good enough on their own. But if you have a few chips lying around, they add a nice crunch.
Equipment Needed
You don’t need fancy gear for this. I’m working with a budget, not a professional kitchen.
Large Mixing Bowl — Any bowl works. I use a medium-sized stainless steel bowl. It needs to be big enough to mix everything without making a mess.
Measuring Cups and Spoons — Standard stuff. If you don’t have them, use a standard coffee mug for rough measurements, but cups are better for consistency.
Blender or Food Processor (Optional) — I like to grind half the oats into flour for a smoother ball. If you don’t have a blender, just use the oats as is. It’ll be chewier, but still good.
Sheet Pan or Plate — To roll the balls on. I use a plate lined with parchment paper or just a clean counter. Parchment paper makes cleanup easier, but it’s not strictly necessary.
Airtight Container — For storage. A Tupperware or glass container works. I use a small plastic container that fits perfectly in my fridge door.
How to Make It: Step-by-Step
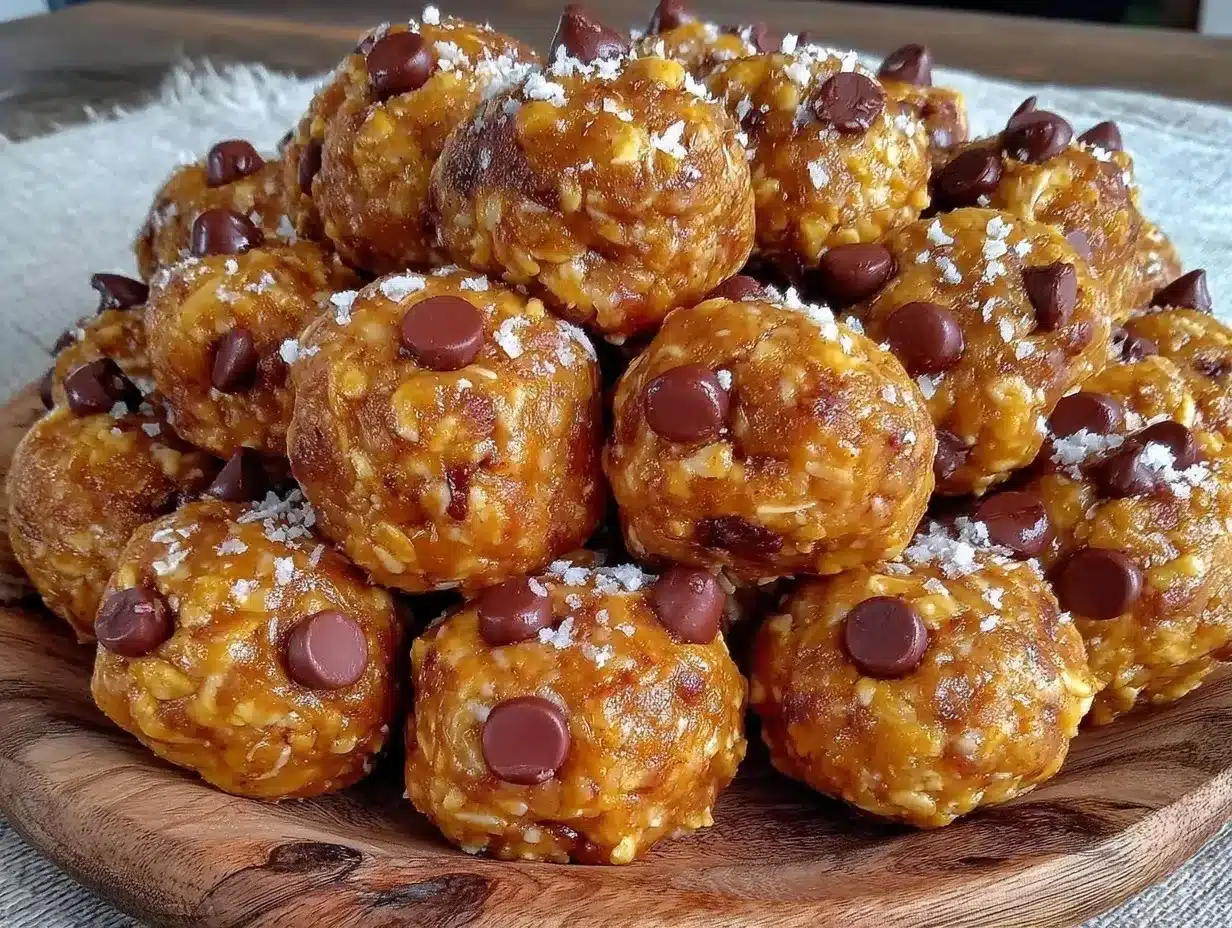
Alright, let’s make these. It takes about 10 minutes of active time, and the rest is just chilling. I walk you through exactly how I do it to keep costs down and taste up.
Step 1: Prep Your Oats (2 minutes)
If you want a smoother texture, pour half of your oats into a blender. Pulse them until they look like coarse flour. If you like chewy balls, skip this step and use all whole oats. I usually do half and half—it gives me the best of both worlds.
Step 2: Mix the Wet Ingredients (1 minute)
In your large bowl, combine the peanut butter, honey (if using), and milk. Stir it together until it’s smooth. If your peanut butter is stiff, microwave it for 10-15 seconds to soften it. This makes mixing way easier.
Step 3: Add the Dry Ingredients (2 minutes)
Add the ground oats (or all oats), the remaining whole oats, chia seeds, and protein powder to the bowl. Sprinkle in the pinch of salt. Start mixing with a spoon. It’s going to look crumbly and dry. That’s normal. Don’t panic.
Step 4: Bring It Together (2 minutes)
Keep stirring. If it’s too dry to hold together, add another teaspoon of milk. If it’s too sticky, add a sprinkle of oats. You want a consistency like playdough—it should hold its shape when you squeeze it in your hand. This is the most important step. If it’s too wet, the balls will be a mess. If it’s too dry, they’ll crumble.
Step 5: Roll the Balls (3 minutes)
Pinch off small pieces of the mixture—about the size of a walnut—and roll them between your palms to form balls. Try to keep them uniform so they chill evenly. I usually get about 12-15 balls from this batch. If you want bigger snacks, make them larger, but they’ll cost more per ball.
Step 6: Chill (15-30 minutes)
Place the balls on a plate or sheet pan. Put them in the fridge for at least 15 minutes. This firms them up so they aren’t sticky when you eat them. If you’re in a rush, the freezer works in 10 minutes. I usually set a timer so I don’t forget them.
Total Time: About 15 minutes (plus chilling time).
Expert Tips & Tricks
Here’s everything I’ve learned from making these dozens of times. These tips will save you from the mistakes I made in the beginning.
Don’t Over-Mix
Once you add the protein powder, mix just until combined. Over-mixing can make the peanut butter release too much oil, making the balls greasy. Gentle hands only.
Adjust for Humidity
If you live in a humid area, your oats might absorb more moisture. You might need a bit less milk. Conversely, if your kitchen is dry, you might need a splash more. Trust your hands, not just the measurements.
Use Cheap Protein Powder
You don’t need the fancy, expensive brands. Look for store-brand whey or casein. It tastes fine in these balls because the peanut butter masks any weird aftertaste. I buy the biggest tub I can find on sale—it lasts me months.
Roll in Cocoa Powder
If you want them to look fancy (or taste more like chocolate), roll the finished balls in unsweetened cocoa powder. It’s cheap and adds a nice dusting. It also helps if they’re slightly sticky.
Storage is Key
These go bad if you leave them out. Always store them in the fridge or freezer. They’ll last up to a week in the fridge or three months in the freezer. I never make more than I can eat in a week because they lose their texture if they sit too long.
Variations & Substitutions
Once you’ve nailed the basic version, here’s how you can mix it up without spending more money. I’ve tried all of these.
Chocolate Peanut Butter
Add 1 tablespoon of cocoa powder to the dry mix. It tastes like a chocolate-covered peanut butter ball. My favorite.
Apple Cinnamon
Add ½ teaspoon of cinnamon and a tablespoon of finely grated apple. It tastes like an apple pie. It adds moisture, so reduce the milk slightly. If you love apple flavors, this apple crisp is another budget-friendly fall treat.
Coconut Lime
Add 1 tablespoon of shredded coconut (buy the cheap canned kind, not the fancy flakes) and a teaspoon of lime zest. It’s refreshing and different.
Vegan Version
Use plant-based protein powder and maple syrup instead of honey. The texture is slightly stickier, but it works great.
No Protein Powder?
If you don’t have protein powder, just use an extra ¼ cup of oats and a tablespoon of honey. It won’t be as high-protein, but it’s still a good snack.
Serving & Storage
How to enjoy these bad boys without wasting them.
How to Serve:
I usually eat them straight from the container. They’re perfect for my afternoon slump. I pair one with a black coffee or a tea. It’s a solid snack that doesn’t leave me feeling heavy.
Storage Instructions:
Keep them in an airtight container in the fridge for up to 7 days. If you want to save money and time, freeze them for up to 3 months. They thaw quickly. I keep a batch in the freezer and a batch in the fridge so I’m never caught without a snack.
Reheating:
You don’t need to reheat these. Eat them cold. They’re best cold. The peanut butter firms up and they’re nice and chewy.
Nutrition Information
I’m not a nutritionist, but here’s the breakdown if you’re tracking. These numbers are estimates based on standard ingredients.
Per Ball (makes approx. 12 balls):
– Calories: 120
– Protein: 6g
– Carbs: 10g
– Fiber: 2g
– Sugar: 4g
– Fat: 7g
What’s Good:
– Decent protein for a snack
– No refined sugar (if you skip extra honey)
– Fiber from oats and chia seeds
What to Know:
– High in healthy fats from peanut butter
– Calorie-dense, so stick to 1-2 balls as a snack
– Contains gluten (unless you use certified gluten-free oats)
My Take:
Look, this is a snack, not a meal replacement. But for the price and the protein boost, it’s hard to beat. It’s better than a bag of chips and cheaper than a protein bar.
Final Thoughts
So that’s my go-to high-protein peanut butter protein balls! I’ve probably talked your ear off at this point, but when you make a recipe this often, you have a lot to say about it.
This has saved my grocery budget more times than I can count. It’s my answer to “what’s for a snack” when I’m tired, don’t want to cook, and still want something that tastes good and keeps me full. I’m happy because I’m not stressed about spending money on processed bars.
Make it yours! Try different protein flavors, add some chocolate chips if you’re feeling fancy, or skip them if you’re strictly budgeting. The best recipes are the ones you adapt to your wallet.
If you make this, drop a comment and let me know what you think! I love hearing how recipes turn out in your kitchen. And if something doesn’t work, tell me that too—I’m here to help troubleshoot.
Happy cooking! And I hope your wallet stays full.
Frequently Asked Questions
Q: Can I use natural peanut butter?
A: Yes! In fact, I recommend it. Natural peanut butter can be a bit runnier, so you might need to add an extra tablespoon of oats to soak up the oil. Just mix it well.
Q: Why are my balls too sticky?
A: They’re probably too wet. Add more oats, one tablespoon at a time, until they hold their shape. Or put them in the fridge for 10 minutes to firm up.
Q: Can I freeze these?
A: Absolutely. Freeze them on a plate first, then transfer to a bag. They’ll last up to 3 months. Thaw for 10 minutes before eating.
Q: Do I have to use protein powder?
A: No. You can substitute it with more oats. But you’ll lose the protein boost and some of the sweetness. It’ll still be a tasty oat ball, just not a “protein” ball.
Q: How many calories are in these?
A: It depends on your ingredients, but generally around 100-130 calories per ball. Peanut butter is calorie-dense, so watch your portions if you’re counting.
Q: Can I make these ahead for meal prep?
A: Yes, this is what I do. Make a batch on Sunday, store in the fridge, and grab one each day. They stay fresh for up to a week.
Q: What if I don’t have chia seeds?
A: Skip them. They’re just for binding and fiber. You can use flaxseed or just rely on the oats and peanut butter to hold it together.
Pin This Recipe!
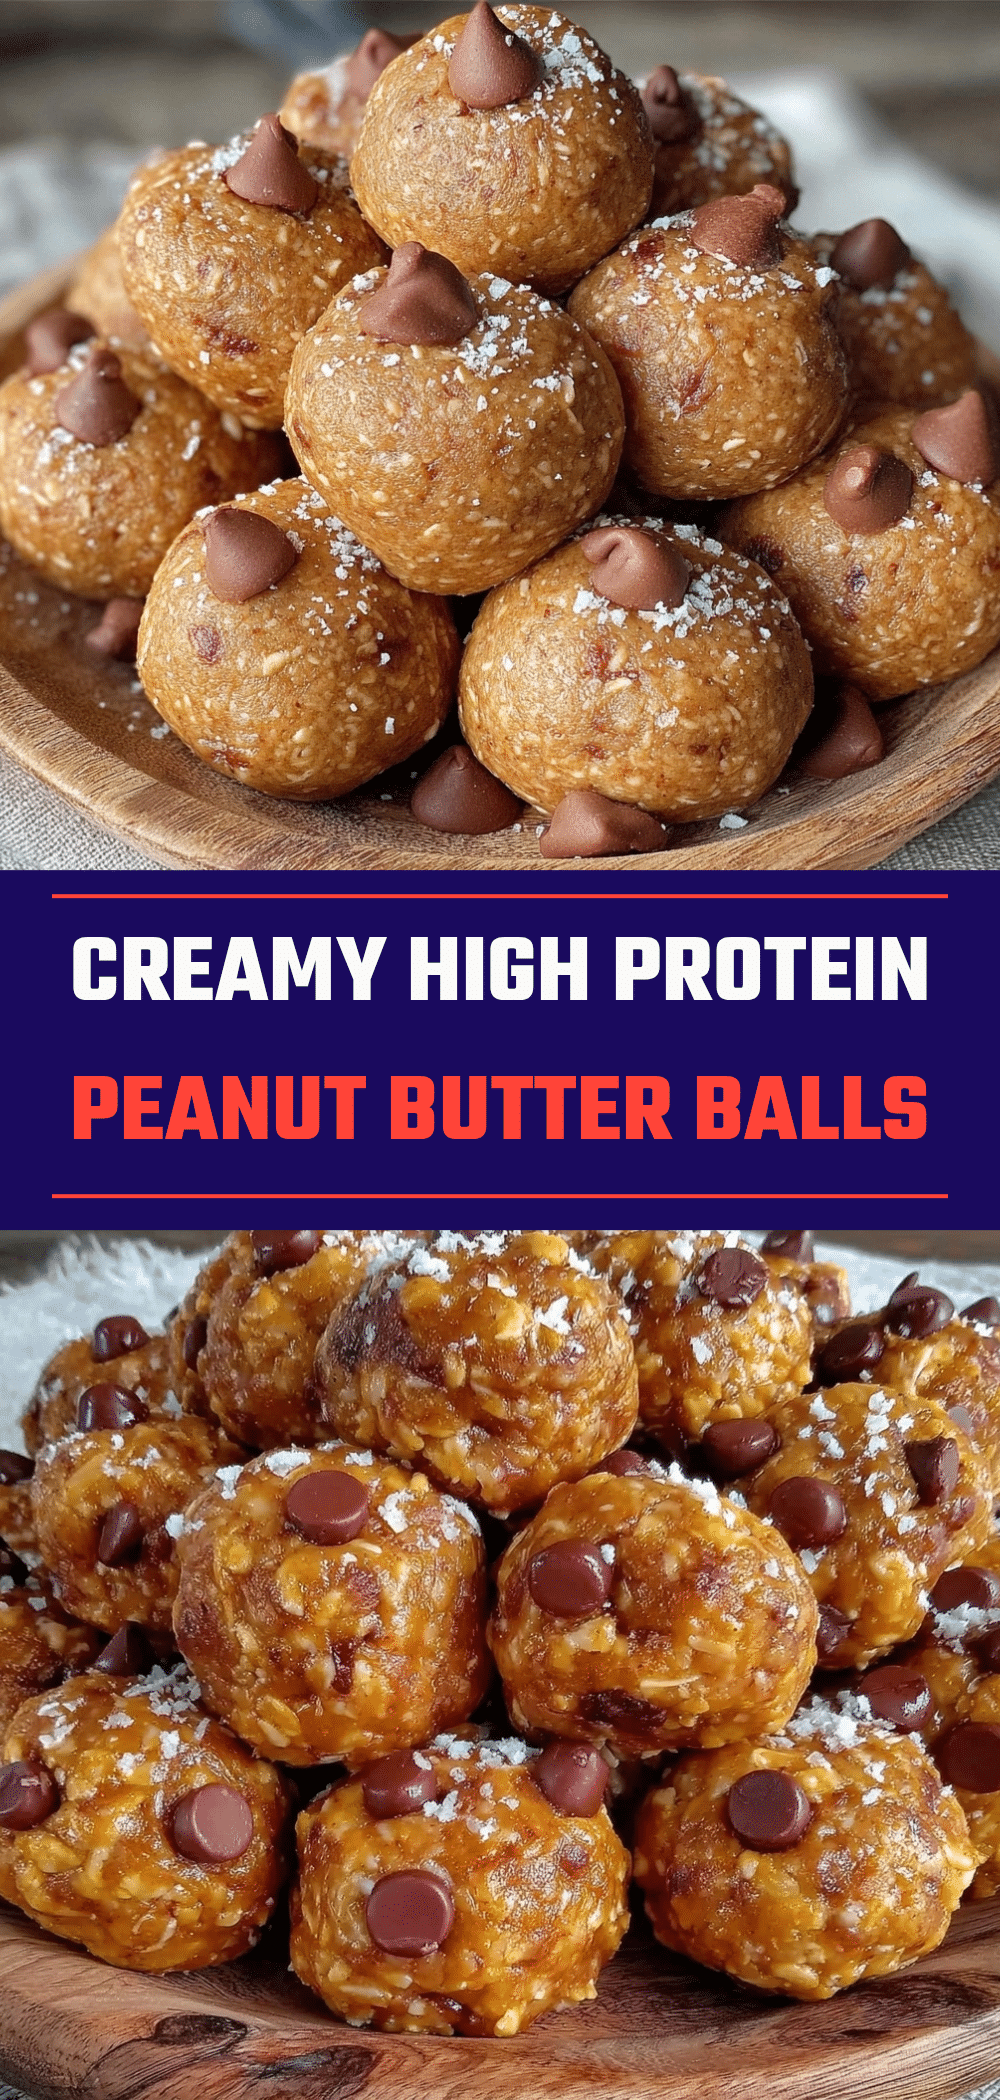

High-Protein Peanut Butter Protein Balls
- Total Time: 15 minutes
- Yield: 12 servings 1x
Description
A budget-friendly, no-bake snack made with simple pantry staples like oats, peanut butter, and protein powder. These high-protein balls are perfect for single servings, keeping you full for hours without breaking the bank.
Ingredients
- 1 cup old-fashioned rolled oats
- 1/2 cup creamy natural peanut butter
- 1/2 scoop whey protein powder (chocolate or vanilla)
- 2 tablespoons chia seeds
- 2–3 tablespoons milk (or water)
- 1 tablespoon honey or maple syrup (optional)
- 1 pinch salt
- 2 tablespoons dark chocolate chips (optional)
Instructions
- If desired for a smoother texture, pulse half of the oats in a blender until they resemble coarse flour.
- In a large mixing bowl, combine the peanut butter, honey (if using), and milk. Stir until smooth. If the peanut butter is stiff, microwave it for 10-15 seconds to soften.
- Add the ground oats (or all whole oats), remaining whole oats, chia seeds, protein powder, and salt to the bowl. Mix with a spoon until combined.
- Check the consistency. If too dry, add more milk teaspoon by teaspoon. If too sticky, add more oats. The mixture should hold its shape like playdough.
- Pinch off small pieces of the mixture (about the size of a walnut) and roll them between your palms to form balls.
- Place the balls on a plate or sheet pan and refrigerate for at least 15 minutes (or freeze for 10 minutes) to firm up before serving.
Notes
Store in an airtight container in the fridge for up to 7 days or freeze for up to 3 months. If using natural peanut butter that is runny, you may need to add an extra tablespoon of oats. Adjust milk quantity based on humidity and desired consistency.
- Prep Time: 10 minutes
- Cook Time: 0 minutes
- Category: Snack
- Cuisine: American
Nutrition
- Serving Size: 1 ball
- Calories: 120
- Sugar: 4
- Sodium: 100
- Fat: 7
- Saturated Fat: 1.5
- Carbohydrates: 10
- Fiber: 2
- Protein: 6
Keywords: high-protein, peanut butter, protein balls, budget snacks, no-bake, meal prep, single serving, healthy snacks, cheap snacks


