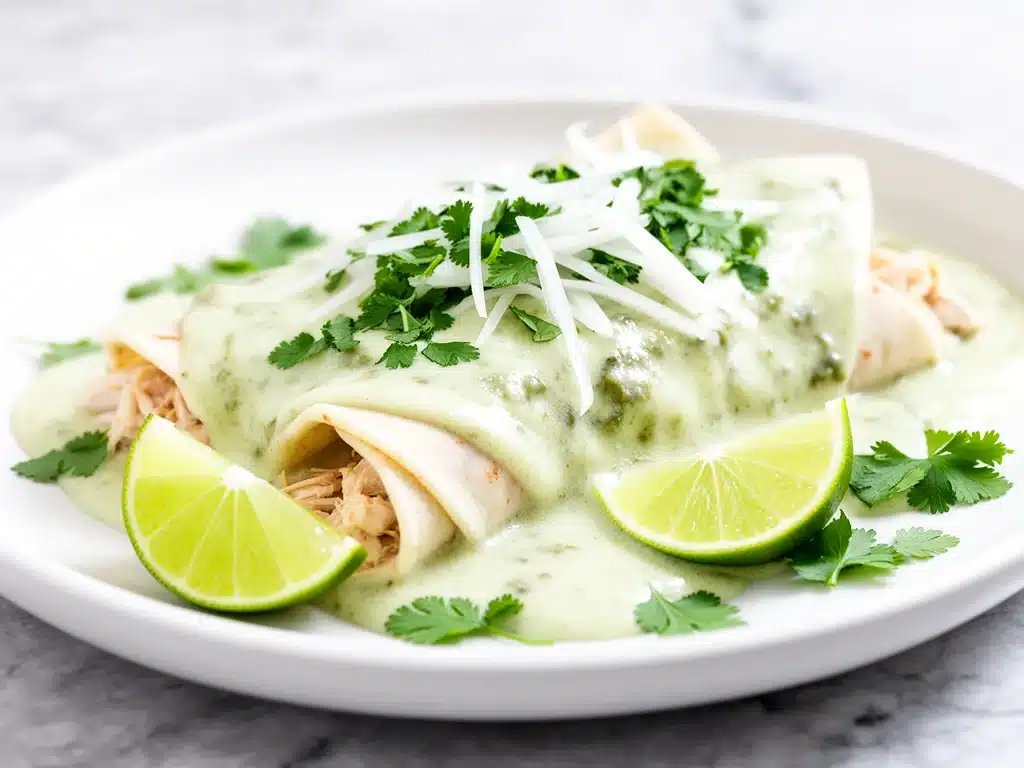
It was 6:45 PM on a Tuesday, and I was standing in front of an open freezer, feeling that familiar pinch of panic. We had zero plan for dinner, the kids were already arguing over who got the last fruit snack, and my husband was about to suggest ordering pizza again. I wasn’t in the mood for pizza. I was in the mood for something with flavor, something warm, and something that didn’t involve washing a mountain of dishes afterward.
That was the moment I finally cracked the code on the perfect Hatch Green Chili Chicken Enchiladas for busy weeknights. I didn’t have time to roast fresh chilies from scratch (though I love the idea, the reality is I’m often working late). I didn’t have hours to simmer a complex mole. But I did have a can of green chilies, a rotisserie chicken, and a desire to make my family think I was a culinary genius.
The result? A dish that smells like a restaurant, tastes like comfort, and comes together in the time it takes to watch one episode of a show you’ve seen a hundred times. These enchiladas have saved my weeknight sanity more times than I can count. They’re spicy, creamy, cheesy, and incredibly forgiving. I’ve made this Hatch green chili chicken enchiladas recipe with store-bought sauce, with homemade salsa verde, and with just the chilies and cream. The version below is the sweet spot—fast, flavorful, and impossible to mess up.
There’s something deeply satisfying about pulling a bubbling, golden-brown casserole out of the oven on a random Tuesday. It feels like a treat, but it’s actually just smart cooking. If you’re tired of the same old chicken and rice routine, this recipe is your new best friend. It’s bold, it’s easy, and it’s going to change your dinner rotation forever.
Why You’ll Love This Recipe
I know what you’re thinking. “Another chicken enchilada recipe?” But hear me out. Most enchilada recipes require you to roast peppers for an hour or make a sauce from scratch. This Hatch green chili chicken enchiladas version skips all that fuss and goes straight to the good stuff: big flavor, minimal effort, and maximum cheese.
Here’s why this specific version has earned a permanent spot in our weekly rotation:
- Zero Roasting Required — We’re using canned or jarred Hatch green chilies (or mild green chilies if you can’t find Hatch specifically). They’re already cooked, peeled, and ready to go. No fire, no peeling blistered skins, no crying over a cutting board.
- Rotisserie Chicken Friendly — This is the ultimate shortcut. Use a store-bought rotisserie chicken, or even leftover roasted chicken from Sunday. Shred it, toss it in, and you’re halfway done before you’ve even preheated the oven.
- Creamy, Not Heavy — By mixing the chilies with a little cream cheese or sour cream, you get a sauce that clings to the tortillas perfectly without being watery. It’s rich and tangy, not heavy.
- One-Dish Wonder — Okay, technically you use a bowl for shredding, but everything else happens in one baking dish. Less cleanup means more time on the couch.
- Kid-Approved Spice Level — Hatch chilies have a smoky, earthy heat that’s mild enough for kids but flavorful enough for adults. If you like it hotter, you can add a diced jalapeño, but the base recipe is perfectly balanced.
This isn’t just dinner; it’s a mood lifter. It’s the kind of meal that makes everyone at the table go quiet for the first few bites because they’re too busy chewing to talk. And the leftovers? They taste even better the next day, making this Hatch green chili chicken enchiladas recipe perfect for meal prep too.
Ingredients You’ll Need
One of the best things about this recipe is how simple the ingredient list is. You don’t need a specialty grocery store or a trip to three different aisles. Here’s what you need to make this Hatch green chili chicken enchiladas magic happen.
For the Filling
Rotisserie Chicken (3 cups, shredded / about 450g) — This is your protein base. Skip the rotisserie if you prefer, but it saves so much time. If you’re using leftover grilled chicken, chop it into bite-sized pieces. Avoid raw chicken here; we’re keeping it fast.
Hatch Green Chilies (2 cans, 4.5 oz each / 255g total) — Look for the brand “New Mexican Chili Company” if you can find it. They’re the gold standard. If you can’t find Hatch specifically, mild green chilies work fine. Just make sure they’re diced or sliced, not whole, to save chopping time.
Cream Cheese (8 oz, softened / 225g) — This is the secret ingredient that makes the sauce creamy and helps bind the filling. It adds a tangy richness that complements the chilies perfectly. Don’t skip this for a lighter version; it’s what gives the filling its structure.
Shredded Mexican Blend Cheese (2 cups / 200g) — I like a mix of cheddar and Monterey Jack for meltiness. You can use pepper jack if you want extra heat, but mild is safer for kids. Reserve half of this for the topping.
Onion (1 medium, finely diced / about 150g) — Yellow or white onion works. Finely diced so it disappears into the sauce. If you’re in a rush, use 1 teaspoon of garlic powder and skip the fresh onion, but fresh adds better texture.
Garlic (2 cloves, minced / 1 tablespoon) — Fresh garlic is best here. It blooms in the heat and adds that essential savory depth. Jarred garlic works in a pinch, but fresh tastes brighter.
Cumin (1 teaspoon) — Just a teaspoon. It adds warmth without overpowering the green chili flavor. If you don’t have cumin, it’s okay, but it’s a key flavor note.
Cilantro (½ cup, chopped / about 30g) — Fresh cilantro adds freshness. If you’re one of those people who thinks cilantro tastes like soap, swap it for parsley or just omit it. Your call.
For the Assembly
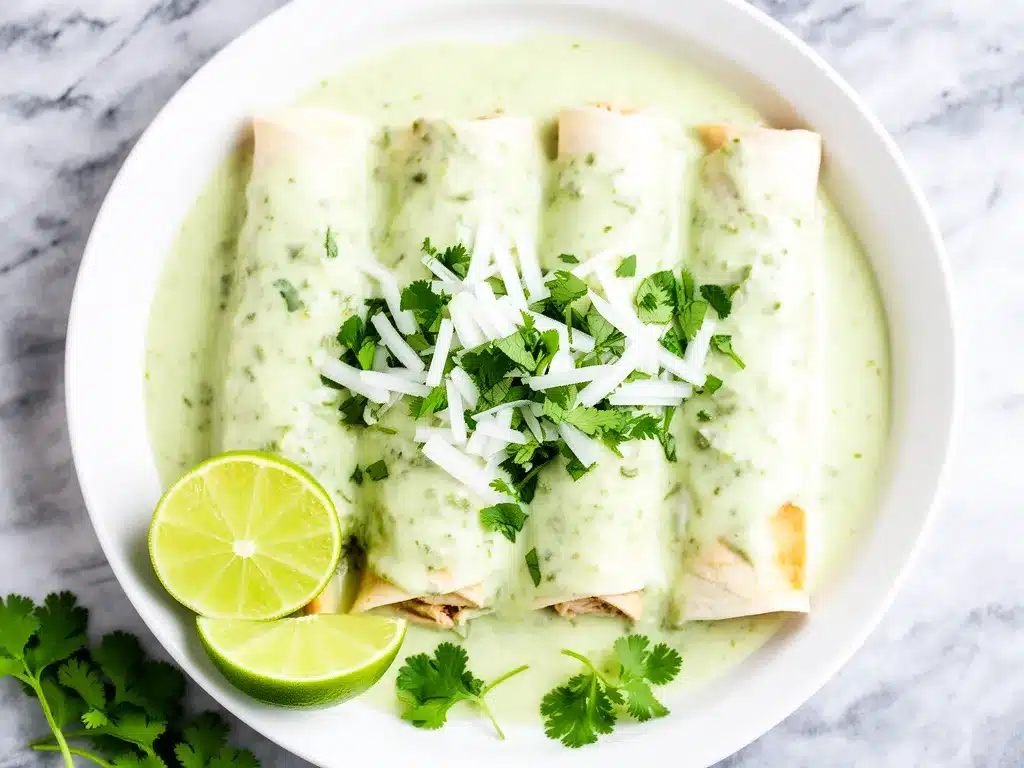
Flour Tortillas (8-10 large, 10-inch / about 300g) — Flour tortillas are softer and more pliable than corn, making them easier to roll for beginners. If you prefer corn, use small corn tortillas and double them up to prevent tearing.
Sour Cream (½ cup / 120g) — I mix half of this into the filling for extra tang, and save the rest for topping later. Full-fat is best for flavor.
Green Enchilada Sauce (1 cup / 240ml) — Optional, but recommended. If you want more sauce, buy a jar of mild green enchilada sauce. If you want to keep it simple, the chili-cream mixture is enough. I usually add a little sauce to the bottom of the pan to keep the tortillas from drying out.
Optional Toppings — Sliced avocado, diced tomatoes, extra cilantro, lime wedges, and hot sauce. Set these out so everyone can customize their bowl.
Equipment Needed
You don’t need fancy gear for this. Here’s what I actually use in my kitchen every time I make this Hatch green chili chicken enchiladas recipe.
9×13 Inch Baking Dish — A standard ceramic or glass baking dish works perfectly. I use a Pyrex dish because I can see the browning on the edges. Make sure it’s deep enough to hold the filling without spilling.
Large Skillet — A 10 or 12-inch skillet is ideal for sautéing the onions and garlic. I prefer stainless steel for even heating, but non-stick is easier to clean.
Mixing Bowl — A medium-sized bowl for combining the chicken, chilies, cream cheese, and spices. Any bowl works.
Fork — For shredding the rotisserie chicken. Two forks work well, or just use your hands if you don’t mind getting a little messy.
Measuring Spoons — Basic stuff. I keep a set on my counter for easy access.
Aluminum Foil — Optional, if you want to cover the enchiladas while they bake to keep them moist. I usually bake them uncovered for a crispy top, but foil is good if your kitchen is dry.
How to Make It: Step-by-Step
Alright, let’s get cooking! This process is straightforward, but there are a few tricks to ensure your enchiladas turn out perfectly every time. I’m walking you through exactly how I do it.
Step 1: Prep Your Chicken and Chilies (5 minutes)
Start by shredding your rotisserie chicken. Remove the skin and bones, then pull the meat into bite-sized pieces. If you’re using leftover roasted chicken, chop it similarly. Drain the canned Hatch green chilies thoroughly. This is important—excess moisture can make your filling soggy. Pat them dry with a paper towel if they look wet.
Step 2: Sauté the Aromatics (3 minutes)
Heat a large skillet over medium heat. Add a splash of olive oil or butter. Once it’s hot, add the diced onion and cook for 2-3 minutes until it’s soft and translucent. Add the minced garlic and cook for another 30 seconds until fragrant. Be careful not to burn the garlic—it turns bitter quickly. Remove from heat.
Step 3: Make the Filling (5 minutes)
In your mixing bowl, combine the softened cream cheese with the sour cream. Mix until smooth. Add the shredded chicken, drained Hatch green chilies, sautéed onions and garlic, cumin, and half of the shredded cheese. Stir everything together until well combined. Taste the mixture. If you want more heat, add a pinch of red pepper flakes. If it tastes bland, add a little salt. The mixture should be moist but not runny.
Step 4: Assemble the Enchiladas (10 minutes)
Preheat your oven to 375°F (190°C). Lightly grease your 9×13 baking dish. If you’re using green enchilada sauce, spread a thin layer on the bottom of the dish to prevent sticking. Take a tortilla and spoon about ½ cup of the filling down the center. Roll it up tightly and place it seam-side down in the baking dish. Repeat with the remaining tortillas. You should have 8-10 enchiladas. If you have leftover filling, spread it on top of the rolled enchiladas.
Step 5: Top and Bake (25 minutes)
Spread the remaining shredded cheese evenly over the top of the enchiladas. If you’re using green enchilada sauce, drizzle it over the cheese now. Cover the dish with aluminum foil and bake for 15 minutes. Then, remove the foil and bake for another 10 minutes, or until the cheese is bubbly and slightly browned. If you want a crispier top, broil for the last 1-2 minutes, but watch it closely—it burns fast.
Step 6: Rest and Serve (5 minutes)
Let the enchiladas rest for 5 minutes after taking them out of the oven. This allows the filling to set slightly, making them easier to serve. Garnish with fresh cilantro, sliced avocado, and a squeeze of lime. Serve warm.
Expert Tips & Tricks
Here’s everything I’ve learned from making this Hatch green chili chicken enchiladas recipe dozens of times. These tips will save you from common mistakes.
Drain the Chilies Well — This is the #1 mistake people make. Canned green chilies are packed in brine, which is full of water. If you don’t drain them well, your enchiladas will be watery. Use a colander and press them with a paper towel. It takes two minutes but makes a huge difference.
Soft Your Tortillas — If your tortillas are stiff and cracking when you roll them, warm them up first. Stack them on a plate, cover with a damp paper towel, and microwave for 30 seconds. Or wrap them in foil and heat them in the oven for 5 minutes. Warm tortillas are pliable and won’t tear.
Don’t Overfill — It’s tempting to pile on the filling, but overfilled enchiladas will burst open in the oven. Stick to ½ cup per tortilla. You can always add extra topping later.
Use Room Temperature Cream Cheese — Cold cream cheese is hard to mix. Take it out of the fridge 15 minutes before you start, or microwave it for 10 seconds to soften it. This ensures a smooth, creamy filling.
Make Ahead Strategy — You can assemble these enchiladas up to 24 hours in advance. Cover tightly with plastic wrap and refrigerate. When you’re ready to cook, add 5-10 minutes to the baking time since the dish will be cold from the fridge.
Variations & Substitutions
Once you’ve mastered the basic version, here’s how you can mix it up. I’ve tried all of these, and they all work.
Spicy Version — Swap the mild Hatch chilies for spicy ones. Add a diced jalapeño to the filling, and use pepper jack cheese instead of Mexican blend. Top with hot sauce.
Veggie-Loaded — Add chopped bell peppers, corn, or black beans to the filling. It adds bulk and nutrients, and the kids won’t even notice. I often throw in a cup of frozen corn for sweetness.
Seafood Twist — Replace the chicken with shredded cooked shrimp or crab meat. Hatch green chili seafood enchiladas are a thing, and they’re delicious. Reduce the baking time by 5 minutes since seafood cooks fast.
Low-Carb Option — Use low-carb tortillas or skip the tortillas entirely and serve the filling over cauliflower rice. It’s not the same texture, but it’s lighter.
Dairy-Free — Use dairy-free cream cheese and shredded cheese. Coconut cream can substitute for sour cream, but it changes the flavor slightly. It’s still tasty, just different.
Serving & Storage
How to Serve: I usually serve these straight from the baking dish, garnished with fresh cilantro and lime wedges. A side of Mexican rice and refried beans makes it a complete meal. For a lighter option, serve with a simple green salad with cilantro-lime dressing.
Leftovers: Store leftovers in an airtight container in the fridge for up to 4 days. The flavors actually get better after a day or two as they meld together.
Reheating: Reheat individual portions in the microwave for 1-2 minutes. For the whole dish, cover with foil and bake at 350°F for 20 minutes. If the enchiladas look dry, add a splash of water or broth before reheating.
Freezing: You can freeze unbaked enchiladas. Assemble them, cover tightly with foil and plastic wrap, and freeze for up to 3 months. Thaw in the fridge overnight and bake as directed, adding 10-15 minutes to the baking time.
Nutrition Information
I’m not a nutritionist, but here’s the breakdown if you’re tracking. These numbers are approximate and based on 8 servings.
Per Serving:
- Calories: 450
- Protein: 28g
- Carbs: 35g
- Fat: 22g
- Fiber: 3g
- Sugar: 4g
These enchiladas are relatively balanced, with good protein from the chicken and calcium from the cheese. If you’re watching calories, use low-fat cheese and sour cream, or increase the vegetable content. But honestly? This is comfort food. Enjoy it.
Final Thoughts
So there you have it—my go-to Hatch green chili chicken enchiladas for busy weeknights. I’ve probably talked your ear off at this point, but when you find a recipe that works this well, you want to share it. This dish has saved me from takeout countless times. It’s flavorful, easy, and makes everyone happy. Whether you’re feeding a family or just cooking for yourself, give this a try. It’s worth every minute.
If you make this, let me know how it turns out! I love hearing from readers who try my recipes. And if you have questions, drop them in the comments. Happy cooking!
Frequently Asked Questions
Can I use fresh Hatch chilies instead of canned?
Yes, but it takes more work. You’ll need to roast them, peel them, and chop them. If you have access to fresh Hatch chilies during their season (usually July-August), go for it! It adds a brighter, fresher flavor. But for weeknight convenience, canned is perfectly fine and saves hours of prep.
Why are my enchiladas dry?
This usually happens if you don’t use enough sauce or if you bake them uncovered for too long. Make sure to add a layer of sauce to the bottom of the pan, and consider covering them with foil for the first half of baking. This traps steam and keeps the tortillas moist.
Can I make these ahead of time?
Absolutely. Assemble them up to 24 hours in advance and refrigerate. When you’re ready to cook, just pop them in the oven. You may need to add a few minutes to the baking time if they’re cold from the fridge.
What kind of tortillas work best?
Flour tortillas are softer and easier to roll, making them ideal for beginners. Corn tortillas are a healthier option but can be brittle. If using corn, warm them up first and double them up to prevent tearing.
Can I freeze these enchiladas?
Yes! Freeze them unbaked for best results. Wrap tightly in foil and plastic wrap. Thaw in the fridge overnight and bake as directed. You can also freeze baked leftovers, but the texture of the tortillas may change slightly upon reheating.
How spicy are Hatch green chilies?
Hatch chilies range from mild to medium-hot, depending on the variety and growing conditions. Most canned Hatch chilies are mild to medium. If you want more heat, add a diced jalapeño or some red pepper flakes. If you’re sensitive to spice, stick with mild green chilies.
Pin This Recipe!
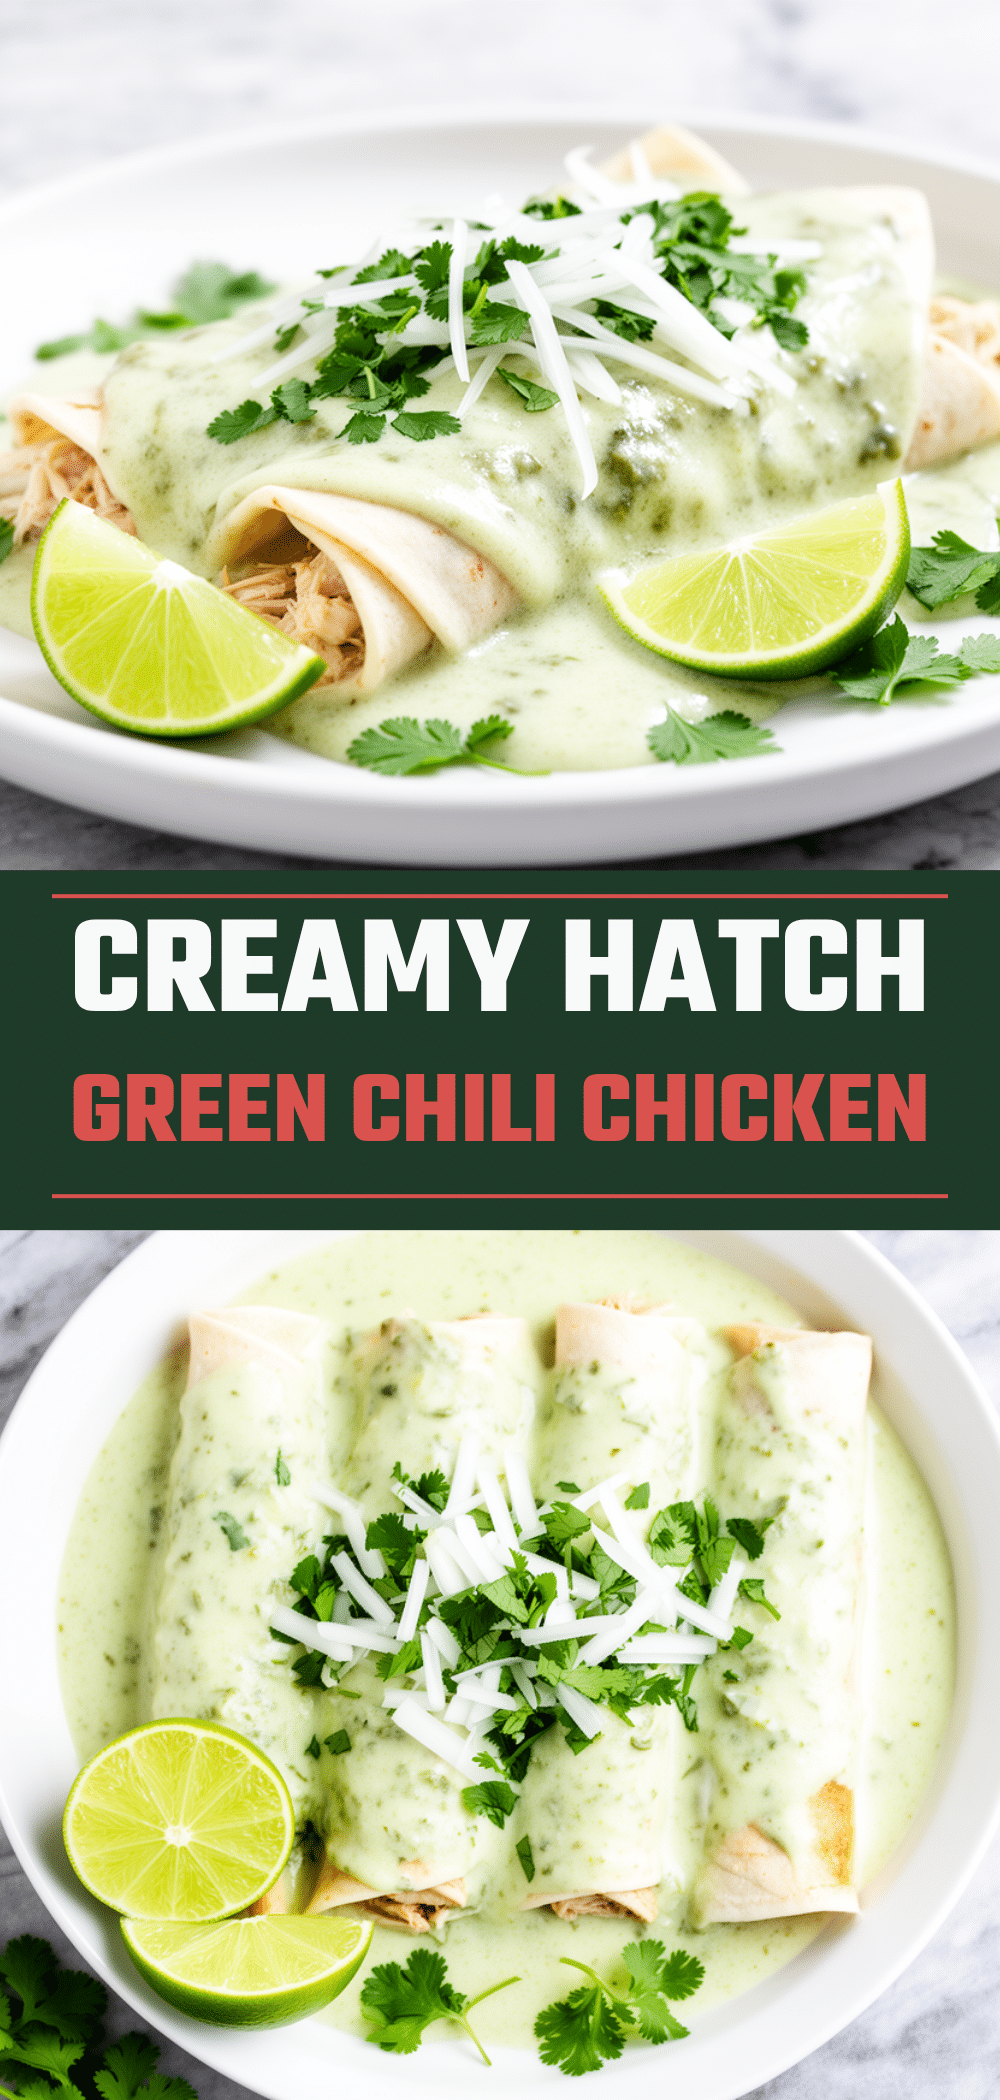

Hatch Green Chili Chicken Enchiladas: 5-Step Weeknight Dinner
- Total Time: 48 minutes
- Yield: 8 servings 1x
Description
A quick and creamy weeknight dinner featuring rotisserie chicken, canned Hatch green chilies, and cream cheese, baked in a golden, cheesy casserole.
Ingredients
- 3 cups shredded rotisserie chicken (about 450g)
- 2 cans (4.5 oz each) Hatch green chilies, drained and patted dry (255g total)
- 8 oz cream cheese, softened (225g)
- 2 cups shredded Mexican blend cheese (200g), divided
- 1 medium onion, finely diced (about 150g)
- 2 cloves garlic, minced (1 tablespoon)
- 1 teaspoon cumin
- ½ cup chopped fresh cilantro (about 30g)
- 8–10 large flour tortillas (10-inch, about 300g)
- ½ cup sour cream (120g), divided
- 1 cup green enchilada sauce (240ml), optional
Instructions
- Preheat oven to 375°F (190°C).
- Shred the rotisserie chicken and drain the canned green chilies thoroughly, patting them dry with paper towels.
- Heat a large skillet over medium heat with a splash of olive oil or butter. Sauté the diced onion for 2-3 minutes until soft, then add garlic and cook for 30 seconds until fragrant. Remove from heat.
- In a mixing bowl, combine softened cream cheese and half of the sour cream until smooth. Add the shredded chicken, drained chilies, sautéed onions and garlic, cumin, and half of the shredded cheese. Stir to combine.
- Lightly grease a 9×13 inch baking dish. Spread a thin layer of green enchilada sauce on the bottom if using.
- Spoon about ½ cup of filling onto each tortilla, roll tightly, and place seam-side down in the baking dish.
- Spread remaining cheese over the top of the enchiladas. Drizzle with remaining enchilada sauce if using.
- Cover with aluminum foil and bake for 15 minutes. Remove foil and bake for another 10 minutes until cheese is bubbly and slightly browned.
- Let rest for 5 minutes before serving. Garnish with fresh cilantro, avocado, and lime wedges.
Notes
Drain chilies well to prevent watery filling. Warm tortillas before rolling to prevent tearing. Can be assembled up to 24 hours in advance and refrigerated. Add 5-10 minutes to baking time if cooking from cold.
- Prep Time: 23 minutes
- Cook Time: 25 minutes
- Category: Main Course
- Cuisine: Mexican
Nutrition
- Serving Size: 1 enchilada
- Calories: 450
- Sugar: 4
- Sodium: 800
- Fat: 22
- Saturated Fat: 10
- Carbohydrates: 35
- Fiber: 3
- Protein: 28
Keywords: Hatch green chili chicken enchiladas, weeknight dinner, rotisserie chicken recipe, easy enchiladas, creamy chicken enchiladas, Mexican food


