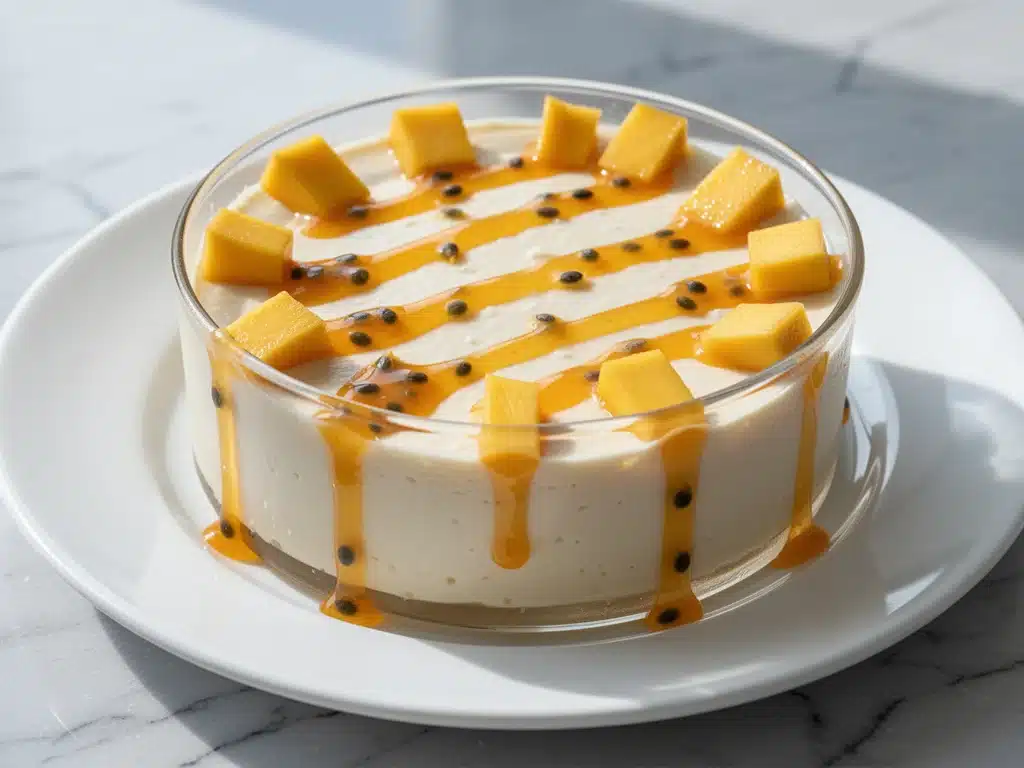
It was a humid Tuesday in July, the kind where the air feels like a warm wet towel, and I was standing in my kitchen feeling completely defeated. I had just come from a fancy dinner at this new Thai fusion place downtown, and I couldn’t stop thinking about their dessert. It was this silky, cloud-like panna cotta topped with vibrant mango compote. I went home and tried to recreate it, using heavy cream and gelatin. It was okay. But it wasn’t right. It was too heavy. Too dense. It lacked that bright, tropical lift that made the original taste like a vacation.
So, I scrapped the dairy. I scrapped the gelatin. I started experimenting with coconut milk and agar-agar, and after about six failed attempts (yes, six, including one that ended up looking like scrambled eggs because I heated the agar wrong), I finally nailed it. This dairy-free coconut mango panna cotta is the real deal. It’s lighter than air, completely vegan, and honestly? It’s better than anything you’ll get at a restaurant because you know exactly what’s in it. No weird stabilizers, no hidden dairy, just pure, creamy coconut goodness with sweet, tangy mango.
I’ve made this at least twenty times since that summer evening. It’s become my go-to when I want to impress guests without stressing in the kitchen, or when I just need a sweet treat that doesn’t leave me feeling sluggish afterward. The texture is what gets people every time. They close their eyes, take a bite, and swear it’s the real dairy version. It’s one of those rare desserts that feels indulgent but is actually quite simple to make. If you’ve been looking for a way to enjoy creamy desserts without the dairy, this is it. Trust me on this one.
Why You’ll Love This Recipe
There are plenty of vegan desserts out there, but this dairy-free coconut mango panna cotta stands out for a few specific reasons. It’s not just about being dairy-free; it’s about the balance of flavors and the ease of execution. Here’s why this has earned a permanent spot in my rotation:
- Zero Dairy, All Creaminess — The secret is full-fat coconut milk. It’s rich, fatty, and creates that luxurious mouthfeel you usually only get from heavy cream. I’ve tested this with light coconut milk, and it just doesn’t work. You need the fat. It’s non-negotiable for that panna cotta texture.
- Agar-Agar Magic — No gelatin required. Agar-agar is a plant-based thickener derived from seaweed, and it sets faster and firmer than gelatin. Once you learn how to use it (spoiler: it’s super easy), you’ll never go back. It gives the panna cotta a clean, crisp set that melts on the tongue.
- Make-Ahead Friendly — This is the ultimate stress-free dessert. You mix it up in 10 minutes, let it chill overnight, and boom. Dinner party ready. It actually tastes better the next day because the coconut and mango flavors have had time to meld. I usually make this the day before, so I don’t have to worry about it while hosting.
- Gluten-Free Naturally — Since it’s made with coconut milk and agar, it’s completely gluten-free. I’ve served this to friends with celiac disease, and they’ve had seconds. It’s safe, simple, and delicious.
- Restaurant-Quality Presentation — When you unmold these onto a plate, they look professional. The glossy coconut top and the bright mango topping create a stunning contrast. It looks like you spent hours in the kitchen, but you really didn’t.
This recipe has saved me more times than I can count. Whether I’m looking for a light end to a heavy meal (like my loaded baked potato soup) or just a sweet craving that doesn’t feel like a sugar bomb, this hits the spot every time. It’s elegant, it’s healthy-ish, and it’s ridiculously easy.
Ingredients You’ll Need
Here’s the best part: you probably don’t need to go out of your way for most of this. The ingredients are simple, whole-food based, and easy to find. I’m particular about a few things here, though, so pay attention to the details.
For the Coconut Panna Cotta Base
Full-Fat Coconut Milk (2 cans, 13.5 oz each / 380g each) — This is the star. Do not use “light” coconut milk. Do not use coconut beverage from a carton. You need the thick, canned stuff found in the Asian aisle or near the dairy alternative section. Shake the cans well before opening. The thicker the cream, the richer your panna cotta will be.
Agar-Agar Powder (2 teaspoons / 8g) — This is your gelling agent. Make sure it’s powder, not flakes. Flakes work differently and are harder to measure accurately for beginners. I use Super Agar Agar, but any brand works. It’s shelf-stable and cheap.
Coconut Sugar (¼ cup / 50g) — I prefer coconut sugar over white sugar because it has a subtle caramel note that pairs beautifully with coconut. Brown sugar works too, but it might darken the color. White sugar is fine if that’s all you have, but coconut sugar adds depth.
Vanilla Extract (1 teaspoon / 5ml) — Use real vanilla extract, not imitation. A good quality vanilla makes a huge difference in the flavor profile. If you want it more tropical, you can add a splash of coconut extract instead, or a mix of both.
Salt (¼ teaspoon / 1g) — A pinch of salt is crucial. It balances the sweetness and enhances the coconut flavor. Don’t skip it.
For the Mango Topping
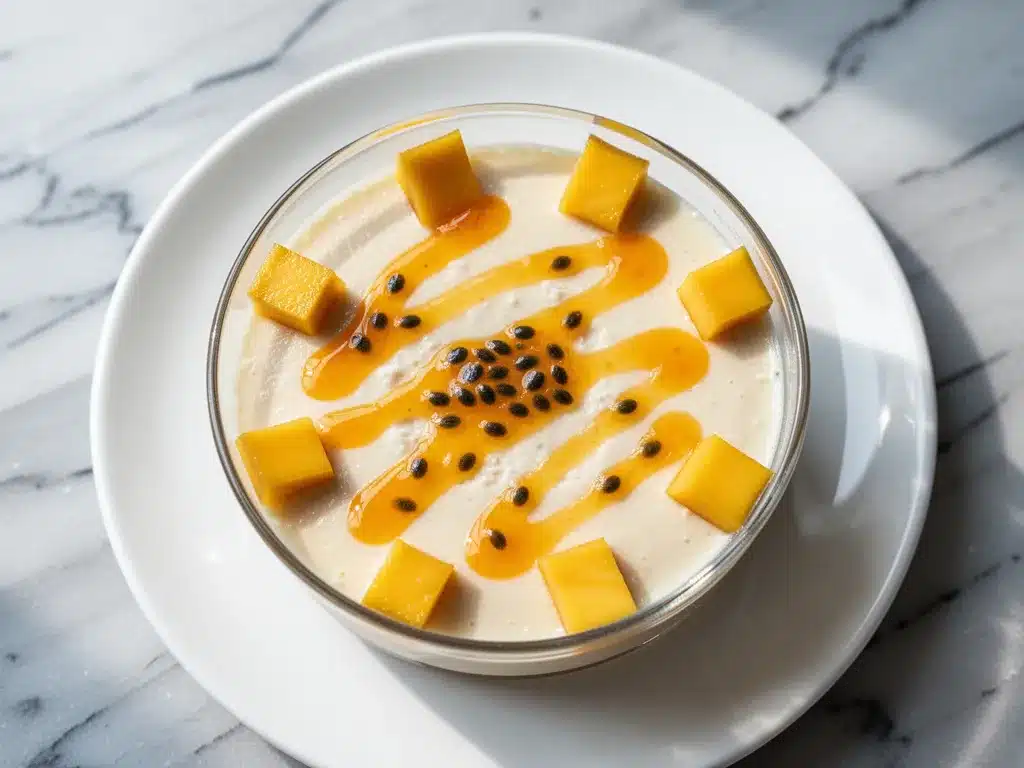
Ripe Mangoes (2 large / about 400g flesh) — This is where you want to get good mangoes. They should be fragrant and yield slightly to pressure. Alphonso, Ataulfo (Honey mango), or Tommy Atkins are great choices. If you can’t find fresh mangoes, high-quality frozen mango chunks work too, just thaw them first.
Lemon Juice (1 tablespoon / 15ml) — Fresh lemon juice brightens up the sweet mango and prevents it from tasting cloying. It adds that necessary tang.
Honey or Maple Syrup (1 tablespoon / 15ml) — Optional, depending on how sweet your mangoes are. Taste the mango first. If it’s super sweet, you might not need this. If it’s tart, add a little sweetener.
Optional Garnish — Fresh mint leaves, toasted coconut flakes, or a few lime zest strips. These add color and texture, making the dish look even more professional.
Pro Tip: I always buy an extra can of coconut milk just in case. Sometimes the agar doesn’t set properly if the coconut milk is too thin, and having a backup helps. Also, make sure your agar-agar is fresh. Old agar loses its gelling power.
Equipment Needed
You don’t need fancy gadgets for this. Here’s what I actually use:
Medium Saucepan — I use a 2-quart saucepan. It needs to be large enough to hold the coconut milk and agar mixture while simmering without boiling over. Stainless steel is best because you can see the mixture clearly.
Whisk — A small whisk is essential for dissolving the agar-agar powder. You don’t want clumps. If you don’t have a whisk, a fork works in a pinch, but a whisk is much faster.
Mixing Bowl — For blending the mango topping. A simple glass or ceramic bowl works fine.
Blender or Food Processor — For the mango topping. I use my blender to make it smooth, but if you like chunky compote, you can just chop the mango finely by hand.
Ramekins or Serving Glasses — I love using small glass ramekins or even martini glasses for serving. Glass is nice because you can see the layers. If you want to unmold them, use silicone ramekins. They release much easier than ceramic or glass.
Measuring Spoons — For the agar-agar and sugar. Accuracy matters with agar, so don’t eyeball it.
How to Make It: Step-by-Step
Alright, let’s make this! I’m walking you through exactly how I do it, including the little tricks I’ve picked up over the years. This process is straightforward, but there are a few key steps to get that perfect texture.
Step 1: Prep Your Mango Topping
Start with the topping because it needs a little time to chill and meld. Peel and dice your ripe mangoes. Put them in a blender or food processor with the lemon juice and honey/maple syrup (if using). Blend until smooth. If you prefer a chunky compote, just chop the mango finely and mix it by hand. Taste and adjust sweetness if needed. Set it aside in the fridge while you make the panna cotta base.
Step 2: Combine Coconut Milk and Agar
Open your cans of coconut milk. Give them a good shake. Pour the entire contents of both cans into your saucepan. Add the coconut sugar, vanilla extract, and salt. Now, sprinkle the agar-agar powder over the mixture. Do not just dump it in a pile. Sprinkle it evenly so it dissolves better.
Step 3: Heat and Whisk
Place the saucepan over medium heat. Whisk constantly. This is the most important step. You need to whisk until the agar-agar is completely dissolved. This usually takes about 2-3 minutes. You’ll see the mixture start to steam and thicken slightly. Do not let it come to a rolling boil yet. Just get it hot and smooth.
Step 4: Bring to a Simmer
Once the agar is dissolved, bring the mixture to a gentle simmer. Let it simmer for 2-3 minutes, whisking occasionally. This activates the agar. If you skip this step, the panna cotta won’t set properly. You’ll end up with sweet coconut soup. Watch it closely so it doesn’t boil over. The mixture will look slightly thicker than when you started.
Step 5: Pour into Molds
Remove the saucepan from the heat. Quickly stir the mixture one last time to ensure everything is combined. Ladle the hot coconut mixture into your ramekins or serving glasses. Leave a little space at the top if you’re using molds for unmolding. Let them cool to room temperature on the counter for about 30 minutes. This prevents condensation from forming on the inside of the glass later.
Step 6: Chill
Once they’re at room temperature, place them in the refrigerator. Chill for at least 4 hours, but overnight is best. The agar sets as it cools, and a longer chill time ensures a firm, jiggly texture. Don’t rush this step. Patience is key.
Step 7: Assemble and Serve
When you’re ready to serve, take the panna cottas out of the fridge. If you’re using glass cups, just spoon the mango topping over the top. If you’re using silicone molds, run a warm knife around the edge and invert them onto a plate. The panna cotta should slide out easily. Spoon the mango compote over the top. Garnish with mint or toasted coconut if you like. Serve immediately.
Total Time: About 15 minutes active, plus 4+ hours chilling.
Expert Tips & Tricks
Here’s everything I’ve learned from making this dozens of times. These tips will save you from my mistakes.
Whisk Like Your Life Depends On It
Agar-agar clumps easily. If you have clumps, your panna cotta will have rubbery bits in it. Whisk vigorously when you first add it to the cold milk. Don’t just stir. Whisk. I’ve had friends skip this and end up with a lumpy mess. Don’t be that person.
Don’t Skip the Simmer
Agar needs heat to activate. If you just heat it until warm, it won’t set. You need to let it simmer for at least 2 minutes. I usually set a timer so I don’t forget. If you’re unsure, simmer for a full 3 minutes. It’s better to over-simmer slightly than under-simmer.
Use Good Mangoes
The topping is the star of the show. If your mangoes are bland, the whole dessert suffers. Look for mangoes that smell sweet and fragrant at the stem end. If they don’t smell like anything, they’re probably not ripe enough. Ripe mangoes are worth the effort.
Store in the Fridge, Not Freezer
This panna cotta is best fresh. It doesn’t freeze well because the texture changes. Agar can become brittle when frozen. Keep it in the fridge for up to 3 days. It actually tastes better on day 2 as the flavors deepen.
Variations & Substitutions
Once you’ve nailed the basic version, here’s how you can mix it up. I’ve tried all of these, and they all work.
Lime Coconut Version
Swap the vanilla extract for lime zest and lime juice. Add the zest to the coconut milk before heating. It’s a Thai-inspired twist that’s incredibly refreshing. Pair it with the mango topping, obviously.
Chocolate Coconut
Stir in 2 tablespoons of cocoa powder when you heat the coconut milk. It turns it into a chocolate coconut panna cotta. Add a pinch of chili powder for a Mexican chocolate vibe. This is great with strawberry topping instead of mango.
Pineapple Mango
Add crushed pineapple to the mango topping. It adds acidity and texture. This is a classic Hawaiian combination that’s incredibly popular.
Gluten-Free & Vegan
This recipe is naturally gluten-free and vegan. Just make sure your agar-agar is certified vegan (most are, but some are processed with bone char, though rare). Use maple syrup instead of honey if you’re strict vegan.
Serving & Storage
How to Serve: I usually serve this straight in the glass it chilled in, but for dinner parties, I unmold them onto small plates. It looks more elegant. The contrast of the white coconut and orange mango is visually stunning. Add a sprig of mint for a pop of green.
Side Dishes: This dessert pairs well with anything light. I often serve it after a meal like my vegan butternut squash coconut curry soup for a full vegan meal. It’s also great with overnight vanilla cinnamon chia pudding if you want a breakfast-dessert hybrid.
Storage: Store in the refrigerator in an airtight container or covered with plastic wrap for up to 3 days. Do not freeze. The texture will change.
Reheating: Do not reheat. Eat it cold. It’s meant to be chilled.
Nutrition Information
I’m not a nutritionist, but here’s the breakdown if you’re tracking. This is per serving (based on 4 servings).
| Nutrient | Amount |
|---|---|
| Calories | 280 |
| Protein | 3g |
| Carbs | 35g |
| Fiber | 4g |
| Sugar | 28g |
| Fat | 15g |
| Saturated Fat | 12g |
What’s Good: It’s naturally gluten-free and dairy-free. The coconut milk provides healthy fats. The mango adds vitamins and fiber.
What to Know: It’s higher in sugar due to the mango and coconut sugar. If you’re watching sugar, reduce the sugar in the base and use less sweet mangoes. It’s still a treat, so enjoy it mindfully.
Final Thoughts
So that’s my go-to dairy-free coconut mango panna cotta! I’ve probably talked your ear off at this point, but when you make a recipe this often, you have a lot to say about it. This has saved me more times than I can count. It’s my answer to “what’s for dessert” when I want something fancy but don’t have time. My friends are happy, my family’s happy, and I’m happy because I’m not stressed about cooking.
Make it yours! Try different fruits, swap the vanilla for other extracts, or add a layer of passion fruit. The best recipes are the ones you adapt to your tastes. If you make this, drop a comment and let me know what you think! I love hearing how recipes turn out in your kitchen. And if something doesn’t work, tell me that too—I’m here to help troubleshoot.
Happy cooking! And I hope your kitchen smells half as good as mine does right now.
Frequently Asked Questions
Can I use gelatin instead of agar-agar?
You can, but the texture will be different. Gelatin makes a softer, more jiggly panna cotta, while agar makes a firmer, cleaner set. If you use gelatin, you’ll need about 1 tablespoon of bloomed gelatin for this amount of liquid. Dissolve it in a little warm water first, then add it to the coconut milk. Also, gelatin needs to be added off heat, whereas agar needs to be boiled. So the method changes slightly.
Why didn’t my panna cotta set?
This usually happens for two reasons: either you didn’t simmer the agar long enough, or your agar-agar is old/low quality. Agar needs to reach a boil and simmer for 2-3 minutes to activate. Also, make sure you’re using agar powder, not flakes, unless you’ve adjusted the quantity. Flakes are less potent. If it’s still liquid, you can try reheating it and adding a bit more agar.
Can I use light coconut milk?
I don’t recommend it. Light coconut milk has less fat and more water, which means your panna cotta will be runny and lack the creamy richness you want. Full-fat canned coconut milk is essential for the right texture. If you’re out of full-fat, you can mix light coconut milk with coconut cream, but straight full-fat is best.
How long does this last in the fridge?
It lasts for up to 3 days in the refrigerator. After that, the texture might start to break down, and the mango topping could get watery. It’s best eaten fresh. Do not freeze it, as the agar will become brittle and icy.
Can I make this ahead for a party?
Yes! This is actually better made ahead. You can make the panna cotta base up to 2 days in advance. Store it in the fridge. Make the mango topping the day of, or up to 4 hours ahead. Assemble right before serving. This makes it super easy for hosting.
What if I don’t have a blender for the mango?
You can chop the mango into very small pieces and mix it with the lemon juice and sugar. It will be chunky, but still delicious. Some people prefer the texture of a chunky compote. Just make sure the pieces are small enough to spoon easily.
Is this recipe keto-friendly?
Not really. The coconut sugar and mango add significant carbs and sugar. If you’re on keto, you can substitute the coconut sugar with a keto-friendly sweetener like erythritol or monk fruit, and use a lower-sugar fruit like berries instead of mango. But the classic version is not low-carb.
Pin This Recipe!
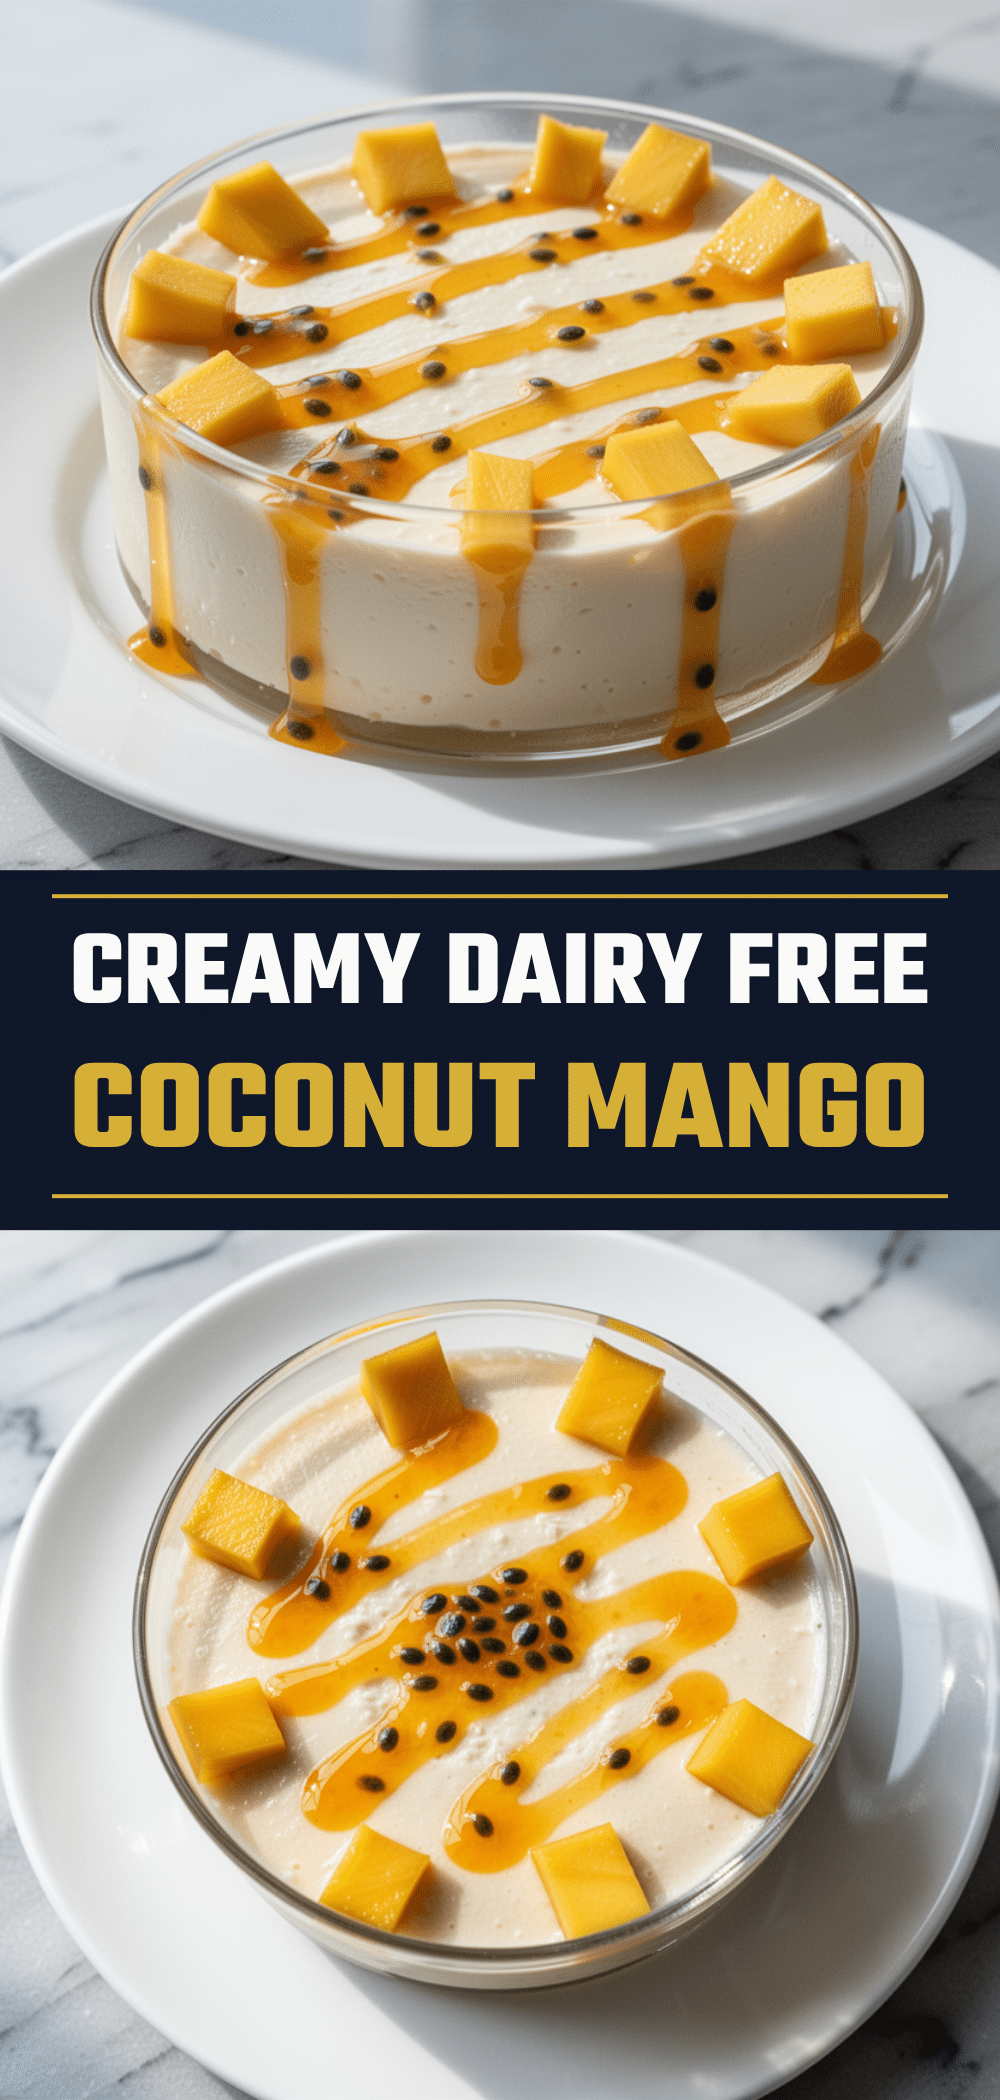
Dairy-Free Coconut Mango Panna Cotta: 5-Step Vegan Dessert
- Total Time: 4 hours 25 minutes
- Yield: 4 servings 1x
Description
A silky, cloud-like vegan panna cotta made with full-fat coconut milk and agar-agar, topped with a bright, tangy mango compote. This gluten-free dessert is lighter than air and easier to make than you think.
Ingredients
- 2 cans (13.5 oz each) full-fat coconut milk
- 2 teaspoons agar-agar powder
- 1/4 cup coconut sugar
- 1 teaspoon vanilla extract
- 1/4 teaspoon salt
- 2 large ripe mangoes (about 400g flesh)
- 1 tablespoon lemon juice
- 1 tablespoon honey or maple syrup (optional)
- Optional garnish: fresh mint leaves, toasted coconut flakes, lime zest
Instructions
- Prepare the mango topping by blending diced mangoes with lemon juice and sweetener until smooth. Set aside in the fridge.
- Pour full-fat coconut milk into a medium saucepan. Sprinkle agar-agar powder evenly over the cold milk and whisk vigorously to prevent clumps.
- Add coconut sugar, vanilla extract, and salt to the saucepan. Whisk to combine.
- Heat the mixture over medium heat, whisking constantly until the agar-agar is completely dissolved (about 2-3 minutes).
- Bring the mixture to a gentle simmer and cook for 2-3 minutes to activate the agar. Do not let it boil over.
- Remove from heat and ladle the hot mixture into ramekins or serving glasses. Let cool to room temperature for 30 minutes.
- Refrigerate for at least 4 hours or overnight until set.
- Serve by spooning the mango topping over the chilled panna cotta, or unmold from silicone molds onto plates.
Notes
Use full-fat canned coconut milk; light milk will result in a runny texture. Agar-agar must be simmered for at least 2 minutes to activate. Do not freeze, as the texture will become brittle. Best eaten within 3 days.
- Prep Time: 15 minutes
- Cook Time: 10 minutes
- Category: Dessert
- Cuisine: Vegan
Nutrition
- Serving Size: 1 ramekin with mango
- Calories: 280
- Sugar: 28
- Fat: 15
- Saturated Fat: 12
- Carbohydrates: 35
- Fiber: 4
- Protein: 3
Keywords: vegan panna cotta, dairy-free dessert, coconut mango, agar-agar recipe, gluten-free dessert, healthy dessert, make-ahead dessert


