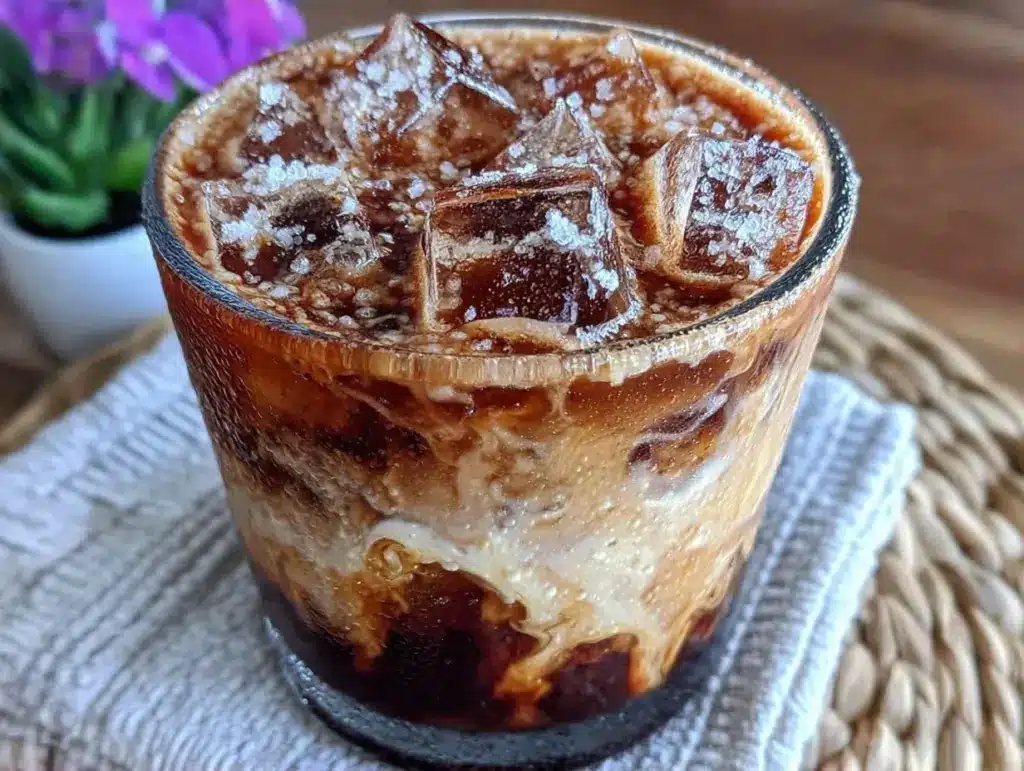
I have a confession to make. For years, I was a slave to the drive-thru window. You know the one. It’s 7:30 AM, the kids are already arguing over who gets the backpack with the broken zipper, my husband is hunting for his keys (again), and I’m standing in line at that popular coffee chain, watching my morning disappear into a $7 plastic cup. I’d order the usual: a grande vanilla bean frappe, extra whipped cream, the whole deal. And you know what? It was fine. But it was also expensive, loaded with sugar, and honestly, it tasted a little like liquid candy rather than actual coffee.
Then, last Tuesday, I woke up five minutes later than usual. No time to stop at the shop. Just me, my husband, and a bag of coffee beans in the pantry. I felt that familiar panic rising in my chest—the one where you realize you’re going to be late and cranky before you’ve even brushed your teeth. So, I did the unthinkable. I made creamy vanilla bean iced coffee in my own kitchen. It took four minutes. Four minutes. And when I took that first sip, I stopped. It was rich. It was smooth. It had that authentic, speckled vanilla flavor that no syrup can ever really replicate. It was better than the takeout version, and it cost me about thirty cents to make.
That was the day I quit the drive-thru. Well, almost. I still go sometimes when I’m traveling. But at home? I’ve been making this creamy vanilla bean iced coffee every single morning for the past six months. My husband thinks I’ve gone mad because I’m now obsessed with the sound of the blender and the smell of steeping vanilla. But here’s the thing: it’s become our morning ritual. It’s the calm before the storm. And once you taste it, you’re going to want to join the cult.
Why You’ll Love This Recipe
Look, I get it. Making coffee at home sounds like extra work. But this creamy vanilla bean iced coffee changes the game entirely. It’s not just “coffee with milk and sugar.” It’s a dessert-like experience that fits into your busy morning routine without stealing your time. Here’s why this specific version has replaced every other drink in my house:
- Stupid Simple — Seriously, if you can pour milk into a blender, you can make this. There’s no complicated brewing method required. I use a simple cold brew concentrate or even just strong cooled coffee. No fancy espresso machine needed.
- Lightning Fast — From grabbing the ingredients to sipping the first glass, it takes less than 5 minutes. I make this while the toaster is running. It’s the ultimate 5pm-and-nothing-planned solution, but for the morning rush.
- Real Vanilla Flavor — This is the big one. Using real vanilla bean paste (or scraped seeds) gives you that floral, aromatic depth that vanilla *syrup* just can’t match. It tastes expensive. It *is* expensive, but only slightly.
- Customizable Creaminess — Want it dairy-free? Use oat milk. Want it richer? Use half-and-half. I usually use a mix of whole milk and a splash of heavy cream for that velvet texture. You control the sugar, too, so it’s not cloying.
- Makes Amazing Leftovers — I make a big batch of the coffee concentrate on Sunday. During the week, I just grab a cup, add milk and ice, and blend. It’s meal prep for your caffeine addiction, and it works perfectly.
This is my go-to when I need something to wake up my senses but also comfort my soul. It’s that feeling of a lazy weekend morning, packed into a 5-minute weekday routine.
Ingredients You’ll Need
Here’s the best part: you probably have most of this already. The list is short, but the quality matters. I’m particular about the vanilla and the coffee, so pay attention there.
For the Coffee Base
Cold Brew Concentrate or Strong Coffee (2 cups / 480ml) — This is your foundation. I love making cold brew because it’s naturally less acidic and smoother. If you don’t have time for 12-hour brewing, make a very strong pot of coffee using twice the usual amount of grounds, let it cool completely, and use that. Do not use hot coffee over ice—it’ll water down your drink instantly.
Vanilla Bean Paste (2 teaspoons) — This is the secret weapon. It’s a thick, syrupy paste made from vanilla beans and sugar. It has visible black specks that look gorgeous and delivers intense flavor. If you can’t find it, use 1 teaspoon of high-quality vanilla extract, but the paste is worth the hunt. It adds that authentic “vanilla bean” taste without the graininess of raw beans.
Simple Syrup (1-2 tablespoons / 15-30ml) — You can buy this, or make it. Equal parts sugar and hot water, stirred until dissolved. It dissolves instantly in cold drinks, unlike granulated sugar which just sits at the bottom. I keep a jar in the fridge. If you’re using sweetened vanilla paste, you might not need any extra syrup.
For the Creamy Top
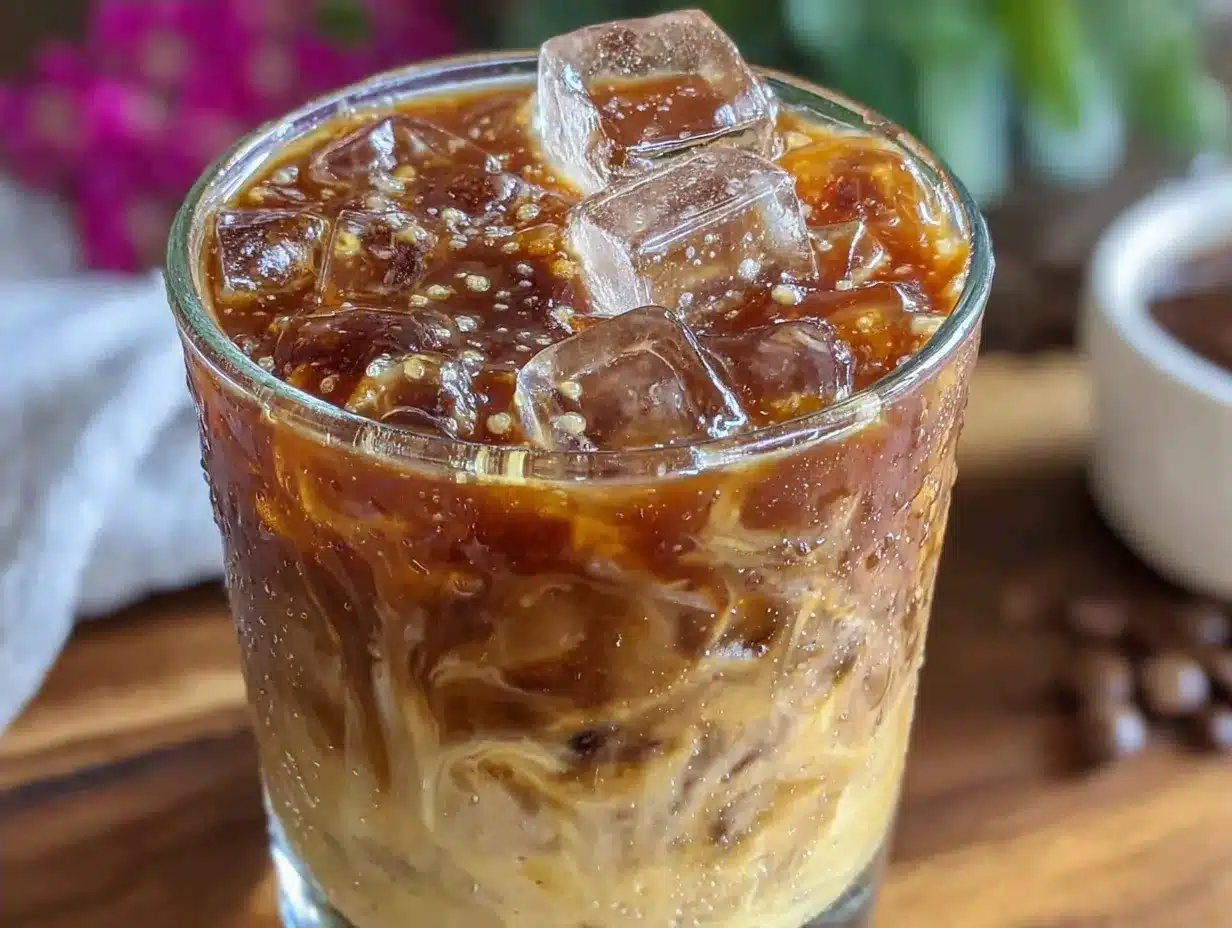
Whole Milk (1 cup / 240ml) — I use whole milk for the best creaminess. Skim milk will make it taste watery. If you’re lactose-free, oat milk is your best bet for that creamy texture. Almond milk is too thin for this specific recipe.
Heavy Cream (2 tablespoons / 30ml) — Just a splash. This adds that luxurious mouthfeel. It’s what makes it feel like a treat. If you’re watching calories, skip this, but I highly recommend keeping it. It’s only 50 calories for a huge flavor boost.
Ice Cubes — A lot of them. Use large cubes if you have them—they melt slower and don’t water down your drink as fast. Standard ice works fine, just pack the glass high.
Optional Garnishes
Whipped Cream — Because why not? I keep a can of whipped cream in the fridge for special mornings, or I whip up my own. It’s just heavy cream and a drop of vanilla paste, whipped until stiff.
Extra Vanilla Bean Paste — A little drizzle on top for visual appeal. It looks professional, like you’re at a café.
Equipment Needed
You don’t need fancy equipment for this. Here’s what I actually use:
Blender — I use a standard countertop blender. It’s the best way to get that frothy, creamy texture without a frother. If you don’t have one, a handheld immersion blender works too, but it takes a bit longer. A shaker bottle can work in a pinch, but you won’t get that nice foam.
Glass Jars or Mason Jars — I love serving this in tall glasses or even mason jars. They look rustic and keep the drink cold. Any tall glass works.
Measuring Spoons — Standard stuff. Dollar store versions work fine.
Cold Brew Maker or Coffee Filter — If you’re making cold brew from scratch, you need a way to steep and strain. If you’re using pre-made concentrate, skip this step.
Small Saucepan — Only if you’re making your own simple syrup. It takes 2 minutes.
How to Make It: Step-by-Step
Alright, let’s make this! I’m walking you through exactly how I do it. It’s so simple you’ll wonder why you ever bought expensive drinks.
Step 1: Prepare Your Coffee (If Not Using Cold Brew)
If you’re using regular coffee, brew it strong. Use a 1:2 ratio of coffee to water. Let it cool to room temperature, then refrigerate until cold. This is crucial. Warm coffee will melt the ice immediately and ruin the drink. If you’re using cold brew concentrate, just pour out 2 cups and set aside.
Step 2: Make Simple Syrup (Optional but Recommended)
If you don’t have simple syrup, make it now. Combine ½ cup sugar and ½ cup hot water in a small saucepan. Stir over medium heat until the sugar dissolves. It takes about 2 minutes. Let it cool. Store in the fridge for up to a month. This is a game-changer for iced drinks.
Step 3: Blend the Base
Grab your blender. Add the cold coffee (2 cups), vanilla bean paste (2 teaspoons), and simple syrup (1-2 tablespoons, depending on how sweet you like it). Blend on high for 10-15 seconds. You want the mixture to be well-combined and slightly frothy. Don’t add ice yet—we’ll do that next.
Step 4: Add the Cream
Pour the blended coffee mixture into your glass. Add a splash of heavy cream (2 tablespoons) and stir gently. This creates a nice layered look if you’re serving it immediately. If you want it extra creamy, you can blend the milk and heavy cream with the coffee, but I prefer the layered effect.
Step 5: Ice It Up
Fill your glass to the top with ice cubes. This is important—pack it in tight. The more ice, the colder the drink, and the slower it melts.
Step 6: Serve and Garnish
Top with whipped cream if you’re feeling fancy. Drizzle a little extra vanilla bean paste on top for those beautiful black specks. Insert a straw and enjoy immediately. The foam will start to settle, so drink it while it’s fresh.
Total Time: About 5 minutes (plus cooling time for coffee if you’re not using cold brew)
Built-in Troubleshooting
- Drink is too sweet: Reduce the simple syrup to 1 tablespoon or skip it if your vanilla paste is sweetened.
- Drink is too strong: Add a splash more milk or water.
- Drink is watery: You used too much ice or the ice melted too fast. Use larger ice cubes and drink quickly.
- No vanilla bean paste: Use vanilla extract, but start with half the amount. Extract is more potent but lacks the texture.
Expert Tips & Tricks
Here’s everything I’ve learned from making this dozens of times. These tips will save you from my mistakes.
Use Cold Brew for Smoothness
Cold brew is naturally less acidic and has a smoother flavor profile. It pairs beautifully with vanilla. If you’re using regular coffee, make sure it’s completely cold. Warm coffee will melt the ice and dilute your drink before you even take a sip.
Don’t Skimp on the Vanilla
Vanilla is the star here. Cheap vanilla extract can taste bitter or artificial. Invest in a good quality vanilla bean paste or extract. The difference is night and day. My husband can taste the difference, and he’s not even a coffee snob.
Layer for Visual Appeal
If you’re serving guests, layer the drink. Pour the coffee first, then the cream, then the ice. It looks stunning and lets people mix it to their own preference. It’s a nice touch for brunch or a lazy weekend morning.
Make Simple Syrup in Bulk
Make a big batch of simple syrup on Sunday. It lasts for weeks in the fridge. It’s so much easier than using granulated sugar, which doesn’t dissolve well in cold drinks. I keep it in a small jar next to my coffee maker.
Vary the Cream
Experiment with different milks. Oat milk adds a nutty sweetness that pairs well with vanilla. Almond milk is lighter but less creamy. Coconut milk adds a tropical twist. I usually stick to dairy for the best texture, but oat milk is a close second.
Variations & Substitutions
Once you’ve nailed the basic version, here’s how you can mix it up. I’ve tried all of these.
Dirty Vanilla Bean Iced Coffee
Add a shot of espresso to the blender. This gives it a caffeine kick and a deeper coffee flavor. Perfect for when you need an extra boost in the afternoon.
Mocha Vanilla Bean Iced Coffee
Add 1 tablespoon of chocolate syrup to the blender. It turns this drink into a mocha. My kids love this version. It’s like a liquid chocolate bar.
Matcha Vanilla Bean Iced Coffee
Whisk 1 teaspoon of matcha powder with a little hot water, then add it to the blender. It’s earthy and sweet. A nice change of pace.
Coconut Vanilla Bean Iced Coffee
Use coconut milk instead of dairy milk. Add a splash of coconut cream for richness. It’s dairy-free and adds a tropical flavor. Great for summer.
Low-Sugar Version
Skip the simple syrup and use unsweetened vanilla almond milk. Use unsweetened vanilla bean paste. It’s still sweet from the vanilla, but much lower in sugar.
Serving & Storage
How to Serve
I usually serve this straight from the blender into a tall glass. It’s rustic and easy. But here are other ways I’ve enjoyed it:
- Brunch — Serve it alongside lemon blueberry pound cake for a sweet weekend treat.
- After Dinner — Pair it with a slice of classic vanilla bean cheesecake for a vanilla-themed dessert night.
- Quick Breakfast — Grab and go. It’s filling enough with the cream and ice.
Storage Instructions
Refrigerator: Store the cold brew concentrate in an airtight container for up to 2 weeks. The assembled drink is best served immediately. If you must store it, keep it in the fridge for up to 24 hours. The ice will melt, so you might need to add more ice or top off with coffee.
Freezing: You can freeze the cold brew concentrate in ice cube trays. Then, blend the coffee cubes with milk and vanilla for a slushy texture. It’s a fun way to use leftover coffee.
Pro Tip
If you’re making this for a party, make a big pitcher of cold brew concentrate and set out a station with milk, cream, vanilla paste, and simple syrup. Let everyone customize their own drink. It’s interactive and fun.
Nutrition Information
I’m not a nutritionist, but here’s the breakdown if you’re tracking. This is per serving (one glass).
| Nutrient | Amount |
|---|---|
| Calories | 120 |
| Protein | 2g |
| Carbs | 15g |
| Fiber | 0g |
| Sugar | 14g |
| Fat | 5g |
| Saturated Fat | 3g |
| Cholesterol | 15mg |
| Sodium | 30mg |
What’s Good: It’s relatively low in calories compared to café drinks. You control the sugar, so it can be as sweet or unsweetened as you like.
What to Know: The calories come mostly from the milk and cream. If you’re watching your intake, use skim milk or almond milk and skip the heavy cream.
My Take: Look, this is a treat. It’s not a health drink. But it’s way better than the sugary syrups at the coffee shop. When I want to make it lighter, I use oat milk and no added sugar. But usually? I just enjoy it and move on with my day.
Final Thoughts
So that’s my go-to creamy vanilla bean iced coffee! I’ve probably talked your ear off at this point, but when you make a recipe this often, you have a lot to say about it. This has saved my mornings more times than I can count. It’s my answer to “I need coffee” when I’m tired, don’t want to drive anywhere, and still want something that tastes really good. My husband is happy, my kids are happy, and I’m happy because I’m not stressed about making breakfast.
Make it yours! Try different milks, adjust the sweetness, or add a splash of liqueur for an adult version. The best recipes are the ones you adapt to your family’s tastes.
If you make this, drop a comment and let me know what you think! I love hearing how recipes turn out in your kitchen. And if something doesn’t work, tell me that too—I’m here to help troubleshoot.
Happy brewing! And I hope your kitchen smells half as good as mine does right now.
Frequently Asked Questions
Can I use hot coffee instead of cold brew?
You can, but you need to cool it completely first. Warm coffee will melt the ice and water down your drink. I recommend brewing it strong, letting it cool to room temperature, then refrigerating it for a few hours. Cold brew is still better because it’s smoother and less acidic, but strong cooled coffee works in a pinch.
Why did my drink turn out watery?
This usually happens if you use too much ice or if the ice melts too quickly. Use large ice cubes—they melt slower. Also, make sure your coffee is cold before blending. If it’s warm, it’ll melt the ice immediately. Another tip: drink it quickly! The longer it sits, the more the ice melts.
Can I make this ahead for a party?
Yes! Make the cold brew concentrate and simple syrup ahead of time. Store them in the fridge. When you’re ready to serve, just blend the coffee, milk, and vanilla for each glass. Don’t assemble the whole pitcher ahead of time because the ice will melt. Set up a station where guests can customize their own drinks.
Can I use vanilla extract instead of vanilla bean paste?
Yes, but you’ll need to adjust the amount. Vanilla extract is more potent. Start with 1 teaspoon of extract for every 2 teaspoons of paste. Taste and adjust. The paste also adds those beautiful black specks, which are purely aesthetic but look really nice. If you can’t find paste, extract is fine.
How do I store cold brew concentrate?
Store it in an airtight container in the fridge for up to 2 weeks. It keeps well because the cold brewing process reduces acidity and bacteria growth. If it starts to taste sour or off, toss it. But usually, it lasts quite a while.
Can I make this dairy-free?
Absolutely. Use oat milk or almond milk instead of dairy milk. Oat milk is creamier and works best for this recipe. Use coconut cream instead of heavy cream for richness. And make sure your vanilla bean paste is dairy-free (most are, but check the label). It’s just as delicious.
Can I add chocolate to this?
Yes! Add 1 tablespoon of chocolate syrup or cocoa powder to the blender. It turns this drink into a mocha. My kids love this version. You can also top it with whipped cream and chocolate shavings for extra decadence.
Pin This Recipe!
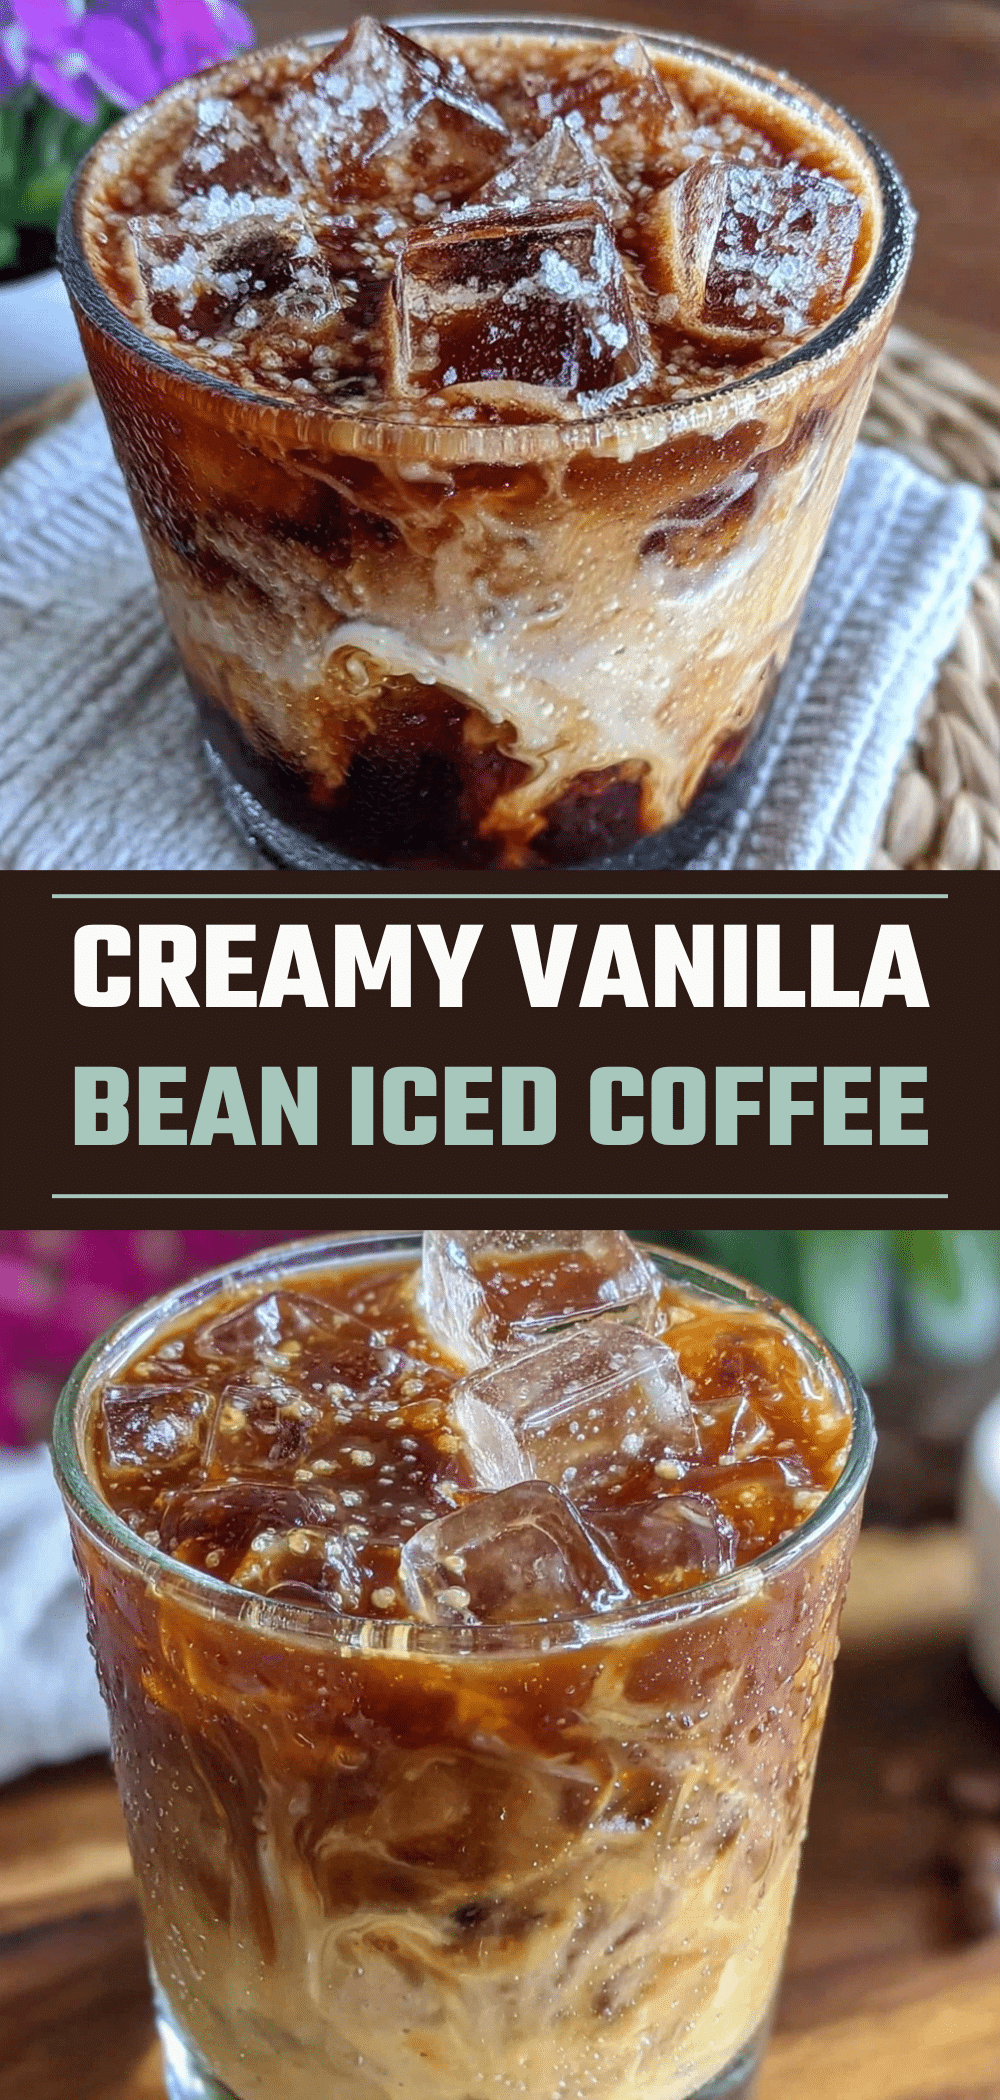
Creamy Vanilla Bean Iced Coffee
- Total Time: 5 minutes
- Yield: 1 serving 1x
Description
A rich, smooth, and customizable iced coffee made with real vanilla bean paste, cold brew concentrate, and a splash of cream. Ready in under 5 minutes, this homemade version tastes better than café drinks and costs significantly less.
Ingredients
- 2 cups cold brew concentrate or strong cooled coffee
- 2 teaspoons vanilla bean paste
- 1–2 tablespoons simple syrup (adjust to taste)
- 1 cup whole milk (or oat milk for dairy-free)
- 2 tablespoons heavy cream
- Ice cubes (large cubes preferred)
- Whipped cream (optional, for garnish)
Instructions
- Prepare coffee: If using regular coffee, brew it strong (1:2 ratio) and let it cool completely to room temperature, then refrigerate. If using cold brew concentrate, measure out 2 cups.
- Make simple syrup (optional): Combine equal parts sugar and hot water in a saucepan, stir until dissolved, and let cool. Store in the fridge.
- Blend the base: In a blender, combine the cold coffee, vanilla bean paste, and simple syrup. Blend on high for 10-15 seconds until frothy.
- Add cream: Pour the blended coffee mixture into a tall glass. Stir in the heavy cream for a layered look, or blend it with the coffee for extra creaminess.
- Add ice: Fill the glass to the top with ice cubes, packing them in tight.
- Serve: Top with whipped cream and a drizzle of extra vanilla bean paste if desired. Insert a straw and enjoy immediately.
Notes
Ensure coffee is completely cold before adding ice to prevent dilution. Use large ice cubes for slower melting. Vanilla bean paste provides authentic flavor and visual specks; vanilla extract can be substituted but use half the amount. Simple syrup dissolves better in cold drinks than granulated sugar.
- Prep Time: 5 minutes
- Cook Time: 0 minutes
- Category: Beverage
- Cuisine: American
Nutrition
- Serving Size: 1 tall glass
- Calories: 120
- Sugar: 14
- Sodium: 30
- Fat: 5
- Saturated Fat: 3
- Carbohydrates: 15
- Protein: 2
Keywords: iced coffee, vanilla bean coffee, cold brew, homemade frappe, quick breakfast, dairy-free coffee, creamy iced coffee


