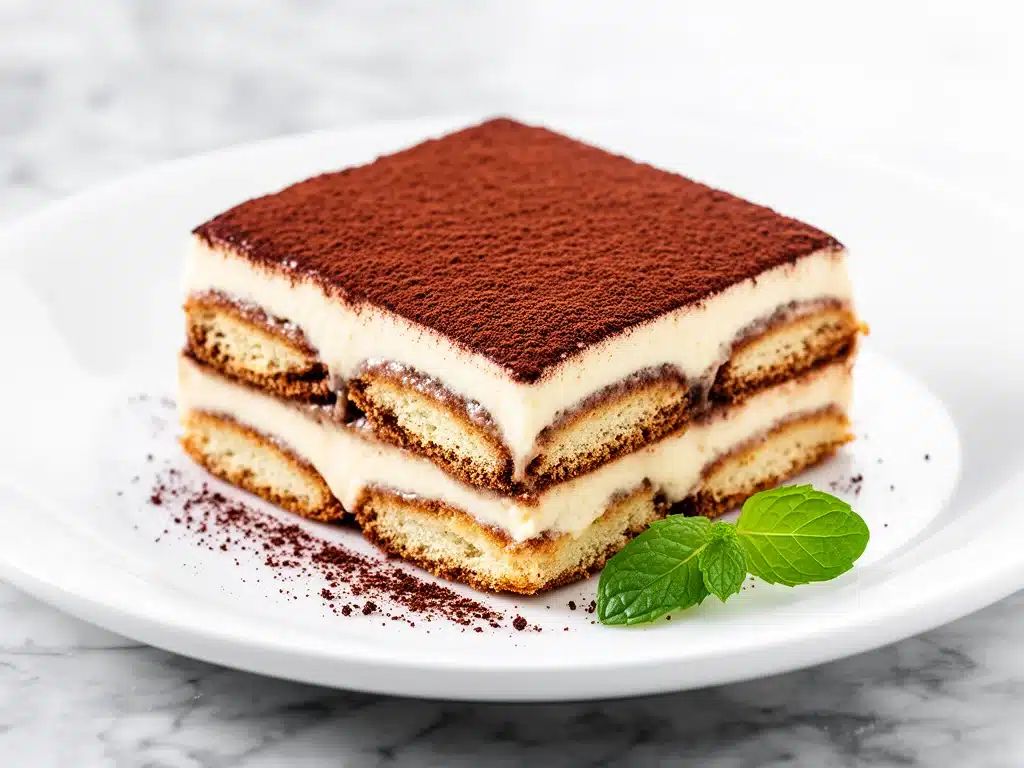
I have a confession to make. For years, I avoided making tiramisu at home. Not because I didn’t love it—oh, I love it—but because I was terrified of messing it up. I thought it required some secret, chef-level technique. I thought if I didn’t have a professional pastry kitchen, I’d end up with a sad, soggy mess of coffee-soaked cake that tasted like regret. I bought the boxed mixes. I ordered it from expensive Italian restaurants. I even tried a few Pinterest recipes that promised “easy” but delivered a dense brick that tasted like raw egg whites and despair.
Then, three years ago, I was hosting a dinner party for my husband’s family. It was one of those high-stakes gatherings where everyone is judging your life choices through their dinner plates. I decided to finally tackle tiramisu. I wanted something that would impress them, something that tasted like it came from a high-end café in Rome, not my cramped apartment kitchen. I spent hours researching, tweaking, and testing. I ended up with this creamy tiramisu with espresso and mascarpone recipe. It’s rich, it’s cold, it’s perfectly balanced, and it’s actually foolproof.
The moment I served it, the room went quiet. You know that quiet? The good kind. The kind where everyone stops talking because they’re too busy chewing. My father-in-law, a man who rarely compliments food, asked for the recipe before the plates were even cleared. Since then, this creamy tiramisu with espresso and mascarpone has become my go-to dessert for birthdays, holidays, and “I need to make a good impression” moments. It’s elegant, it’s classic, and it’s surprisingly simple if you know the tricks.
I’ve made this recipe at least twenty times in the last year. I’ve tested it with different coffees, different liqueurs, and even for guests with various dietary preferences. It always works. It’s the kind of dessert that makes people think you’re a genius, even though you’re just following a few simple steps. If you’ve been intimidated by tiramisu, put your fears aside. This version is designed for home cooks who want restaurant-quality results without the stress.
Why You’ll Love This Recipe
There are a lot of dessert recipes out there, but this creamy tiramisu with espresso and mascarpone stands out for a few specific reasons. It’s not just about the taste (though that’s huge). It’s about the experience of making it and the reaction you get when you serve it.
Zero Baking Required — Seriously, there is no oven involved. If you can whisk cream and dip a ladyfinger, you can make this. I’ve made this on weeknights after work, and it takes less than 30 minutes of active effort. No preheating, no waiting for cakes to cool, no cleanup of baking pans. Just a bowl, a whisk, and a fridge.
Make-Ahead Friendly — This is the ultimate party-saving dessert. Tiramisu needs time to set, which means you can make it the night before. In fact, it’s better the next day. The flavors meld together, the coffee softens the ladyfingers perfectly, and the texture becomes incredibly smooth. I often make this on Sunday for a Saturday night dinner. It frees up my evening to actually enjoy the party instead of stressing over dessert.
Restaurant-Quality Texture — Many homemade tiramisu recipes are too dense or too runny. This version strikes the perfect balance. The mascarpone cream is light and airy, not heavy or cloying. The coffee soak is just right—moist but not soggy. It has that velvety mouthfeel that makes you close your eyes when you take a bite. I’ve had this compared to tiramisu from some of the best Italian restaurants in the city, and honestly, mine might be better.
Customizable Strength — Whether you want a kick of alcohol or a family-friendly version, this recipe adapts easily. The coffee flavor is strong and aromatic, but not bitter. It’s the kind of coffee flavor that wakes you up but also comforts you. It’s a sophisticated dessert that appeals to both coffee lovers and those who just like a good sweet treat.
This creamy tiramisu with espresso and mascarpone is my answer to “what should I bring to the potluck?” or “what should I make for dessert when I have guests?” It’s reliable, it’s delicious, and it always gets compliments. Once you make it, you’ll understand why I make it so often.
Ingredients You’ll Need
One of the best things about this creamy tiramisu with espresso and mascarpone is the simplicity of the ingredients. You don’t need a specialty store or exotic spices. Most of this is pantry staples, but there are a few key items where quality really matters. I’m particular about three things here: the mascarpone, the espresso, and the chocolate.
Mascarpone Cheese (16 oz / 450g) — This is the star of the show. Do not substitute with cream cheese unless you have to. Mascarpone is milder, creamier, and less tangy. It gives the dessert that signature Italian richness. Buy the good stuff. I prefer the brand that comes in a tub rather than a block, as it’s often fresher and easier to whip. Make sure it’s cold when you start.
Heavy Whipping Cream (1 cup / 240ml) — You need full-fat heavy cream for stability and richness. Half-and-half won’t whip up stiff enough, and skim milk will make the dessert watery. Let the cream come to room temperature for about 15 minutes before whipping—it whips faster and smoother.
Egg Yolks (6 large yolks) — Traditionally, tiramisu uses raw egg yolks. If you’re comfortable with that, this recipe uses them for richness and emulsion. If you’re worried about raw eggs, you can use a cooked custard method (see variations below). I’ve never had an issue with pasteurized eggs, but use your judgment. The yolks give the cream a luxurious, pale yellow color and a silky texture.
Granulated Sugar (½ cup / 100g) — Not too sweet. Tiramisu should be balanced. The coffee and cocoa add bitterness, so the sugar just rounds it out. Adjust to ⅓ cup if you prefer less sweet, but don’t go below that or the mascarpone will be too tangy.
Vanilla Extract (1 teaspoon) — Pure vanilla, not imitation. It adds a subtle floral note that complements the coffee beautifully. Don’t skip it; it’s the secret ingredient that makes it taste “complete.”
Strong Espresso or Coffee (1 ½ cups / 360ml) — This needs to be strong. Use fresh-ground coffee beans if you can, and brew a strong espresso. If you’re using drip coffee, make it double-strength. Let it cool completely before using. Warm coffee will melt the mascarpone and make the ladyfingers soggy immediately. I keep a small pot of espresso in the fridge for this recipe.
Ladyfinger Cookies (2 packages / about 24-30 cookies) — Look for Savoiardi cookies. They are dry and crisp, which is exactly what you want. They absorb the coffee without falling apart. Avoid soft, cake-like ladyfingers; they’ll turn into mush. I usually buy two standard boxes.
Bittersweet Chocolate (2 oz / 55g, grated) — For the topping. Use a chocolate bar with at least 60% cocoa. Chocolate chips don’t grate well and are too sweet. A good quality bar, grated finely with a microplane, adds a sophisticated touch and a nice crunch.
Optional: Marsala Wine or Kahlúa (2-3 tablespoons) — Traditional tiramisu uses Marsala wine, a sweet fortified wine. If you don’t drink alcohol, skip it or replace it with a teaspoon of vanilla extract. Kahlúa adds a coffee liqueur flavor that’s also delicious. I usually add about 2 tablespoons to the coffee mixture for depth.
Unsweetened Cocoa Powder (for dusting) — Sifted generously over the top. This adds visual contrast and a final burst of bitter coffee flavor.
Equipment Needed
You don’t need fancy gadgets for this creamy tiramisu with espresso and mascarpone. Here’s what I actually use in my kitchen.
Two Large Mixing Bowls — One for the egg yolks and sugar, one for the heavy cream. Glass or stainless steel works best. I use 4-quart bowls to give the cream plenty of room to whip.
Electric Hand Mixer or Stand Mixer — While you *can* whisk by hand, it takes forever and your arms will hurt. An electric mixer makes quick work of whipping the cream and beating the yolks. I use a hand mixer because it’s easier to clean and maneuver.
Whisk — For folding the ingredients together. A silicone spatula is essential for gently combining the mascarpone with the whipped cream without deflating it. Folding is key to keeping the tiramisu light.
9×13 Inch Baking Dish or Glass Tray — This is the standard size for tiramisu. A glass dish is nice because you can see the layers, but ceramic or metal works too. Just make sure it’s deep enough to hold the layers without spilling.
Microplane or Fine Grater — For grating the chocolate and sifting the cocoa powder. A microplane gives the finest, most beautiful shreds and dusting.
Shallow Dish for Coffee — A wide, shallow bowl or plate for dipping the ladyfingers. You want to dip quickly, so a wide surface area helps.
Measuring Cups and Spoons — Standard stuff. Accurate measurements matter here, especially with the sugar and coffee ratio.
Refrigerator Space — Yes, really. You need a flat spot in your fridge for at least 6 hours, preferably overnight. Make sure your dish fits without being crowded by other items.
How to Make It: Step-by-Step
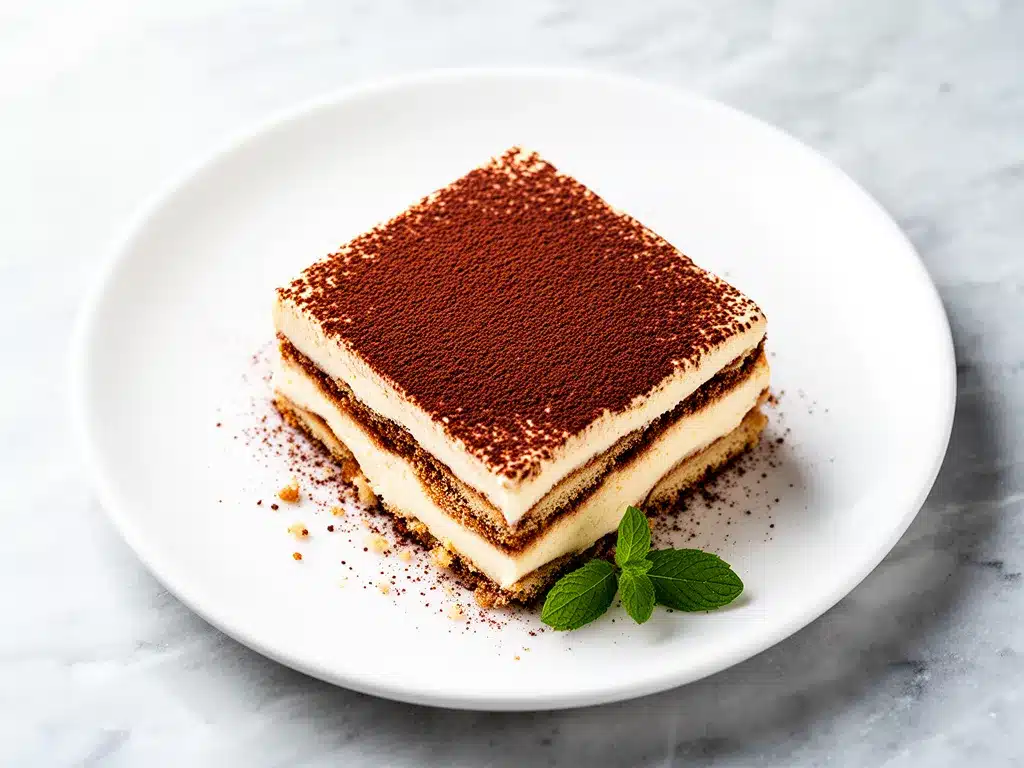
Alright, let’s make this! I’m walking you through exactly how I do it, including the little tricks I’ve picked up over the years. This creamy tiramisu with espresso and mascarpone is straightforward, but technique matters.
Step 1: Brew and Cool the Espresso (15 minutes)
Start by brewing your strong espresso or coffee. You need 1 ½ cups. If you’re using instant coffee, use 3 tablespoons dissolved in 1 ½ cups of hot water, but fresh is better. Stir in the Marsala wine or Kahlúa if you’re using it. Pour the mixture into a shallow dish and let it cool completely to room temperature. You can speed this up by putting it in the fridge, but make sure it’s cold before you use it. Warm coffee will ruin the texture.
Step 2: Whip the Heavy Cream (3 minutes)
In a large, cold bowl, pour the heavy whipping cream. Using an electric mixer, beat on medium-high speed until stiff peaks form. This means when you lift the beaters, the cream stands up straight without drooping. Be careful not to over-whip, or it’ll turn into butter. Set the whipped cream aside in the fridge while you make the mascarpone mixture.
Step 3: Beat the Egg Yolks and Sugar (5 minutes)
In another large bowl, add the egg yolks and granulated sugar. Beat with the electric mixer on high speed for about 3-4 minutes. The mixture should become pale yellow, thick, and ribbon-like. When you lift the beaters, the batter should fall in ribbons that sit on the surface for a few seconds before dissolving. This step incorporates air and dissolves the sugar, which is crucial for the texture.
Step 4: Mix in the Mascarpone (2 minutes)
Reduce the mixer speed to low. Add the mascarpone cheese to the yolk mixture. Beat gently just until combined and smooth. Do not overmix at this stage, or the mascarpone can curdle. Scrape down the sides of the bowl with a spatula to ensure everything is incorporated. The mixture should be thick and creamy.
Step 5: Fold the Cream Together (3 minutes)
Now comes the gentle part. Take about one-third of the whipped cream and fold it into the mascarpone mixture using a silicone spatula. This loosens up the dense mascarpone. Then, gently fold in the remaining whipped cream. Use a cutting motion, lifting from the bottom and folding over. Stop as soon as no white streaks remain. You want to keep as much air in the cream as possible. Overmixing here will make the tiramisu dense.
Step 6: Dip and Layer (10 minutes)
Take a ladyfinger cookie and quickly dip it into the cooled coffee mixture. Dip both sides, but be fast! You want it moist, not soggy. It should take about 1-2 seconds per side. Place the dipped ladyfingers in a single layer at the bottom of your 9×13 dish. They should fit snugly, touching each other.
Spread half of the mascarpone cream mixture over the ladyfingers. Smooth it out with a spatula. Add another layer of dipped ladyfingers on top. Spread the remaining cream over this second layer. If you have extra ladyfingers, you can add a third layer, but two is usually perfect.
Step 7: Chill and Set (At least 6 hours)
Cover the dish tightly with plastic wrap. Refrigerate for at least 6 hours, but overnight is best. This is when the magic happens. The ladyfingers soften, the flavors meld, and the cream sets into a firm but creamy texture. Do not skip this step. Serving it immediately will result in a messy, un-set dessert.
Step 8: Garnish and Serve
Just before serving, sift a generous layer of unsweetened cocoa powder over the top. Then, grate your bittersweet chocolate over the cocoa. The contrast of dark chocolate on white cream is beautiful. Slice with a sharp knife dipped in hot water for clean cuts. Serve cold.
Expert Tips & Tricks
Here’s everything I’ve learned from making this dozens of times. These tips will save you from my mistakes.
Keep Everything Cold — Mascarpone and heavy cream are temperature-sensitive. If your bowl or beaters are warm, the cream won’t whip properly. Keep your ingredients in the fridge until the moment you need them. If the mascarpone is too cold and hard to mix, let it sit out for 10 minutes before starting.
Don’t Soak the Ladyfingers — This is the most common mistake. Ladyfingers are like sponges. If you soak them too long, they disintegrate. Dip them quickly—just a second on each side. They will continue to absorb moisture from the cream as they chill.
Use a Sharp Knife — Cutting tiramisu can be messy if your knife is dull. Dip your knife in hot water and wipe it dry before each cut. This gives you clean, beautiful slices that look professional.
Grate Your Own Chocolate — Pre-shredded chocolate has anti-caking agents that make it clumpy. A good quality chocolate bar, grated finely, melts slightly on contact with the cream and adds a gourmet touch.
Adjust the Coffee Strength — If you’re using weak drip coffee, boil it down to concentrate it. The coffee flavor needs to be strong enough to stand up to the rich cream. If it’s too weak, the tiramisu will taste bland.
For Food Safety — If you’re serving pregnant women, young children, or elderly guests, consider using pasteurized eggs or cooking the yolks. You can make a zabaglione by whisking the yolks and sugar over a double boiler until they reach 160°F (71°C), then cooling before mixing. It’s safer and still delicious.
Variations & Substitutions
Once you’ve nailed the basic version, here’s how you can mix it up. I’ve tried all of these.
Alcohol-Free Version — Simply omit the Marsala or Kahlúa. The coffee flavor will still be prominent, and the dessert will be family-friendly. You can add a teaspoon of vanilla extract to the coffee for extra flavor.
Chocolate Lovers — Add a layer of chocolate ganache between the ladyfingers and the cream. Melt 4oz chocolate with ½ cup heavy cream, cool slightly, and spread it over the first layer of ladyfingers.
Strawberry Tiramisu — Replace the coffee with a sweet berry syrup or juice. Layer fresh sliced strawberries between the cream and ladyfingers. It’s a lighter, summer version.
Matcha Tiramisu — Replace the coffee with strong brewed matcha tea. Use white chocolate for the garnish instead of dark. It’s a unique, earthy twist.
Gluten-Free — Use gluten-free ladyfingers. Many brands work well, but check the texture—they can be more fragile. Dip them very quickly.
Dairy-Free — Replace mascarpone with a dairy-free cream cheese alternative and heavy cream with coconut cream (chilled overnight, then whipped). It’s richer and heavier, but still tasty.
Serving & Storage
How to Serve: I usually serve this straight from the fridge. It’s best cold. I like to serve it with a side of fresh berries or a dollop of whipped cream for contrast. It pairs beautifully with a cup of black coffee or a glass of dessert wine.
Storage: Store covered in the refrigerator for up to 3 days. The flavors get better on day two. Do not freeze it, as the texture of the cream and ladyfingers will suffer upon thawing. It will become watery and grainy.
Leftovers: If you have leftovers, they’re perfect for lunch the next day. The ladyfingers will be softer, almost like a cake, which some people prefer. Just keep it covered to prevent it from absorbing fridge odors.
Nutrition Information
I’m not a nutritionist, but here’s the breakdown if you’re tracking. This is a rich dessert, so portion control is key.
Per Serving (based on 12 servings):
- Calories: 320
- Protein: 5g
- Carbs: 28g
- Fiber: 1g
- Sugar: 18g
- Fat: 22g
- Saturated Fat: 13g
- Cholesterol: 110mg
- Sodium: 120mg
What’s Good: It provides calcium from the dairy and a small amount of protein. It’s also a source of antioxidants from the coffee and dark chocolate.
What to Know: It’s high in saturated fat and sugar due to the mascarpone, cream, and sugar. If you’re watching your intake, stick to one square. It’s a treat, not a health food.
Final Thoughts
So that’s my go-to creamy tiramisu with espresso and mascarpone! I’ve probably talked your ear off at this point, but when you make a recipe this often, you have a lot to say about it.
This has saved my social life more times than I can count. It’s my answer to “what should I bring?” when I’m tired, don’t want to bake, and still want something that tastes really good. My guests are happy, my husband’s happy, and I’m happy because I’m not stressed about cooking.
Make it yours! Try different liqueurs, swap in your favorite chocolate, or adjust the coffee strength. The best recipes are the ones you adapt to your family’s tastes. If you make this, drop a comment and let me know what you think! I love hearing how recipes turn out in your kitchen. And if something doesn’t work, tell me that too—I’m here to help troubleshoot.
Happy cooking! And I hope your kitchen smells half as good as mine does right now.
Frequently Asked Questions
Can I use instant coffee instead of espresso?
You can, but the flavor won’t be as rich. If you use instant coffee, make sure to dissolve it in hot water and let it cool completely. Use about 3 tablespoons of instant coffee per 1 ½ cups of water. Fresh espresso is definitely better, but instant works in a pinch.
Why is my tiramisu watery?
This usually happens if you soaked the ladyfingers too long, or if the mascarpone mixture wasn’t thick enough. Make sure you whip the cream to stiff peaks and don’t overmix when folding. Also, ensure the coffee is cold when you dip the cookies. Warm coffee makes them absorb too much liquid.
Can I make this ahead for a dinner party?
Yes! This is actually better made ahead. Make it the night before and let it chill overnight. The flavors meld and the texture sets perfectly. It’s one of the best make-ahead desserts you can prepare.
Can I use cream cheese instead of mascarpone?
I don’t recommend it. Mascarpone is much milder and creamier. Cream cheese is tangier and denser, which will change the flavor and texture significantly. If you must substitute, mix cream cheese with a little heavy cream to lighten it, but it won’t be the same.
How do I store leftovers?
Store in an airtight container or covered tightly with plastic wrap in the refrigerator for up to 3 days. It will keep well, though the ladyfingers will continue to soften. Do not freeze it.
Is it safe to eat raw egg yolks?
If you’re using pasteurized eggs, it’s safe. If you’re concerned, you can cook the yolks and sugar over a double boiler until they reach 160°F (71°C) to make a safe custard. This adds a step but ensures food safety for everyone.
Can I make this in individual servings?
Absolutely! Use small glasses or ramekins. Layer the ingredients in the same way. These are great for parties because each person gets their own portion, and you can customize the toppings. They still need to chill for at least 6 hours.
Pin This Recipe!
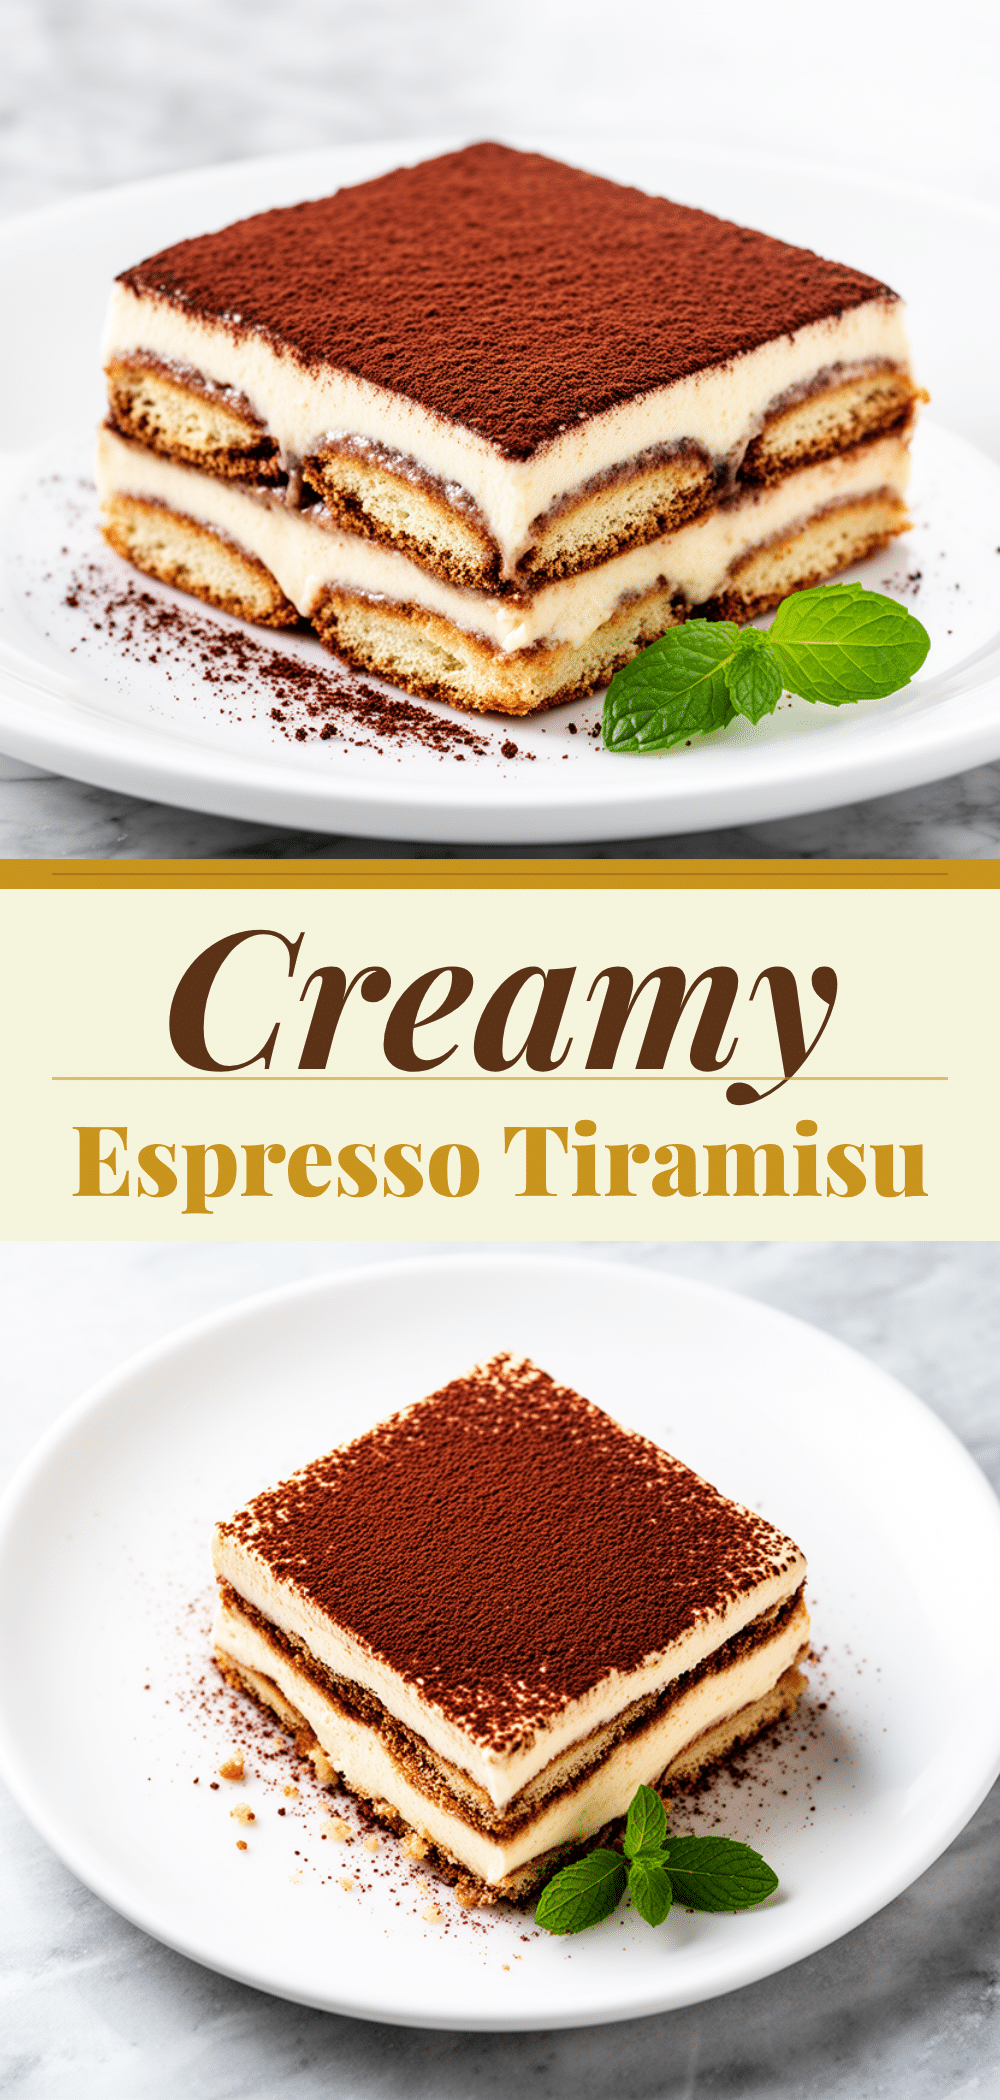
Creamy Tiramisu: 5-Step Best Homemade Espresso Dessert
- Total Time: 6 hours 30 minutes
- Yield: 12 servings 1x
Description
A foolproof, no-bake tiramisu recipe featuring a rich mascarpone cream, strong espresso-soaked ladyfingers, and bittersweet chocolate garnish. This make-ahead dessert delivers restaurant-quality texture and flavor with minimal effort.
Ingredients
- 16 oz (450g) mascarpone cheese, cold
- 1 cup (240ml) heavy whipping cream
- 6 large egg yolks
- ½ cup (100g) granulated sugar
- 1 teaspoon vanilla extract
- 1 ½ cups (360ml) strong espresso or coffee, cooled
- 2 packages (24-30 cookies) Savoiardi ladyfinger cookies
- 2 oz (55g) bittersweet chocolate (at least 60% cocoa), grated
- 2–3 tablespoons Marsala wine or Kahlúa (optional)
- Unsweetened cocoa powder, for dusting
Instructions
- Brew strong espresso or coffee and stir in Marsala wine or Kahlúa if using. Pour into a shallow dish and let cool completely to room temperature.
- In a large, cold bowl, whip the heavy cream with an electric mixer on medium-high speed until stiff peaks form. Set aside in the fridge.
- In another large bowl, beat the egg yolks and granulated sugar on high speed for 3-4 minutes until pale, thick, and ribbon-like.
- Reduce mixer speed to low and add the mascarpone cheese to the yolk mixture. Beat gently just until combined and smooth.
- Fold one-third of the whipped cream into the mascarpone mixture to loosen it. Then, gently fold in the remaining whipped cream until no white streaks remain.
- Quickly dip both sides of each ladyfinger into the cooled coffee mixture (about 1-2 seconds per side) and place in a single layer at the bottom of a 9×13 inch dish.
- Spread half of the mascarpone cream over the ladyfingers. Add a second layer of dipped ladyfingers and spread the remaining cream on top.
- Cover tightly with plastic wrap and refrigerate for at least 6 hours, preferably overnight, to set.
- Before serving, sift unsweetened cocoa powder over the top and grate bittersweet chocolate over the cocoa. Slice with a hot, dry knife and serve cold.
Notes
Keep all ingredients cold to ensure the cream whips properly. Do not soak ladyfingers for too long or they will become soggy. For food safety, use pasteurized eggs or cook the yolks over a double boiler until they reach 160°F (71°C). This dessert is best made the night before to allow flavors to meld.
- Prep Time: 30 minutes
- Cook Time: 0 minutes
- Category: Dessert
- Cuisine: Italian
Nutrition
- Serving Size: 1 slice
- Calories: 320
- Sugar: 18
- Sodium: 120
- Fat: 22
- Saturated Fat: 13
- Carbohydrates: 28
- Fiber: 1
- Protein: 5
Keywords: tiramisu, mascarpone, espresso dessert, no bake dessert, italian dessert, homemade tiramisu, coffee dessert, make ahead dessert


