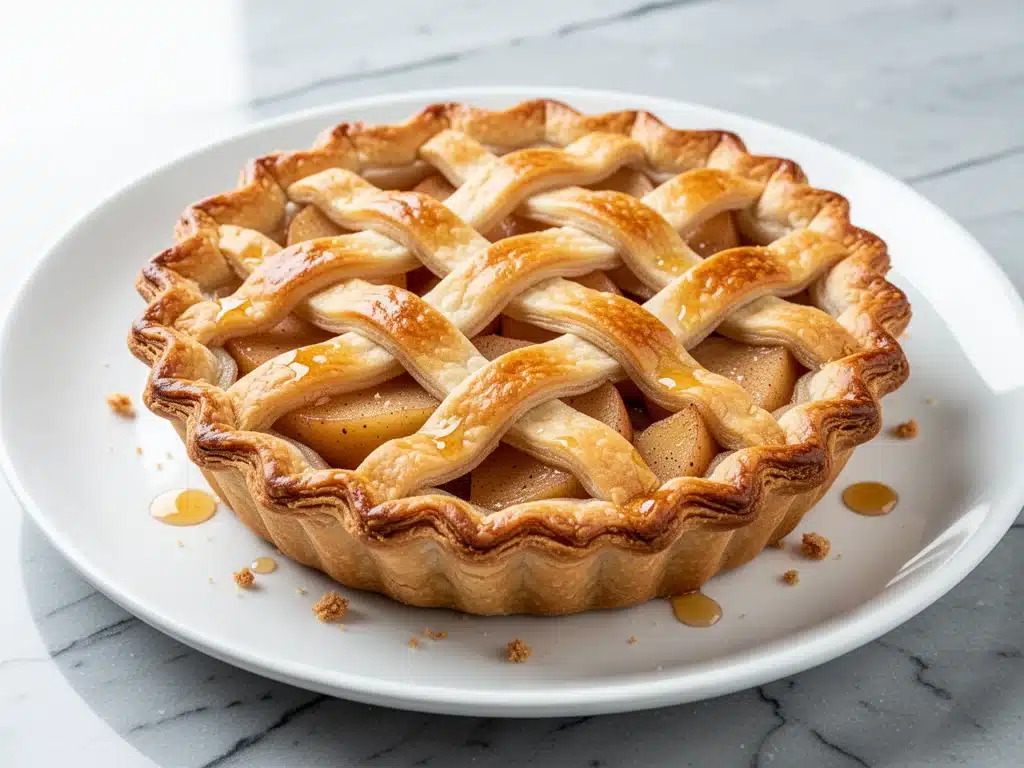
I still remember the autumn afternoon I decided to make my grandmother’s apple pie from scratch. I was twenty-two, living in my first apartment that smelled faintly of damp carpet and instant noodles, and I thought, “How hard can a lattice crust possibly be?” I watched a tutorial, felt confident, and proceeded to create what can only be described as a pastry disaster. The crust crumbled. The filling leaked everywhere. And when I finally took a bite? It tasted like sadness and undercooked flour.
I was ready to give up. I was ready to buy the frozen kind from the grocery store freezer aisle—the one that comes in a cardboard box and tastes like sugary cardboard. But then, I changed one thing. I stopped rushing. I stopped treating the dough like an enemy. And I started respecting the cold.
That mistake led to years of experimenting, failing, and eventually, mastering the art of the perfect classic apple pie with flaky lattice crust. This isn’t just a recipe; it’s my redemption story. It’s the pie that turned me from a dessert-phobe into someone who actually looks forward to pie season. And now, it’s the pie I make for every Thanksgiving, every holiday gathering, and every time I need to impress someone who thinks they “don’t like pie.”
There is something deeply comforting about the smell of cinnamon and baking apples filling your kitchen. It’s nostalgic, sure, but it’s also practical. This classic apple pie with flaky lattice crust is sturdy enough to hold its shape, sweet enough to satisfy a sugar craving, and complex enough to feel like you put in serious effort. I’ve tested this recipe with over a dozen varieties of apples, three different types of butter, and enough flour to bake a small city. What I’ve landed on is the gold standard. It’s flaky, it’s tender, and that lattice top? It’s actually doable. I promise.
Why You’ll Love This Classic Apple Pie with Flaky Lattice Crust
Let’s be real for a second. Making a pie from scratch feels intimidating. It feels like something reserved for grandmothers and TV chefs with perfect hands. But this classic apple pie with flaky lattice crust breaks down into manageable steps, and the payoff is absolutely worth it. Here’s why this recipe has taken over my kitchen (and hopefully yours):
- Actually Flaky, Not Tough — I’ve tried every pie crust recipe out there, and this one finally works. The secret isn’t magic; it’s temperature. By keeping everything cold and handling the dough as little as possible, you get layers of pastry that shatter when you cut into it. No chewy, bread-like crusts here.
- The Lattice Isn’t Scary — I know what you’re thinking. “I can’t do a lattice.” Yes, you can. I’ve simplified the weaving process so much that even if you’re a total beginner, you’ll end up with a beautiful, rustic top. Plus, it looks impressive enough to bring to a dinner party where you’re trying to prove you can cook.
- Perfect Apple Balance — Too mushy? Too crunchy? Too tart? Not with this recipe. I use a mix of apples that hold their shape but still break down just enough to create a luscious, juicy filling without making the bottom crust soggy. It’s the sweet spot.
- Make-Ahead Friendly — Here’s the best part: this classic apple pie with flaky lattice crust is actually better when you make it a day ahead. The flavors meld together overnight, and the crust sets up nicely. You can prep the dough weeks in advance and freeze it. Talk about stress-free entertaining.
- Feels Special, Costs Less — A good apple pie from a bakery will set you back $25 or more. Making this at home costs about $8-$10 in ingredients. That’s less than the cost of a takeout meal, and you get the satisfaction of creating something beautiful with your own hands.
Whether you’re using this as a centerpiece for a holiday table or just want a cozy weekend treat, this pie delivers. It’s the kind of dessert that makes people stop talking and just eat. It’s my answer to “what should I bring?” for every potluck and family gathering. If you’ve been intimidated by pie, this is your invitation to finally jump in.
Ingredients You’ll Need for the Perfect Pie
Before we get to the mixing bowls, let’s talk about what goes into this classic apple pie with flaky lattice crust. I’m a stickler for quality here because with pie, you can’t hide bad ingredients. The flavor of the apples and the butter will shine through everything.
For the Flaky Pie Crust
All-purpose flour (2 ½ cups / 315g) — Don’t go for fancy pastry flour unless you want to change the recipe. Standard all-purpose gives us the right balance of structure and tenderness. Spoon it into the cup and level it off; don’t scoop straight from the bag, or you’ll pack in too much flour and get a tough crust.
Salt (1 teaspoon) — Essential for flavor. It also helps strengthen the gluten slightly, which keeps the crust from falling apart.
Granulated sugar (1 tablespoon) — Just a pinch to help with browning and a tiny bit of sweetness. You don’t want the crust to taste like a cookie.
Unsalted butter (1 cup / 2 sticks / 226g, very cold) — This is non-negotiable. Use high-quality butter. I love Land O’Lakes or Kerrygold. The butter must be cold—ice cold. If it’s soft, the crust will be greasy. Cube it and put it back in the fridge for 15 minutes before using.
Ice water (6-8 tablespoons) — You need water to bring the dough together, but too much makes it tough. Use actual ice water. Fill a glass with water and throw in a few ice cubes, then measure from that. The cold temperature is what creates those flaky layers.
For the Apple Filling
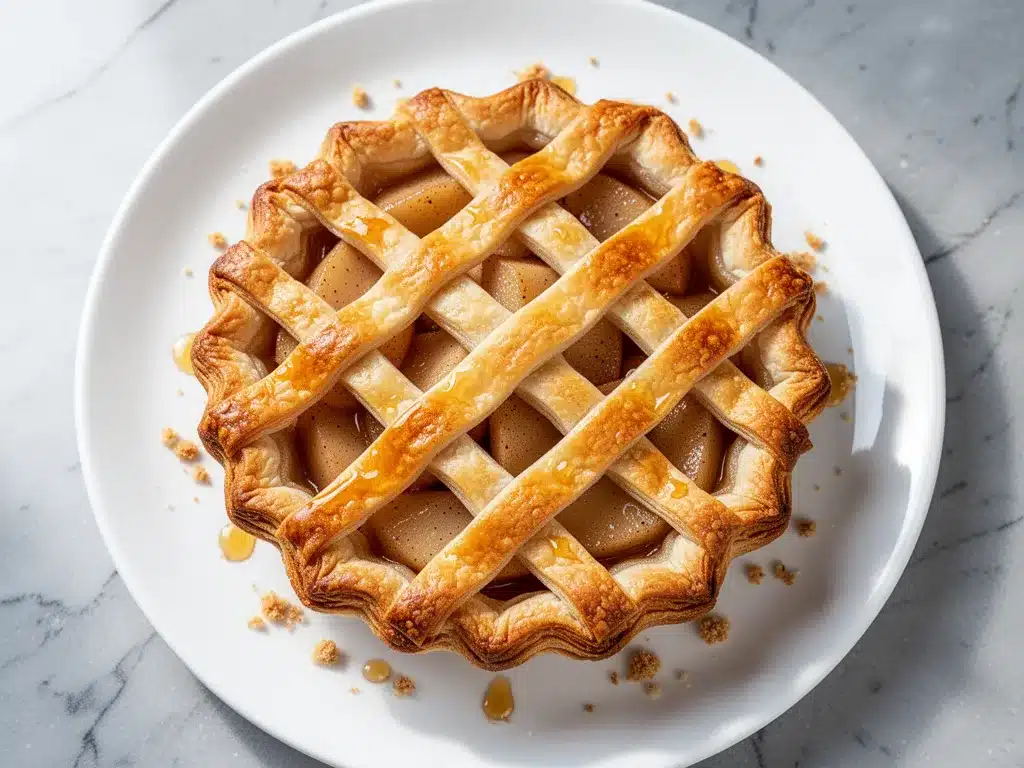
Apples (6-7 medium, about 2.5 lbs / 1.1 kg) — This is the star. Do not use Red Delicious; they turn to mush. I recommend a mix of Granny Smith (for tartness and structure) and Honeycrisp or Fuji (for sweetness and texture). A 50/50 mix is my personal favorite. Peel, core, and slice them about ¼ inch thick.
Granulated sugar (½ cup / 100g) — Adjust based on how tart your apples are. If you’re using mostly Granny Smith, you might want ¾ cup.
Light brown sugar (¼ cup / 50g) — Adds a deeper, molasses-like flavor that complements the cinnamon perfectly.
All-purpose flour (3 tablespoons) — This thickens the juices as the pie bakes. Cornstarch works too, but flour gives a more traditional texture. If you prefer a thicker filling, use ¼ cup.
Cinnamon (1 teaspoon) — Ground cinnamon is standard, but if you have it, freshly grated nutmeg adds a wonderful warmth. I usually add a pinch of nutmeg along with the cinnamon.
Lemon juice (1 tablespoon) — Prevents the apples from browning while you’re prepping them, and adds a bright acidity that cuts through the sweetness.
Vanilla extract (1 teaspoon) — Adds depth. It’s a subtle note, but it makes the pie taste more complex.
Butter (2 tablespoons, cubed) — Dotting the top of the filling with butter before adding the crust adds richness and helps the top brown.
For the Egg Wash and Finish
Egg (1 large, beaten with 1 tablespoon water) — This gives the lattice a beautiful golden shine. Don’t skip it if you want that bakery-style look.
Sugar for sprinkling (1-2 tablespoons) — Coarse sugar or granulated sugar sprinkled on top before baking creates that crunchy, sweet crust you see in fancy bakeries.
Equipment Needed
You don’t need a fancy kitchen to make this classic apple pie with flaky lattice crust. Here’s what I actually use, and what you can swap:
- 9-inch pie dish — Ceramic or glass works best. I prefer glass because you can see the bottom browning. Metal pans can sometimes over-brown the edges.
- Food processor — I use this for the crust because it’s fast and keeps the butter cold. Pulse, don’t blend. If you don’t have one, use a pastry cutter or two forks. It takes longer but works fine.
- Rolling pin — A standard wooden one is perfect. Make sure it’s clean and dry.
- Sharp knife or apple peeler — For slicing the apples evenly. Uniform slices ensure they cook at the same rate.
- Pastry brush — For the egg wash. A silicone brush is easier to clean.
- Baking sheet — Place your pie dish on a baking sheet before putting it in the oven. This catches any bubbling over and prevents messes in your oven.
Quick tip: If you’re making the crust from scratch, having a clean, large workspace is helpful. I lay down a sheet of parchment paper to roll the dough on, which makes transferring it to the pie dish much easier.
How to Make It: Step-by-Step
Alright, let’s make this! I’m going to walk you through exactly how I do it, including the little tricks that save me from disaster. Grab a cold glass of water and let’s get to work.
Step 1: Make the Pie Crust Dough
In the bowl of a food processor, combine the flour, salt, and sugar. Pulse a few times to mix. Add the cold, cubed butter. Pulse 10-15 times until the mixture looks like coarse meal with some pea-sized chunks of butter remaining. Those chunks are crucial—they create the flaky layers.
With the processor running, slowly pour in the ice water through the feed tube. Stop and check frequently. You only need about 6-8 tablespoons. The dough is ready when it starts to clump together when you pinch it. Don’t over-process it into a ball.
Turn the dough out onto a clean surface. Divide it in half. Flatten each half into a disc, wrap tightly in plastic wrap, and refrigerate for at least 1 hour (or up to 2 days). This rest time relaxes the gluten and re-chills the butter.
Step 2: Prepare the Apples
While the dough chills, peel, core, and slice your apples. Toss them in a large bowl with the lemon juice to prevent browning. In a separate small bowl, mix the granulated sugar, brown sugar, flour, cinnamon, nutmeg, and vanilla. Pour this mixture over the apples and toss until they are evenly coated. Let them sit for 15 minutes. This draws out some of the juices, which helps prevent a soggy bottom crust.
Step 3: Roll Out the Bottom Crust
Preheat your oven to 400°F (200°C). Take one disc of dough out of the fridge. On a floured surface, roll it out into a 12-inch circle. Roll from the center outward, rotating the dough frequently to keep it from sticking. If it cracks, just patch it with your fingers—don’t add more flour unless necessary.
Gently fold the dough in half and transfer it to your 9-inch pie dish. Unfold it and press it gently into the bottom and sides. Trim the edges, leaving about a ½-inch overhang. You can crimp these edges now or wait until the top is added. I usually wait to avoid handling it too much.
Spread the apple filling into the crust, mounding it slightly in the center. Dot the top of the apples with the 2 tablespoons of cubed butter.
Step 4: Create the Lattice Top
Roll out the second disc of dough into a 12-inch circle. Using a pizza cutter or sharp knife, cut the dough into ¾-inch strips. You’ll need about 10-12 strips.
Place 5 strips parallel to each other on the filling, spacing them evenly. Leave a small gap between each. Then, fold back every other strip (1, 3, 5, 7, 9). Lay one strip perpendicular across the folded strips. Unfold the strips over this new strip. Fold back the alternating strips (2, 4, 6, 8, 10) that were *not* folded before, and place another perpendicular strip. Unfold them. Repeat this weaving process until you’ve used all the strips. It sounds complicated, but it’s just an over-under pattern.
Trim the excess dough from the lattice strips. Tuck the edges of the lattice under the bottom crust’s overhang and crimp the edges together with your fingers or a fork. This seals the pie and gives it a professional look.
Step 5: Bake to Perfection
Brush the lattice top with the egg wash and sprinkle generously with sugar. Place the pie on a baking sheet (to catch drips) and put it in the preheated oven.
Bake at 400°F (200°C) for 20 minutes. Then, reduce the temperature to 375°F (190°C) and bake for another 35-45 minutes. The pie is done when the crust is deep golden brown and the filling is bubbling vigorously through the lattice. If the edges start to brown too quickly, cover them with a pie shield or strips of aluminum foil.
Let the pie cool on a wire rack for at least 2 hours. I know, this is the hardest part. But cutting into a hot pie means the filling runs out and the texture is gummy. Patience pays off.
Expert Tips & Tricks for Success
After making dozens of pies, here’s what I’ve learned. These tips will save you from my past mistakes.
Keep Everything Cold
This is the #1 rule for flaky crust. If your butter gets soft, the crust fails. Keep your dough chilled. If it feels warm while you’re working, put it back in the fridge for 10 minutes. I even chill my rolling pin if it’s too warm.
Don’t Skip the Preheat
Your oven needs to be fully hot before the pie goes in. A hot oven sets the crust quickly, creating steam that lifts the layers. If the oven is too cool, the butter melts into the flour, and you get a dense, crumbly crust instead of flakes.
Use a Mix of Apples
I cannot stress this enough. Using only one type of apple often leads to issues. Granny Smith holds shape but is too tart alone. Honeycrisp is sweet but can get mushy. The mix gives you the best of both worlds: structure and flavor.
Catch the Drips
Apple pie filling *will* bubble over. Place your pie dish on a rimmed baking sheet before putting it in the oven. It saves you from scrubbing burnt sugar off your oven floor later. Trust me.
Let It Cool Completely
I know you want to eat it. I know you do. But if you cut it hot, the filling is liquid and the crust is soggy. Wait at least 2 hours. If you can’t wait, wait at least 45 minutes. The filling needs to set.
Variations & Substitutions
Once you’ve mastered the basic classic apple pie with flaky lattice crust, here are some fun ways to mix it up. I’ve tried all of these, and they’re all winners.
Spiced Apple Pie
Add ½ teaspoon of cardamom or allspice to the filling. It adds a warm, aromatic complexity that’s perfect for fall. I love this version with a dollop of whipped cream.
Caramel Apple Pie
Drizzle ¼ cup of caramel sauce over the apple filling before adding the top crust. It adds a rich, sweet depth that pairs beautifully with the tart apples. Just be careful not to add too much, or the pie might be too sweet.
Cheddar Crust
For a savory twist, replace ¼ cup of the flour with shredded cheddar cheese in the crust dough. It’s surprisingly delicious and pairs well with a sharp apple variety like Granny Smith.
Gluten-Free Option
You can use a 1-to-1 gluten-free flour blend for the crust. Add an extra tablespoon of water if the dough seems dry. The texture will be slightly more tender and less flaky, but still tasty. For the filling, use cornstarch instead of flour to thicken.
Vegan Version
Use coconut oil or vegan butter instead of dairy butter. Use agave nectar or maple syrup instead of sugar. For the egg wash, use a mixture of plant milk and a little maple syrup. The crust won’t be as flaky, but it’s still good.
Serving & Storage
This classic apple pie with flaky lattice crust is best served at room temperature, though some people prefer it slightly warm. I usually serve it with a scoop of vanilla ice cream or a dollop of whipped cream. The contrast of hot pie and cold cream is unbeatable.
Storage:
Store leftovers at room temperature, covered loosely with plastic wrap or foil, for up to 2 days. After that, move it to the refrigerator to prevent spoilage. The crust may soften in the fridge, but it’s still delicious.
Reheating:
To reheat, place slices on a baking sheet and warm in a 350°F (175°C) oven for 10-15 minutes. This restores the crispness of the crust. Avoid the microwave, as it makes the crust soggy.
Freezing:
You can freeze unbaked pie. Wrap the assembled, unbaked pie tightly in plastic and foil, then freeze. Bake from frozen, adding 15-20 minutes to the baking time. You can also freeze baked pie. Let it cool completely, wrap tightly, and freeze for up to 3 months. Thaw overnight in the fridge before reheating.
Nutrition Information
I’m not a nutritionist, but here’s the breakdown if you’re tracking. Please remember this is a rich, indulgent dessert.
Per Slice (1/8 of pie):
– Calories: 320
– Fat: 14g
– Carbohydrates: 45g
– Fiber: 3g
– Sugar: 22g
– Protein: 3g
– Sodium: 210mg
It’s definitely a treat to enjoy in moderation. If you’re looking for a lighter dessert option, I also recommend trying my Fall Caramel Apple Crumble Bars, which offer a similar apple flavor in a more portable format.
Final Thoughts
Making a classic apple pie with flaky lattice crust is more than just baking; it’s a ritual. It’s about slowing down, respecting the ingredients, and creating something that brings people together. I’ve made this pie for birthdays, holidays, and random Tuesdays, and it never fails to impress.
Yes, it takes time. Yes, you have to clean up a few bowls. But the smell of baking apples and cinnamon, the sound of the crust crunching, and the look on someone’s face when they take the first bite? That’s worth it. Every single time.
If you make this recipe, I’d love to hear how it turns out. Drop a comment below with your thoughts, or tag me on social media. And if you’re looking for more easy dessert ideas, check out my Ultra-Moist Fall Apple Cider Donut Cake for a different take on autumn flavors.
Happy baking! May your crust be flaky and your filling be juicy.
Frequently Asked Questions
Can I use frozen apples?
Yes, but thaw them completely and drain the excess liquid first. Frozen apples release more water, so you may need to increase the thickener (flour or cornstarch) by a tablespoon. Fresh apples always give the best texture, though.
Why is my pie crust soggy?
This usually happens if the filling wasn’t thickened enough or if the pie wasn’t baked long enough. Make sure your filling is bubbling when you take it out of the oven. Also, ensure your bottom crust is pre-baked if you’re using a very juicy filling, or add a layer of breadcrumbs to absorb excess moisture.
Can I make the crust ahead of time?
Absolutely. You can make the dough and keep it in the fridge for up to 2 days, or freeze it for up to 3 months. Just let it thaw in the fridge overnight before rolling it out.
How do I prevent the lattice from collapsing?
Make sure your strips are cut to an even width, and don’t handle the dough too much while weaving. If the dough gets too warm, it can stretch and break. Keep it chilled until the last minute.
What’s the best way to store leftover pie?
Store it at room temperature for up to 2 days, covered. If you live in a humid climate, or if it’s very hot, store it in the refrigerator. Reheat slices in the oven to restore crispness.
Pin This Recipe!
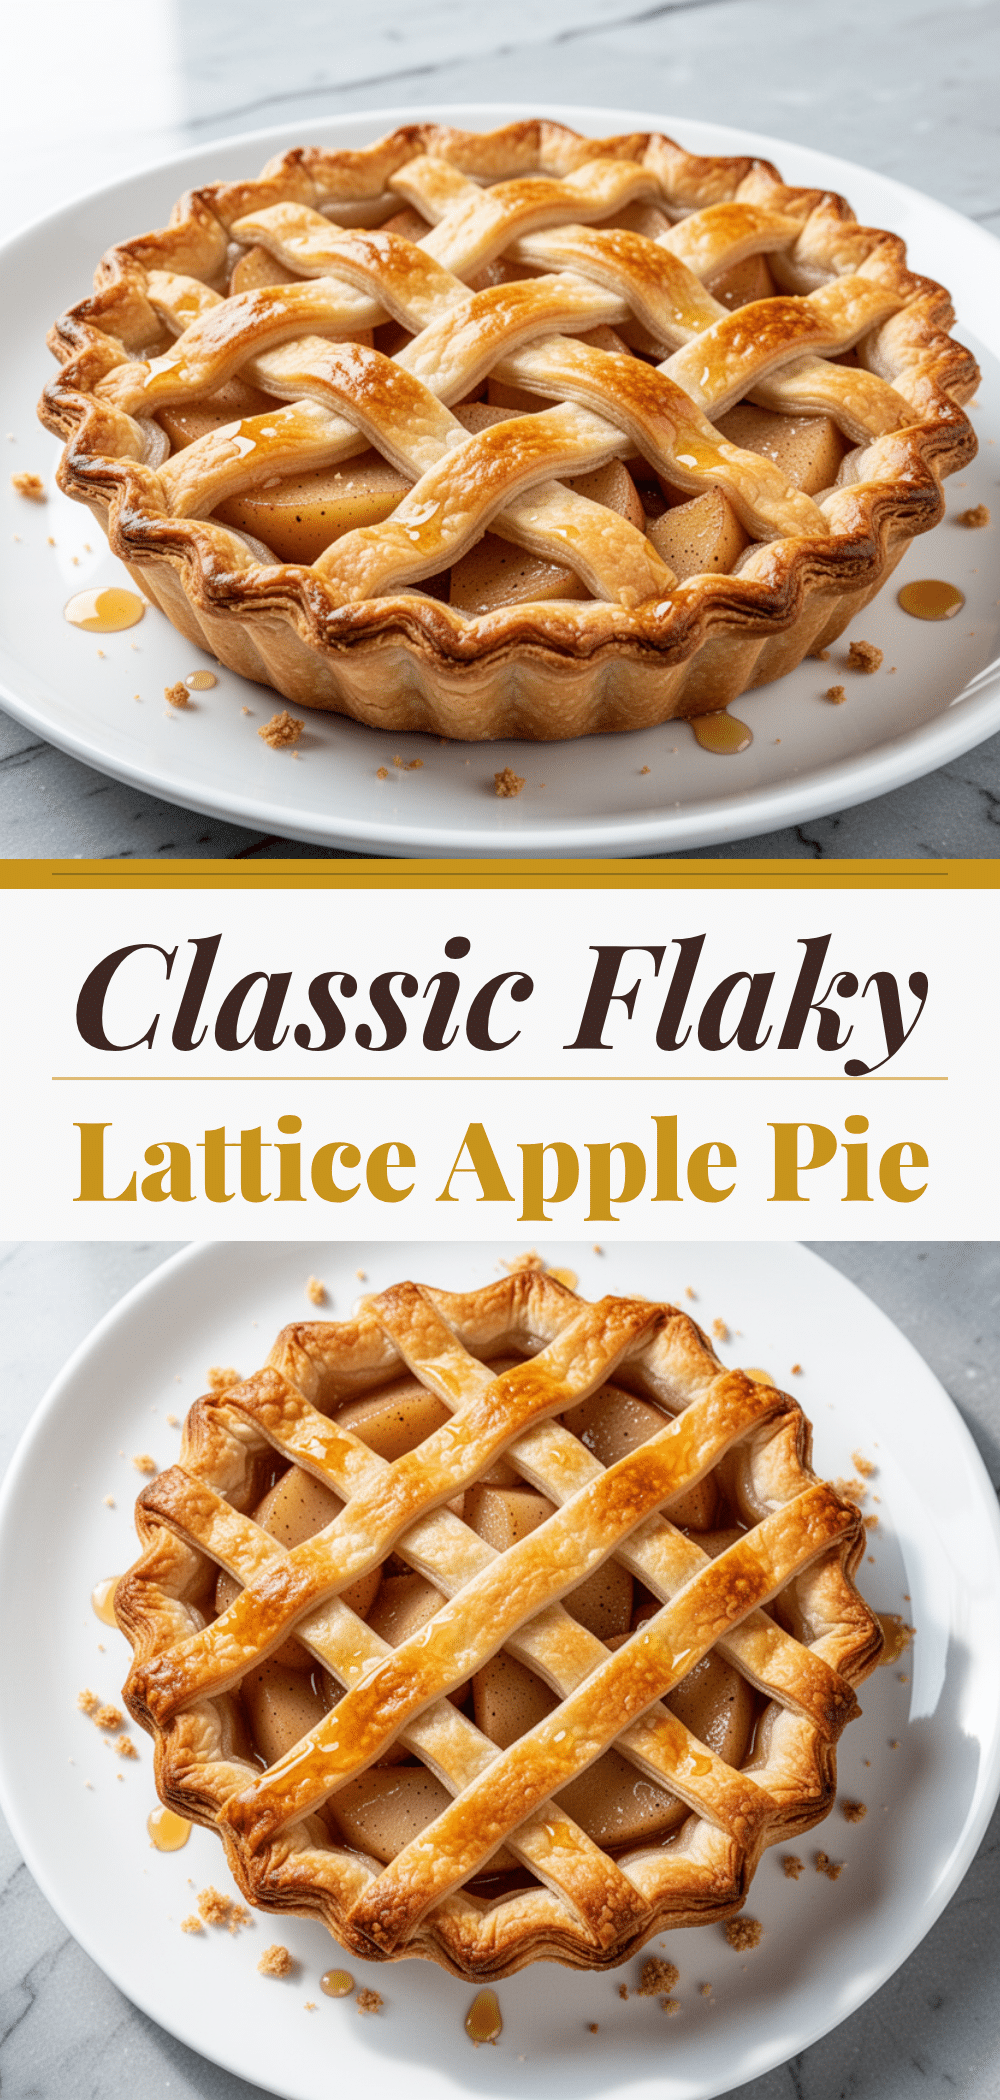
Classic Apple Pie with Flaky Lattice Crust
- Total Time: 2 hours 50 minutes
- Yield: 8 servings 1x
Description
A redemption story turned recipe for the perfect classic apple pie featuring a flaky, tender lattice crust and a balanced apple filling that holds its shape.
Ingredients
- 2 ½ cups all-purpose flour
- 1 teaspoon salt
- 1 tablespoon granulated sugar
- 1 cup unsalted butter, very cold and cubed
- 6–8 tablespoons ice water
- 6–7 medium apples (mix of Granny Smith and Honeycrisp/Fuji), peeled, cored, and sliced
- ½ cup granulated sugar
- ¼ cup light brown sugar
- 3 tablespoons all-purpose flour
- 1 teaspoon ground cinnamon
- 1 tablespoon lemon juice
- 1 teaspoon vanilla extract
- 2 tablespoons unsalted butter, cubed
- 1 large egg, beaten with 1 tablespoon water
- 1–2 tablespoons coarse or granulated sugar for sprinkling
Instructions
- In a food processor, pulse flour, salt, and sugar. Add cold cubed butter and pulse until mixture resembles coarse meal with pea-sized butter chunks.
- With processor running, slowly add ice water until dough begins to clump. Do not over-process.
- Divide dough into two discs, wrap in plastic, and refrigerate for at least 1 hour.
- Preheat oven to 400°F (200°C).
- Peel, core, and slice apples. Toss with lemon juice. In a separate bowl, mix granulated sugar, brown sugar, flour, cinnamon, nutmeg, and vanilla. Toss with apples and let sit for 15 minutes.
- Roll one dough disc into a 12-inch circle and transfer to a 9-inch pie dish. Press gently into bottom and sides.
- Spread apple filling into the crust and dot with 2 tablespoons of cubed butter.
- Roll second dough disc into a 12-inch circle and cut into ¾-inch strips.
- Weave strips into a lattice pattern over the filling. Trim excess dough, tuck edges under, and crimp.
- Brush lattice with egg wash and sprinkle with sugar.
- Place pie on a baking sheet and bake at 400°F for 20 minutes.
- Reduce temperature to 375°F (190°C) and bake for another 35-45 minutes until crust is golden and filling is bubbling.
- Cool on a wire rack for at least 2 hours before slicing.
Notes
Keep all ingredients cold for a flaky crust. Let the pie cool completely (at least 2 hours) to allow the filling to set. Can be made ahead and frozen unbaked or baked.
- Prep Time: 45 minutes
- Cook Time: 65 minutes
- Category: Dessert
- Cuisine: American
Nutrition
- Serving Size: 1/8 of pie
- Calories: 320
- Sugar: 22
- Sodium: 210
- Fat: 14
- Saturated Fat: 8
- Carbohydrates: 45
- Fiber: 3
- Protein: 3
Keywords: apple pie, lattice crust, flaky pie crust, classic dessert, baking, fall recipes, holiday baking


