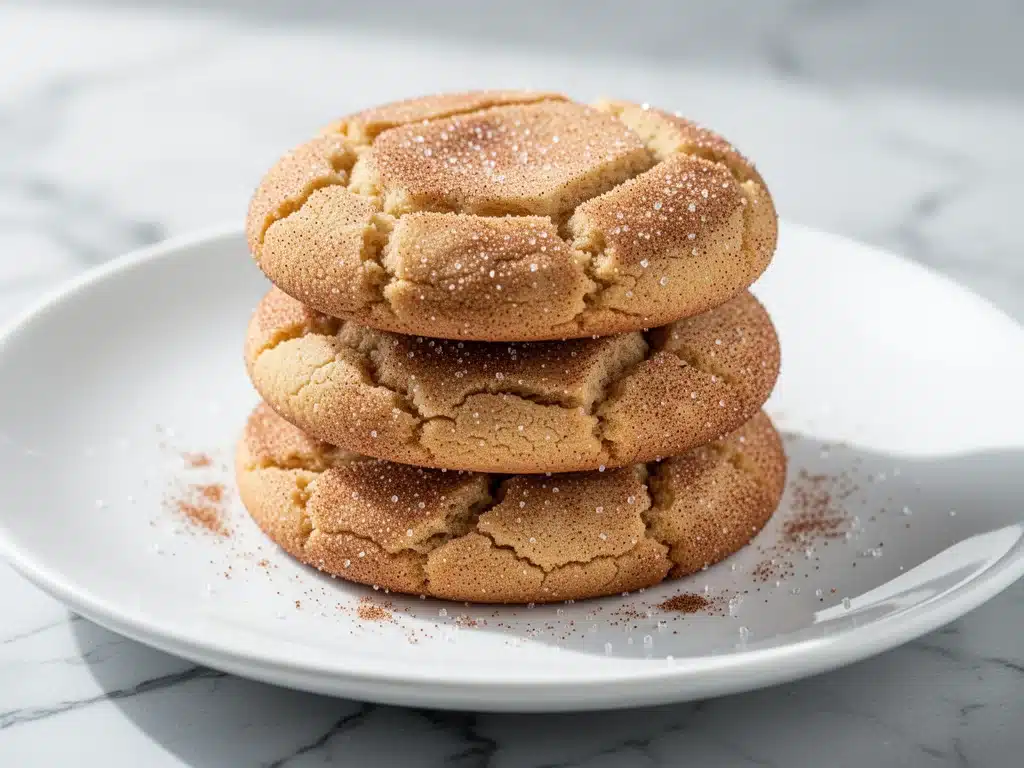
There is a specific kind of chaos that happens at 5:30 PM on a Tuesday. The kids are hungry, the dog is staring at me with those hopeful eyes, and my brain has officially shut down. I don’t have the mental energy to chop vegetables, I don’t want to order takeout again, and I definitely don’t want to spend two hours baking a complicated cake. I need something sweet, something warm, and something that can be thrown together before the sun goes down.
That’s exactly when these Chewy Brown Sugar Snickerdoodles come to the rescue. I stumbled onto this specific version about a year ago, and it has completely rewritten my definition of a “weeknight dessert.” Usually, snickerdoodles are the domain of patient bakers who have time to chill dough for hours and roll every single cookie by hand. But this? This is different. It’s faster, it’s messier (in a good way), and it results in the chewiest, most cinnamon-sugar-loaded cookies you’ll ever taste.
I’ve made these at least twenty times since I first discovered them. Sometimes I make them because I promised my daughter I’d bake something special for her playdate. Sometimes I make them because I need a hug from the universe, and warm cookies are basically emotional support. The best part? You don’t need fancy ingredients or a stand mixer. You just need a few pantry staples, fifteen minutes of active time, and a willingness to resist eating the entire batch before they cool. If you’re looking for a quick treat that feels homemade but actually fits into a busy schedule, these are it. They pair perfectly with my overnight vanilla cinnamon chia pudding if you’re trying to sneak a little breakfast into your evening, but let’s be honest—they’re best eaten straight from the pan while they’re still gooey.
Why You’ll Love This Recipe
Look, I’m not going to lie to you. There are a thousand cookie recipes out there. But this Chewy Brown Sugar Snickerdoodles recipe has earned a permanent spot in my rotation for reasons that go beyond just “they taste good.” Here is why this is the one you’ll keep coming back to.
Actual Chewiness, Not Crispiness — Most snickerdoodle recipes end up crisp, almost like a sugar cookie. I hate that. I want that soft, pillowy center with a slight crunch on the edges. The secret here is the ratio of brown sugar to butter, and I’ve tested it enough times to know it works every single time.
Under 20 Minutes Total — I know what you’re thinking. “Cookies take forever.” Not these. From mixing the dough to pulling the tray out of the oven, it takes about 15 to 20 minutes. That’s less time than it takes to drive to a bakery. It’s perfect for those moments when you need a sugar fix immediately.
One-Bowl Simplicity — I am a firm believer in minimal cleanup. You don’t need to wash three bowls, a mixer attachment, or a dozen measuring cups. You mix everything in one large bowl. If you can stir, you can make these. It’s that simple.
Pantry-Friendly Ingredients — You probably already have everything you need. Flour, sugar, brown sugar, butter, eggs, cinnamon, and baking soda. No weird extracts or hard-to-find spices. It’s comfort food, plain and simple.
Freezer-Friendly Dough — Here’s a pro tip: these cookies freeze beautifully. I often double the batch, freeze half the dough in balls on a tray, and then transfer them to a bag. When I need a midnight snack or a last-minute treat, I just throw frozen dough balls straight into the oven. It’s a lifesaver.
This recipe is my go-to when I want to feel like a good parent or a skilled baker but have zero energy to spare. It’s reliable, delicious, and forgiving. If you overmix it slightly? Still good. If you underbake it by a minute? Even better. Let’s get into the details.
Ingredients You’ll Need
Here’s the best part: you likely have 90% of these ingredients sitting in your kitchen right now. I’m not asking you to run to the store for something obscure. This is about using what you have to make something magical.
Unsalted Butter (1 cup / 226g) — I use salted butter sometimes, but I reduce the added salt in the recipe. The key here is temperature. You want your butter softened to room temperature. Not melted! Softened. If you can indent it with your finger easily, you’re good. If it’s still cold and hard, microwave it for 10-second bursts. I’ve ruined batches by using cold butter, so don’t skip this step.
Granulated Sugar (1 cup / 200g) — This provides structure and helps with that slight crisp edge. I use regular white granulated sugar. No need for coconut sugar or maple syrup here; we want that classic snickerdoodle flavor.
Light Brown Sugar (1 cup / 200g, packed) — This is the star of the show. The molasses in the brown sugar is what makes these cookies chewy and adds that deep, caramel-like flavor. I always pack it down firmly. If your brown sugar is hardened into a rock, add a slice of white bread to the container overnight to soften it up.
Large Egg (1 large) — Just one egg. Don’t add two, or they’ll become cakey. One egg binds everything together while keeping the texture tender.
Vanilla Extract (2 teaspoons) — Use the real stuff. I know it’s expensive, but fake vanilla tastes chemical, and in a cookie with only a few ingredients, you’ll notice it. I keep a bottle of Nielsen-Massey on hand.
All-Purpose Flour (2 ½ cups / 315g) — Spoon and level your flour. Do not scoop it directly from the bag, or you’ll pack in too much flour and end up with dry cookies. I use Gold Medal AP flour, but any standard brand works fine.
Baking Soda (1 teaspoon) — Not baking powder. Baking soda gives these cookies that slight spread and chew. Make sure yours isn’t old. If it’s been in your cabinet for over six months, toss it and get a new box.
Cream of Tartar (1 teaspoon) — This is the secret ingredient that gives snickerdoodles their tangy flavor. It reacts with the baking soda to create lift. You can find it in the baking aisle next to the baking powder. If you absolutely cannot find it, you can substitute with 1 ½ teaspoons of lemon juice, but the flavor won’t be quite the same.
Ground Cinnamon (1 ½ teaspoons) — For the dough. Use fresh cinnamon if you can. Old cinnamon loses its punch, and you want that spicy warmth.
For the Rolling Coating:
Granulated Sugar (½ cup / 100g) mixed with Ground Cinnamon (1 teaspoon). This is what creates that crackly, sugary exterior. Mix them in a small bowl before you start rolling the dough.
Equipment Needed
You don’t need a fancy kitchen for this. Here is what I actually use, and what works.
Large Mixing Bowl — A 4-quart bowl is perfect. I use a glass Pyrex bowl because I can see how the dough is coming together. A ceramic bowl works too, just make sure it’s big enough to stir without making a mess.
Fork or Wooden Spoon — I used to think I needed a hand mixer for cookies. I was wrong. A sturdy fork or a wooden spoon is all you need to cream the butter and sugars together. It’s actually better because you’re less likely to overmix.
Baking Sheets — I use standard half-sheet pans. Light-colored aluminum pans are best because they promote even browning. Dark non-stick pans can sometimes burn the bottoms, so keep an eye on them.
Parchment Paper — Line your baking sheets with parchment. This is non-negotiable for easy cleanup and preventing sticking. I hate washing sticky pans. Save yourself the headache.
Cooling Rack — Optional but recommended. These cookies continue to cook on the hot pan after you take them out. Moving them to a rack stops the cooking process so they don’t get too hard.
Silicone Spatula — Great for scraping the bowl. I have a few old ones that I use specifically for baking so I don’t ruin my good ones with dough residue.
How to Make It: Step-by-Step
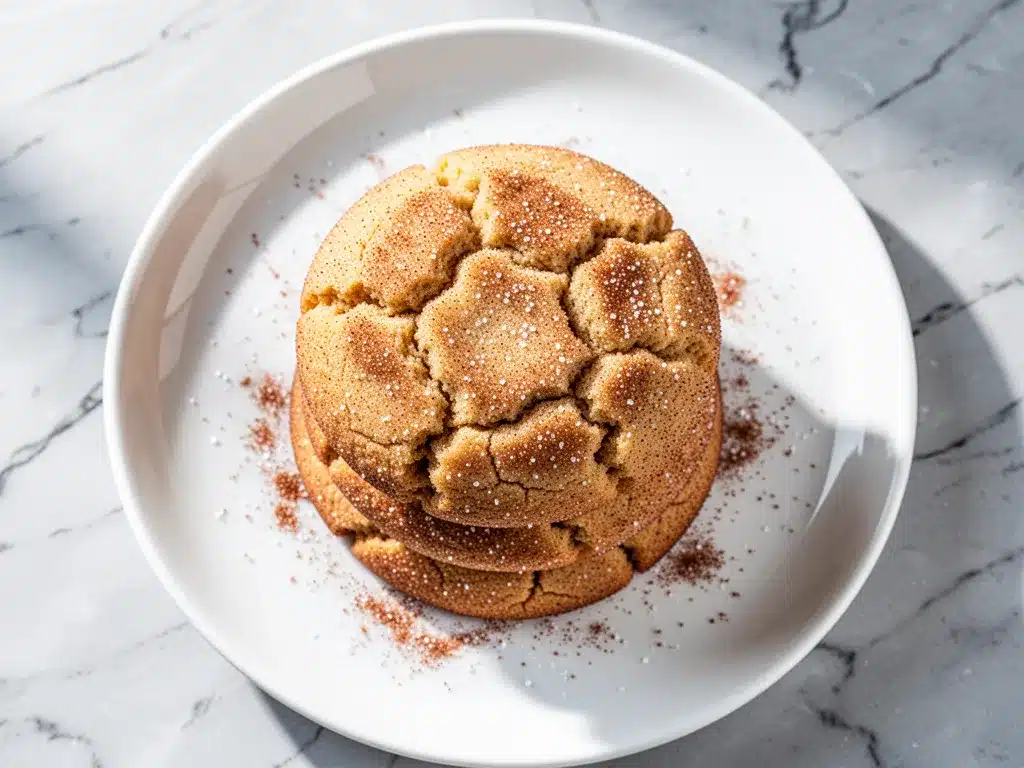
Alright, let’s make these! I’m walking you through exactly how I do it, including the little tricks I’ve picked up over the years.
Step 1: Prep Your Oven and Pans (2 minutes)
Preheat your oven to 350°F (175°C). This is crucial. If your oven is too cold, the cookies will spread too much before they set. If it’s too hot, they’ll burn. Line your baking sheets with parchment paper. While the oven heats up, you’re killing two birds with one stone.
Step 2: Cream the Butter and Sugars (3 minutes)
In your large mixing bowl, combine the softened unsalted butter, granulated sugar, and packed brown sugar. Using a fork or wooden spoon, mix them together vigorously. You want to mash the butter into the sugars until the mixture looks light and fluffy. This takes about 2-3 minutes of elbow grease. It’s not hard work, but it’s necessary to incorporate air into the dough. This step ensures the cookies are chewy, not dense.
Step 3: Add the Wet Ingredients (1 minute)
Crack the egg into the bowl and add the vanilla extract. Mix until combined. The mixture might look a little curdled or separated—that’s normal. Don’t panic. Just keep stirring until it looks like a uniform paste.
Step 4: Mix in the Dry Ingredients (2 minutes)
Add the flour, baking soda, cream of tartar, and ground cinnamon to the wet mixture. Switch to a spatula or your hands. Mix gently until just combined. Do not overmix. As soon as you no longer see streaks of flour, stop. Overmixing develops gluten, and we want tender cookies, not bread. The dough will be soft and slightly sticky. This is good.
Step 5: Roll the Dough Balls (3 minutes)
Prepare your cinnamon-sugar coating by mixing the ½ cup granulated sugar and 1 teaspoon cinnamon in a shallow bowl. Scoop out about 1 ½ tablespoons of dough (a small cookie scoop or two teaspoons works well) and roll it into a ball between your palms. Then, roll the ball in the cinnamon-sugar mixture until it’s fully coated. Place the coated ball onto your prepared baking sheet, leaving about 2 inches of space between them. They will spread.
Step 6: Bake (9-11 minutes)
Place the baking sheet in the preheated oven. Bake for 9 to 11 minutes. Here is the most important part: look at the edges, not the center. When the edges turn a light golden brown and look set, they are done. The centers will still look soft, puffy, and slightly underbaked. This is exactly what you want. If you wait until the centers look firm, they will be hard and crispy when they cool.
Step 7: Cool and Serve (5 minutes)
Remove the pan from the oven and let the cookies sit on the hot baking sheet for 5 minutes. They are extremely delicate right out of the oven. Let them firm up slightly before moving them. After 5 minutes, transfer them to a cooling rack or eat them straight off the pan (I won’t judge). Dust with a tiny bit of extra cinnamon sugar if you’re feeling fancy.
Expert Tips & Tricks
Here’s everything I’ve learned from making these dozens of times. These tips will save you from my mistakes.
Butter Temperature is Everything
If your butter is too cold, it won’t cream properly, and your cookies will be dense. If it’s melted, they’ll spread into flat discs. Aim for “softened.” A good test: push your finger into the butter. It should leave an indent without sinking all the way through or squishing out like buttercream.
Don’t Skip the Cream of Tartar
I know it’s an unusual ingredient, but it’s what makes a snickerdoodle a snickerdoodle. It adds that signature tangy flavor and helps with the chewy texture. If you’re out, you can use lemon juice as a substitute, but the flavor profile will change. For the authentic taste, keep the cream of tartar.
Chill the Dough (Optional but Recommended)
If you have time, chill the dough balls in the fridge for 30 minutes before baking. This helps them hold their shape better and can deepen the flavor. But on busy weeknights? Skip it. They still turn out great without chilling.
Underbake Intentionally
This cannot be stressed enough. Take them out when they look slightly raw in the middle. They will continue to cook on the hot pan. If you bake them until they look “done” in the oven, they will be hard cookies when they cool. I prefer them soft and chewy, so I err on the side of underbaked.
Space Them Out
These cookies spread. Leave at least 2 inches between each ball. If you crowd them, they’ll merge into one giant cookie monster. It’s tempting to fit more on the pan, but don’t do it.
Variations & Substitutions
Once you’ve nailed the basic version, here’s how you can mix it up. I’ve tried all of these, and they’re all winners.
Chocolate Chip Snickerdoodles
Add ½ cup of semi-sweet chocolate chips to the dough after mixing in the flour. The combination of cinnamon sugar and chocolate is incredible. It’s like a hug in cookie form.
White Chocolate Chip
Swap the chocolate chips for white chocolate chips. This makes them sweeter and creamier. Great for kids who don’t like the tanginess of the cream of tartar.
Maple Glazed
Instead of rolling them in cinnamon sugar, bake them plain. While they are still warm, drizzle with a simple glaze made from powdered sugar, milk, and a teaspoon of maple syrup. It’s a different vibe but equally delicious.
Gluten-Free Option
You can substitute the all-purpose flour with a 1:1 gluten-free baking flour blend (like Bob’s Red Mill or King Arthur). The texture might be slightly more crumbly, but they still taste amazing. I’ve used this method for my gluten-free friends, and they can’t tell the difference.
Dairy-Free Version
Use dairy-free butter sticks (not tub margarine) and ensure your sugar is vegan (some white sugar is processed with bone char, though most isn’t). The rest of the ingredients are naturally dairy-free. They hold up surprisingly well.
Spice It Up
Add ½ teaspoon of nutmeg or allspice to the dough for a warmer, fall-like flavor. This pairs beautifully with the brown sugar.
Serving & Storage
How to Serve:
I serve these warm, right off the baking sheet. They taste best within the first hour after baking. Pair them with a cold glass of milk, or if you’re feeling indulgent, a scoop of vanilla ice cream. They also go great with my fall caramel apple crumble bars if you’re hosting a small gathering and want variety.
Storage Instructions:
Once the cookies are completely cool, store them in an airtight container at room temperature for up to 5 days. To keep them chewy, add a slice of bread to the container. The cookies will absorb the moisture from the bread and stay soft. If they start to get hard, just microwave one for 10 seconds.
Freezing Dough:
As mentioned, these freeze beautifully. Scoop the dough into balls, place them on a baking sheet, and freeze until solid (about 1 hour). Then transfer to a freezer bag. Bake from frozen, adding 1-2 minutes to the bake time. This is my favorite meal prep hack for desserts.
Reheating:
If you have leftovers (unlikely), reheat in the microwave for 10-15 seconds. It restores that fresh-baked texture instantly.
Nutrition Information
I’m not a nutritionist, but here’s the breakdown if you’re tracking. Keep in mind that these are treat cookies, so they’re higher in sugar and calories.
Per Cookie (makes about 24 cookies):
– Calories: 140
– Protein: 2g
– Carbs: 22g
– Fiber: 0g
– Sugar: 14g
– Fat: 6g
– Saturated Fat: 4g
– Cholesterol: 20mg
– Sodium: 90mg
What’s Good:
– They’re a smaller treat than a slice of cake.
– You can control the sugar by adjusting the coating.
What to Know:
– Higher in simple carbs and sugar.
– Not suitable for low-sugar diets.
– Contains gluten and dairy.
My Take:
Look, this is a cookie. It’s supposed to be sweet and comforting. Enjoy it as a special treat, not as a daily health food. Pair it with some fruit or nuts if you want to balance the meal.
Final Thoughts
So that’s my go-to Chewy Brown Sugar Snickerdoodles! I’ve probably talked your ear off at this point, but when you make a recipe this often, you have a lot to say about it. These cookies have saved my weeknight dinners more times than I can count. They’re my answer to “what’s for dessert” when I’m tired, don’t want to order out, and still want something that tastes really good. My kids are happy, my husband’s happy, and I’m happy because I’m not stressed about cooking.
Make it yours! Try different add-ins, swap in your favorite spices, or adjust the sugar coating. The best recipes are the ones you adapt to your family’s tastes. If you make this, drop a comment and let me know what you think! I love hearing how recipes turn out in your kitchen. And if something doesn’t work, tell me that too—I’m here to help troubleshoot.
Happy baking! And I hope your kitchen smells half as good as mine does right now.
Frequently Asked Questions
Q: Can I use margarine instead of butter?
A: You can, but I don’t recommend it. Butter has a lower water content and a higher fat content than most margarine, which affects the texture. Margarine can make cookies spread too much or become greasy. If you must use it, choose a stick margarine (not tub spread) and make sure it’s softened, not melted. The flavor won’t be as rich, but it will still work.
Q: Why did my cookies spread too much?
A: This usually happens if the butter was too warm or melted before you started. It can also happen if your oven wasn’t preheated enough. Make sure your butter is just softened, not liquid. Also, check your baking soda and cream of tartar—they need to be fresh to provide the right lift and structure. If they’re old, the cookies will spread.
Q: Can I double this recipe?
A: Absolutely! Double everything and use a larger bowl. The cooking times stay the same. I do this when I’m meal-prepping or feeding a crowd. Just make sure your baking sheets aren’t overcrowded. Bake in batches if necessary.
Q: Why did my cookies turn out cakey instead of chewy?
A: This usually means you overmixed the dough, which developed too much gluten. Or, you might have used too much flour. Remember to spoon and level your flour, not scoop it. Also, make sure you’re not overbaking them. Take them out when the edges are golden but the centers look soft.
Q: Can I make these gluten-free?
A: Yes! Use a 1:1 gluten-free flour blend. I’ve tested this with Bob’s Red Mill and King Arthur, and both work well. The texture might be slightly more delicate, but the flavor is still amazing. You might need to chill the dough for 15 minutes to help them hold their shape.
Q: How do I store leftovers?
A: Store in an airtight container at room temperature for up to 5 days. Add a slice of bread to the container to keep them soft. If they start to get hard, microwave for 10 seconds to restore the chewiness.
Pin This Recipe!
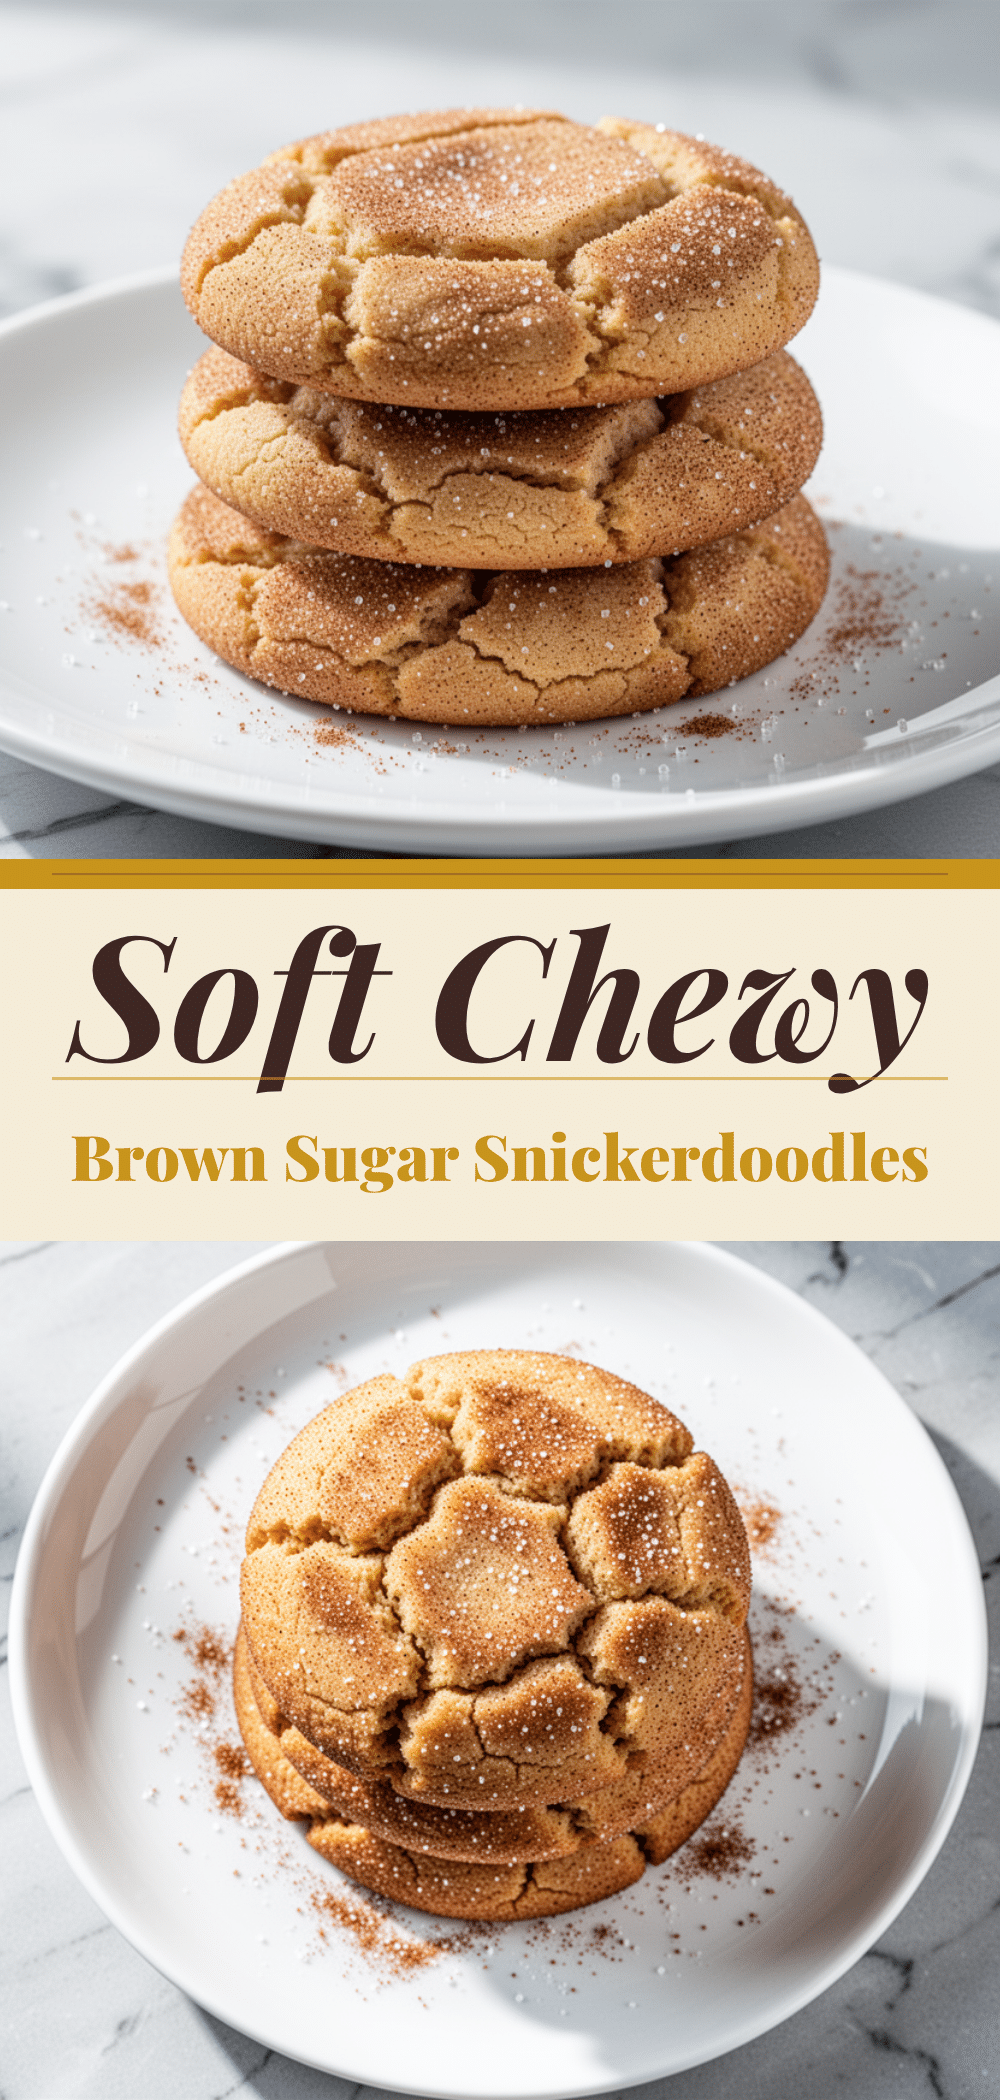

Chewy Brown Sugar Snickerdoodles: 15-Min Easy Weeknight Cookies
- Total Time: 20 minutes
- Yield: 24 cookies 1x
Description
These chewy brown sugar snickerdoodles are a quick, one-bowl weeknight dessert that comes together in under 20 minutes. They feature a soft, pillowy center, crisp edges, and a classic cinnamon-sugar coating using simple pantry staples.
Ingredients
- 1 cup (226g) unsalted butter, softened to room temperature
- 1 cup (200g) granulated sugar
- 1 cup (200g) light brown sugar, packed
- 1 large egg
- 2 teaspoons vanilla extract
- 2 ½ cups (315g) all-purpose flour, spooned and leveled
- 1 teaspoon baking soda
- 1 teaspoon cream of tartar
- 1 ½ teaspoons ground cinnamon (for dough)
- ½ cup (100g) granulated sugar (for coating)
- 1 teaspoon ground cinnamon (for coating)
Instructions
- Preheat oven to 350°F (175°C) and line baking sheets with parchment paper.
- In a large mixing bowl, cream together the softened butter, granulated sugar, and packed brown sugar using a fork or wooden spoon until light and fluffy (about 2-3 minutes).
- Add the egg and vanilla extract to the butter mixture and mix until combined.
- Add the flour, baking soda, cream of tartar, and 1 ½ teaspoons ground cinnamon to the wet ingredients. Mix gently with a spatula or hands until just combined. Do not overmix.
- In a shallow bowl, mix the ½ cup granulated sugar and 1 teaspoon cinnamon for the coating.
- Scoop about 1 ½ tablespoons of dough, roll into a ball, and coat thoroughly in the cinnamon-sugar mixture. Place on prepared baking sheets, leaving 2 inches of space between cookies.
- Bake for 9 to 11 minutes, or until the edges are lightly golden brown but the centers still look soft and puffy.
- Let cookies cool on the baking sheet for 5 minutes before transferring to a cooling rack or serving warm.
Notes
Ensure butter is softened, not melted, for the best texture. Do not overmix the dough to avoid tough cookies. Underbake slightly for a chewy center. Cookies can be frozen as dough balls and baked from frozen, adding 1-2 minutes to bake time. Store in an airtight container with a slice of bread to maintain chewiness.
- Prep Time: 15 minutes
- Cook Time: 9-11 minutes
- Category: Dessert
- Cuisine: American
Nutrition
- Serving Size: 1 cookie
- Calories: 140
- Sugar: 14
- Sodium: 90
- Fat: 6
- Saturated Fat: 4
- Carbohydrates: 22
- Protein: 2
Keywords: snickerdoodles, brown sugar cookies, weeknight dessert, easy cookies, one-bowl recipe, chewy cookies, cinnamon sugar cookies, quick baking


