It’s 7:15 AM on a Tuesday. The house is a disaster zone of half-zipped backpacks, mismatched socks, and the distinct smell of burnt toast because I tried to multitask and failed. I’m frantically packing lunches while my youngest screams because his juice box leaked in his pencil case, and my oldest is looking at me with that specific “I’m already dreading third period” stare. This is the reality of back-to-school mornings. And in this chaos, I needed a snack that was fast, healthy-ish, and actually tasted good enough that my kids wouldn’t trade it for a bag of chips at recess.
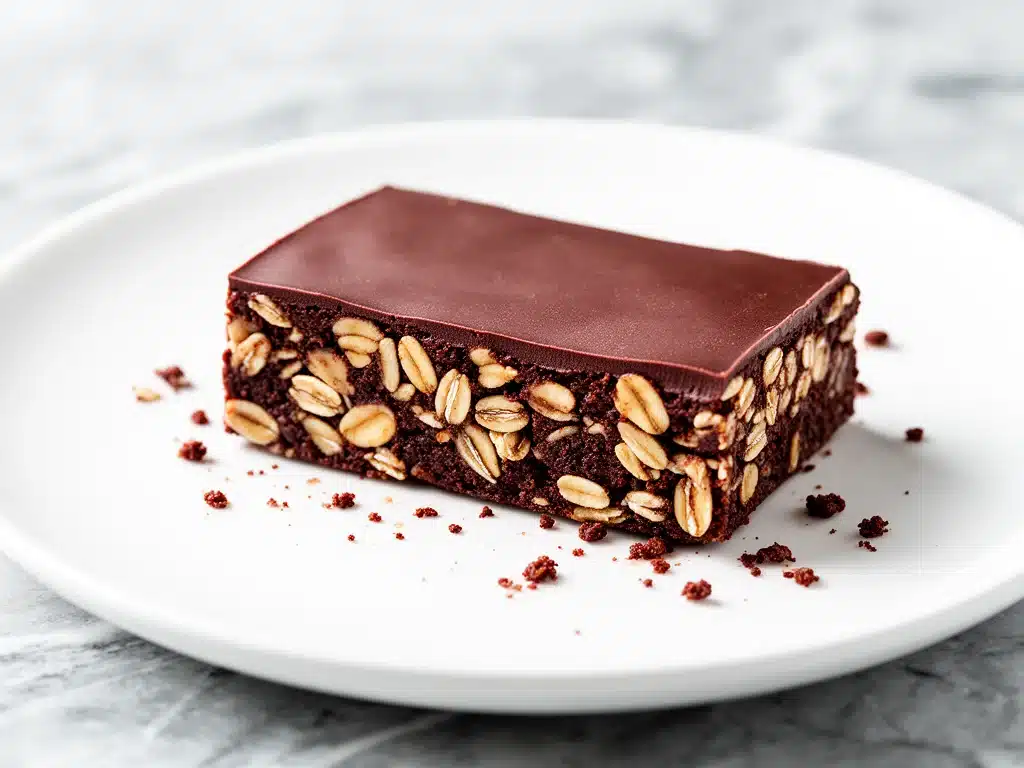
Enter the Back-to-School No-Bake Chocolate Oat Lunchbox Bars. These bars have become my absolute lifesaver. I’ve made them at least twenty times since summer ended, and honestly, they’re the only thing keeping my sanity intact during the morning rush. They come together in five minutes, require zero baking (which means no heating up the kitchen in July), and they hold up perfectly in a lunchbox for days without turning into a sad, crumbly mess.
I’m obsessed. Like, “buy the good chocolate chips” obsessed. There’s something about that mix of chewy oats, rich chocolate, and just-sweet-enough flavor that hits the spot for both my picky eaters and my sugar-hungry self. I’ve tweaked this recipe a dozen times—adjusting the sweetness, testing different nut butters, figuring out the perfect chill time—until I landed on the version that just works. Every. Single. Time. If you’re drowning in lunchbox prep and need a win, this is it.
Why You’ll Love This Recipe
Look, I don’t have time for recipes that require twelve steps, three bowls, and a PhD in chemistry. I need food that works. These no-bake chocolate oat bars check every single box for me, and I think they will for you too. Here’s why they’re staying in my rotation:
- Stupid Simple — Seriously, if you can melt butter and stir, you can make these. No oven, no baking skills, no waiting for dough to rise. It’s literally just melting, mixing, pressing, and chilling. I’ve made these while my toddler was napping, and they were done before he woke up.
- Lightning Fast — From start to finish, you’re looking at about 20 minutes of active time (mostly chilling) and only 5 minutes of actual hands-on work. That’s faster than driving to the store and back. Perfect for those last-minute “oh no, I need thirty snack packs” moments.
- Lunchbox Friendly — This is huge. Most no-bake bars turn into a sticky, melted puddle by lunchtime if it’s warm. These hold their shape. I’ve tested them in hot cars, in lunchboxes with ice packs, and even on the counter for a few hours. They stay solid and sliceable. No mess, no stress.
- Actually Healthy-ish — Okay, they have chocolate and butter, so they’re not a salad. But they’re packed with fiber from the oats and protein from the nut butter. They’re way better than processed granola bars, and you know exactly what’s in them. No weird preservatives or mystery ingredients.
- Budget-Smart — Oats are cheap. Peanut butter is cheap. Chocolate chips? Well, they’re an investment, but you don’t need much. This recipe makes a lot of bars for very little money. It’s a fraction of the cost of buying name-brand lunchbox snacks.
- Customizable — Got nut allergies? Use sunflower seed butter. Want more protein? Add a scoop of powder. Hate raisins? Don’t put them in. These bars are a canvas for whatever your family will actually eat.
This is my go-to when I need to fill the fridge with grab-and-go snacks without spending the weekend in the kitchen. It’s reliable, delicious, and makes me feel like a genius parent for five minutes. Which, let’s be honest, is all we’re aiming for.
Ingredients You’ll Need
Here’s the best part: you probably have most of this already. These are pantry staples for anyone who cooks regularly. I’m not asking you to go to three different stores for obscure ingredients. Here’s what you need and why it matters.
For the Base
Old-Fashioned Rolled Oats (3 cups / 270g) — Do not use instant oats. Do not use steel-cut oats. Old-fashioned rolled oats give you that perfect chewy texture. Instant oats turn to mush, and steel-cut oats are too hard. If you buy gluten-free oats, make sure they’re certified GF if that’s a thing for your household.
Peanut Butter (1 cup / 250g) — This is the binder. Use creamy, natural peanut butter if you can. If your natural PB separates, just stir it well before measuring. For nut-free schools, swap this for sunflower seed butter (SunButter) or soy nut butter. The texture might be slightly different, but it works.
Honey or Maple Syrup (½ cup / 120ml) — Honey gives it that classic “energy bite” sweetness. Maple syrup makes it vegan and adds a deeper flavor. I usually use honey because it’s what I have, but maple is great if you want to avoid refined sugars. Don’t use agave; it’s too thin and makes the bars too soft.
Butter (4 tablespoons / 60g) — Unsalted is best so you can control the salt, but salted works too (just skip the added salt). Butter adds richness and helps everything bind. For dairy-free, use vegan butter sticks (not tub spread).
Vanilla Extract (1 teaspoon) — Don’t skip this. It adds depth. Real vanilla, not imitation if you can help it. It makes the chocolate taste more “chocolatey.”
For the Chocolate Layer
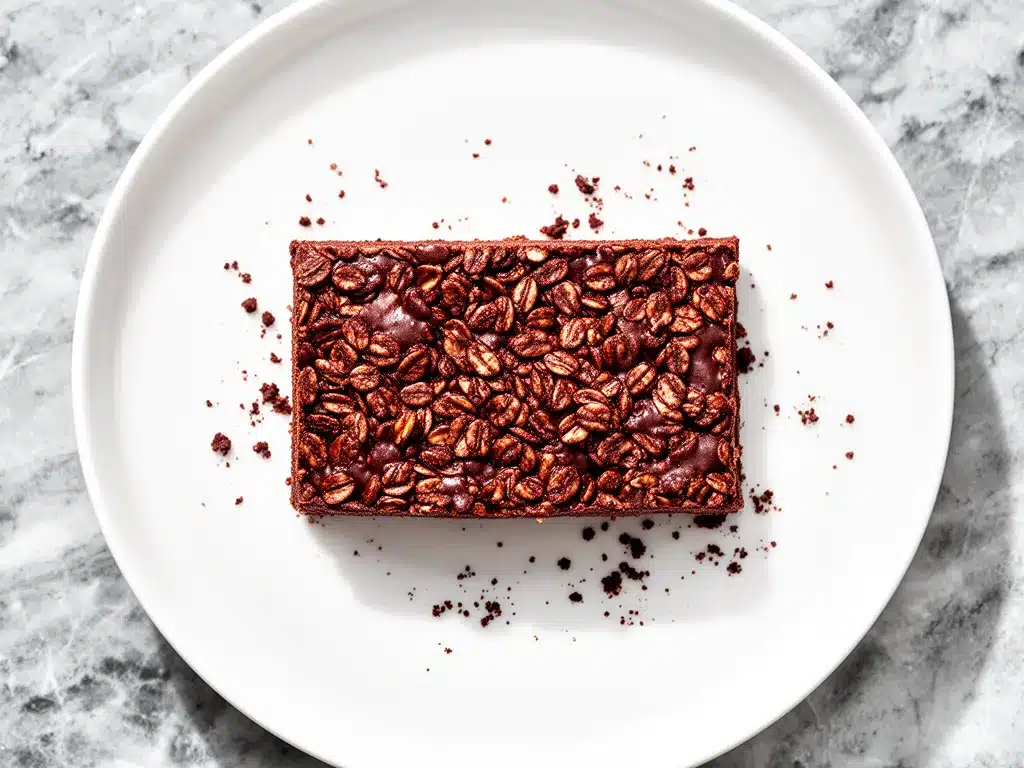
Dark Chocolate Chips (1 cup / 170g) — I use semi-sweet chips. They’re not too sweet and they melt beautifully. You can use milk chocolate if you prefer sweeter bars, but I find it gets cloying. Vegan chocolate chips work too, though they sometimes melt a bit slower.
Coconut Oil (1 tablespoon) — This is the secret weapon. It keeps the chocolate layer smooth and helps it snap when you break a bar. It also helps the chocolate set faster in the fridge. If you don’t have coconut oil, you can skip it, but the texture won’t be as crisp.
Sea Salt Flakes (pinch) — Just a little sprinkle on top after you press them in. It makes the chocolate taste expensive. Like, “artisanal bakery” expensive. Trust me on this.
Optional Add-Ins
Mini Chocolate Chips (½ cup) — If you’re a chocoholic, double the chips. Or add a handful of M&Ms for color. My kids love the colorful ones.
Dried Fruit (½ cup) — Cranberries, raisins, or chopped apricots add a nice chew and tartness. I usually skip them because my kids are weird about dried fruit, but it’s great if you like it.
Seeds (¼ cup) — Chia seeds, flax seeds, or hemp hearts. I sneak these in for extra nutrition. You won’t taste them, but they add omega-3s.
Pro Tip: I keep a bag of old-fashioned oats and a jar of peanut butter in my pantry at all times specifically for this recipe. It’s my emergency snack hack. Also, buy block cheese and grate it yourself? No, wait, wrong recipe. But same principle: quality ingredients matter. Good chocolate chips make a huge difference here.
Equipment Needed
You don’t need fancy equipment for this. Here’s what I actually use in my kitchen:
Large Microwave-Safe Bowl — I use a 4-quart glass bowl. It needs to be big enough to stir the oats and peanut butter without spilling. If you don’t have a big bowl, use a medium bowl and do it in two batches, but that’s annoying. Just get the big one.
Microwave — Obviously. You’ll melt the butter, honey, and peanut butter here. If you prefer stovetop, use a small saucepan over low heat, but microwave is faster and less messy.
8×8 Inch Baking Pan — Line it with parchment paper or aluminum foil. I prefer foil because it’s easier to lift the bars out later. Spray it with non-stick spray first so nothing sticks.
Spatula — A sturdy silicone spatula is best for stirring the thick mixture. You need something that can handle the viscosity of cold peanut butter and oats.
Measuring Cups and Spoons — Standard stuff. I use the nesting cups for dry ingredients and the liquid measuring cup for honey. If you don’t have a liquid cup, just use the dry cups and wipe them out.
Knife — For slicing the bars. A sharp knife makes clean cuts. A dull knife will squish them. I learned this the hard way with a sad, mashed-up bar.
How to Make It: Step-by-Step
Alright, let’s make these! I’m walking you through exactly how I do it, including the little tricks I’ve picked up so you don’t end up with a sticky mess.
Step 1: Prep Your Pan (1 minute)
Line your 8×8 inch baking pan with parchment paper or aluminum foil. Leave an overhang on the sides so you can lift the bars out later. This is crucial. If you don’t line it, you’ll be digging them out with a spoon, and nobody wants that. Spray it lightly with cooking spray to be safe.
Step 2: Melt the Wet Ingredients (2-3 minutes)
In your large microwave-safe bowl, combine the butter, peanut butter, and honey. Microwave on high for 30 seconds. Stir. Microwave for another 30 seconds. Stir again. Keep doing this in 15-second intervals until it’s smooth and liquid. Don’t overheat it! If it boils, it can seize up or burn. You want it warm and pourable, not smoking hot. Stir in the vanilla extract once it’s melted.
Step 3: Mix in the Oats (2 minutes)
Add the rolled oats to the wet mixture. Stir vigorously. It will look like a thick, sticky mess at first. Keep stirring until every oat is coated. If you have add-ins like dried fruit or seeds, add them now. Mix until evenly distributed. The mixture should be cohesive enough to hold together when you pinch it.
Step 4: Press Into the Pan (3 minutes)
Transfer the mixture to your prepared pan. Use a spatula or your hands (grease your hands with a little butter or oil if it’s too sticky) to press it down firmly. This is the most important step. Pack it down tight! If you leave air pockets, the bars will crumble. Press until it’s an even, flat layer. Aim for about ½ inch thickness. If it’s too thick, it won’t set properly. If it’s too thin, it’ll be dry.
Step 5: Make the Chocolate Topping (2 minutes)
In a small microwave-safe bowl, combine the chocolate chips and coconut oil. Microwave in 20-second intervals, stirring in between, until smooth. This usually takes about 40-60 seconds total. Don’t overheat the chocolate! If it gets too hot, it can become grainy. Stir until it’s glossy and smooth.
Step 6: Spread and Chill (20+ minutes)
Pour the melted chocolate over the oat layer. Use a spatula to spread it evenly to the edges. Try to get it all the way to the corners. Sprinkle with sea salt flakes if you’re using them. Place the pan in the refrigerator for at least 20 minutes. If you’re in a hurry, you can put it in the freezer for 10 minutes, but the fridge is safer so the chocolate doesn’t crack.
Step 7: Slice and Serve
Once the chocolate is set and firm, lift the bars out of the pan using the parchment overhang. Place on a cutting board. Use a sharp knife to slice into squares or rectangles. I usually cut them into 16 bars. Serve immediately or store in an airtight container.
Total Time: About 25 minutes (5 minutes active, 20 minutes chilling)
Expert Tips & Tricks
Here’s everything I’ve learned from making this dozens of times. These tips will save you from my mistakes.
Pack It Down Tight
The number one reason these bars fail is that they’re too loose. If you don’t press the oat mixture down firmly, it won’t hold together. Use the bottom of a glass to press it down evenly. It sounds weird, but it works. I learned this after my first batch crumbled into dust. Now I pack it like I’m making a pie crust.
Don’t Rush the Melting
When melting the peanut butter and honey, take your time. If you microwave it too long, the peanut butter can separate and become oily. Stir frequently. If it looks grainy, keep stirring—it will smooth out. Low and slow is the way to go.
Chocolate Temperature Matters
Your chocolate should be warm, not hot, when you pour it over the bars. If it’s too hot, it can melt the oat layer slightly and make it soggy. If it’s too cold, it won’t spread evenly. Aim for a smooth, pourable consistency. If it starts to thicken while you’re spreading it, microwave it for 5 more seconds.
Chill Time is Non-Negotiable
I know you want to eat them now. But if you cut them before they’re fully set, they’ll be a mess. The chocolate needs to harden. The oat layer needs to firm up. 20 minutes in the fridge is the minimum. If it’s a hot day, give it 30. Patience pays off.
Storage is Key
These bars keep best in the fridge. They’ll last up to 2 weeks. If you leave them on the counter, the chocolate might sweat or melt in warm weather. I always store them in the fridge in an airtight container. If you want to freeze them, they freeze beautifully for up to 3 months. Just thaw in the fridge overnight.
Common Mistakes (and how to avoid them)
Mistake: Bars are too soft.
Fix: You didn’t pack them down enough, or you used too much liquid. Next time, reduce the honey by 1 tablespoon or pack the oats tighter.
Mistake: Chocolate is grainy.
Fix: You overheated the chocolate. Next time, microwave in shorter bursts (10 seconds) and stir more often.
Mistake: Bars won’t stick together.
Fix: The peanut butter was too cold or thick. Warm it up more in the microwave, or add a splash more honey.
Variations & Substitutions
Once you’ve nailed the basic version, here’s how you can mix it up. I’ve tried all of these, and they all work.
Nut-Free Version
Swap the peanut butter for sunflower seed butter (SunButter) or soy nut butter. This is perfect for schools with nut-free policies. The flavor is slightly different—sunflower butter is a bit more earthy—but it still works great. You can also use tahini if you want a sesame flavor, though it’s stronger.
Higher Protein
Add a scoop of vanilla or chocolate protein powder (about ¼ cup) to the dry oat mixture. You might need to add an extra tablespoon of honey or milk to compensate for the dryness. This makes the bars more filling and great for post-workout snacks.
More Fiber
Add 2 tablespoons of ground flaxseed or chia seeds to the oat mixture. You won’t taste them, but they boost the nutrition. I do this for my kids’ breakfast bars too.
Chewy Bar Style
If you want them chewier, use slightly less peanut butter (¾ cup instead of 1 cup) and add a tablespoon of brown rice syrup. This makes them more like a granola bar texture.
Crunchy Version
Add ½ cup of crushed pretzels or chex cereal to the oat mixture before pressing. It adds a nice salty crunch that contrasts with the sweet chocolate. This is a personal favorite of mine.
Dietary Modifications
Vegan: Use maple syrup instead of honey, vegan butter, and dairy-free chocolate chips. Everything else is already vegan.
Gluten-Free: Use certified gluten-free oats. Most oats are processed in facilities with gluten, so check the label if you’re celiac.
Keto/Low-Carb: This recipe is high in carbs due to the oats and honey. For a keto version, swap oats for crushed pork rinds or coconut flour (adjust liquid accordingly), and use sugar-free chocolate chips. It’s a different recipe entirely, but doable.
Serving & Storage
How to Serve:
I usually serve these straight from the fridge. They’re best cold. The chocolate snaps, and the oats are chewy. I pack them in lunchboxes in individual parchment cups or small containers. They don’t leak or get messy, which is huge for school lunches. I also make a big batch and keep them in the pantry for quick breakfasts or afternoon snacks.
Side Dishes:
These bars are great on their own, but they pair well with a piece of fruit or a handful of nuts. I also serve them with a glass of milk or a smoothie. If you’re having them for breakfast, add a side of yogurt for extra protein.
Storage Instructions:
Refrigerator: Store in an airtight container for up to 2 weeks. Layer them between sheets of parchment paper if you’re stacking them to prevent sticking. They taste best cold.
Freezer: These freeze beautifully. Store in a freezer-safe bag or container for up to 3 months. Thaw in the fridge overnight or eat frozen (they’re like ice cream bars!). I usually freeze half the batch so I always have some on hand.
Counter: You can leave them on the counter for 1-2 days if your house is cool, but in summer, they’ll get soft. I recommend always storing them in the fridge or freezer.
Pro Tip: If you’re meal prepping, make a double batch and freeze them in portions. That way, you can grab a few bars for the week without thawing the whole batch. It’s a game-changer for busy mornings.
Nutrition Information
I’m not a nutritionist, but here’s the breakdown if you’re tracking. These are estimates based on the ingredients listed.
Per Serving (based on 16 bars):
– Calories: 180
– Protein: 5g
– Carbs: 22g
– Fiber: 2g
– Sugar: 12g
– Fat: 9g
– Saturated Fat: 3g
– Cholesterol: 5mg
– Sodium: 60mg
What’s Good:
– Decent fiber from the oats
– Protein from the peanut butter
– No refined flour
– Whole food ingredients
What to Know:
– Higher in sugar from the honey and chocolate
– Contains nuts (unless substituted)
– Moderate calories for a snack
My Take:
Look, these are treats. They have chocolate and honey. They’re not a vegetable. But they’re way better than a bag of chips or a granola bar with 20 ingredients you can’t pronounce. I make them as a balanced snack—pair them with fruit or yogurt for a complete meal. When I want to make them lighter, I reduce the chocolate chips and use less honey. But usually? I just enjoy a bar or two and move on. It’s about balance.
Final Thoughts
So that’s my go-to Back-to-School No-Bake Chocolate Oat Lunchbox Bars! I’ve probably talked your ear off at this point, but when you make a recipe this often, you have a lot to say about it. These bars have saved me more times than I can count. They’re my answer to “what’s for lunchbox snacks?” when I’m tired, don’t want to bake, and still want something that tastes really good. My kids are happy, my husband’s happy, and I’m happy because I’m not stressed about cooking.
Make it yours! Try different nut butters, swap in your favorite chocolate chips, or add seeds for nutrition. The best recipes are the ones you adapt to your family’s tastes. If you make this, drop a comment and let me know what you think! I love hearing how recipes turn out in your kitchen. And if something doesn’t work, tell me that too—I’m here to help troubleshoot.
Happy cooking! And I hope your lunchboxes look half as good as mine do right now.
Frequently Asked Questions
Q: Can I use instant oats instead of rolled oats?
A: I don’t recommend it. Instant oats are processed too finely and will turn the bars into a mushy, dense brick. Rolled oats give you that chewy texture that makes these bars so good. If you only have instant oats, you can pulse them in a blender for a few seconds to break them up, but it won’t be the same. Stick to rolled oats if you can.
Q: Can I substitute the peanut butter with almond butter?
A: Yes, absolutely. Almond butter works just as well. It has a slightly stronger flavor, which some people love. Just make sure it’s a smooth, creamy butter. Natural almond butter that separates will work too, just stir it well. Sunflower seed butter is also a great nut-free option.
Q: Why did my chocolate topping crack?
A: This usually happens if the chocolate was overheated or if the bars weren’t chilled long enough. Chocolate can seize or crack if it’s too hot when poured. Also, if you put them in the freezer too quickly, the temperature shock can cause cracking. Chill them in the fridge for at least 20 minutes, and microwave the chocolate gently.
Q: Can I make these ahead of time?
A: Yes! These are perfect for meal prep. Make them on Sunday and store them in the fridge or freezer. They’ll last up to 2 weeks in the fridge or 3 months in the freezer. I usually make a double batch so I’m set for the whole month.
Q: Are these safe for nut-free schools?
A: Only if you substitute the peanut butter. Standard peanut butter is a top allergen and not allowed in many schools. Use sunflower seed butter, soy nut butter, or tahini to make them nut-free. Double-check with your school’s policy, but seed butters are generally accepted.
Q: How do I reheat these?
A: You don’t need to reheat them. They’re best served cold or at room temperature. If you want them softer, let them sit on the counter for 10 minutes. Microwaving them will melt the chocolate and make them messy, so avoid that unless you want a warm, gooey treat (which is also delicious, just messy).
Q: Can I freeze the bars before adding the chocolate?
A: Yes, you can. Press the oat mixture into the pan, freeze it for an hour until solid, then add the chocolate. This can actually help the chocolate adhere better. Just make sure the oat layer is fully frozen before pouring the chocolate.
Pin This Recipe!
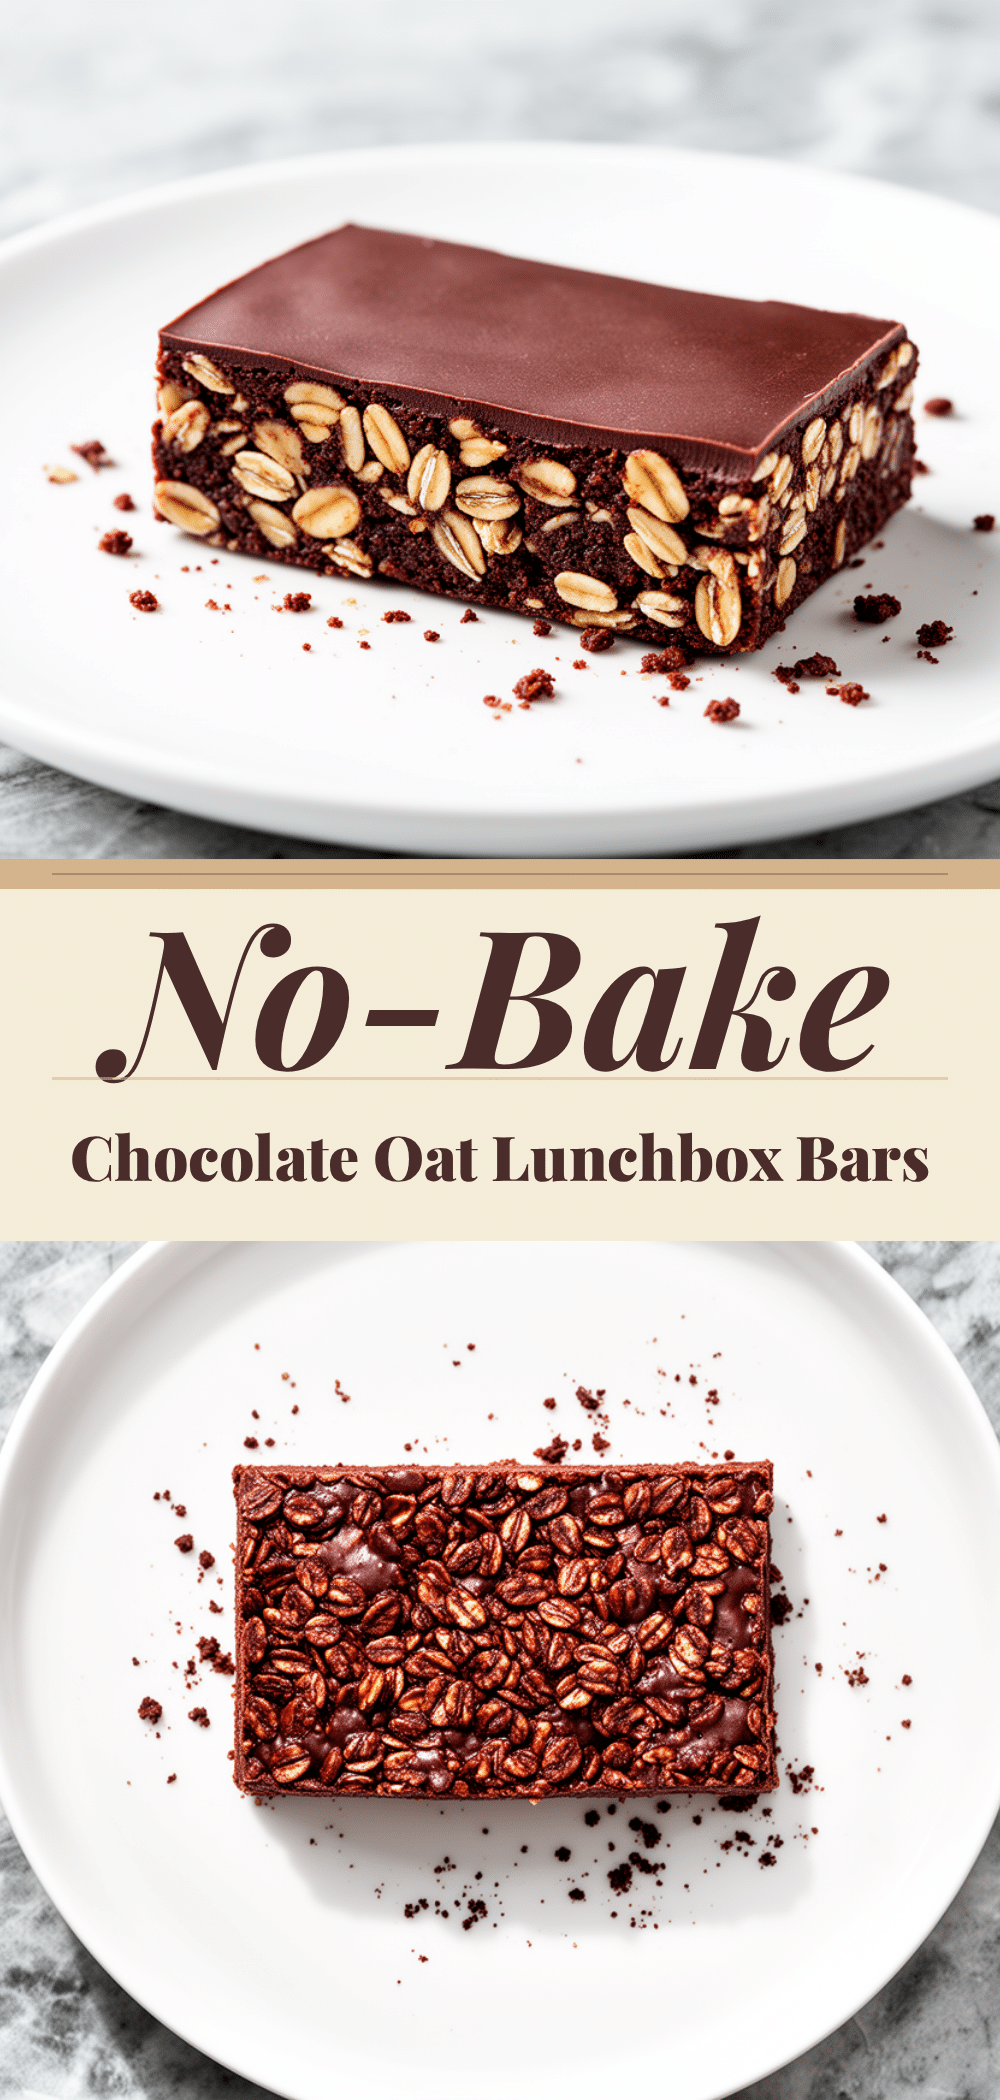
Back-to-School No-Bake Chocolate Oat Lunchbox Bars
- Total Time: 25 minutes
- Yield: 16 servings 1x
Description
A fast, healthy-ish, and lunchbox-friendly no-bake snack made with oats, peanut butter, and chocolate. These bars come together in 5 minutes of active time and hold up perfectly in lunchboxes without melting or crumbling.
Ingredients
- 3 cups old-fashioned rolled oats
- 1 cup creamy peanut butter (or sunflower seed butter for nut-free)
- ½ cup honey or maple syrup
- 4 tablespoons unsalted butter
- 1 teaspoon vanilla extract
- 1 cup semi-sweet dark chocolate chips
- 1 tablespoon coconut oil
- Pinch of sea salt flakes
- Optional: ½ cup mini chocolate chips, ½ cup dried fruit, or ¼ cup seeds
Instructions
- Line an 8×8 inch baking pan with parchment paper or aluminum foil, leaving an overhang on the sides, and spray lightly with non-stick spray.
- In a large microwave-safe bowl, combine butter, peanut butter, and honey. Microwave in 15-30 second intervals, stirring between each, until smooth and liquid. Stir in vanilla extract.
- Add the rolled oats to the wet mixture and stir vigorously until every oat is coated. Add any optional mix-ins (dried fruit, seeds) and mix until evenly distributed.
- Transfer the mixture to the prepared pan. Press down firmly and evenly to create a compact layer about ½ inch thick. Use the bottom of a glass to ensure it is packed tight.
- In a small microwave-safe bowl, combine chocolate chips and coconut oil. Microwave in 20-second intervals, stirring until smooth and glossy.
- Pour the melted chocolate over the oat layer and spread evenly to the edges. Sprinkle with sea salt flakes.
- Refrigerate for at least 20 minutes (or freeze for 10 minutes) until the chocolate is set and firm.
- Lift the bars out of the pan using the parchment overhang and slice into 16 squares or rectangles using a sharp knife.
Notes
Do not use instant or steel-cut oats; old-fashioned rolled oats provide the correct texture. Pack the oat mixture down tightly to prevent crumbling. Store in the refrigerator for up to 2 weeks or freeze for up to 3 months. For nut-free schools, substitute peanut butter with sunflower seed butter.
- Prep Time: 5 minutes
- Cook Time: 0 minutes
- Category: Snack
- Cuisine: American
Nutrition
- Serving Size: 1 bar
- Calories: 180
- Sugar: 12
- Sodium: 60
- Fat: 9
- Saturated Fat: 3
- Carbohydrates: 22
- Fiber: 2
- Protein: 5
Keywords: no-bake bars, lunchbox snacks, back-to-school snacks, healthy snacks, oat bars, chocolate oat bars, quick snacks, kid-friendly snacks


