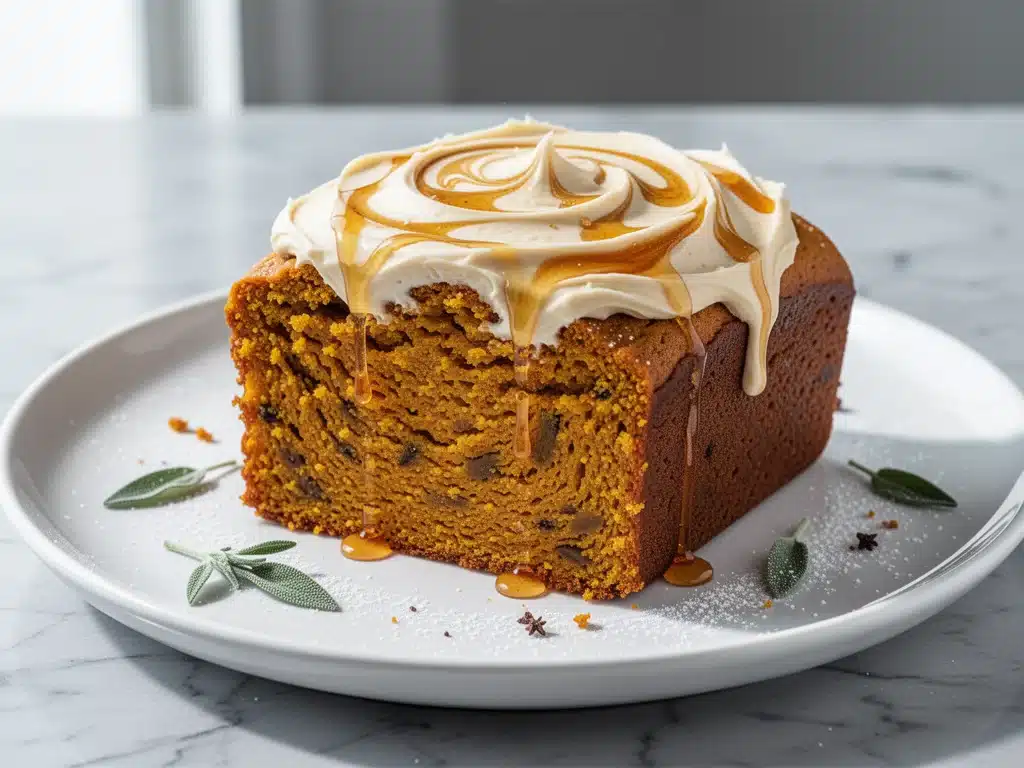
Last November, I was standing in my kitchen at 6 AM, staring at a loaf of store-bought gluten-free pumpkin bread that tasted like cardboard soaked in vanilla extract. I’d paid $8 for it. Eight dollars! And it was dry, crumbly, and completely devoid of that warm, spiced aroma that makes autumn feel like a hug. My husband took one bite, pushed it back across the counter, and said, “I’d rather have toast.” That was the moment I realized something was wrong. Not with my husband’s taste buds, but with the entire gluten-free baking industry.
I’ve spent the last three years obsessively testing pumpkin bread recipes. I’ve burned batches, overmixed batters until they were dense as bricks, and used every gluten-free flour blend on the market. But this recipe? This is the one. It’s moist enough to make you forget you’re eating gluten-free. It’s spiced perfectly so it tastes like a pumpkin spice latte turned into a loaf. And honestly? It’s better than anything you’ll buy at a coffee shop or bakery.
This isn’t just a substitute. It’s an upgrade. The secret isn’t just in the flour blend; it’s in the technique. I learned that using pureed pumpkin (not canned pumpkin pie filling, which is sugary mush) and adding a specific ratio of brown sugar creates a crumb that’s tender, not gritty. I’ve made this loaf for my gluten-intolerant friends, my picky kids, and even my gluten-eating neighbors who swear they can’t tell the difference. They always ask for the recipe within five minutes of the first bite.
If you’re tired of dry, crumbling loaves and want a pumpkin bread that’s genuinely delicious, you’re in the right place. I’m sharing the exact method I’ve perfected after dozens of failures. This is the Gluten-Free Fall Pumpkin Bread that will change how you think about autumn baking.
Why You’ll Love This Gluten-Free Fall Pumpkin Bread
There are a lot of pumpkin bread recipes out there. But this one stands out because it solves the biggest problems people have with gluten-free baking: dryness, grittiness, and lack of flavor. Here’s why this Gluten-Free Fall Pumpkin Bread has earned a permanent spot in my fall rotation:
- Actually Moist — I’m talking “fork-drips-through-the-hand” moist. Most gluten-free breads dry out by noon. This one stays soft for days because of the natural pectin in the pumpkin puree and the fat from the oil. I’ve tested leftovers after three days, and they still taste fresh.
- No Gritty Texture — One of the biggest complaints about gluten-free baking is that sandy mouthfeel. By using a high-quality blend with xanthan gum and adding extra liquid, I’ve eliminated that grit. The crumb is tender and cake-like, not crumbly or dense.
- Perfectly Spiced — Not too much cinnamon, not too much nutmeg. It hits that sweet spot that reminds you of a cozy fireplace. I use a mix of ground cinnamon, ginger, cloves, and nutmeg. It’s aromatic without being overpowering.
- Simple Ingredients — You probably have most of these in your pantry. No weird chemical additives or hard-to-find flours. Just pumpkin, eggs, oil, sugar, and a good gluten-free flour blend.
- Meal-Prep Friendly — This bread freezes beautifully. I make two loaves every October. One gets eaten fresh, and the other goes into the freezer for those busy mornings when I need a quick breakfast. It thaws in 20 minutes and tastes just as good.
- Family Approved — My kids, who usually turn their noses up at “healthier” baked goods, fight over this loaf. They don’t even know it’s gluten-free. That’s the ultimate compliment.
This isn’t a diet food. It’s not “guilt-free.” It’s just good food that happens to be safe for gluten-free diets. And that’s what makes it special.
Ingredients You’ll Need
Before we start, let’s talk about what goes into this Gluten-Free Fall Pumpkin Bread. The beauty of this recipe is that it uses simple, accessible ingredients. But a few of them matter more than others. I’m particular about my flour blend and my pumpkin, so pay attention here.
For the Bread Base
Gluten-Free All-Purpose Flour Blend (2 ½ cups / 325g) — This is crucial. I use King Arthur Measure for Measure or Bob’s Red Mill 1-to-1. These blends already contain xanthan gum, which acts as the glue that holds gluten-free bread together. If your blend doesn’t have xanthan gum, add 1 teaspoon. Avoid blends with rice flour as the main ingredient if you can help it—they tend to be grittier.
Baking Powder (1 teaspoon) — Fresh baking powder is key for lift. If yours is older than six months, replace it. Old baking powder means flat, dense bread.
Baking Soda (½ teaspoon) — This reacts with the brown sugar and pumpkin to help the bread rise and brown beautifully.
Salt (1 teaspoon) — Don’t skip this. Salt balances the sweetness and enhances the spices. Use fine sea salt.
For the Moisture and Flavor
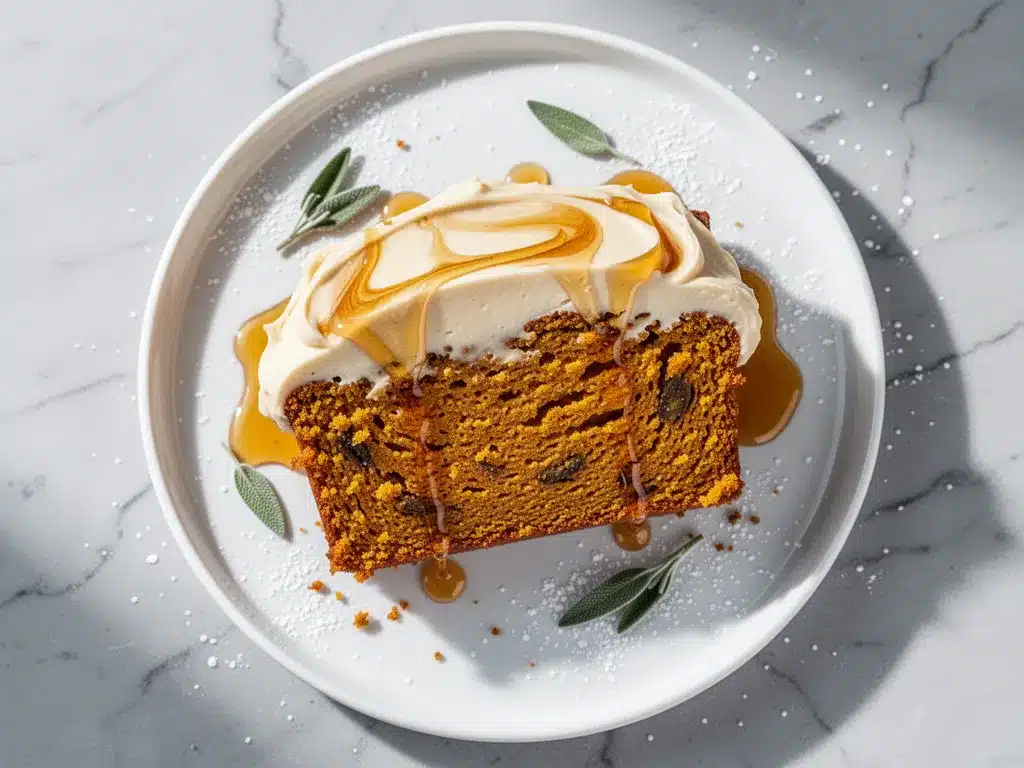
Pumpkin Puree (1 cup / 245g) — NOT pumpkin pie filling. Pie filling has sugar and spices added, which throws off the balance. Use plain, 100% pure pumpkin puree. I like Libby’s, but any brand works. Make sure it’s drained if it looks watery.
Vegetable Oil or Melted Coconut Oil (½ cup / 120ml) — Oil keeps the bread moister than butter does. Butter can make gluten-free bread dry faster. I use light olive oil or neutral vegetable oil. If you want a slight coconut flavor, use melted coconut oil.
Large Eggs (2 large) — Room temperature eggs mix better and create a smoother batter. Don’t skip them; they provide structure.
Brown Sugar (1 cup / 200g) — Packed. Brown sugar adds moisture and a caramel-like depth that white sugar can’t match. It also helps with browning.
Granulated Sugar (½ cup / 100g) — Just enough to sweeten without making it a dessert cake.
For the Spice Profile
Ground Cinnamon (2 teaspoons) — The star of the show. Use fresh cinnamon for the best flavor.
Ground Ginger (½ teaspoon) — Adds a warm, spicy kick.
Ground Cloves (¼ teaspoon) — Use sparingly. Cloves are strong and can overpower if you add too much.
Ground Nutmeg (¼ teaspoon) — Freshly grated if you have a microplane. Pre-ground nutmeg loses potency quickly.
Optional Add-Ins
Chopped Walnuts or Pecans (½ cup) — For crunch. Toast them first for extra flavor.
White Chocolate Chips (½ cup) — For a sweeter, dessert-like version. I sometimes add these to my kids’ slices.
Equipment Needed
You don’t need fancy gadgets for this. Here’s what I actually use:
Two 8×4-inch Loaf Pans — Standard size. Grease them well or line with parchment paper. Gluten-free batter sticks more than regular batter, so parchment is your friend.
Mixing Bowls — One large bowl for dry ingredients, one medium for wet.
Whisk — For blending the dry ingredients evenly. A whisk is better than a spoon here.
Electric Mixer or Wooden Spoon — For creaming the butter and sugar (if using butter) or mixing the wet ingredients. I use a hand mixer for speed, but a wooden spoon works fine.
Measuring Cups and Spoons — Be precise. Gluten-free baking is less forgiving than regular baking.
Cooling Rack — Essential for cooling the bread properly so it doesn’t get soggy.
How to Make It: Step-by-Step
Alright, let’s make this Gluten-Free Fall Pumpkin Bread. I’m walking you through exactly how I do it, including the little tricks I’ve picked up over the years.
Step 1: Prep Your Oven and Pans (5 minutes)
Preheat your oven to 350°F (175°C). Grease two 8×4-inch loaf pans with non-stick spray or butter. For extra insurance against sticking, line the bottoms with parchment paper. This is non-negotiable for gluten-free bread.
Step 2: Mix the Dry Ingredients (3 minutes)
In a large bowl, whisk together the gluten-free flour blend, baking powder, baking soda, and salt. Add the cinnamon, ginger, cloves, and nutmeg. Whisk again to ensure the spices are evenly distributed. If you skip this step, you’ll get pockets of pure cinnamon in your bread, which isn’t ideal.
Step 3: Mix the Wet Ingredients (3 minutes)
In a separate bowl, whisk the eggs until beaten. Add the pumpkin puree, oil, brown sugar, and granulated sugar. Whisk vigorously until the mixture is smooth and well combined. The sugar doesn’t need to fully dissolve yet; it will during baking.
Step 4: Combine Wet and Dry (2 minutes)
Pour the wet ingredients into the dry ingredients. Stir gently with a wooden spoon or spatula until just combined. Do not overmix! Gluten-free batter is thicker than regular batter, and overmixing can make it dense. Stop when you see no streaks of flour. It will look thick and slightly lumpy. That’s okay.
Step 5: Divide and Bake (50-60 minutes)
Divide the batter evenly between the two prepared loaf pans. Smooth the tops with a spatula. Bake for 50-60 minutes. Start checking at 50 minutes. The bread is done when a toothpick inserted into the center comes out clean or with just a few moist crumbs (not wet batter). The tops should be golden brown and slightly domed.
Step 6: Cool Completely (30 minutes)
Let the loaves cool in the pans for 10 minutes, then transfer them to a wire rack to cool completely. This is hard, but necessary. Gluten-free bread is fragile when hot and can crumble if you try to slice it too soon. Wait at least 30 minutes, preferably an hour, before slicing.
Expert Tips & Tricks
Here’s everything I’ve learned from making this Gluten-Free Fall Pumpkin Bread dozens of times. These tips will save you from my mistakes.
Don’t Skimp on the Fat
Oil is your friend here. It keeps the bread moist. If you substitute butter, the bread will dry out faster. If you want to use butter, melt it and use the same amount, but know that the texture will be slightly different.
Drain the Pumpkin
If your pumpkin puree looks watery, drain it in a cheesecloth or paper towel for 10 minutes. Excess water can make the bread gummy. I learned this the hard way with a loaf that was more like pumpkin pudding than bread.
Use Fresh Spices
Old spices taste flat. If your cinnamon has been sitting in the cupboard for two years, replace it. Fresh spices make a huge difference in the flavor profile.
Check Early
Ovens vary. Start checking your bread at 45 minutes. If the top is browning too fast, tent it with aluminum foil. Gluten-free bread can burn on top before it’s done inside.
Cool Completely
I know you want to eat it now. But wait. Slicing hot gluten-free bread results in a crumbly mess. Let it cool completely for the best texture.
Variations & Substitutions
Once you’ve nailed the basic version, here’s how you can mix it up. I’ve tried all of these.
Spiced Latte Version
Add 1 teaspoon of espresso powder to the dry ingredients. It enhances the pumpkin flavor without making it taste like coffee. This is my favorite variation.
Maple Pecan
Replace the brown sugar with maple syrup and add ½ cup toasted pecans to the batter. It’s richer and more decadent.
Gluten-Free and Dairy-Free
This recipe is already dairy-free if you use oil. For a vegan version, replace the eggs with flax eggs (2 tablespoons ground flaxseed + 6 tablespoons water, let sit for 10 minutes). The texture will be slightly denser, but still delicious.
Mini Loaves
Divide the batter into six mini loaf pans. Bake for 30-35 minutes. Perfect for gifts or single servings.
Serving & Storage
How to Serve: Slice thickly and enjoy plain, or warm it up in the microwave for 30 seconds. It’s amazing with a cup of tea or coffee. I also serve it with a slice of sharp cheddar cheese for a savory-sweet combo that’s surprisingly good.
Refrigerator: Store in an airtight container for up to 5 days. Gluten-free bread stays moist in the fridge.
Freezer: Wrap tightly in plastic wrap and then foil. Freeze for up to 3 months. Thaw at room temperature or warm in the oven.
Reheating: Warm in a 300°F oven for 10 minutes or microwave for 30 seconds. It tastes best warm.
Nutrition Information
I’m not a nutritionist, but here’s the breakdown if you’re tracking. Per slice (1/10 of loaf):
- Calories: 180
- Protein: 3g
- Carbs: 32g
- Fiber: 2g
- Sugar: 18g
- Fat: 6g
This is comfort food. It’s not diet food. But it’s better than store-bought and made with real ingredients.
Final Thoughts
So that’s my Gluten-Free Fall Pumpkin Bread! I’ve probably talked your ear off at this point, but when you make a recipe this often, you have a lot to say about it. This loaf has saved my mornings, my holidays, and my sanity. It’s my answer to “what’s for breakfast” when I want something cozy and comforting.
Make it yours! Try different add-ins, swap in your favorite nuts, or adjust the spices to your taste. The best recipes are the ones you adapt to your family’s tastes.
If you make this, drop a comment and let me know what you think! I love hearing how recipes turn out in your kitchen. And if something doesn’t work, tell me that too—I’m here to help troubleshoot.
Happy baking! And I hope your kitchen smells half as good as mine does right now.
Frequently Asked Questions
Can I use pumpkin pie filling instead of puree?
No. Pumpkin pie filling has sugar and spices added, which will throw off the balance of sweetness and flavor in this recipe. Use 100% pure pumpkin puree for the best results.
Why did my bread turn out dense?
This usually happens if you overmix the batter or use old baking powder. Mix just until combined, and make sure your leavening agents are fresh. Also, ensure you’re using a good quality gluten-free flour blend with xanthan gum.
Can I freeze this bread?
Yes! Wrap it tightly in plastic wrap and then foil. It freezes well for up to 3 months. Thaw at room temperature or warm in the oven.
Can I make this vegan?
Yes. Replace the eggs with flax eggs (2 tablespoons ground flaxseed + 6 tablespoons water per egg). The texture will be slightly denser, but still delicious.
How do I store leftovers?
Store in an airtight container at room temperature for up to 3 days, or in the fridge for up to 5 days. Gluten-free bread stays moist in the fridge.
Can I add chocolate chips?
Absolutely. Add ½ cup of chocolate chips to the batter. I love white chocolate chips with the pumpkin spice flavor.
Why is my bread sticking to the pan?
Gluten-free batter is stickier than regular batter. Make sure you grease the pan well and line it with parchment paper. This is the best way to ensure easy removal.
Pin This Recipe!
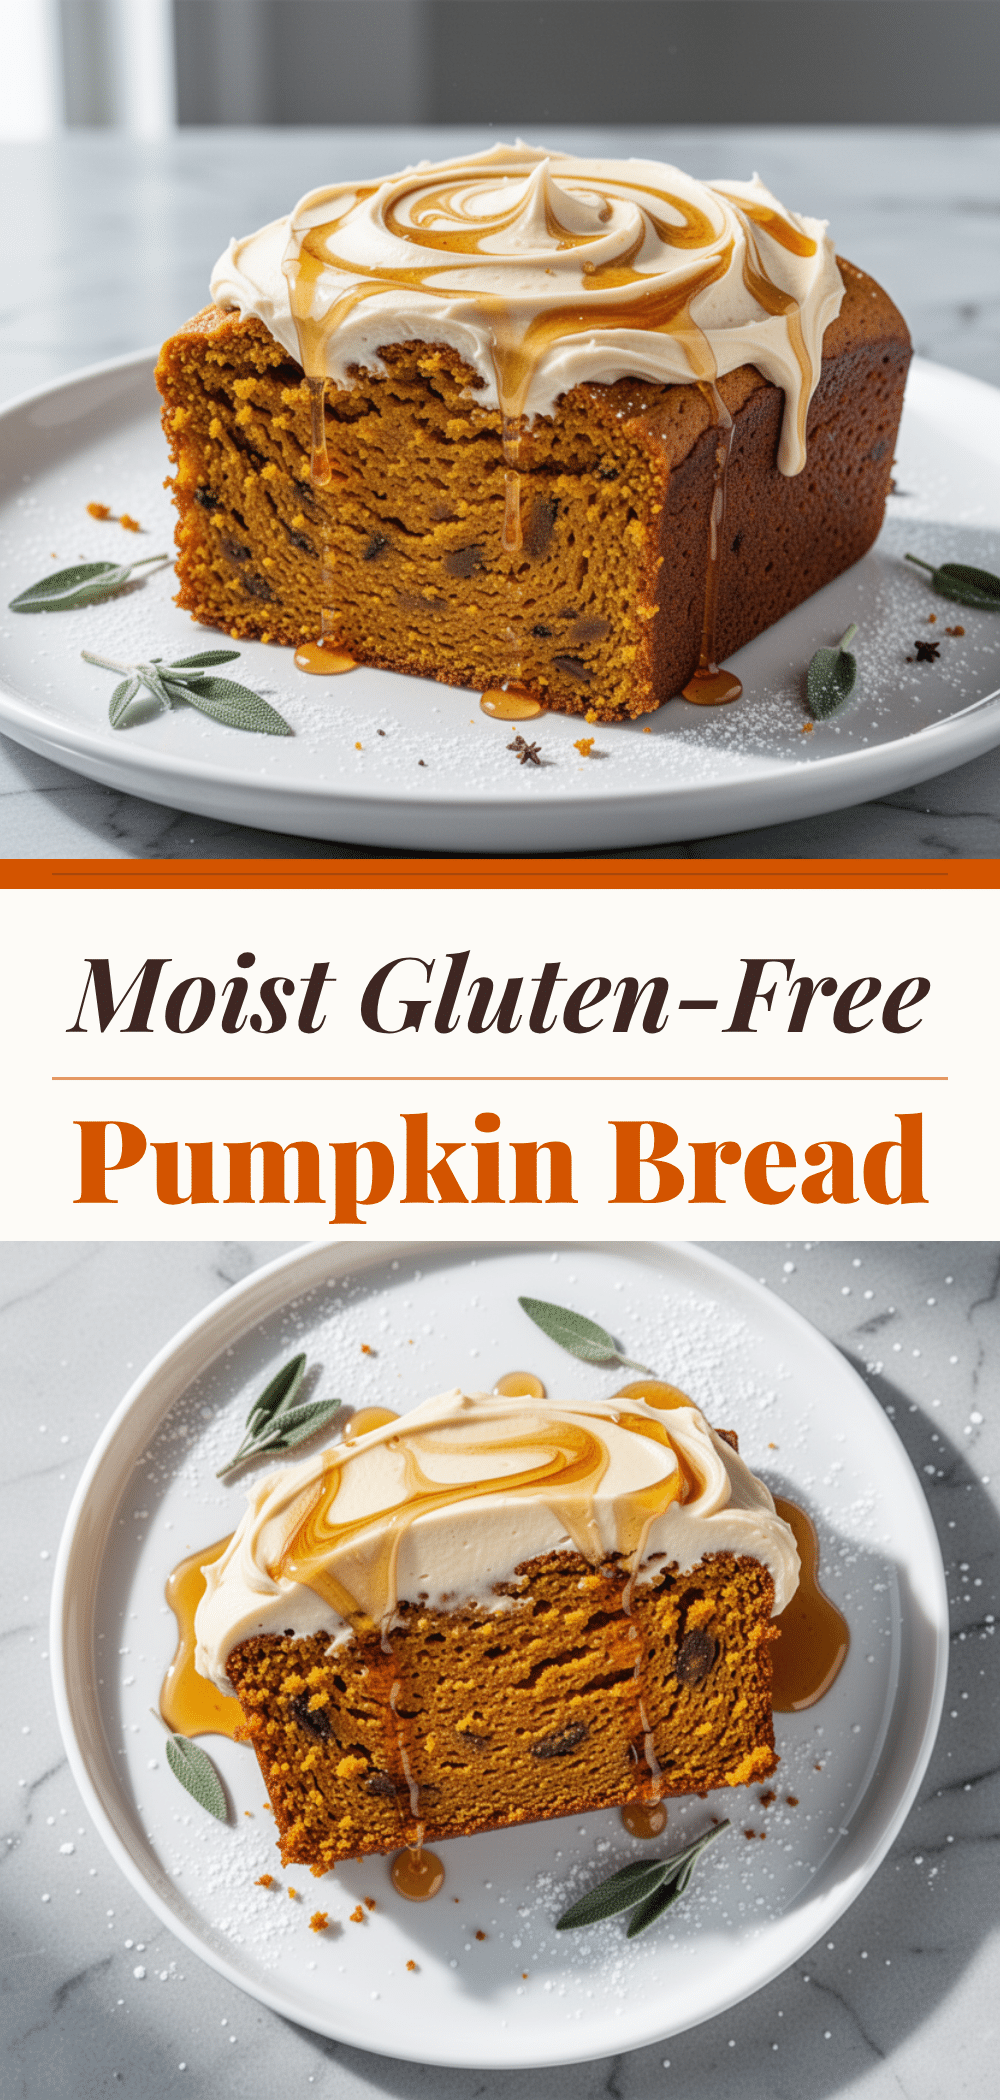
Gluten-Free Fall Pumpkin Bread
- Total Time: 1 hour 15 minutes
- Yield: 2 loaves (approx. 20 slices) 1x
Description
A moist, tender, and perfectly spiced gluten-free pumpkin bread that avoids the common pitfalls of dryness and grittiness. This recipe uses pure pumpkin puree and a specific flour blend to create a loaf that tastes like a pumpkin spice latte.
Ingredients
- 2 ½ cups (325g) Gluten-Free All-Purpose Flour Blend (with xanthan gum)
- 1 teaspoon Baking Powder
- ½ teaspoon Baking Soda
- 1 teaspoon Fine Sea Salt
- 1 cup (245g) Pure Pumpkin Puree (drained if watery)
- ½ cup (120ml) Vegetable Oil or Melted Coconut Oil
- 2 Large Eggs (room temperature)
- 1 cup (200g) Packed Brown Sugar
- ½ cup (100g) Granulated Sugar
- 2 teaspoons Ground Cinnamon
- ½ teaspoon Ground Ginger
- ¼ teaspoon Ground Cloves
- ¼ teaspoon Ground Nutmeg
- Optional: ½ cup Chopped Walnuts or Pecans
- Optional: ½ cup White Chocolate Chips
Instructions
- Preheat oven to 350°F (175°C). Grease two 8×4-inch loaf pans and line bottoms with parchment paper.
- In a large bowl, whisk together the gluten-free flour blend, baking powder, baking soda, salt, cinnamon, ginger, cloves, and nutmeg until evenly distributed.
- In a separate medium bowl, whisk the eggs until beaten. Add the pumpkin puree, oil, brown sugar, and granulated sugar. Whisk vigorously until the mixture is smooth.
- Pour the wet ingredients into the dry ingredients. Stir gently with a wooden spoon or spatula until just combined. Do not overmix; the batter will be thick and slightly lumpy.
- Divide the batter evenly between the two prepared loaf pans and smooth the tops.
- Bake for 50-60 minutes, checking at 50 minutes. The bread is done when a toothpick inserted into the center comes out clean or with moist crumbs.
- Let the loaves cool in the pans for 10 minutes, then transfer to a wire rack to cool completely (at least 30 minutes) before slicing.
Notes
Ensure your gluten-free flour blend contains xanthan gum; if not, add 1 teaspoon. Do not use pumpkin pie filling; use 100% pure pumpkin puree. If the puree is watery, drain it in a cheesecloth or paper towel. Cool the bread completely before slicing to prevent crumbling. For a vegan version, replace eggs with flax eggs (2 tbsp ground flaxseed + 6 tbsp water per egg).
- Prep Time: 15 minutes
- Cook Time: 50-60 minutes
- Category: Breakfast
- Cuisine: American
Nutrition
- Serving Size: 1 slice (1/10 of loa
- Calories: 180
- Sugar: 18
- Sodium: 300
- Fat: 6
- Carbohydrates: 32
- Fiber: 2
- Protein: 3
Keywords: gluten-free pumpkin bread, fall baking, pumpkin spice, gluten-free recipes, moist pumpkin bread, dairy-free baking


