It was 6:15 AM on a Saturday, and the house was still quiet. I was staring at the clock, knowing that in exactly fifteen minutes, my kids would be demanding pancakes, and my husband would be eyeing the coffee pot like it was his only lifeline. I had spent the week rushing out the door with granola bars and lukewarm coffee, and I was tired. Tired of the scramble, tired of the “what’s for breakfast?” negotiations, and tired of feeling like I needed to spend an hour in the kitchen just to get us out the door.
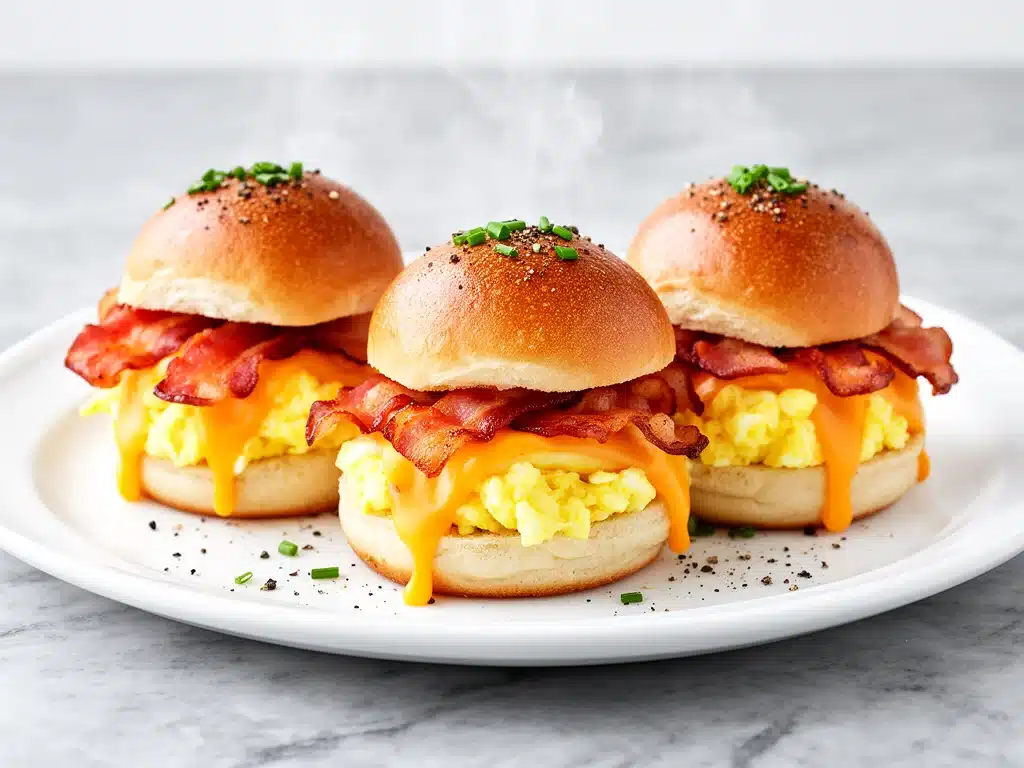
So, I did what any exhausted parent does: I threw something together based on what was in the fridge. I had a package of bacon that needed to be used, some eggs that were close to their expiration date, and a bag of slider buns that were sitting on the counter. I thought, Why not just make mini burgers for breakfast? It sounded ridiculous. It sounded like a compromise. But as the smell of sizzling bacon and melting cheddar started drifting through the house, my kids wandered in. And then, something magical happened. They didn’t ask for pancakes. They didn’t ask for cereal. They sat down at the table, dug into these warm, gooey, savory sliders, and actually stayed seated long enough to finish their meal without complaining.
That was the moment I discovered Cheesy Bacon and Egg Breakfast Sliders. What started as a desperate 15-minute fixer-upper has become our absolute favorite weekend breakfast. It’s not just because it’s fast—though it is ridiculously quick. It’s because it hits every single craving spot: salty, savory, cheesy, and soft. It’s the kind of food that makes you feel like you’re treating yourself, even though it’s technically just eggs and bread. I’ve made these sliders at least twenty times in the last three months. Sometimes on weekends, sometimes on busy school mornings when I need to feed four people in under ten minutes. They are hands-down the best way to start the day.
If you’re tired of the same old breakfast routine, or if you’re looking for something that feels a little more indulgent than oatmeal but way faster than a full breakfast spread, you need to try this. I promise, once you taste that first bite of crispy bacon and gooey cheese sandwiched between a soft bun, you’ll wonder why you ever wasted time flipping pancakes on a Saturday morning. This recipe is simple, forgiving, and absolutely delicious. Let’s get cooking.
Why You’ll Love This Recipe
There are about a dozen reasons I keep making these sliders, but here are the big ones that keep them in our regular rotation. It’s not just about convenience; it’s about the fact that it just works.
- Stupid Simple — Seriously, if you can fry an egg and open a package of bacon, you can make this. I’ve walked my teenage daughter through it over FaceTime while she was at college. There’s no complicated technique here, just assembly and a little heat.
- Lightning Fast — 15 minutes from start to finish. And only 10 of those minutes are active cooking. I make this on days when I want to sleep in but still want a hot breakfast. By the time the coffee is brewing, these are ready.
- Kid-Approved — I’ve served these to my picky eater son (who usually refuses anything with “crunch” in the morning) and my food-snob husband (who loves them). Everyone loves them. The soft bun hides the veggies if you add them, and the cheese makes everything palatable.
- Perfectly Portable — Sliders are essentially handheld breakfasts. I wrap leftovers in foil for my husband’s work lunch, and the kids can eat them while walking to the car. No plates required. No forks needed. Just grab and go.
- Endlessly Customizable — Don’t like bacon? Use sausage. Hate eggs? Use ham. Want to get fancy? Add avocado. This recipe is a canvas. I tweak it every time based on what’s in the fridge.
This is my go-to when I need breakfast to just work. No stress, no mess, just reliable, delicious food that makes everyone happy. It’s the breakfast equivalent of a warm hug.
Ingredients You’ll Need
Here’s the best part: you probably have most of this already. This isn’t a recipe that requires a special trip to the store. It’s pantry-friendly and fridge-cleanup friendly. I’m particular about three ingredients here, and I’ll tell you exactly why.
For the Sliders
Slider buns (12-18 buns) — This is crucial. You need small, soft buns. Hawaiian rolls are my absolute favorite because they’re slightly sweet and stay soft. Dinner rolls work too, but they’re denser. Do not use bagels or thick bread; these need to be bite-sized or at least small enough to handle easily. I buy a pack of Hawaiian rolls every time I make these.
Bacon (12-16 slices) — Thick-cut bacon is best here. It holds up better to the heat and gives you that great chew. If you’re using thin bacon, cook it a little longer until it’s crispy. I prefer my bacon crisp because it adds texture to the soft bun. Turkey bacon works if you’re avoiding pork, but it doesn’t have the same flavor depth.
Eggs (6-8 large eggs) — Scrambled or fried? I do scrambled because it’s easier to portion onto the buns. You want them soft and creamy, not dry and rubbery. I cook them just until they’re barely set, then take them off the heat. They’ll finish cooking from the residual heat.
Cheddar cheese (2 cups, shredded) — Use a block of sharp cheddar and grate it yourself. Pre-shredded cheese has anti-caking agents that prevent it from melting smoothly. I want that gooey, stretchy cheese pull. Sharp cheddar has more flavor, which balances the salty bacon.
For the Flavor
Butter (2 tablespoons) — For frying the bacon and adding richness. I use unsalted so I can control the saltiness, especially since bacon and cheese are already salty.
Salt and pepper — To taste. The bacon and cheese will add plenty of salt, so go easy on the extra seasoning.
Optional Add-ins:
- Hash browns (1 cup, diced) — I use frozen diced hash browns. Pan-fry them with the bacon for a hearty breakfast slider.
- Spinach (1 cup, fresh) — Toss it in with the eggs at the very end. It wilts instantly and adds a nice pop of color.
- Salsa (¼ cup) — For a breakfast taco vibe. Adds acidity and cuts through the richness.
Personal Tip: I always keep a pack of Hawaiian rolls in the freezer. They thaw quickly, and having them ready means I can throw these together in under 10 minutes. Also, if you’re using pre-cooked bacon from the microwave, it’s fine, but fresh-crisp bacon just tastes better. Trust me on this.
Equipment Needed
You don’t need fancy equipment for this. Here’s what I actually use.
Large skillet — 10 or 12-inch works best. I prefer cast iron or stainless steel because they hold heat well, but non-stick is easier for cleanup. This is where the bacon and eggs will cook.
Baking sheet — I don’t actually cook the buns in the oven for this version. I assemble them on a baking sheet and toast them lightly under the broiler if I want them warm and crispy. But you can also just assemble them on a plate. I like the broiler step because it melts the cheese faster and gives the bun a nice texture.
Whisk — For the eggs. I like them fluffy, so I whisk them well before cooking.
Spatula — For flipping the bacon and scrambling the eggs. Silicone is best so you don’t scratch your pan.
Knife — For slicing the cheese and maybe the bacon if it’s too long for the buns.
Optional but nice:
- Broiler — If you want that melted, bubbly cheese top.
- Microwave — If you’re using pre-cooked bacon or eggs, the microwave is a lifesaver for speed.
Tool Tip: Don’t have a broiler? No problem. Just assemble the sliders and eat them warm. The cheese will still melt from the heat of the bacon and eggs. You don’t need to overcomplicate it.
How to Make It: Step-by-Step
Alright, let’s make this! I’m walking you through exactly how I do it, including the little tricks I’ve picked up over time.
Step 1: Cook the Bacon (5-7 minutes)
Heat a large skillet over medium heat. Add the bacon slices in a single layer. You don’t need to add oil; the bacon will render its own fat. Cook for 3-4 minutes per side, flipping occasionally, until crispy. If you’re using thick-cut bacon, it might take a little longer. Once crispy, remove the bacon to a paper towel-lined plate to drain. Leave about 1 tablespoon of bacon fat in the pan if you want to cook the eggs in it (it adds flavor), or wipe the pan clean if you prefer less grease.
Step 2: Scramble the Eggs (3-4 minutes)
While the bacon cooks, crack the eggs into a bowl. Add a pinch of salt and pepper. Whisk them well until the yolks and whites are fully combined. Heat the skillet (with the bacon fat or a little butter) over medium-low heat. Pour in the eggs. Let them sit for 10 seconds, then gently push them from the edges toward the center with a spatula. Keep doing this until the eggs are mostly set but still slightly wet. They will continue to cook from residual heat, so don’t overcook them. Remove from heat and set aside.
Step 3: Prepare the Buns (2 minutes)
Preheat your oven’s broiler to high. If you’re using Hawaiian rolls, keep them connected as a single sheet. If you’re using individual dinner rolls, place them on a baking sheet. I like to lightly brush the tops of the buns with a little melted butter or olive oil. This helps them brown nicely under the broiler and adds richness.
Step 4: Assemble the Sliders (3 minutes)
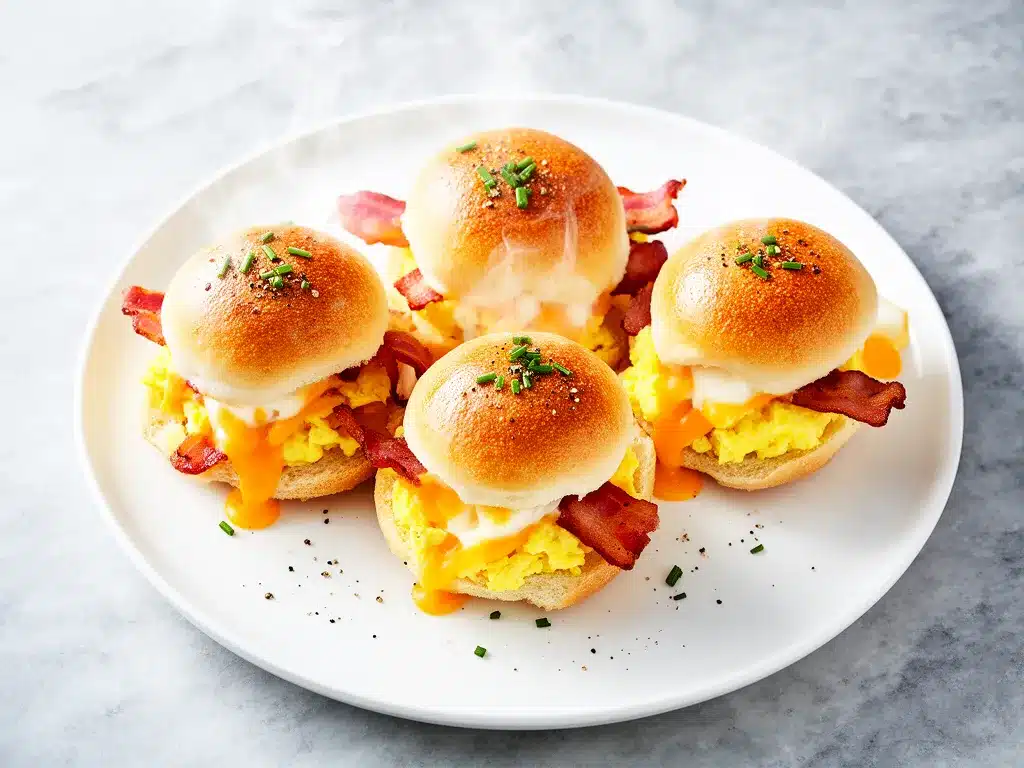
This is the fun part. Take each bun half and layer it with ingredients. Here’s my standard ratio: one slice of bacon (folded if it’s long), a spoonful of scrambled eggs, and a generous handful of shredded cheddar cheese. If you’re adding hash browns or spinach, add them now. The key is to not overload the buns. If you put too much in, they’ll fall apart. Aim for a balanced bite.
Step 5: Melt and Toast (2-3 minutes)
Place the assembled sliders on the baking sheet. Put them under the broiler for 1-2 minutes. Watch them closely! You want the cheese to melt and the buns to get golden brown on top. If you’re not using the broiler, you can just assemble them and eat them warm. The heat from the eggs and bacon will melt the cheese enough. But the broiler step gives them that restaurant-quality finish.
Step 6: Serve
Serve immediately while hot. I usually cut the Hawaiian roll sheet into individual sliders, but you can also serve them whole if you’re feeling fancy. Add extra pepper or hot sauce if you like a kick.
Total Time: About 15 minutes (5 minutes prep, 10 minutes cooking)
Troubleshooting:
- Bacon is too greasy: Blot it well with paper towels before assembling.
- Eggs are dry: You cooked them too long. Next time, take them off the heat when they’re still slightly wet.
- Sliders are falling apart: You’re using too much filling. Reduce the amount of eggs and cheese per slider.
Expert Tips & Tricks
Here’s everything I’ve learned from making these dozens of times. These tips will save you from my mistakes.
The Cheese Choice Matters
I’ve tried using American cheese, and while it melts beautifully, it lacks flavor. Sharp cheddar is the winner here. It has a tang that cuts through the richness of the bacon and eggs. If you’re a fan of pepper jack, mix it with cheddar for a spicy kick. I also love using a blend of cheddar and mozzarella for that stretchy cheese pull.
Don’t Overcrowd the Pan
When cooking the bacon, give it space. If you overcrowd the pan, the bacon steams instead of crisping. Cook in batches if you’re making a large batch. Crispy bacon is essential for the texture contrast.
Keep the Eggs Moist
The biggest mistake people make with breakfast sliders is using dry, crumbly eggs. You want creamy, soft-scrambled eggs. Cook them on low heat and remove them from the pan when they’re still slightly underdone. They’ll finish cooking on the warm bun.
Make-Ahead Strategy
You can prep the bacon and eggs ahead of time. Cook the bacon and store it in the fridge. Scramble the eggs and store them in the fridge. When you’re ready to eat, just reheat the bacon and eggs, assemble the sliders, and toast them. It cuts the active cooking time down to almost nothing.
Pro Trick for Hawaiian Rolls
If you’re using Hawaiian rolls, don’t separate them until after you’ve assembled the sliders. It makes it easier to layer. Once you’ve added bacon, eggs, and cheese to each bun, then gently pull them apart. The cheese will help hold them together.
Variations & Substitutions
Once you’ve nailed the basic version, here’s how you can mix it up. I’ve tried all of these.
Sausage & Egg Sliders
Swap the bacon for breakfast sausage patties or crumbled sausage. Sausage has a different flavor profile—more herbal and savory. I love this version with egg whites and spinach for a lighter feel.
Ham & Swiss Sliders
Use diced ham instead of bacon, and swap cheddar for Swiss cheese. Add a little Dijon mustard on the bun for a savory twist. This feels more like a classic breakfast sandwich.
Veggie Breakfast Sliders
Add sautéed mushrooms, bell peppers, and onions. Sauté the veggies with the bacon fat for extra flavor. Top with feta cheese instead of cheddar. This is a great way to use up leftover vegetables.
Breakfast Taco Sliders
Use tortilla wraps instead of buns. Add salsa, sour cream, and avocado. It’s a fusion version that’s surprisingly delicious.
Dietary Modifications
- Gluten-Free: Use gluten-free slider buns or lettuce wraps. Everything else is naturally gluten-free.
- Dairy-Free: Use dairy-free cheese and butter. Coconut oil works well for cooking. The flavor will be different, but it’s still satisfying.
- Lower-Carb: Use large lettuce leaves as the “bun.” It’s not the same texture, but it works if you’re watching carbs.
Serving & Storage
How to Serve
I usually serve these straight from the baking sheet. They look rustic and inviting. Here are some side dishes that pair well:
- Fresh fruit salad — Adds a light, sweet contrast to the savory sliders.
- Yogurt parfait — If you want a balanced breakfast with protein and fruit.
- Orange juice or coffee — The classic breakfast beverages.
Storage Instructions
Refrigerator: Store leftovers in an airtight container for up to 3 days. The buns might get a little soggy, but the flavors still taste good.
Reheating: Reheat in a skillet over medium heat for 2-3 minutes per side. This restores the crispiness of the bun. The microwave works in a pinch, but it can make the bun chewy. If you use the microwave, do it in short bursts.
Freezing: You can freeze the assembled sliders before cooking. Wrap them tightly in plastic wrap and foil. Freeze for up to 1 month. Thaw in the fridge overnight, then bake or toast as directed.
Nutrition Information
I’m not a nutritionist, but here’s the breakdown if you’re tracking. This is per slider (based on 12 sliders).
| Nutrient | Amount |
|---|---|
| Calories | 220 |
| Protein | 12g |
| Carbs | 18g |
| Fat | 12g |
| Sodium | 450mg |
What’s Good: Decent protein from the eggs and bacon. The cheese adds calcium. It’s filling and keeps you satisfied.
What to Know: Higher in sodium due to bacon and cheese. If you’re watching salt, use low-sodium bacon and cheese. It’s comfort food, so enjoy it in moderation.
Final Thoughts
So that’s my go-to Cheesy Bacon and Egg Breakfast Sliders! I’ve probably talked your ear off at this point, but when you make a recipe this often, you have a lot to say about it. This has saved our mornings more times than I can count. It’s my answer to “what’s for breakfast” when I’m tired, don’t want takeout, and still want something that tastes really good. My kids are happy, my husband’s happy, and I’m happy because I’m not stressed about cooking.
Make it yours! Try different add-ins, swap in your favorite vegetables, adjust the spice level. The best recipes are the ones you adapt to your family’s tastes. If you make this, drop a comment and let me know what you think! I love hearing how recipes turn out in your kitchen. And if something doesn’t work, tell me that too—I’m here to help troubleshoot.
Happy cooking! And I hope your kitchen smells half as good as mine does right now.
Frequently Asked Questions
Can I use pre-cooked bacon?
Yes! Pre-cooked bacon is a huge time-saver. Just reheat it in the skillet or microwave before assembling. It won’t be as crispy as fresh-cooked bacon, but it’s convenient and still tastes good.
Why did my sliders fall apart?
This usually happens if you use too much filling. Try using less egg and cheese per slider. Also, make sure your buns are soft. If they’re stale or dry, they’ll crumble. Hawaiian rolls are the most forgiving because they’re soft and slightly sweet.
Can I make these ahead for a crowd?
Absolutely! Assemble the sliders on a baking sheet and cover them tightly with plastic wrap. Refrigerate for up to 24 hours. When you’re ready to serve, bake them in a 350°F oven for 10-15 minutes until the cheese is melted and the buns are warm. This is perfect for brunch or holiday mornings.
Can I freeze these?
You can freeze the assembled sliders before cooking. Wrap them tightly and freeze for up to 1 month. Thaw in the fridge overnight, then bake or toast. Cooked sliders don’t freeze as well because the buns can get soggy.
What’s the best cheese to use?
Sharp cheddar is my top choice for flavor. But you can also use pepper jack for spice, Swiss for nuttiness, or even cream cheese for extra richness. Experiment to find your favorite combination.
Can I use egg whites instead of whole eggs?
Yes! Egg whites work great in these sliders. They’re lower in fat and calories. Just whisk them well and cook them gently to keep them moist. I often use a mix of whole eggs and egg whites for a balanced option.
How do I reheat leftovers without them getting dry?
Reheat in a skillet over medium heat for 2-3 minutes per side. This restores the crispiness. If you use the microwave, add a splash of water to the plate and cover it with a damp paper towel. This creates steam and keeps the buns moist.
Pin This Recipe!
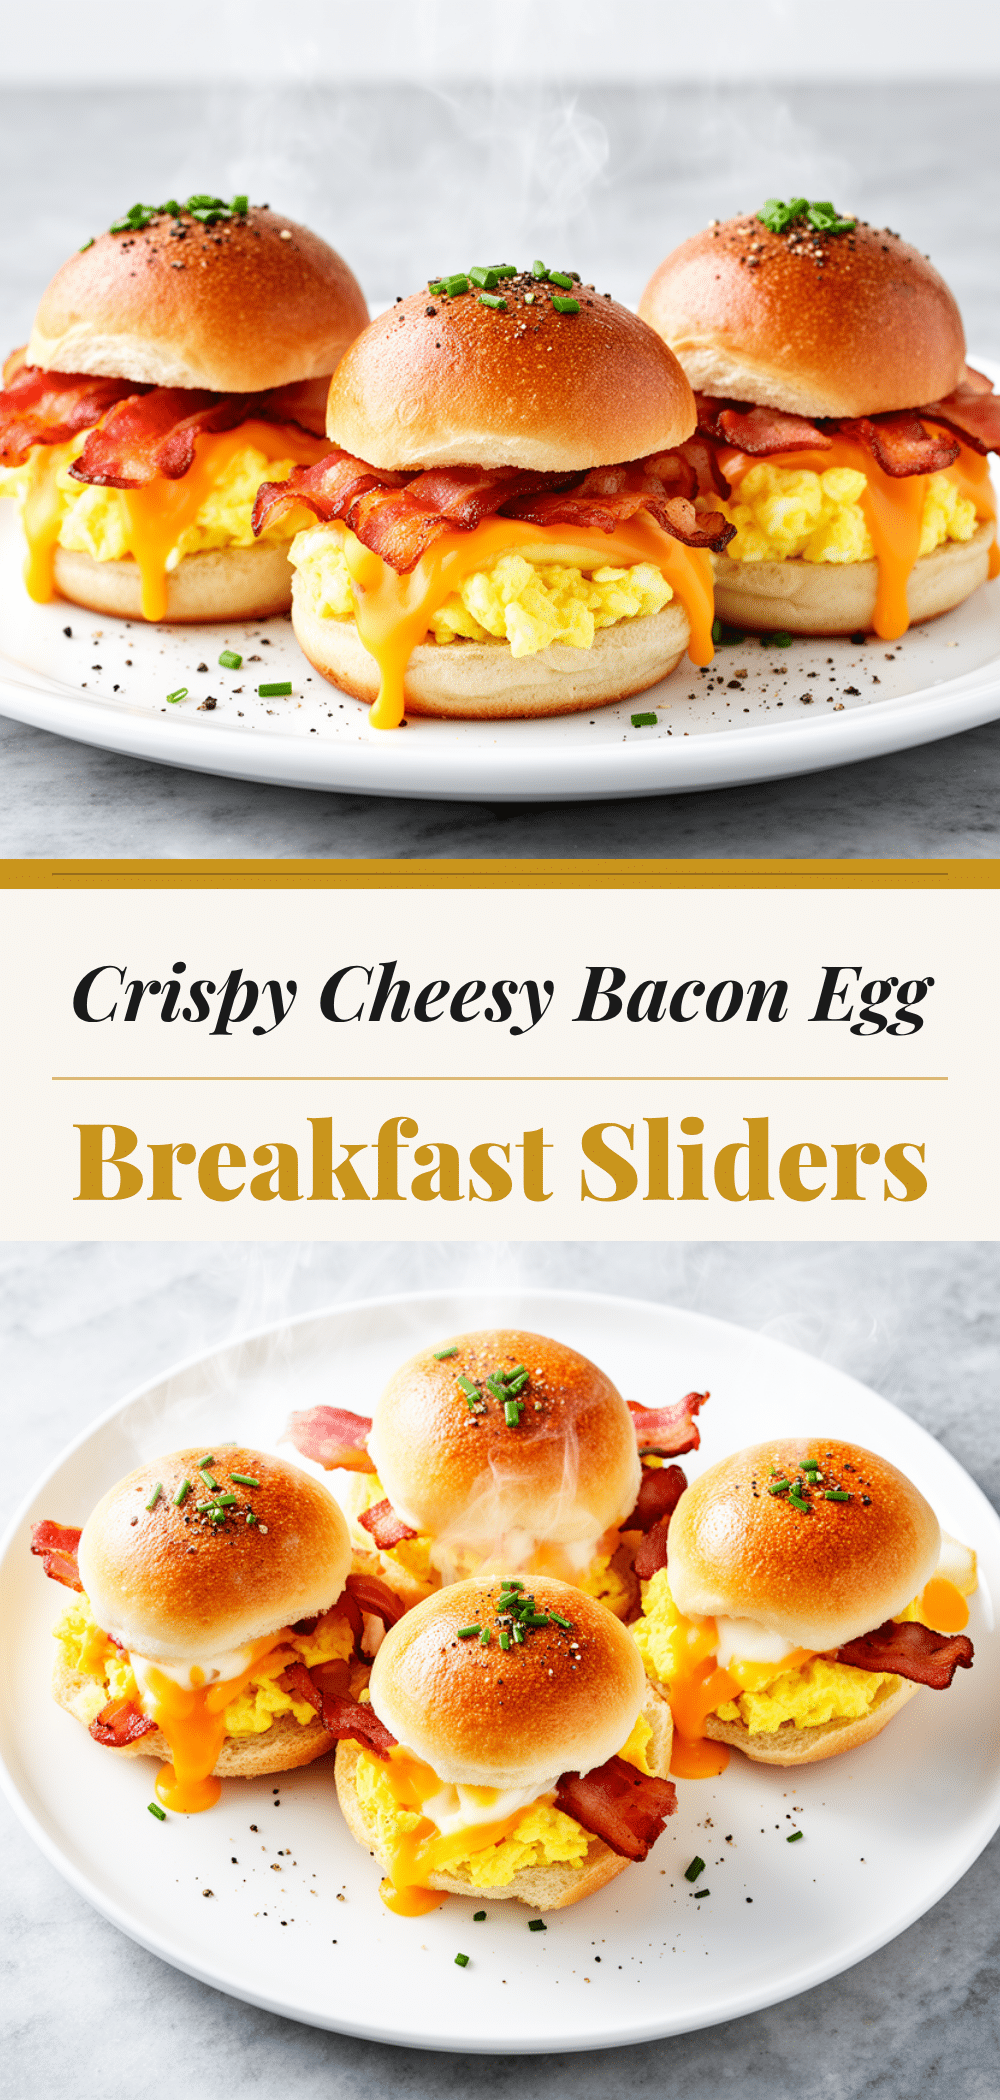

Cheesy Bacon and Egg Breakfast Sliders
- Total Time: 15 minutes
- Yield: 12 servings 1x
Description
A quick, 15-minute breakfast slider featuring crispy bacon, soft scrambled eggs, and melted sharp cheddar cheese on soft Hawaiian rolls. Perfect for busy mornings and kid-approved.
Ingredients
- 12–18 slider buns (Hawaiian rolls recommended)
- 12–16 slices thick-cut bacon
- 6–8 large eggs
- 2 cups sharp cheddar cheese, shredded
- 2 tablespoons unsalted butter
- Salt and pepper to taste
- Optional: 1 cup diced hash browns, 1 cup fresh spinach, ¼ cup salsa
Instructions
- Heat a large skillet over medium heat and cook bacon slices in a single layer for 3-4 minutes per side until crispy. Remove to a paper towel-lined plate to drain, leaving 1 tablespoon of fat in the pan.
- Whisk eggs with a pinch of salt and pepper. Pour into the skillet with bacon fat (or butter) over medium-low heat. Gently push eggs from edges to center until mostly set but still slightly wet. Remove from heat.
- Preheat oven broiler to high. Place buns on a baking sheet and lightly brush tops with melted butter or olive oil.
- Assemble sliders by layering one folded slice of bacon, a spoonful of scrambled eggs, and a generous handful of shredded cheddar cheese onto each bun half. Avoid overfilling.
- Place assembled sliders under the broiler for 1-2 minutes until cheese is melted and buns are golden brown. Watch closely to prevent burning.
- Serve immediately while hot.
Notes
For best results, use sharp cheddar cheese grated from a block rather than pre-shredded, as pre-shredded cheese contains anti-caking agents that prevent smooth melting. If using Hawaiian rolls, keep them connected as a sheet until after assembly to make layering easier. For make-ahead options, cook bacon and eggs in advance and store in the fridge; reassemble and toast when ready to eat.
- Prep Time: 5 minutes
- Cook Time: 10 minutes
- Category: Breakfast
- Cuisine: American
Nutrition
- Serving Size: 1 slider
- Calories: 220
- Sugar: 3
- Sodium: 450
- Fat: 12
- Saturated Fat: 5
- Carbohydrates: 18
- Fiber: 1
- Protein: 12
Keywords: breakfast sliders, bacon and egg sliders, quick breakfast, family breakfast, Hawaiian rolls, cheesy breakfast, 15 minute meals