I have a confession to make. I once made a batch of cookies so good that my partner hid the leftovers in the back of the freezer behind the frozen peas. When I finally found them three days later, I was half-mad, half-happy. Half-happy because it proved just how addictive these treats are. That moment was the turning point for my baking. I realized that standard chocolate chip cookies just weren’t cutting it anymore. I needed something with a wow factor. Something that looked simple from the outside but had a secret, creamy center that would make anyone stop mid-chew and ask, “What is this magic?”
That search led me to these cookies and cream stuffed chocolate cookies. They are my current obsession. I’ve made them at least fifteen times in the last two months—sometimes for Sunday dinners, sometimes for random Tuesday cravings, and occasionally just because I wanted to test if I could eat an entire batch in one sitting (spoiler: I couldn’t, but I came close).
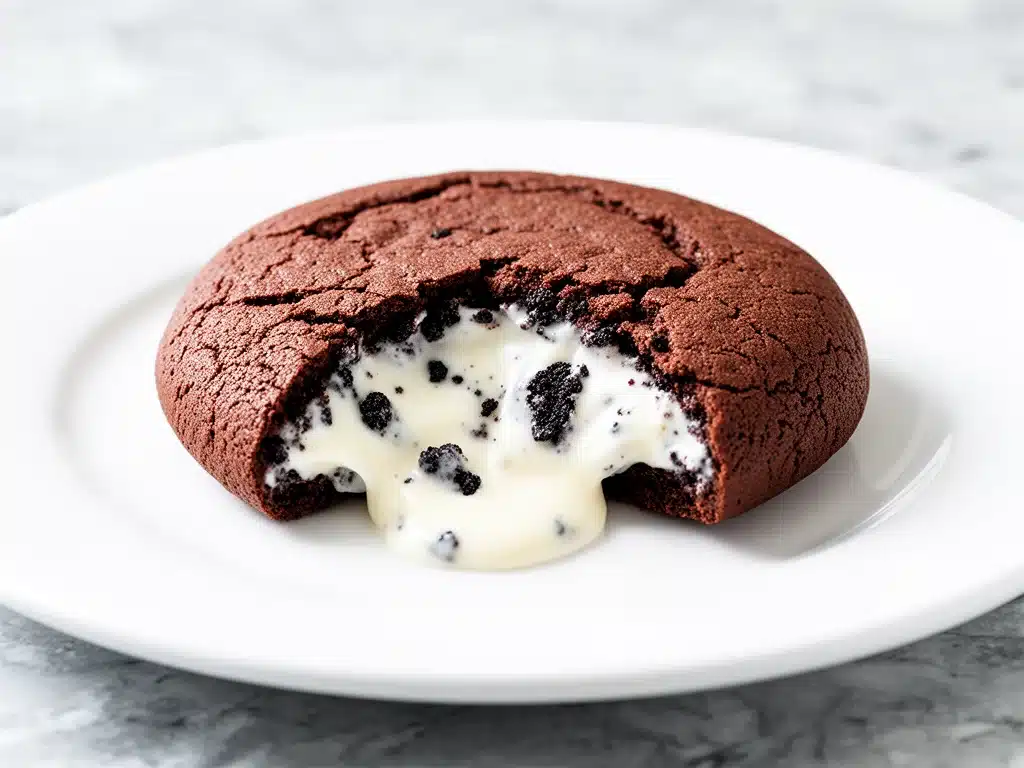
Here’s the thing about these cookies: they aren’t just chocolate cookies with a cookie inside. They’re rich, fudgy, dark chocolate discs that hide a surprise. When you bite into the warm, soft center, you get that classic, cool crunch of Oreo crumbs mixed with a creamy filling that melts slightly in the heat. It’s the perfect balance of textures. The outside is crisp at the edges and chewy in the middle. The inside is almost like a dessert truffle. Everyone always asks for the recipe, and honestly? I don’t blame them. Once you try these, regular cookies feel kind of… boring.
I’ve tweaked this recipe until it’s foolproof. I’ve learned exactly how much chocolate to use so it doesn’t overpower the cream filling. I’ve figured out the perfect chilling time so the cookies don’t spread into flat pancakes. And I’ve discovered that the secret isn’t just in the ingredients—it’s in the technique. If you want cookies that look professional and taste like they came from a high-end bakery, you need to read this guide. I’m sharing everything I’ve learned, from the specific chocolate I recommend to the trick that keeps the filling from leaking out.
Why You’ll Love This Recipe
There are a lot of cookie recipes out there. Seriously, thousands. But I keep coming back to these cookies and cream stuffed chocolate cookies for specific reasons. They solve a few big problems that home bakers face all the time. They’re fancy enough for gifts but simple enough for a weeknight bake. They satisfy that sweet tooth without feeling like a huge commitment. Here is why they’ve earned a permanent spot in my kitchen rotation.
- The Surprise Factor — These cookies are interactive. People don’t just eat them; they experience them. That moment when the filling oozes out is pure joy. I’ve served these at potlucks and watched people’s eyes light up when they took the first bite. It’s a guaranteed conversation starter.
- Rich, Fudgy Texture — I’m not a fan of dry, cakey cookies. These are dense and chewy, almost like a brownie in cookie form. The dark chocolate base gives them a sophisticated, deep flavor that isn’t just sugary-sweet. It has that nice bitter edge that balances the cream filling perfectly.
- Make-Ahead Friendly — I love recipes that let me prep ahead. You can make the dough, assemble the cookies, and freeze them raw. When guests arrive, you just pull them out and bake. They taste fresh from the oven, even if they were in the freezer for three weeks. This is way better than my usual make-ahead breakfast muffin cups strategy, but it works just as well for sweets.
- No Fancy Equipment Needed — You don’t need a stand mixer. A large bowl and a whisk work just fine. You don’t need a piping bag (though you could use one, it’s not necessary). Just a spoon and your hands. If you can scoop ice cream, you can make these.
- Customizable — Love mint? Add a drop of peppermint extract to the cream filling. Hate Oreos? Use crushed sandwich cookies with a different flavor. These cookies are a blank canvas for your cravings. I’ve even tried them with chocolate-covered espresso beans in the center for a grown-up version.
These cookies are my answer to “I need a treat, but I don’t want to order takeout.” They’re better than any bakery cookie I’ve ever bought, and they cost a fraction of the price. Plus, the smell of chocolate baking in your house? It’s the best feeling in the world.
Ingredients You’ll Need
I’m pretty particular about what goes into these cookies. A lot of stuffed cookie recipes fail because the filling is too sweet or the dough is too bland. I’ve dialed in the ratios so every bite is balanced. Here’s what you need to make the perfect batch. Most of this is pantry staples, but a few specific choices make a huge difference in the final texture.
For the Chocolate Cookie Dough
Unsalted butter (1 cup / 226g) — This needs to be softened to room temperature. Not melted, not cold from the fridge. Softened. If you microwave it, you’ll get greasy cookies. I usually leave it out for an hour before I start. This gives the dough the right structure.
Dark brown sugar (1 cup / 200g) — I use dark brown sugar, not light. It has more molasses, which gives the cookies that deep, toffee-like flavor and keeps them chewy. Light brown sugar works, but dark is better. Pack it down tightly when you measure.
Granulated sugar (½ cup / 100g) — This helps with the crisp edges. It creates that nice contrast between the chewy center and the crunchy rim. Don’t skip this, even if you’re trying to reduce sugar. It’s structural.
Eggs (2 large) — Room temperature eggs mix better into the dough. Cold eggs can cause the butter to seize up slightly. Crack them into a small bowl first to check for shells, then add them.
Vanilla extract (2 teaspoons) — Use real vanilla, not imitation. The flavor is subtle but essential. It ties the chocolate and cream together. I use pure vanilla bean paste if I have it, because it looks pretty, but regular extract is fine.
All-purpose flour (2 cups / 250g) — Don’t overmeasure this. Spoon it into the cup and level it off. Too much flour makes dry cookies. Too little makes them spread too much. I weigh my flour when I can, but volume works if you’re careful.
Cocoa powder (¾ cup / 75g) — This is the star. Use high-quality unsweetened cocoa powder. I prefer Dutch-processed cocoa because it’s darker and has a smoother, less acidic flavor. It gives the cookies that rich, almost black color. Natural cocoa works, but the flavor will be lighter.
Baking soda (1 teaspoon) — And a pinch of salt. The salt is crucial. It enhances the chocolate flavor. Don’t use salted butter and skip the salt; the balance will be off.
For the Cookies and Cream Filling
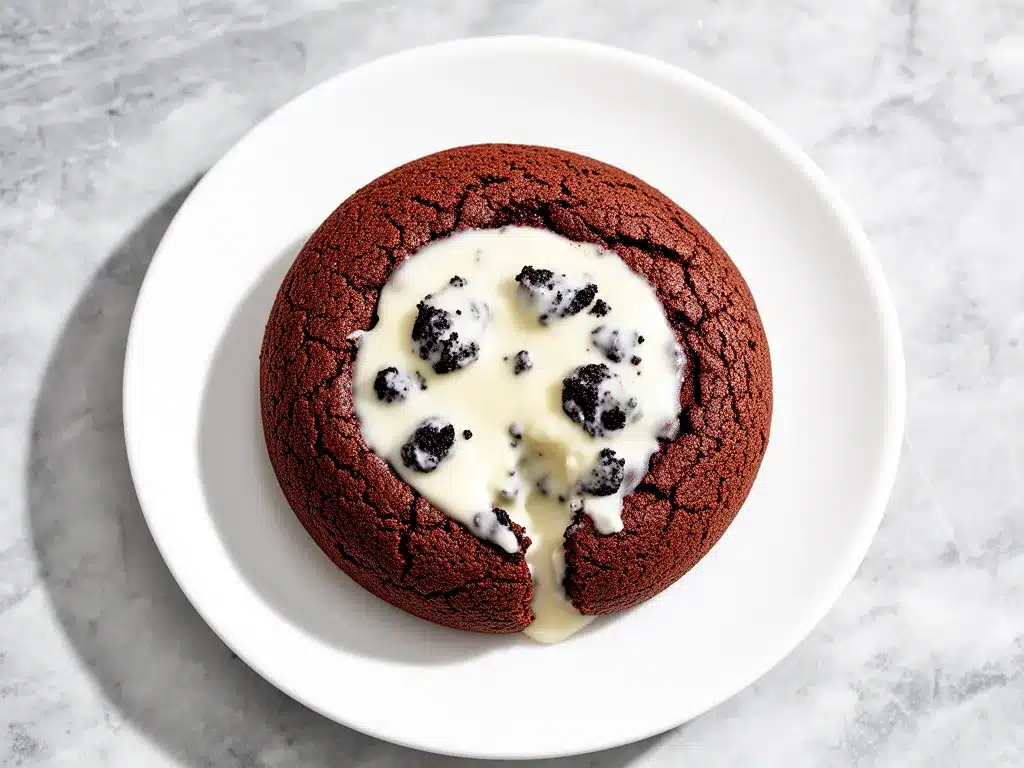
Full-fat cream cheese (8 oz / 225g) — This needs to be softened. If it’s lumpy, your filling will be lumpy. I beat it smooth before I even think about adding sugar. This is the base of the creamy center.
Powdered sugar (½ cup / 60g) — Just enough to sweeten it. Don’t add more, or it will be too sweet and might leak out during baking. We want it to be a subtle contrast to the dark chocolate.
Vanilla extract (1 teaspoon) — For flavor.
Crushed Oreos (1 cup, finely crushed) — Here’s the trick. You don’t want big chunks. You want fine crumbs. I put the cookies in a ziplock bag and crush them with a rolling pin until they look like coarse sand. This distributes the flavor evenly. Use regular Oreos, not double-stuf. You want the cookie part, not extra cream.
Optional Add-ins
White chocolate chips (½ cup) — I sometimes fold these into the dough for extra sweetness. It’s optional, but it adds a nice melty pocket.
Extra Oreo pieces — For topping. Press a small piece of Oreo onto the top of each cookie before baking for a pretty look.
Equipment Needed
You don’t need a fancy kitchen to make these. Here’s what I actually use when I’m baking these on a busy weeknight.
Large mixing bowls — One for the wet ingredients, one for the dry. Two medium bowls work, but one large one is easier if you’re combining everything in stages.
Hand mixer or stand mixer — I use a hand mixer because it’s easier to clean. A stand mixer with a paddle attachment works great too. You need to cream the butter and sugars well, so a mixer saves your arm.
Silicone spatula — For scraping down the sides of the bowl. Don’t skip this step! The butter and sugar stick to the sides, and if you don’t scrape it down, you’ll have uneven mixing.
Cookie scoop or tablespoon — Consistency is key. I use a 2-tablespoon scoop for the dough. It ensures every cookie is the same size, so they bake evenly. If you don’t have a scoop, use a regular tablespoon and be careful.
Parchment paper — Line your baking sheets. Cleanup is so much easier, and the cookies don’t stick. I never bake these on bare metal sheets.
Rolling pin — For crushing the Oreos. A heavy bottle of wine works in a pinch, but a rolling pin is easier to control.
Baking sheets — Light-colored aluminum sheets are best. Dark sheets can burn the bottoms. I rotate my sheets halfway through baking to ensure even browning.
Wire cooling rack — Essential. Let the cookies cool on the rack so air circulates. If you leave them on the hot pan, they’ll keep cooking and get overdone.
How to Make It: Step-by-Step
Alright, let’s get baking! I’m walking you through exactly how I do it. There are a few tricks here that prevent the filling from leaking and ensure the cookies stay soft. Follow these steps, and you’ll get perfect cookies every time.
Step 1: Prep Your Dry Ingredients (5 minutes)
In a medium bowl, whisk together the flour, cocoa powder, baking soda, and salt. Make sure there are no lumps of cocoa powder. Whisk it well until it’s a uniform dark brown color. Set this aside. This ensures even distribution of leavening agents.
Step 2: Cream the Butter and Sugars (3 minutes)
In a large bowl, beat the softened butter, brown sugar, and granulated sugar together. Use your mixer on medium-high speed for about 2-3 minutes. You want it to look pale, fluffy, and creamy. This step incorporates air, which helps the cookies rise slightly. If the butter is too cold, it won’t cream properly. If it’s too warm, the cookies will spread. Aim for cool-to-the-touch but soft.
Step 3: Add Eggs and Vanilla (2 minutes)
Add the eggs one at a time, beating well after each addition. Scrape down the sides of the bowl with your spatula. Add the vanilla extract. The mixture should look smooth and emulsified. It might look slightly curdled at first—that’s okay. It will come together when you add the flour.
Step 4: Combine Wet and Dry (2 minutes)
Gradually add the dry ingredients to the wet ingredients. Mix on low speed until just combined. Do not overmix! Once you see no more streaks of flour, stop. Overmixing develops gluten, which makes cookies tough. The dough should be thick and slightly sticky.
Step 5: Make the Cream Filling (5 minutes)
In a small bowl, beat the softened cream cheese, powdered sugar, and vanilla until smooth and creamy. Fold in the finely crushed Oreo crumbs. The mixture will be thick. If it’s too stiff, add a teaspoon of milk. If it’s too soft, add a little more powdered sugar. You want it to hold its shape when scooped.
Step 6: Assemble the Cookies (15 minutes)
This is the crucial part. Scoop about 1.5 tablespoons of dough onto your palm. Flatten it into a disc. Place a 1-teaspoon ball of the cream filling in the center. Gather the edges of the dough up and around the filling, pinching them together to seal. Roll it into a smooth ball. Make sure there are no cracks or holes. If you see filling, the cookie will leak. Place the ball on a parchment-lined baking sheet. Repeat with the remaining dough and filling. You should get about 24 cookies.
Step 7: Chill the Cookies (30 minutes)
Place the baking sheets in the freezer for 30 minutes. This is non-negotiable. Cold dough spreads less in the oven. It also helps the filling set so it doesn’t burst out immediately. While they chill, preheat your oven to 350°F (175°C).
Step 8: Bake (10-12 minutes)
Bake the cookies for 10-12 minutes. They should look set on the edges but still soft in the center. They will not look fully cooked in the middle—that’s how you get a soft, chewy cookie. Do not overbake. The residual heat will continue to cook them on the pan.
Step 9: Cool and Serve (10 minutes)
Let the cookies cool on the baking sheet for 5 minutes. Then transfer them to a wire rack to cool completely. The filling will be hot when they come out of the oven, so be careful. Let them cool until the filling is warm but not scalding. Enjoy!
Expert Tips & Tricks
Here’s everything I’ve learned from making these dozens of times. These tips will save you from my mistakes.
Seal the Filling Tight
The most common mistake is leaking filling. When you wrap the dough around the cream, pinch the seams firmly. Roll the ball in your hands to smooth out any cracks. If you see any white filling peeking through, fix it before baking. A tight seal is everything.
Don’t Skip the Chill
I know it’s tempting to bake them right away. Don’t. The dough needs to be cold. If you skip this step, your cookies will spread into flat, messy discs with filling oozing out the sides. The 30-minute freeze is your best friend.
Use High-Quality Cocoa
Since cocoa is the main flavor, cheap cocoa powder will taste bitter and dusty. Use a brand like Ghirardelli or Valrhona. It makes a noticeable difference in the depth of flavor.
Crush Oreos Fine
If the Oreo crumbs are too chunky, they’ll create air pockets in the filling, which can cause leaks. Aim for a texture like coarse sand. Use a food processor if you have one—it’s faster and more consistent than a rolling pin.
Underbake Slightly
These cookies should be soft. If you bake them until they’re firm, they’ll be dry. Take them out when the edges are just set. They will firm up as they cool.
Storage Tip
Store cookies in an airtight container at room temperature for up to 3 days. If you live in a humid climate, add a piece of bread to the container to keep them soft. The bread absorbs moisture and keeps the cookies fresh.
Variations & Substitutions
Once you’ve mastered the basic version, here’s how you can mix it up. I’ve tried all of these, and they all work.
Double Chocolate Version
Add ½ cup of mini chocolate chips to the dough before chilling. It adds extra melty pockets of chocolate.
Mint Cookies and Cream
Add ½ teaspoon of peppermint extract to the cream filling. It tastes like a mint chocolate chip ice cream sandwich. Very refreshing.
Red Velvet Stuffed
Replace ¼ cup of cocoa powder with ¼ cup of red velvet cake mix in the dough. Use white Oreo crumbs in the filling for a pretty pink and white effect.
Gluten-Free
Use a 1:1 gluten-free flour blend. Make sure it contains xanthan gum, or add ½ teaspoon. The texture might be slightly more crumbly, but it’s still delicious.
Dairy-Free
Use dairy-free butter and dairy-free cream cheese. Use dairy-free Oreos (they make them now!). The flavor is very similar, though the texture might be slightly less rich.
Cookie-Free Filling
If you don’t like Oreo crumbs, just make a plain cream cheese filling with powdered sugar and vanilla. It’s still good, but less “cookies and cream.”
Serving & Storage
How to serve these for maximum impact.
Serving Suggestions
Serve these warm with a cold glass of milk. Classic combo. I also like them with a scoop of vanilla ice cream on the side. The contrast of hot cookie and cold ice cream is amazing. They’re great for parties, potlucks, or just a quiet night in.
Refrigerator
Store in an airtight container for up to 4 days. The filling might firm up in the fridge, so let them sit at room temperature for 10 minutes before eating.
Freezing
You can freeze the raw dough balls. Place them on a baking sheet, freeze until solid, then transfer to a ziplock bag. Bake from frozen, adding 1-2 minutes to the bake time. You can also freeze baked cookies for up to 2 months. Thaw at room temperature.
Reheating
Microwave a cookie for 10-15 seconds to warm the filling. It becomes gooey and perfect. Don’t overheat, or the dough will get tough.
Nutrition Information
I’m not a nutritionist, but here’s the breakdown if you’re tracking. These are indulgent treats, so keep portions in mind.
Per Cookie (makes 24):
Calories: 180 | Protein: 3g | Carbs: 24g | Fat: 9g | Sugar: 16g | Fiber: 1g
What’s Good:
- Rich in dark chocolate, which has antioxidants.
- Protein from the cream cheese and eggs.
What to Know:
- High in sugar and saturated fat due to the cream cheese and butter.
- Contains gluten and dairy.
My Take:
Look, these are cookies. They’re supposed to be a treat. Enjoy them as a special indulgence rather than a daily snack. If you want something lighter, try my no-bake peanut butter banana energy bites for a healthier snack option.
Final Thoughts
So that’s my go-to cookies and cream stuffed chocolate cookies recipe! I’ve probably talked your ear off at this point, but when you make a recipe this often, you have a lot to say about it. These cookies have saved my social life. They’re the reason people think I’m a good host, and the reason my pantry is always stocked with Oreos and cream cheese.
They’re my answer to “I need to impress someone, but I’m not a professional baker.” And honestly? They work. Every time. Make them yours. Try different fillings, different chocolates, different cookies. The best recipes are the ones you adapt to your tastes.
If you make this, drop a comment and let me know what you think! I love hearing how recipes turn out in your kitchen. And if something doesn’t work, tell me that too—I’m here to help troubleshoot. Happy baking! And I hope your kitchen smells half as good as mine does right now.
Frequently Asked Questions
Can I use light cream cheese?
I don’t recommend it. Light cream cheese has more water and less fat, which makes the filling runny. It might leak out during baking. Full-fat cream cheese is thick and holds its shape. If you must use light, freeze the dough longer (45 minutes) to compensate.
Why did my filling leak out?
Usually, this means the dough wasn’t sealed tightly enough, or the dough was too warm. Make sure you pinch the seams well and chill the cookies before baking. Also, don’t overfill them. One teaspoon of filling is plenty.
Can I make these ahead of time?
Yes! Assemble the cookies and freeze them raw. When you’re ready to bake, just pop them in the oven. Add 1-2 minutes to the bake time. They taste just as good as fresh.
Can I use milk chocolate instead of dark?
You can, but the cookies will be sweeter and less rich. I prefer dark chocolate because it balances the sweet cream filling. If you use milk chocolate, reduce the granulated sugar in the dough by 2 tablespoons.
How do I store leftovers?
Store in an airtight container at room temperature for up to 3 days. If you live in a hot or humid climate, refrigerate them. Let them come to room temperature before eating for the best texture.
Can I double the recipe?
Absolutely. Double all ingredients. You’ll need two baking sheets or to bake in batches. The assembly and baking times stay the same.
What if I don’t have a mixer?
You can use a whisk and some elbow grease. Creaming the butter and sugar by hand takes a bit longer (5-7 minutes), but it works. Just make sure the butter is very soft to start with.
Pin This Recipe!
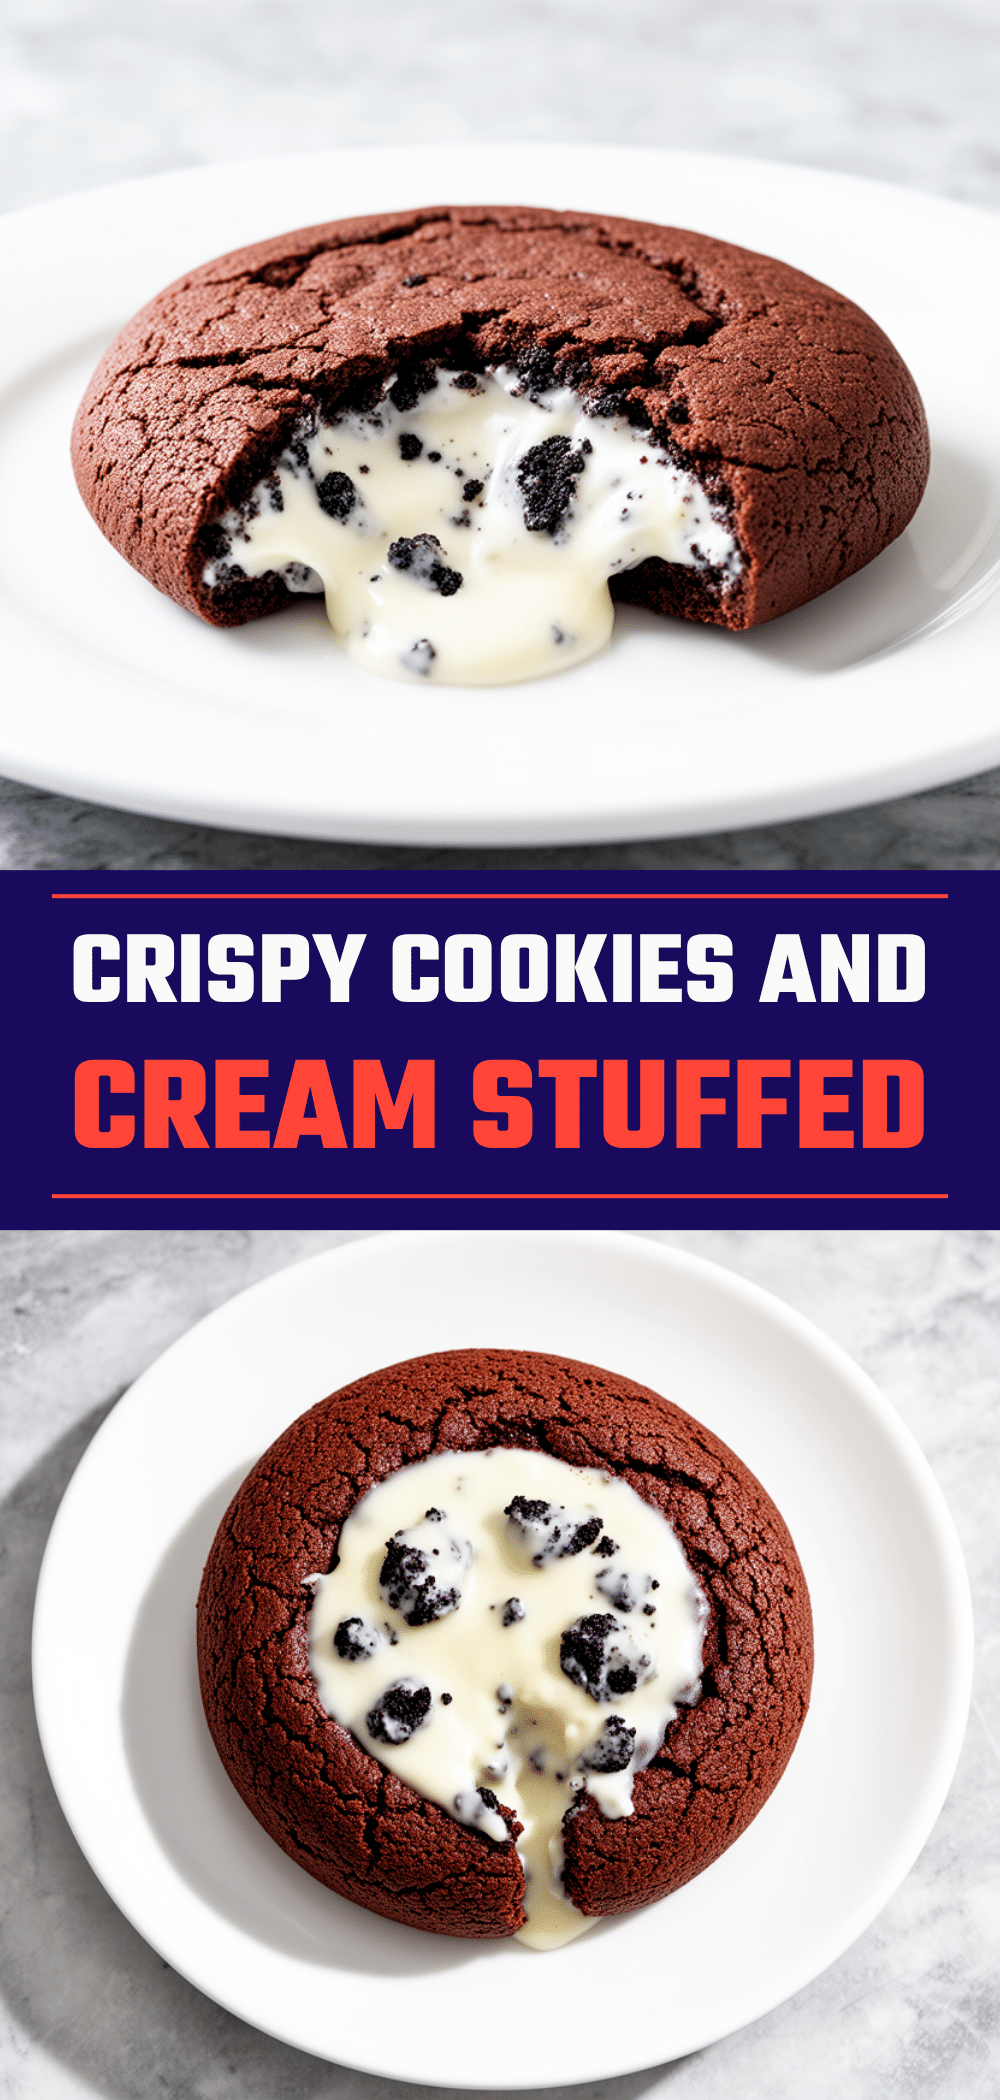

Cookies and Cream Stuffed Chocolate Cookies
- Total Time: 45 minutes
- Yield: 24 cookies 1x
Description
Rich, fudgy dark chocolate cookies with a surprise creamy Oreo filling inside. These cookies are chewy, easy to make, and perfect for impressing guests or satisfying a sweet craving.
Ingredients
- 1 cup (226g) unsalted butter, softened to room temperature
- 1 cup (200g) dark brown sugar, packed
- ½ cup (100g) granulated sugar
- 2 large eggs, room temperature
- 2 teaspoons vanilla extract
- 2 cups (250g) all-purpose flour
- ¾ cup (75g) unsweetened cocoa powder (Dutch-processed preferred)
- 1 teaspoon baking soda
- Pinch of salt
- 8 oz (225g) full-fat cream cheese, softened
- ½ cup (60g) powdered sugar
- 1 teaspoon vanilla extract
- 1 cup finely crushed Oreos (regular, not Double Stuf)
Instructions
- Preheat oven to 350°F (175°C) and line baking sheets with parchment paper.
- In a medium bowl, whisk together flour, cocoa powder, baking soda, and salt. Set aside.
- In a large bowl, beat softened butter, brown sugar, and granulated sugar on medium-high speed for 2-3 minutes until pale and fluffy.
- Add eggs one at a time, beating well after each addition. Scrape down the bowl sides. Mix in 2 teaspoons vanilla extract.
- Gradually add dry ingredients to wet ingredients on low speed. Mix until just combined; do not overmix.
- In a small bowl, beat cream cheese, powdered sugar, and 1 teaspoon vanilla until smooth. Fold in crushed Oreos.
- Scoop 1.5 tablespoons of dough, flatten into a disc, place 1 teaspoon of cream filling in center. Seal dough around filling, rolling into a smooth ball. Ensure no cracks exist.
- Place balls on baking sheets and freeze for 30 minutes to prevent spreading.
- Bake for 10-12 minutes until edges are set but centers are still soft.
- Cool on baking sheet for 5 minutes, then transfer to a wire rack to cool completely.
Notes
Ensure the dough is sealed tightly around the filling to prevent leaking. Do not skip the chilling step, as cold dough prevents spreading. Use high-quality cocoa powder for best flavor. Store in an airtight container at room temperature for up to 3 days.
- Prep Time: 30 minutes
- Cook Time: 10-12 minutes
- Category: Dessert
- Cuisine: American
Nutrition
- Serving Size: 1 cookie
- Calories: 180
- Sugar: 16
- Sodium: 120
- Fat: 9
- Saturated Fat: 5
- Carbohydrates: 24
- Fiber: 1
- Protein: 3
Keywords: cookies and cream, stuffed cookies, chocolate cookies, oreo cookies, easy baking, dessert recipe, fudgy cookies


