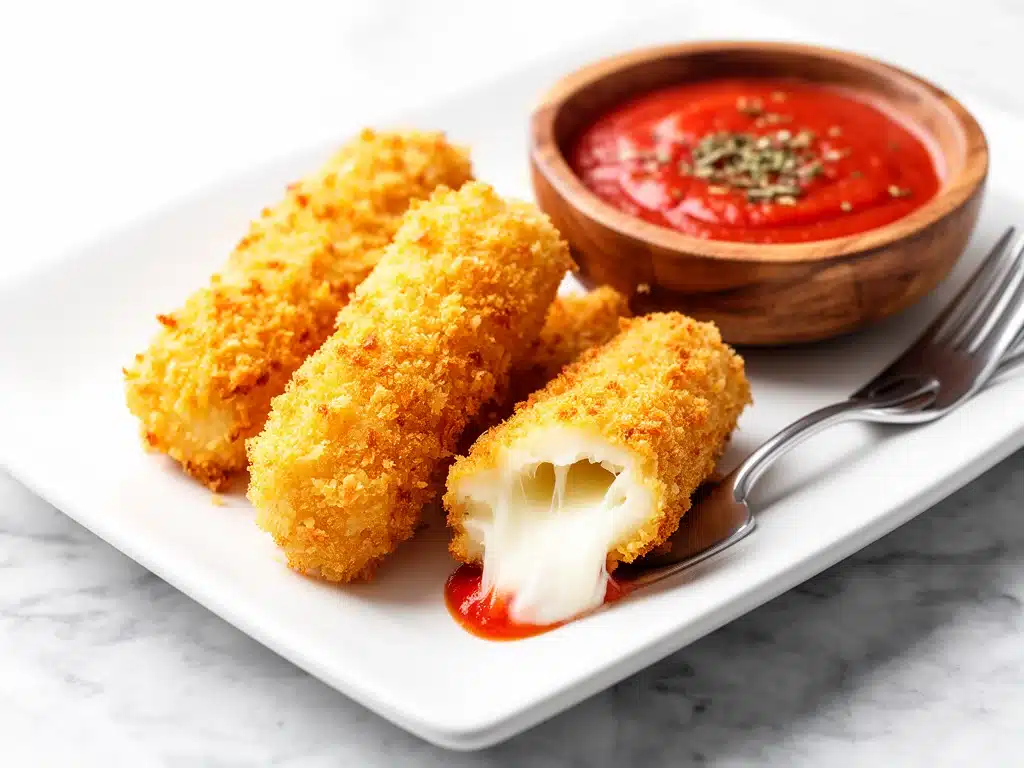
There is a specific, heart-stopping moment that happens when you bite into a mozzarella stick. It’s the split second between crunch and chaos. You hear the crackle of the crust, you feel the resistance of the breading, and then—oh no—liquid cheese explodes onto your chin, your shirt, and possibly your laptop keyboard if you’re eating while working from home. I used to love that mess. I used to think it was part of the charm.
But last month, I made a batch of traditional fried mozzarella sticks for a Tuesday night game watch. By the time everyone finished eating, my kitchen looked like a grease bomb had gone off, and half the guests were wiping marinara off their foreheads. My husband looked at the pile of oily, soggy leftovers and said, “Can’t we just bake these? They’re basically pizza toppings at this point.”
He was right. And he was also right about one more thing: baking them actually makes them *better* if you know the trick. Not soggy, not leaking, but genuinely crispy. I spent the next two weeks testing breading techniques, oven temperatures, and cheese types. I’ve tested this recipe at least twelve times (yes, twelve), and I’ve finally cracked the code. These Crispy Baked Mozzarella Sticks with Marinara are the only way I make them now. They’re ready in 15 minutes, they don’t require a deep fryer, and they taste like you spent hours in a restaurant kitchen. I’ve made them so many times that my kids now ask for them instead of fries. It’s a win-win.
Why You’ll Love This Recipe
I know what you’re thinking. “I can just buy the frozen ones at the store.” And sure, you can. But have you ever tried to get those to cook evenly? One corner is burnt, the center is still frozen, and the cheese has turned into a rubbery blob. Homemade baked versions are different. Here’s why this version has taken over our dinner rotation:
- Actually Crispy — Most baked versions turn out soft or sandy. I’ve found a double-breading method that creates a shatteringly crisp crust that stays crunchy even after sitting for five minutes. It’s a texture game-changer.
- Under 15 Minutes — From freezer to oven to plate, this is a 15-minute snack. I make these after work when I’m hungry but don’t want to order takeout. It’s faster than waiting for the pizza delivery guy.
- No Grease Splatter — Finally, a snack that doesn’t require me to tape plastic wrap over the stove hood. The oven contains everything, and cleanup is just one parchment-lined baking sheet. My sanity thanks you.
- Cheese Pull Goals — Because we’re using fresh mozzarella blocks cut to size, the melt is superior. It’s not that waxy, oily stuff from the freezer aisle. It’s gooey, stretchy, and worth the risk of burning your tongue.
- Kid-Approved — My picky eater, who usually rejects anything with “vegetable” in the name, will eat three of these in one sitting. It’s their favorite after-school snack now.
This isn’t just a snack; it’s a confidence booster. You walk into the room with a plate of golden, bubbling goodness, and everyone assumes you ordered from a fancy appetizer menu. Spoiler alert: you didn’t. You just used what you had in the freezer.
Ingredients You’ll Need
Here’s the best part: you probably have 80% of these ingredients already. This recipe relies on simple pantry staples and one key ingredient that you can’t cheap out on. I’m particular about the cheese, and I’ll tell you exactly why.
For the Cheese Core:
Low-moisture Mozzarella Cheese (8 ounces / 225g) — Do not buy pre-shredded cheese. It has anti-caking agents that prevent it from melting properly. You need a block. Low-moisture is key because high-moisture fresh mozzarella (the kind in water) will leak too much and make a mess. If you can’t find a block, buy a ball of fresh mozzarella, pat it *very* dry with paper towels, and freeze it for 20 minutes before cutting.
For the Breading Station:
All-Purpose Flour (½ cup / 60g) — This creates the base layer that helps the egg wash stick. Keep it simple. All-purpose is fine.
Eggs (2 large) — Whisked well with a pinch of salt. This is the glue. If your eggs are cold, let them sit out for 10 minutes so they don’t shock the cheese when it goes back in the freezer.
Panko Breadcrumbs (1 cup / 90g) — This is non-negotiable. Regular breadcrumbs are too dense and turn soggy. Panko creates those big, airy, crispy flakes that make baked versions actually taste fried. I always keep a bag in my pantry. If you need gluten-free, use gluten-free panko, but regular is best for crunch.
Italian Seasoning (2 teaspoons) — Or a mix of dried basil, oregano, and thyme. This gives it that classic pizza flavor profile. Don’t skip this; it’s what makes it taste like a restaurant appetizer.
Paprika (½ teaspoon) — Adds a nice color and a subtle smokiness. It helps the breadcrumbs turn golden brown instead of just pale beige.
Garlic Powder (½ teaspoon) — Because garlic bread is the best part of a pizza, and these are basically fried garlic bread with cheese.
For the Dip:
Marinara Sauce (1 cup / 240g) — I use a simple jarred sauce like Rao’s or a homemade quick version. If you like heat, add a pinch of red pepper flakes. The sauce should be warm when you serve it, not cold from the fridge. That’s a rookie mistake.
Equipment Needed
You don’t need fancy gadgets for this. Here’s what I actually use:
Baking Sheet — A standard half-sheet pan. I line it with parchment paper for easy cleanup. If you don’t have parchment, lightly grease the pan with cooking spray, but parchment is better for preventing sticking.
Three Shallow Bowls — You need three separate containers for the flour, egg wash, and panko. Glass pie dishes work perfectly because they’re shallow and wide. This makes the breading process smooth and fast.
Sharp Knife — For cutting the cheese blocks. A dull knife will squish the cheese and make uneven sticks. I use a chef’s knife.
Cutting Board — Any size works. Just make sure it’s stable so you don’t slip while cutting.
Fork and Tongs — Use a fork to dip the cheese in the egg and tongs to handle the coated sticks. It’s cleaner and faster. I’ve tried using just my hands, and I regret it. The cheese gets slippery, and you end up with breading on your fingers.
Freezer — Obviously. But specifically, you need a freezer that can get the cheese rock-hard. If your freezer is set to a weird temperature, give it an extra 10 minutes.
How to Make It: Step-by-Step
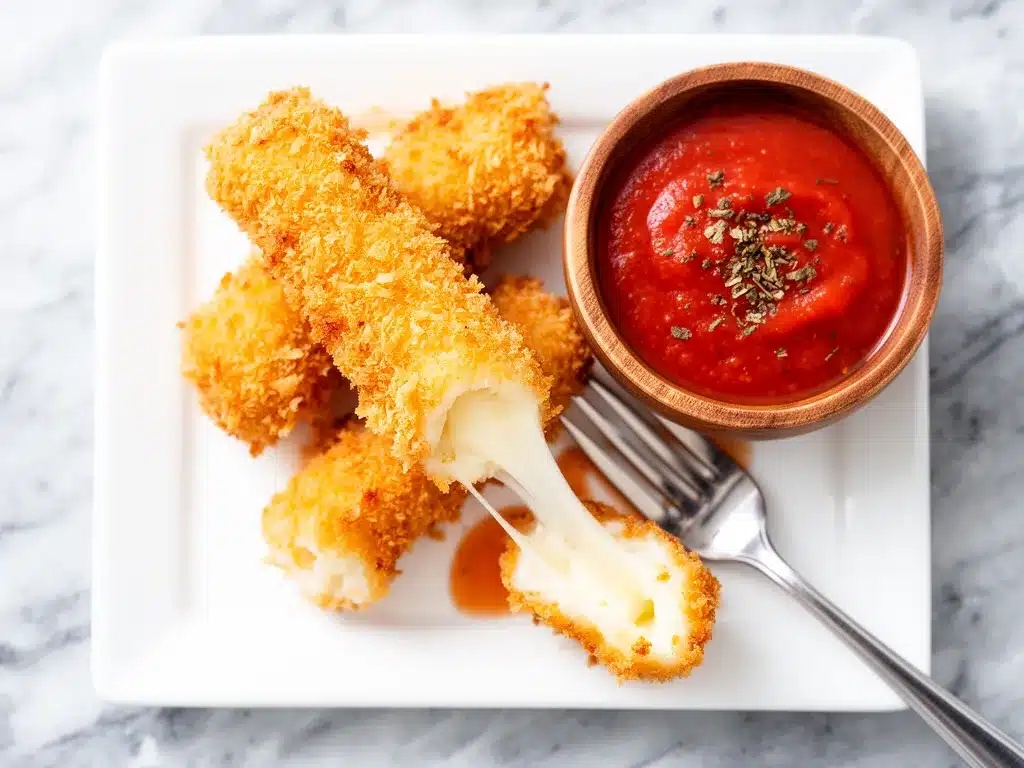
Alright, let’s make these! The secret to success is speed and cold cheese. I’m walking you through exactly how I do it, including the little tricks I’ve picked up.
Step 1: Prep the Cheese (10 minutes)
Take your block of low-moisture mozzarella and cut it into sticks. Aim for about 12-15 sticks, depending on the size of the block. They should be roughly ½ inch by ½ inch by 2 inches. If they’re too thick, the cheese won’t melt all the way through. If they’re too thin, they’ll burst. Place them on a parchment-lined baking sheet and put them in the freezer. You need them to be rock hard for at least 30 minutes. Do not skip this. Soft cheese = messy sticks.
Step 2: Set Up Your Breading Station (5 minutes)
While the cheese freezes, set up your three bowls. Bowl 1: Flour with a pinch of salt. Bowl 2: Whisked eggs with a pinch of salt. Bowl 3: Panko mixed with Italian seasoning, paprika, and garlic powder. Mix the dry ingredients in the third bowl until they’re evenly distributed. You want every breadcrumb to have some flavor.
Step 3: The Double Dip (10 minutes)
Remove the cheese from the freezer. Work quickly. Take one stick and dredge it in the flour, shaking off any excess. Then dip it into the egg wash, letting the excess drip off. Finally, press it firmly into the panko mixture. Make sure it’s fully coated. Here’s the trick: repeat the egg and panko step. Dip it in egg again, then panko again. This double layer is what creates that thick, crispy crust. Place the coated stick back on the parchment-lined sheet.
Step 4: Freeze Again (20-30 minutes)
Once all the sticks are breaded, put the entire baking sheet back into the freezer for at least 20 minutes. This step is crucial. It re-hardens the cheese and sets the breading. If you try to bake them right away, the breading will fall off, and the cheese will leak out before it crisps. I know it’s tempting, but wait.
Step 5: Bake (10-12 minutes)
Preheat your oven to 400°F (200°C). Line a clean baking sheet with parchment paper. Remove the sticks from the freezer. Lightly spray them with cooking spray or brush with a little olive oil. This helps them brown in the oven. Place them on the baking sheet, leaving space between each stick. Bake for 10-12 minutes, flipping halfway through. You want them golden brown and crisp. They might look slightly soft when they come out, but they’ll firm up as they cool for a minute.
Step 6: Serve Immediately
Warm your marinara sauce in a small saucepan or microwave. Serve the sticks hot with the warm sauce for dipping. Eat them fast. They’re best within 5 minutes of coming out of the oven.
Expert Tips & Tricks
Here’s everything I’ve learned from making this dozens of times. These tips will save you from my mistakes.
Keep It Cold
The entire process relies on the cheese staying solid until it hits the hot oven. If your kitchen is warm, work in shorter bursts. Put the cheese back in the freezer between batches if you’re making a large group.
Press the Breadcrumbs
When you coat the cheese in panko, press down firmly. You want the crumbs to adhere tightly. If they’re loose, they’ll fall off in the oven. The double-dip method helps, but pressing makes sure they stay put.
Don’t Overcrowd the Pan
Air circulation is key for crispiness. If the sticks are touching, they’ll steam each other and get soggy. Give them space. If you’re making a lot, bake in two batches. It’s worth the extra time.
Use Parchment Paper
Parchment prevents sticking and makes cleanup instant. If you don’t use it, you’ll be scrubbing burnt cheese off your pan. I’ve learned this the hard way.
Warm Your Sauce
Cold sauce on hot cheese is a textural clash. Warm the marinara slightly. It enhances the flavor and makes the dipping experience more pleasant.
Variations & Substitutions
Once you’ve nailed the basic version, here’s how you can mix it up. I’ve tried all of these.
Spicy Version
Add cayenne pepper or crushed red pepper flakes to the panko mixture. Serve with a spicy arrabbiata sauce. This is my favorite when I want a kick.
Herb-Crusted
Add fresh chopped parsley or basil to the panko. It adds a pop of color and freshness. I do this when I have fresh herbs from the garden.
Gluten-Free
Use gluten-free panko breadcrumbs. The texture is slightly different but still works. I’ve used brands like Bob’s Red Mill, and they hold up well.
Chicken Version
If you want more protein, you can bread and bake chicken strips instead. Coat chicken tenders in flour, egg, and panko, then bake at 400°F for 15-20 minutes. Serve with the same marinara. It’s a great alternative for kids who want something heartier.
Dipping Variations
Don’t just stick to marinara. Try ranch dressing, garlic aioli, or even a honey mustard dip. It changes the flavor profile completely. I’ve served these with ranch at parties, and they’re always a hit.
Serving & Storage
How to Serve:
I usually serve these straight from the baking sheet at the dinner table—it looks rustic and stays warm. But here are other ways I’ve enjoyed them:
- Appetizer Platter
Arrange them on a platter with small bowls of dipping sauce. Garnish with fresh basil leaves. Perfect for game day or movie nights. - With Salad
Serve a side of arugula salad with lemon vinaigrette. The acidity cuts through the richness of the cheese.
Storage Instructions:
Store leftovers in an airtight container in the refrigerator for up to 2 days. The breading will soften, but you can revive them by baking at 400°F for 5 minutes. They won’t be as crispy as fresh, but they’re still good.
Freezing:
You can freeze the uncooked, breaded sticks. Place them on a baking sheet in the freezer until hard, then transfer to a freezer bag. They’ll last for 1 month. Bake directly from frozen, adding 2-3 minutes to the cook time. This is great for meal prep. I often make a double batch and freeze half for later.
Nutrition Information
I’m not a nutritionist, but here’s the breakdown if you’re tracking. Note that these are estimates and can vary based on the cheese and breadcrumbs used.
Per Serving (based on 4 servings, 3-4 sticks each):
- Calories: 280
- Protein: 12g
- Carbs: 22g
- Fiber: 1g
- Sugar: 2g
- Fat: 16g
- Saturated Fat: 7g
- Cholesterol: 45mg
- Sodium: 400mg
What’s Good:
Decent protein from the cheese. It’s a satisfying snack that doesn’t leave you feeling empty.
What to Know:
Higher in calories from the cheese and breadcrumbs. Contains dairy and gluten. Moderate sodium.
My Take:
Look, this is comfort food. It’s not a diet recipe. But it’s way better than takeout, costs less, and I know exactly what’s in it. When I want to make it lighter, I use part-skim mozzarella and air-fry them instead of baking. But usually? I just enjoy them in moderation.
Final Thoughts
So that’s my go-to Crispy Baked Mozzarella Sticks with Marinara! I’ve probably talked your ear off at this point, but when you make a recipe this often, you have a lot to say about it.
This has saved weeknight snacks more times than I can count. It’s my answer to “what’s for dinner” when I’m tired, don’t want takeout, and still want something that tastes really good. My kids are happy, my husband’s happy, and I’m happy because I’m not stressed about cooking.
Make it yours! Try different add-ins, swap in your favorite vegetables, adjust the garlic (though more is always better in my opinion). The best recipes are the ones you adapt to your family’s tastes.
If you make this, drop a comment and let me know what you think! I love hearing how recipes turn out in your kitchen. And if something doesn’t work, tell me that too—I’m here to help troubleshoot.
Happy cooking! And I hope your kitchen smells half as good as mine does right now.
Frequently Asked Questions
Q: Can I use fresh mozzarella instead of low-moisture?
A: You can, but you need to be very careful. Fresh mozzarella has a lot of water, which can cause the sticks to burst. Pat the fresh mozzarella very dry with paper towels, then freeze it for 30 minutes before cutting. It works, but low-moisture is easier and more reliable for beginners.
Q: Why did my breading fall off?
A: This usually happens if the cheese wasn’t frozen long enough before baking, or if you didn’t press the breadcrumbs firmly. Make sure the cheese is rock hard before you start breading, and double-dip the egg and panko to create a strong bond.
Q: Can I make these ahead of time?
A: Yes! Bread them, freeze them on a baking sheet until hard, then transfer to a freezer bag. They’ll last for up to 1 month. Bake directly from frozen, adding 2-3 minutes to the cook time. This is great for parties.
Q: Can I use an air fryer?
A: Absolutely. Preheat the air fryer to 380°F (190°C). Cook for 6-8 minutes, flipping halfway through. They get even crispier in the air fryer. Just watch them closely so they don’t burn.
Q: What else can I dip these in?
A: Besides marinara, try ranch, garlic aioli, honey mustard, or even a spicy ketchup. They’re versatile and go with almost any dipping sauce.
Q: How do I reheat leftovers?
A: Reheat in the oven or air fryer at 400°F for 5 minutes. The microwave will make the breading soggy, so avoid it if you want to keep the crunch.
Q: Can I add other ingredients to the breading?
A: Yes! Add grated Parmesan cheese to the panko for extra flavor. Or add crushed red pepper flakes for heat. Get creative with your seasonings.
Pin This Recipe!
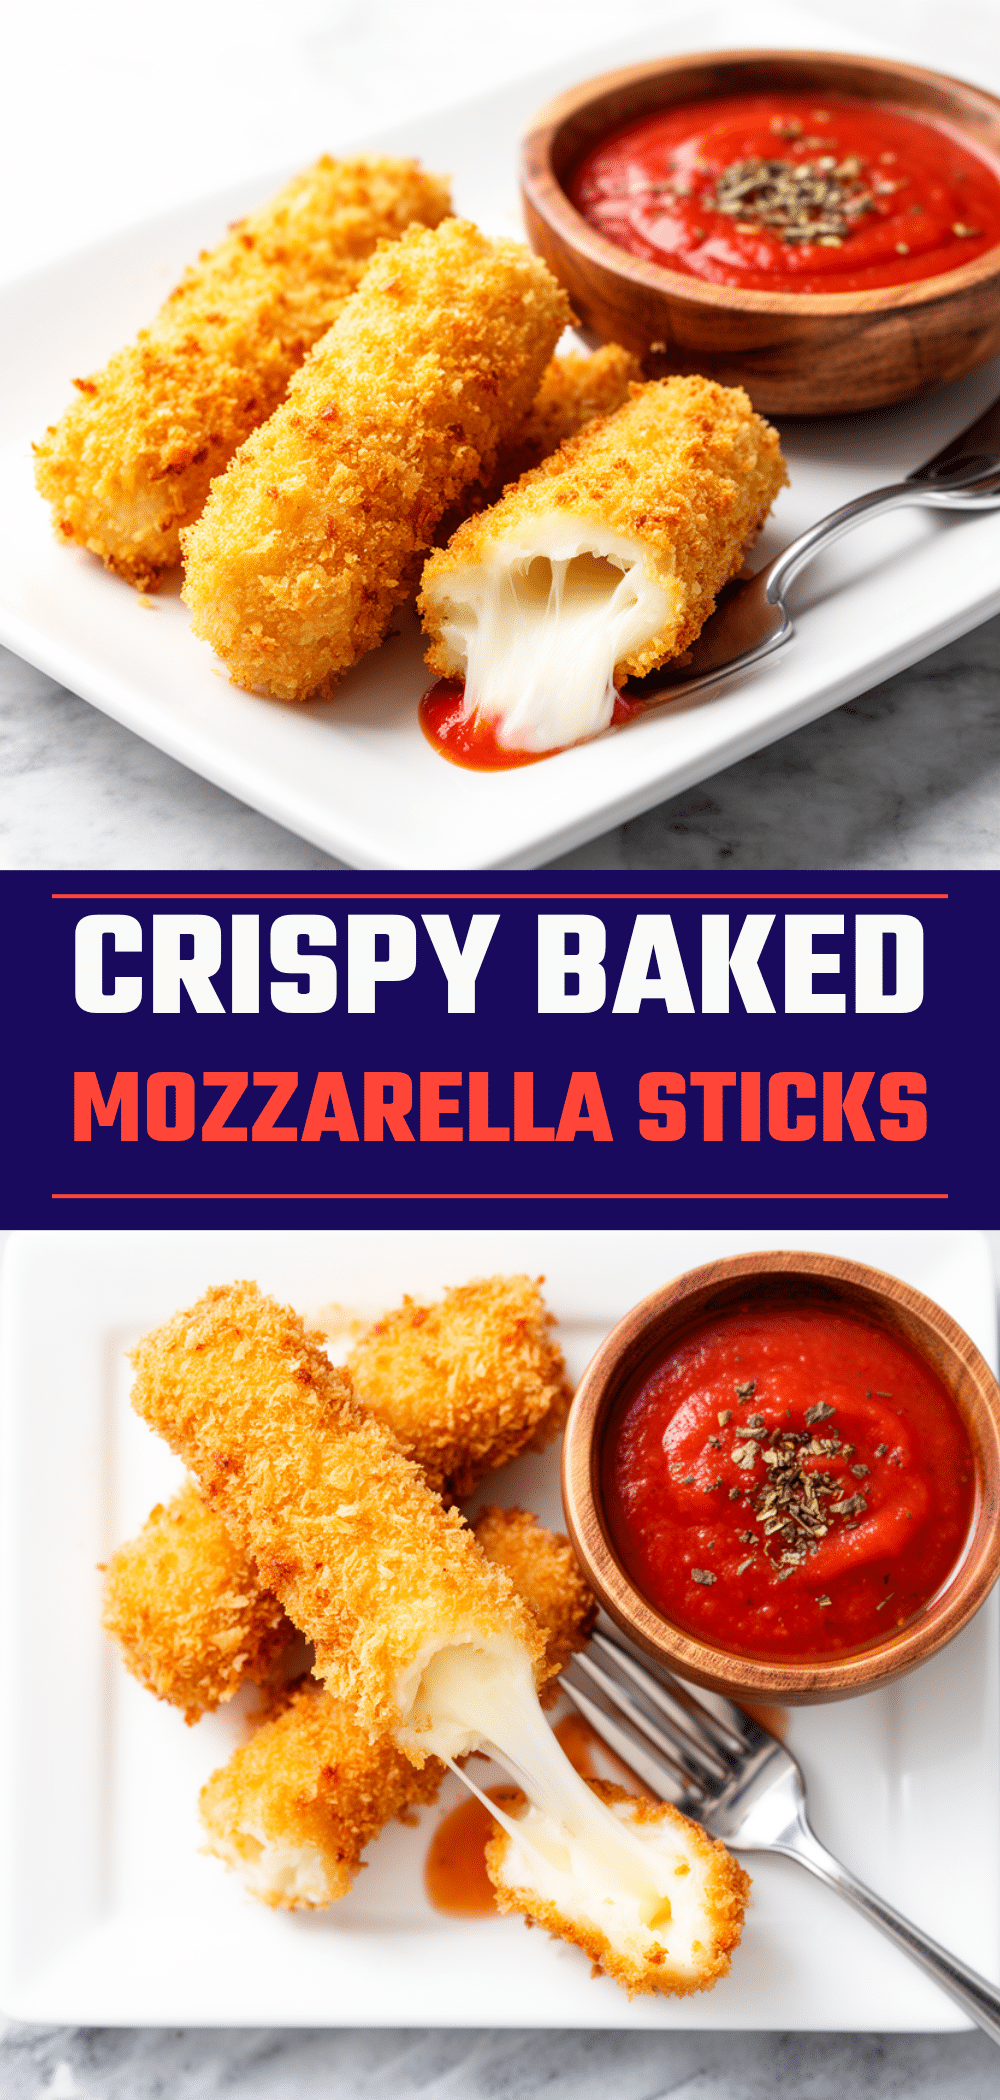
Crispy Baked Mozzarella Sticks: 15min Easy Recipe
- Total Time: 15 minutes
- Yield: 4 servings 1x
Description
These homemade baked mozzarella sticks are crispy, cheesy, and ready in just 15 minutes. Using a double-breading technique and low-moisture cheese, they offer a restaurant-quality crunch without the grease of deep frying.
Ingredients
- 8 ounces (225g) low-moisture mozzarella cheese block
- ½ cup (60g) all-purpose flour
- 2 large eggs, whisked with a pinch of salt
- 1 cup (90g) panko breadcrumbs
- 2 teaspoons Italian seasoning
- ½ teaspoon paprika
- ½ teaspoon garlic powder
- 1 cup (240g) marinara sauce
- Cooking spray or olive oil for brushing
Instructions
- Cut the low-moisture mozzarella block into sticks (approx. ½ inch by ½ inch by 2 inches). Place on a parchment-lined baking sheet and freeze for at least 30 minutes until rock hard.
- Set up three shallow bowls: one with flour and a pinch of salt, one with whisked eggs, and one with panko mixed with Italian seasoning, paprika, and garlic powder.
- Remove cheese from freezer. Dredge a stick in flour, shaking off excess. Dip into egg wash, letting excess drip off. Press firmly into panko mixture.
- Repeat the egg and panko step (double dip) to create a thick crust. Place coated stick back on the baking sheet.
- Once all sticks are breaded, return the baking sheet to the freezer for 20-30 minutes to re-harden the cheese and set the breading.
- Preheat oven to 400°F (200°C). Line a clean baking sheet with parchment paper.
- Remove sticks from freezer. Lightly spray or brush with cooking spray/olive oil. Place on the baking sheet with space between each stick.
- Bake for 10-12 minutes, flipping halfway through, until golden brown and crisp.
- Warm the marinara sauce separately. Serve sticks immediately with warm sauce for dipping.
Notes
Do not skip the freezing steps; soft cheese will leak. Use low-moisture mozzarella, not fresh mozzarella in water, to prevent bursting. For extra crispiness, ensure sticks are not touching on the pan. Can be made gluten-free by using gluten-free panko. Can be air-fried at 380°F for 6-8 minutes.
- Prep Time: 15 minutes
- Cook Time: 10-12 minutes
- Category: Appetizer
- Cuisine: Italian-American
Nutrition
- Serving Size: 3-4 sticks per servi
- Calories: 280
- Sugar: 2
- Sodium: 400
- Fat: 16
- Saturated Fat: 7
- Carbohydrates: 22
- Fiber: 1
- Protein: 12
Keywords: mozzarella sticks, baked mozzarella, appetizer, easy recipe, kid-friendly, crispy cheese, 15 minute snack, homemade mozzarella sticks


