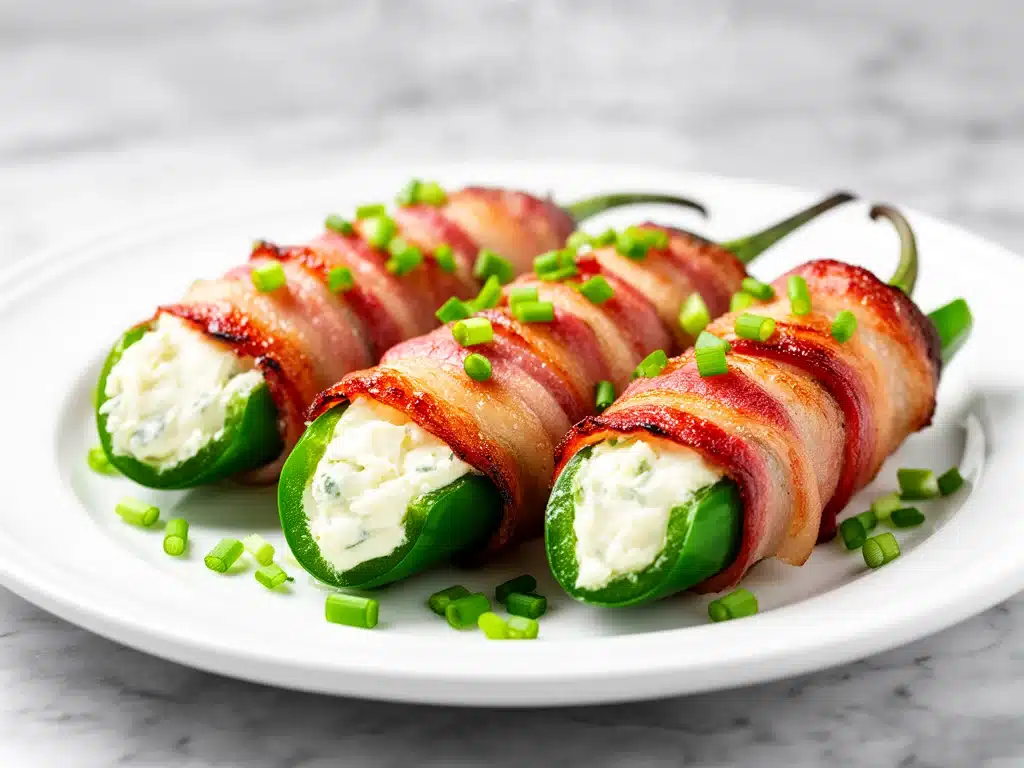
I have a confession to make. I used to think jalapeño poppers were just a bar food gimmick. You know the type—those sad, frozen appetizers that arrive lukewarm, with cheese that’s either runny enough to burn your tongue or congealed like rubber. I’d grab one, feel guilty about the grease, and forget about it five minutes later.
Then, about three years ago, I went to a backyard barbecue. My neighbor Dave is a serious grilling guy. He has a smoker that costs more than my first car. I walked over to the snack table, saw a plate of dark, crispy bacon-wrapped peppers, and thought, “Eh, probably dry.” I took a bite. And stopped talking. I literally stood there, bacon dripping slightly onto my thumb, staring at Dave like he’d just handed me the keys to a new car.
It was smoky, spicy, creamy, and crunchy all at once. It was the kind of snack that makes you forget you’re standing outside in the heat. By the time I finished that one, the plate was empty. I had to ask for more. And then another. By the end of the night, I was basically part of the family because I knew how to compliment the poppers.
That was the day I realized I’d been doing them wrong. It turns out, the secret isn’t just in the cheese filling (though that’s important). It’s in the bacon. Specifically, how you wrap it, how you cook it, and how you balance the heat of the jalapeño with something cool and tangy. I’ve spent the last few years tweaking this recipe—burning a few batches of bacon, overfilling peppers that burst in the oven, and testing different cheese blends—until I landed on the version that makes people ask for the recipe every single time.
These aren’t just “easy” appetizers. They are the reason I’m invited to parties. They are the reason my husband’s coworkers text me asking for the link. And honestly? They’re easier to make than those 5-minute energy bites I posted last month, but they taste infinitely more decadent. If you’ve ever wanted a snack that turns heads and disappears in minutes, this is it. This is the bacon-wrapped jalapeño popper recipe everyone always asks for.
Why You’ll Love This Recipe
Look, I’m not going to lie to you. Making poppers takes a little bit of time. You have to slice peppers, scoop seeds, mix cheese, wrap bacon, and bake. But here’s the thing: the payoff is massive. This isn’t a recipe you make because you have to. You make it because you want to feel like a culinary genius.
Here’s why this specific version of bacon-wrapped jalapeño poppers has become my absolute favorite:
It’s the Ultimate Party Trick — Seriously, watch a room. You bring these out, and the conversation stops. People flock to the plate. It’s social currency. I’ve served these at Super Bowl parties, bridal showers (yes, really), and late-night study sessions for my kids. They work for every occasion.
Perfectly Balanced Heat — A lot of popper recipes go too spicy or too mild. This one hits the sweet spot. The cream cheese mellows out the jalapeño’s kick, but you still get that peppery bite. If you want it hotter, I’ll show you how to keep some seeds. If you want it milder, I’ll show you how to remove them all.
Crispy Bacon, Creamy Inside — The texture contrast is what makes this addictive. You get the snap of the bacon, followed by the cool, rich cream cheese filling, and then the slight crunch of the pepper. It’s sensory overload in the best way possible.
Make-Ahead Friendly — This is huge for hosts. You can assemble these completely the night before. Just cover them and throw them in the fridge. When guests arrive, you pop them in the oven, and you’re free to actually enjoy the party instead of standing in the kitchen flipping things.
Budget-Smart — Jalapeños are cheap. Bacon is relatively cheap. Cream cheese is cheap. You can feed a crowd of 20 people for under $20. That’s cheaper than ordering appetizers at a restaurant, and you’ll look way cooler doing it.
I’ve made these for everyone from picky teenagers who claim they “don’t like vegetables” to my spicy-food-obsessed uncle. Everyone loves them. It’s my go-to when I need to impress without spending hours in the kitchen.
Ingredients You’ll Need
Before we get to the assembly, let’s talk about what you need. This recipe looks simple, but the quality of your ingredients matters more than you think. Since there are only a few components, each one has to do heavy lifting.
Jalapeño Peppers (12-15 large) — You want large, firm, glossy peppers. Avoid ones that are wrinkled or soft. I usually buy about 12-15 peppers, depending on their size. If you buy them in bulk, they’re often cheaper. Look for bright green ones. If you want less heat, pick smaller peppers; the heat is concentrated in the ribs and seeds, and smaller peppers tend to have tighter seeds.
Bacon (1 pound, thick-cut) — This is non-negotiable. Do not use thin, flimsy bacon. You need thick-cut or center-cut bacon. Thin bacon will burn before the pepper is cooked and won’t hold the shape. I like applewood-smoked bacon for that extra flavor, but standard thick-cut works fine. The thickness helps it crisp up slowly without burning.
Cream Cheese (8 ounces, softened) — This is the base of your filling. It needs to be softened to room temperature. If you try to mix cold cream cheese, you’ll get lumps. I usually take it out of the fridge about 30 minutes before I start. If you’re in a hurry, you can microwave it for 10-15 seconds, but don’t melt it.
Cheddar Cheese (1 cup, sharp cheddar, shredded) — Sharp cheddar adds flavor. Mild cheddar is too bland. And please, shred your own cheese. Pre-shredded cheese is coated in cellulose to prevent clumping, which stops it from melting smoothly. I learned this the hard way with a grainy filling once. It took 3 minutes to shred a block, but it made a huge difference.
Garlic Powder (1 teaspoon) — Fresh garlic can burn in the oven, so powder is safer here. It gives a nice savory backbone. If you only have fresh garlic, mince it super finely, but powder is easier.
Smoked Paprika (½ teaspoon) — This enhances the smoky flavor of the bacon. It’s optional, but I think it’s worth it. It adds depth without adding heat.
Garlic Salt (½ teaspoon) — Or regular salt. Taste your filling before you stuff the peppers. It should taste slightly salty on its own. The bacon will add more salt later, so don’t overdo it.
Butter (2 tablespoons, melted) — We brush the bacon with melted butter before baking. This helps it get crispy and golden brown faster. It’s a small step that makes a big visual difference.
Optional: Ranch Seasoning (1 packet or 2 tablespoons dry mix) — Some people love adding ranch seasoning to the cream cheese mix. It adds a tangy, herby flavor that cuts through the richness. I usually skip it, but if you’re a ranch fan, give it a try.
Quick Tip: Wear gloves when handling jalapeños. I know, I know, it’s a pain. But if you touch your eyes or nose after handling peppers without gloves, you will regret it. I once scratched my nose with pepper residue and cried for ten minutes. Don’t be like me. Use disposable gloves or wash your hands thoroughly with soap and water immediately after prepping.
Equipment Needed
You don’t need fancy gadgets for this. Here’s what I actually use in my kitchen:
Baking Sheet — I use a standard 13×18 inch sheet pan. Line it with parchment paper or aluminum foil for easy cleanup. Grease it lightly with cooking spray or oil.
Small Knife — A paring knife is perfect for slicing the peppers lengthwise. You need something sharp to make clean cuts without crushing the pepper.
Paring Knife or Spoon — To scoop out the seeds. I use the tip of my paring knife to slice around the seeds, then a spoon to scrape them out. It’s faster than trying to pick them out one by one.
Mixing Bowl — A medium bowl for mixing your cheese filling.
Pastry Brush — For brushing the melted butter on the bacon. If you don’t have one, you can use a paper towel dipped in butter, but a brush is cleaner.
Overnight Storage Container — If you’re making these ahead, you’ll need a container that fits your baking sheet. Or you can just cover the sheet with plastic wrap.
Oven — Obviously. Preheated to 400°F (200°C).
Tongs — For flipping the poppers halfway through cooking.
I’m not going to lie, I’m obsessed with my make-ahead breakfast muffin cups for similar reasons—minimal prep, maximum reward. But these poppers? They’re the king of savory snacks.
How to Make It: Step-by-Step
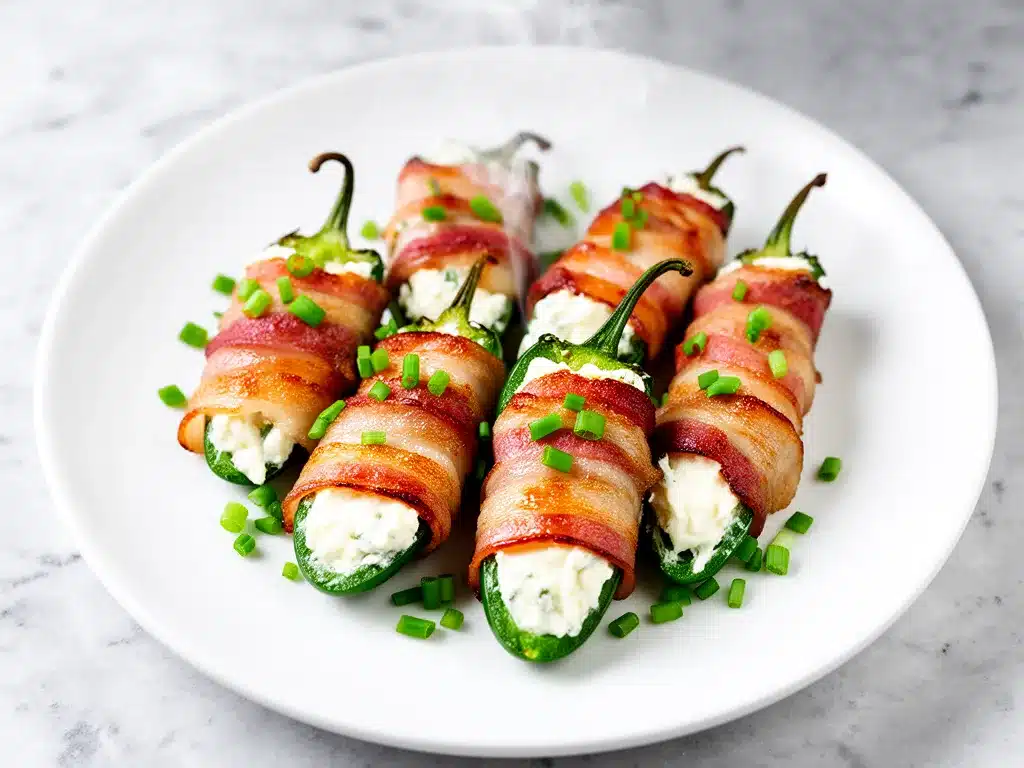
Alright, let’s make these bad boys. I’m walking you through exactly how I do it, including the little tricks I’ve picked up over the years.
Step 1: Prep Your Oven and Pan
Preheat your oven to 400°F (200°C). Line a large baking sheet with parchment paper or aluminum foil. Lightly grease it with cooking spray or oil. This prevents sticking and makes cleanup a breeze.
Step 2: Prepare the Jalapeños
Put on your gloves! Wash the jalapeños and pat them dry. Slice each pepper in half lengthwise. Be careful not to slice all the way through if you want to keep them as boats, but for poppers, cutting them in half is standard. Use a paring knife or a spoon to scoop out the seeds and white ribs. The more seeds you remove, the milder the popper will be. If you like it hot, leave some seeds in. Place the pepper halves cut-side up on your prepared baking sheet. You should have about 24-30 halves.
Step 3: Make the Filling
In a medium mixing bowl, combine the softened cream cheese, shredded sharp cheddar, garlic powder, smoked paprika, and garlic salt. Mix until smooth and well combined. If the cream cheese is still too cold and lumpy, microwave it for 10 more seconds and mix again. The filling should be creamy and spreadable.
Step 4: Stuff the Peppers
Using a small spoon or a piping bag, fill each pepper half with the cheese mixture. Don’t overfill them! If you pack it too tight, the cheese will spill out and burn in the oven, creating a smoky mess that’s hard to clean. Aim for a level top, or slightly mounded. If you have leftover filling, you can spoon it into a small ramekin and bake it alongside the poppers. It’s basically cheese bread.
Step 5: Wrap with Bacon
Take a slice of thick-cut bacon and cut it in half crosswise. You want pieces that are about 3-4 inches long. Wrap one piece around the center of each pepper half. The bacon should cover the cheese but leave the top slightly exposed so the cheese can melt. Secure the end of the bacon with a toothpick. I usually push the toothpick in at a 45-degree angle so it doesn’t fall out during flipping. You can skip the toothpick if you wrap the bacon tightly enough, but I’m paranoid, so I use them.
Step 6: Brush with Butter
Melt the 2 tablespoons of butter in a small bowl. Use a pastry brush to lightly brush the bacon on each popper with melted butter. This helps it crisp up and get that golden-brown color. Don’t soak them; just a light coat.
Step 7: Bake
Place the baking sheet in the preheated oven. Bake for 20-25 minutes. After 10 minutes, check on them. If the bacon looks like it’s browning too fast, you can tent the pan loosely with foil. After 20 minutes, flip the poppers over. This ensures even cooking and crispiness on both sides. Bake for another 5-10 minutes, or until the bacon is crispy and the cheese is bubbly. Keep an eye on them near the end—bacon goes from crispy to burnt very quickly.
Step 8: Cool and Serve
Remove from the oven and let them cool for 5 minutes. The cheese will be molten hot, and the bacon will crisp up as it cools slightly. Serve warm. They’re best eaten within an hour of baking, but leftovers are still good.
Total Time: About 45 minutes (15 minutes prep, 30 minutes cook time)
Expert Tips & Tricks
Here’s everything I’ve learned from making these dozens of times. These tips will save you from my mistakes.
Don’t Skip the Toothpicks — I know they’re annoying to remove, but they keep the bacon from unraveling while the cheese melts. If you’re serving them to a crowd, use wooden toothpicks and remind people to remove them. Or, use metal skewers if you’re worried about waste.
Flavor Variations — Once you’ve mastered the basic recipe, try these twists. Mix in some cooked, crumbled bacon into the cheese filling for double bacon flavor. Add some diced green onions for a fresh bite. Or stir in a tablespoon of hot sauce for extra kick.
Crispy Bacon Guarantee — If you’re worried about the bacon not cooking through, you can par-cook it for 5 minutes in the microwave before wrapping. This renders out some fat and helps it crisp faster in the oven. Just be careful not to overcook it, or it’ll be too brittle to wrap.
Spice Control — Remember, the heat is in the seeds and ribs. If you’re making these for kids or people who can’t handle spice, remove all the seeds and ribs. If you want it fiery, leave them all in. You can also add a pinch of cayenne pepper to the filling for extra heat without changing the texture.
Avoid the Burn — Oven temperatures vary. My oven runs hot, so I check at 20 minutes. If your bacon is browning too fast, lower the temperature to 375°F and bake for a few more minutes. It’s better to undercook slightly and crisp it up under the broiler for 1 minute than to burn it.
Make-Ahead Strategy — You can assemble these completely the night before. Cover the baking sheet tightly with plastic wrap and refrigerate. When you’re ready to bake, take them out of the fridge and let them sit for 15 minutes while the oven preheats. Then bake as directed, adding 2-3 minutes to the cook time since they’re starting cold.
Variations & Substitutions
Once you’ve nailed the basic version, here’s how you can mix it up. I’ve tried all of these.
Philly Cheesesteak Style — Swap the cheddar for provolone. Add sliced mushrooms and onions to the filling. Sauté them first until soft. This is a game-changer for sandwich lovers.
Southwest Style — Add black beans, corn, and cilantro to the cheese filling. Use chili powder instead of paprika. Serve with salsa on the side.
Buffalo Chicken Style — Mix shredded cooked chicken and buffalo sauce into the cream cheese. Top with blue cheese crumbles after baking. Tangy, spicy, and delicious.
Gluten-Free — This recipe is naturally gluten-free, as long as your bacon and cheese don’t have added fillers. Check labels if you’re strictly avoiding gluten.
Dairy-Free — Use dairy-free cream cheese and dairy-free cheddar. It’s not quite the same texture, but it works. I’ve made this for lactose-intolerant friends, and they loved it.
Smoked Gouda — Replace half the cheddar with smoked gouda. Adds a incredible smoky flavor that pairs well with the bacon.
Serving & Storage
How to serve these for maximum impact?
Plating — Arrange them on a platter with a small bowl of ranch dressing or blue cheese dressing for dipping. I also like to serve them with a simple arugula salad to cut through the richness. The peppery greens balance the heavy bacon perfectly.
Dipping Sauces — While ranch is classic, try these alternatives. Cool cucumber yogurt sauce. Spicy honey. Garlic aioli. Or just plain ketchup if you’re feeling nostalgic.
Storage — Store leftovers in an airtight container in the refrigerator for up to 3 days. The bacon will soften slightly, but it’s still good.
Reheating — Reheat in the oven at 350°F for 10-15 minutes to crisp up the bacon. Avoid the microwave, or the bacon will get chewy. If you must use the microwave, do it for 30 seconds and then finish in the toaster oven.
Freezing — You can freeze these, but the texture of the cream cheese filling may change slightly upon thawing. I recommend freezing them uncooked. Wrap them tightly in plastic wrap and foil, then freeze. Bake from frozen, adding 5-10 minutes to the cook time.
Nutrition Information
I’m not a nutritionist, but here’s the breakdown if you’re tracking. Keep in mind, this is a rich, high-fat snack, so moderation is key.
Per Serving (2 poppers):**
- Calories: 180
- Protein: 8g
- Carbs: 2g
- Fat: 15g
- Sodium: 350mg
It’s high in fat and sodium, but low in carbs. Perfect for keto or low-carb diets. The jalapeños add a small amount of fiber and vitamin C. Not a health food, but not a guilt-free indulgence either. Just enjoy it.
Final Thoughts
So that’s my bacon-wrapped jalapeño popper recipe! I’ve probably talked your ear off at this point, but when you make a recipe this often, you have a lot to say about it.
This has saved me at every party I’ve attended. It’s my answer to “what should I bring?” when I don’t want to make a full meal. It’s easy, it’s impressive, and it tastes amazing. My friends are happy, my husband’s happy, and I’m happy because I’m not stressed about cooking.
Make it yours! Try different cheeses, adjust the spice level, or add your favorite mix-ins. The best recipes are the ones you adapt to your tastes.
If you make this, drop a comment and let me know what you think! I love hearing how recipes turn out in your kitchen. And if something doesn’t work, tell me that too—I’m here to help troubleshoot.
Happy cooking! And I hope your kitchen smells half as good as mine does right now.
Frequently Asked Questions
Q: Can I use mini bell peppers instead of jalapeños?
A: You can, but they’ll be much milder. Mini bell peppers are sweet, not spicy. If you want heat, stick with jalapeños. If you’re making these for kids who can’t handle spice, mini bell peppers are a good option. Just adjust the cooking time—they’re smaller, so they’ll cook faster.
Q: Why did my bacon fall off?
A: This usually happens if the bacon isn’t wrapped tightly enough or if the pepper is too wet. Pat your peppers dry before stuffing them. Also, use the toothpicks to secure the bacon. If you’re wrapping the bacon around the center, make sure the ends overlap slightly so they stick together.
Q: Can I make these in an air fryer?
A: Yes! Air fry them at 375°F for 8-10 minutes, flipping halfway through. They’ll come out crispy and delicious. Just make sure they fit in your air fryer basket. You may need to cook in batches.
Q: How spicy are these?
A: It depends on how many seeds you leave in. Jalapeños are medium heat. If you remove all the seeds and ribs, they’re mild. If you leave them all in, they’re hot. I usually remove about half the seeds for a balanced heat level. If you’re sensitive to spice, start with less seeds and add more next time.
Q: Can I use thin bacon?
A: I don’t recommend it. Thin bacon burns easily and doesn’t hold up well to the moisture from the cheese. Thick-cut bacon is worth the extra cost. If you must use thin bacon, watch them closely and remove them as soon as they’re crispy.
Q: What do I serve with these?
A: They’re great as an appetizer, but you can also serve them as a main course with a side salad or roasted vegetables. I love serving them with cornbread or garlic bread. For drinks, a cold beer or a crisp white wine pairs well.
Q: Can I freeze these after baking?
A: It’s not recommended. The cream cheese filling can become grainy or watery when frozen and reheated. It’s best to eat them fresh or freeze them uncooked.
Pin This Recipe!
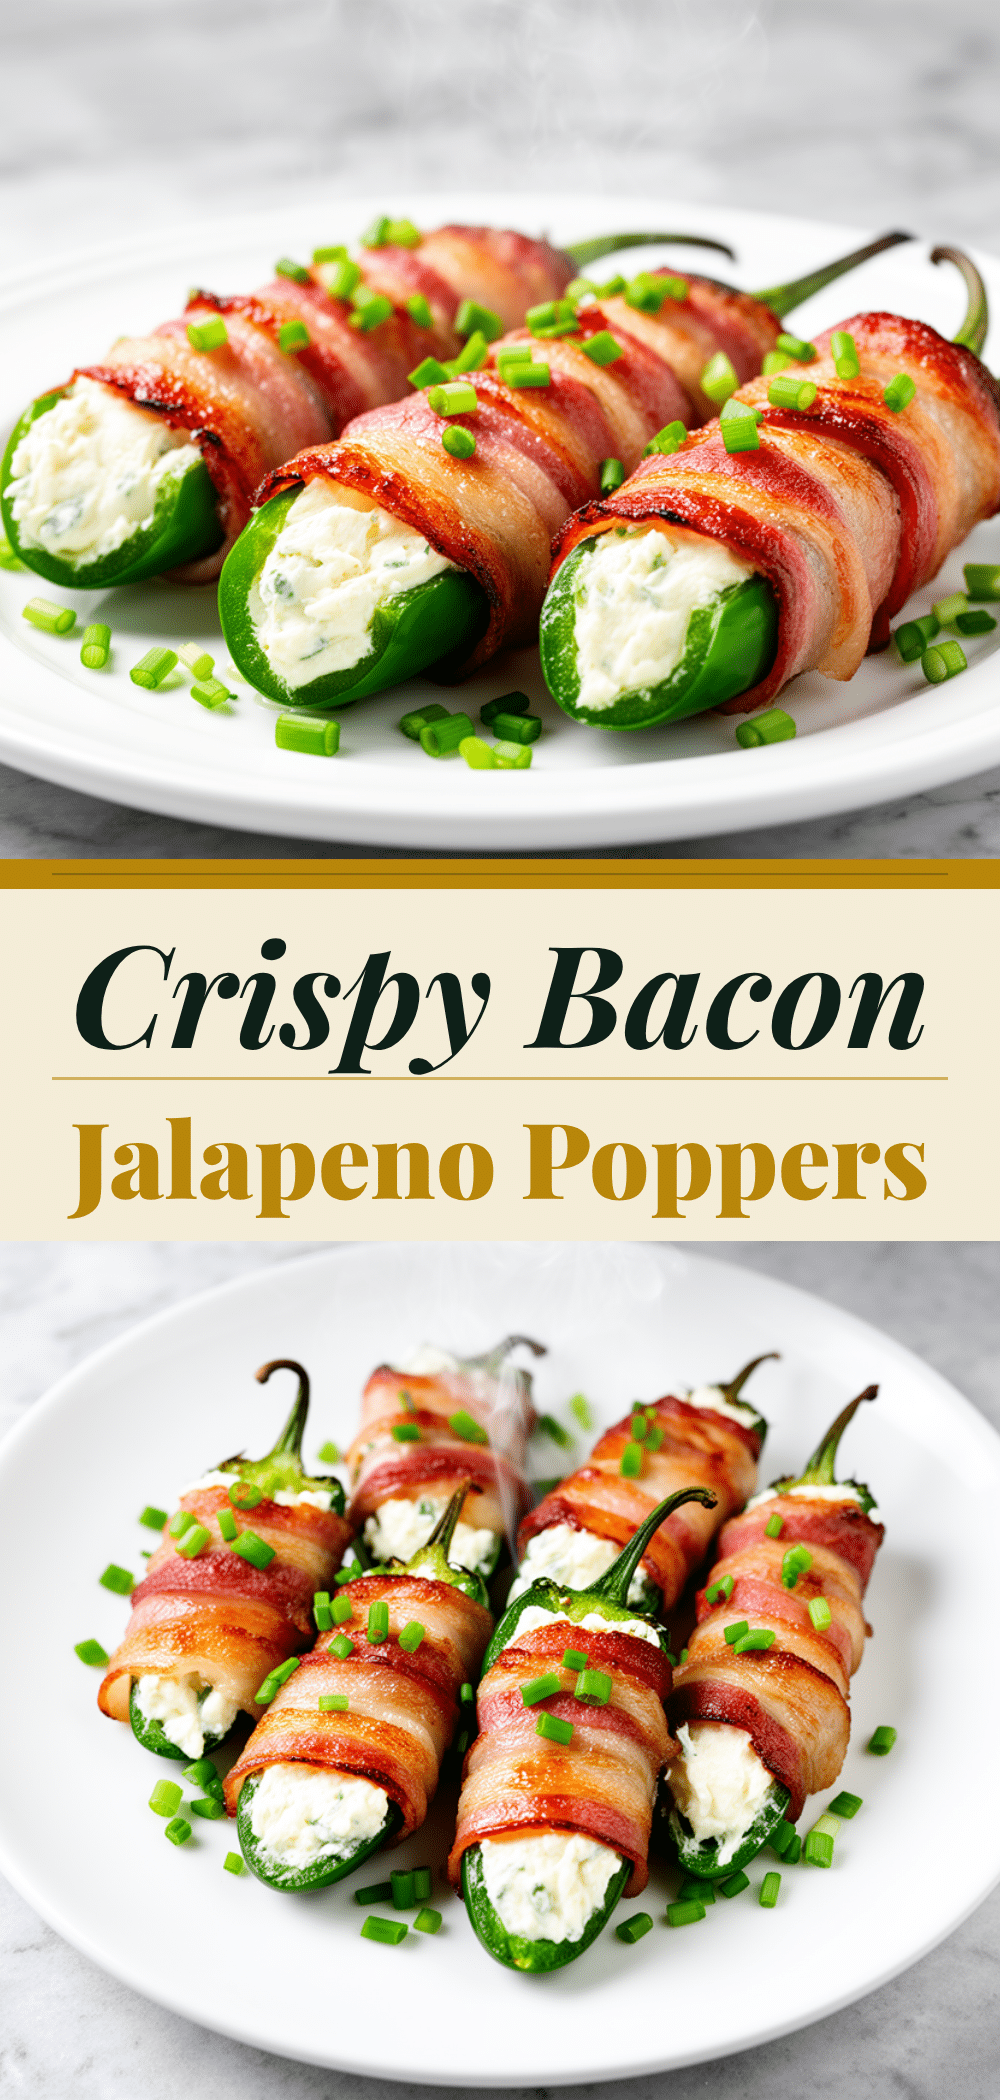
Bacon-Wrapped Jalapeno Poppers: Best Easy Recipe
- Total Time: 45 minutes
- Yield: 24-30 poppers (approx. 12-15 servings) 1x
Description
Crispy, smoky, and creamy bacon-wrapped jalapeño poppers with a rich cheese filling. These easy-to-make appetizers are perfect for parties, budget-friendly, and can be prepared ahead of time.
Ingredients
- 12–15 large jalapeño peppers
- 1 pound thick-cut bacon
- 8 ounces cream cheese, softened
- 1 cup sharp cheddar cheese, shredded
- 1 teaspoon garlic powder
- 1/2 teaspoon smoked paprika
- 1/2 teaspoon garlic salt
- 2 tablespoons butter, melted
- 1 packet ranch seasoning (optional)
- Toothpicks (for securing bacon)
Instructions
- Preheat oven to 400°F (200°C). Line a large baking sheet with parchment paper or foil and lightly grease.
- Wear gloves and wash jalapeños. Slice peppers in half lengthwise and scoop out seeds and ribs using a paring knife or spoon.
- In a medium bowl, mix softened cream cheese, shredded cheddar, garlic powder, smoked paprika, and garlic salt until smooth.
- Stuff each pepper half with the cheese mixture, leveling the top to prevent spilling.
- Cut bacon slices in half crosswise. Wrap one piece around each pepper half and secure with a toothpick.
- Brush the bacon lightly with melted butter.
- Bake for 20-25 minutes. Flip poppers halfway through cooking to ensure even crispiness.
- Cool for 5 minutes before serving to allow cheese to set and bacon to crisp further.
Notes
Wear gloves when handling jalapeños to avoid skin irritation. For less heat, remove all seeds and ribs; for more heat, leave some in. Bacon should be thick-cut to prevent burning. These can be assembled the night before and refrigerated until ready to bake.
- Prep Time: 15 minutes
- Cook Time: 30 minutes
- Category: Appetizer
- Cuisine: American
Nutrition
- Serving Size: 2 poppers
- Calories: 180
- Sugar: 1
- Sodium: 350
- Fat: 15
- Saturated Fat: 7
- Carbohydrates: 2
- Protein: 8
Keywords: bacon wrapped jalapeno poppers, appetizer recipe, party snacks, easy appetizers, spicy snacks, keto friendly, make ahead appetizers


