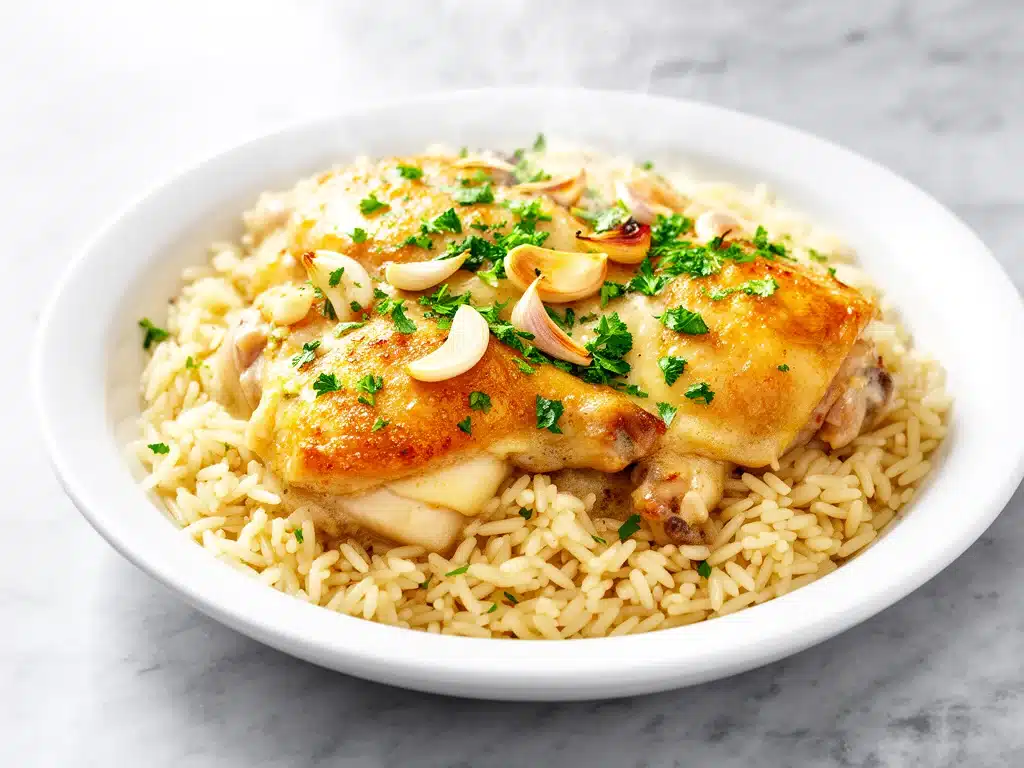
There was a Tuesday last month when I came home from work, dropped my keys on the counter, and immediately stared into the open refrigerator. The light hit me like a spotlight on a very tired performer. Inside, there was a sad-looking bag of spinach, half a jar of pickles, and a package of chicken breasts that had been marinating since Sunday. I didn’t have the energy to chop. I didn’t have the will to wash three different pots. And I definitely didn’t have the patience to wait an hour for rice to cook while I stood over the stove watching it.
So, I did what any desperate, hungry adult does: I threw everything into one pot and prayed.
What came out of that pot wasn’t just edible. It was glorious. Creamy, garlicky, buttery rice with tender chicken pieces that fell apart if you looked at them wrong. My kids ate it without asking what was in it (a miracle in itself), and my husband asked for seconds before he’d even finished his first plate. That accidental disaster turned into my new favorite weeknight savior. If you’re drowning in the evening slump like I was, this one-pot garlic butter chicken and rice is about to become your best friend.
I’ve tested this recipe about twelve times in the last six weeks. Twelve! Because every time I make it, I tweak something—maybe a pinch more garlic, a splash more broth, or a slightly different cook time. And each time, it gets better. It’s the kind of recipe that feels like a hug in a bowl. Comforting, reliable, and ridiculously easy. You don’t need to be a chef to pull this off. You just need a pot, some basic ingredients, and about 30 minutes.
Why You’ll Love This One-Pot Garlic Butter Chicken and Rice
Let’s be real for a second. Most weeknight dinners are a compromise. You either sacrifice flavor for speed, or you sacrifice your evening for flavor. This recipe? It refuses to compromise. Here’s why this one-pot garlic butter chicken and rice has completely taken over our dinner rotation:
- The Cleanup Is Non-Existent — Seriously. One pot. That’s it. No frying pans to scrub, no rice cooker to rinse, no baking sheets to soak. I’ve made this after days where I was too exhausted to even think about dishes, and the fact that I only had to wash one pot felt like winning the lottery. If you’re looking for other ways to simplify your kitchen routine, you might also enjoy these make-ahead breakfast muffin cups for when mornings get chaotic too.
- It’s Stupidly Fast — From the moment you turn on the stove to the moment you sit down, it’s 30 minutes. Maybe 35 if you’re chopping slowly. But here’s the thing: only 10 minutes of that is active work. The rest is just simmering while you kick off your shoes, answer one text, or stare blankly at the wall. It’s the perfect low-effort, high-reward meal.
- Flavor That Actually Hits Different — Because everything cooks in the same pot, the rice absorbs all that garlic butter goodness, chicken juices, and broth. It’s not just rice with chicken on top. It’s a cohesive, flavorful dish where every bite is infused with garlic and butter. I’ve made this for picky eaters, food snobs, and my own skeptical mother-in-law. Everyone goes back for seconds. Even the dog looks interested (please don’t feed him, though).
- Pantry and Fridge Friendly — You probably have 90% of these ingredients already. Chicken breasts (or thighs), rice, butter, garlic, broth, and a few spices. I keep chicken broth in the back of my cupboard specifically for nights like this. It’s my emergency dinner net.
- Leftovers That Actually Taste Good — I know, I know. Usually, leftovers are sad, dry, or weirdly gelatinous the next day. Not this. The rice gets even creamier, and the chicken stays tender. I deliberately make extra for lunch. It reheats beautifully in the microwave—just add a splash of water to keep it moist.
This is my go-to when I need dinner to just work. No complicated techniques, no weird ingredients you have to drive to three stores to find, just reliable, delicious food that makes everyone happy. And if you’re someone who loves quick, healthy-ish snacks to keep you sane during prep, these no-bake peanut butter banana energy bites are my go-to grab-and-go fuel while I chop vegetables.
Ingredients You’ll Need
Here’s the best part: this recipe is incredibly forgiving. You don’t need fancy cuts of meat or exotic spices. I’m particular about three things here (fresh garlic, good butter, and uncooked rice), but otherwise, this is basic pantry stuff. Let’s break it down.
For the Chicken and Base
Chicken breasts (1.5 pounds / 680g) — I use boneless, skinless chicken breasts because they cook fast and stay tender. Thighs work too if you prefer darker meat (they’re juicier, but slightly longer cook time). Cut them into bite-sized pieces—about 1-inch chunks. Uniform size ensures even cooking. I hate it when half my chicken is raw and the other half is leather.
Uncooked white rice (1.5 cups / 300g) — I use long-grain white rice. It absorbs the broth perfectly and stays fluffy. Jasmine rice works great too. Avoid brown rice here—it takes way longer to cook and will mess up the timing. Basmati is okay, but it’s a bit stickier than I like for this dish. Stick to standard long-grain for best results.
Chicken broth (2 cups / 480ml) — This is your cooking liquid. Use low-sodium so you can control the saltiness. I keep a carton of low-sodium broth in the fridge at all times. If you’re out, water with bouillon cubes works, but broth adds so much more depth. Don’t skip this step.
Butter (3 tablespoons / 45g) — Unsalted butter is best so you control the salt. I use high-quality butter because it makes a difference in flavor. If you’re out of butter, olive oil works, but you lose that rich, buttery taste that defines this dish. Real talk: don’t cheap out on the butter here.
For the Flavor
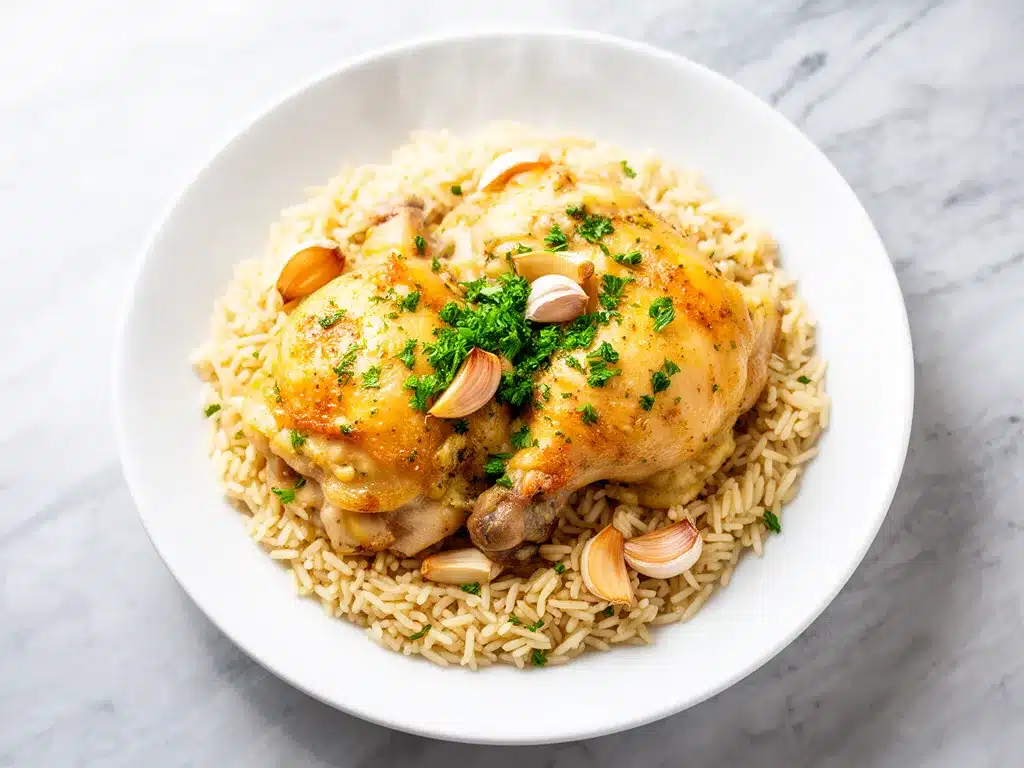
Garlic (6 cloves, minced / about 2 tablespoons) — Yes, six cloves. Don’t skimp. This is garlic butter chicken, after all. Fresh garlic only. No jarred stuff. I know it takes two minutes to mince, but the flavor difference is night and day. Jarred garlic tastes metallic and flat in this recipe. Buy the pre-peeled cloves if you’re being lazy, but mince them yourself for best results.
Onion (1 medium yellow onion, diced / about 200g) — Adds sweetness and depth. Yellow onion is my default. White onion works but is sharper. Sweet onion (like Vidalia) is too mild. Yellow gives the perfect balance. If you hate onions, you can skip them, but I recommend adding onion powder (1 teaspoon) as a substitute. You’ll miss the texture, but the flavor will still be there.
Garlic powder (1 teaspoon) — Just a little boost. Fresh garlic is the star, but this adds a background hum of garlic flavor that makes it taste like restaurant food. I always keep this in my spice rack.
Onion powder (½ teaspoon) — Again, subtle depth. If you skipped the fresh onion, bump this up to 1 teaspoon.
Dried parsley (1 teaspoon) — For color and a hint of herbal freshness. It’s not going to taste like parsley, but it makes the dish look less beige. I know, we’re eating rice and chicken, but let’s try to make it look appetizing, right?
Salt and black pepper — To taste. I usually use 1 teaspoon salt and ½ teaspoon pepper, but adjust based on your broth’s sodium content. Taste before you add salt if your broth is high-sodium.
Optional Add-Ins
Frozen peas (1 cup) — Throw them in during the last 5 minutes of cooking. They thaw instantly and add a pop of color and sweetness. My kids love these. I throw them in whenever I have them.
Shredded cheddar cheese (½ cup) — Stir it in at the end for a cheesy, creamy finish. It’s indulgent and delicious. I do this when I’m feeling fancy or when I need to convince my kids to eat their vegetables (they’re too busy eating cheese to notice).
Lemon juice (1 tablespoon) — A splash at the end brightens everything up. Cuts through the richness of the butter. Great for summer.
Equipment Needed
You don’t need fancy equipment for this. Here’s what I actually use.
Large skillet or Dutch oven — I use a 12-inch cast iron skillet. It needs to be big enough to hold the chicken in a single layer and then the rice mixture without overcrowding. A Dutch oven works too, especially if you want to transfer it to the oven later (though this recipe is stovetop-only). My cast iron is well-seasoned and non-stick, but any large, heavy-bottomed pot works.
Wooden spoon or silicone spatula — For stirring. Don’t use metal on non-stick surfaces. I prefer silicone because it doesn’t scratch and handles heat well.
Sharp knife and cutting board — For cutting chicken and dicing onion. Dull knives make you cry more—learned this the hard way. Keep your knives sharp.
Measuring cups and spoons — Standard stuff. Dollar store versions work fine. Precision matters a bit here, especially with the rice-to-broth ratio.
Lid for your pot — Essential for steaming the rice. If your pot doesn’t have a lid, use aluminum foil or a baking sheet to cover it. The rice needs to trap steam to cook properly.
Optional but nice:
- Tongs — For flipping the chicken. Makes it easier than a fork.
- Rice cooker — Not needed here, but if you’re making rice separately for another meal, this is why it exists.
How to Make It: Step-by-Step
Alright, let’s make this! I’m walking you through exactly how I do it, including the little tricks I’ve picked up over a dozen attempts.
Step 1: Prep Your Ingredients (5 minutes)
Before you turn on the stove, cut your chicken into 1-inch chunks, dice your onion, and mince your garlic. Measure out your spices. I know it seems fussy, but it makes the actual cooking way less stressful. Once you start cooking, things move fast. Set out your broth and butter nearby. Organization is key when you’re working with one pot.
Step 2: Sear the Chicken (5-7 minutes)
Heat the butter in your large skillet over medium-high heat. Once the butter is melted and foaming, add the chicken pieces in a single layer. Don’t crowd the pan—if your pan is small, do this in two batches. Sear the chicken for 3-4 minutes per side, or until golden brown and cooked through. You don’t need to cook it fully yet, but getting that brown color adds flavor. Remove the chicken to a plate and set aside. Don’t clean the pan—that brown stuff (fond) at the bottom is flavor gold.
Step 3: Sauté the Aromatics (2-3 minutes)
Reduce heat to medium. Add the diced onion to the same skillet. Cook for 2-3 minutes until softened and translucent. Add the minced garlic, garlic powder, onion powder, dried parsley, salt, and pepper. Stir constantly for 1 minute. The garlic should smell amazing, not brown. If it starts to burn, lower the heat immediately. Burnt garlic tastes bitter and ruins the whole dish.
Step 4: Add the Rice and Broth (1 minute)
Pour in the uncooked rice. Stir it around for 1 minute to toast it slightly. This step is crucial—it coats the rice in butter and flavors, which helps it stay separate and fluffy later. Pour in the chicken broth. Stir well, scraping up any brown bits from the bottom of the pan. Those bits will dissolve into the sauce and add incredible depth.
Step 5: Simmer and Steam (15-18 minutes)
Bring the mixture to a boil, then reduce heat to low. Cover with a tight-fitting lid. Simmer for 15-18 minutes. Do not lift the lid during this time. I know it’s tempting, but every time you lift the lid, you let out steam, and the rice won’t cook evenly. Set a timer. After 15 minutes, check the rice. It should be tender and the liquid should be mostly absorbed. If it’s still crunchy, cover and cook for 2-3 more minutes.
Step 6: Combine and Rest (5 minutes)
Once the rice is cooked, remove the pot from heat. Stir in the cooked chicken (and any juices from the plate). If you’re adding peas or cheese, do it now. Cover and let it rest for 5 minutes. This resting period allows the rice to finish absorbing any remaining liquid and become perfectly fluffy. Fluff with a fork before serving.
Step 7: Serve
Serve immediately. Top with extra parsley, a pat of butter, or a sprinkle of cheese. It’s best eaten hot, straight from the pot.
Total Time: About 30 minutes (10 minutes active, 20 minutes mostly hands-off)
Expert Tips & Tricks
Here’s everything I’ve learned from making this dozens of times. These tips will save you from my mistakes.
Don’t Skip the Sear
Browning the chicken first adds so much flavor. If you just boil the chicken in the broth, it’s bland. Take the extra 5 minutes to sear it. Your taste buds will thank you.
Toast the Rice
Stirring the uncooked rice in the butter for a minute before adding broth makes a huge difference. It prevents clumping and adds a nutty flavor. I used to skip this, and my rice was always a bit mushy. Now I never skip it.
Keep the Lid On
This is non-negotiable. The rice needs steam to cook. Lifting the lid releases steam and extends cooking time. I’ve ruined batches by peeking. Trust the process.
Adjust Liquid for Altitude
If you live at high altitude, you may need a bit more broth. The water evaporates faster. Add an extra ¼ cup if you’re above 3,000 feet.
Common Mistakes (and how to avoid them)
- Mistake: Rice is crunchy — Fix: You didn’t cook it long enough, or the heat was too high. Lower heat and cook 2-3 minutes longer. Ensure lid is tight.
- Mistake: Rice is mushy — Fix: Too much liquid or cooked too long. Measure broth carefully. Don’t lift the lid.
- Mistake: Burnt bottom — Fix: Heat was too high. Simmer on low, not medium. Stir occasionally if you’re worried.
Pro Tricks I’ve Learned:
- For Restaurant-Quality Finish — Add a tablespoon of cold butter at the very end and swirl it in. Makes the sauce glossy and rich.
- For Extra Flavor — Deglaze the pan with a splash of white wine after searing chicken, before adding onions. Adds complexity.
- For Better Texture — Fluff rice with a fork, not a spoon. Keeps grains separate.
Variations & Substitutions
Once you’ve nailed the basic version, here’s how you can mix it up. I’ve tried all of these.
Chicken Thigh Version
Use boneless, skinless chicken thighs instead of breasts. They’re juicier and more flavorful. Cook time is similar, but they’re more forgiving if you slightly overcook them.
Veggie-Loaded
Toss in 1 cup frozen peas or diced carrots with the rice. They cook in the steam and add sweetness and color. This is how I get my kids to eat vegetables.
Cheesy Garlic Bread Style
Stir in ½ cup shredded cheddar or mozzarella at the end. Top with garlic bread crumbs and broil for 2 minutes. It’s like garlic bread and chicken rice had a baby.
Spicy Kick
Add ½ teaspoon red pepper flakes with the garlic. Or stir in a tablespoon of sriracha at the end. For those who like heat.
Lighter Version
Use half the butter and substitute half the broth with water. Still good, just less rich. I make this when I’m trying to be “healthy.”
Gluten-Free
This recipe is naturally gluten-free. Just ensure your broth and spices are certified gluten-free. I use low-sodium broth which is usually GF.
Dairy-Free
Replace butter with olive oil or dairy-free butter. Use vegetable broth. It’s different but still tasty. My lactose-intolerant friend requests this version.
Serving & Storage
How to Serve
I usually serve this straight from the skillet at the dinner table—it looks rustic and stays warm. But here are other ways I’ve enjoyed it:
- Side Dishes: Simple green salad with balsamic vinaigrette, roasted broccoli, or garlic bread (if you’re feeling indulgent).
- Toppings Bar: When I have guests, I put out extra parsley, red pepper flakes, lemon wedges, and shredded cheese. Everyone customizes their bowl.
- Wine Pairing: Not a wine expert, but my wine-snob friend says Pinot Grigio or Chardonnay works great with this.
Storage Instructions
Refrigerator: Store in an airtight container for up to 4 days. The rice will firm up in the fridge—totally normal.
Reheating: Best method: Add to a skillet with a splash of water or broth over low heat. Stir until heated through and creamy again. Microwave method: Heat in 30-second intervals, stirring between. Add a splash of water if it’s too thick. Never works: Trying to reheat in the pot you cooked it in. It always burns on the bottom. Ask me how I know.
Freezing: Honestly, this freezes okay, but the texture changes. The rice can get a bit grainy after thawing. If you must freeze, do it for up to 2 months. Thaw in the fridge and reheat gently with added liquid.
Meal Prep: Make the whole pot on Sunday, store in the fridge. Reheat individual portions each night. Takes 2 minutes and tastes way better than takeout.
Pro tip: If leftovers are drying out, stir in a teaspoon of butter and a splash of milk when reheating. Brings back that creamy texture.
Nutrition Information
I’m not a nutritionist, but here’s the breakdown if you’re tracking.
Per Serving (based on 6 servings):
- Calories: 380
- Protein: 28g
- Carbs: 35g
- Fiber: 1g
- Sugar: 1g
- Fat: 14g
- Saturated Fat: 7g
- Cholesterol: 75mg
- Sodium: 450mg
- Calcium: 40mg
What’s Good:
- High protein from chicken
- Carbs from rice for energy
- Can add vegetables to boost nutrition
- More filling than it looks
What to Know:
- Higher in calories from butter and rice
- Contains dairy and gluten (unless modified)
- Moderate sodium (use low-sodium broth to reduce)
My Take: Look, this is comfort food with butter and rice. It’s not a diet recipe. But it’s way better than takeout, costs less, and I know exactly what’s in it. When I want to make it lighter, I use less butter and load up on vegetables. But usually? I just eat a reasonable portion and enjoy it.
Final Thoughts
So that’s my one-pot garlic butter chicken and rice! I’ve probably talked your ear off at this point, but when you make a recipe this often, you have a lot to say about it.
This has saved weeknight dinners more times than I can count. It’s my answer to “what’s for dinner” when I’m tired, don’t want takeout, and still want something that tastes really good. My kids are happy, my husband’s happy, and I’m happy because I’m not stressed about cooking.
Make it yours! Try different add-ins, swap in your favorite vegetables, adjust the garlic (though more is always better in my opinion). The best recipes are the ones you adapt to your family’s tastes.
If you make this, drop a comment and let me know what you think! I love hearing how recipes turn out in your kitchen. And if something doesn’t work, tell me that too—I’m here to help troubleshoot.
Happy cooking! And I hope your kitchen smells half as good as mine does right now.
Frequently Asked Questions
Can I use brown rice instead of white rice?
You can, but the cook time will be significantly longer. Brown rice takes about 40-45 minutes to cook, and it doesn’t absorb liquid the same way. You’ll need more broth and a longer simmer. For this quick weeknight meal, I stick to white rice. If you must use brown rice, increase broth by ½ cup and cook for 40 minutes, checking for doneness.
My rice came out watery—what happened?
Usually means you added too much broth, or you lifted the lid during cooking. Let the rice simmer covered for the full 15-18 minutes without peeking. If it’s already watery, uncover and simmer on low for a few minutes to evaporate excess liquid. The rice will continue to absorb liquid as it rests.
Can I make this ahead for a dinner party?
Sort of. You can prep all the ingredients (chop chicken, dice onion, mince garlic) and store them in the fridge. When guests arrive, assemble and cook—it only takes 30 minutes. Or, make the whole dish, store in the fridge, and reheat gently with added liquid. It won’t be quite as good as fresh, but it’s close and saves you stress during the party. I do this all the time.
Can I use chicken thighs instead of breasts?
Absolutely! Chicken thighs are juicier and more flavorful. They’re also more forgiving if you slightly overcook them. Just cut them into similar-sized pieces. Cook time is the same, but thighs have more fat, so the dish will be richer. My family prefers thighs, so I often swap them.
Why did my rice stick to the bottom?
Heat was too high. Simmer on low, not medium. Also, make sure you’re using a heavy-bottomed pot that distributes heat evenly. If you’re using a thin pot, the bottom can get hot spots and burn. Stir occasionally if you’re worried, but don’t lift the lid too often.
How do I reheat leftovers without it getting dry?
Add a splash of water or broth to a skillet, add your leftover rice, and heat gently over low heat, stirring frequently. The extra liquid brings back the creamy texture. Microwave sort of works but tends to dry it out. If you do microwave, definitely add a splash of water first and heat in short bursts, stirring between.
Can I double this recipe?
Yes, but you’ll need a larger pot. Double everything and use a 14-inch skillet or Dutch oven. The cooking times stay roughly the same, but you may need to extend simmering by 2-3 minutes. Just ensure the rice is in a single layer as much as possible for even cooking. I double this for meal prep and it works great.
Pin This Recipe!
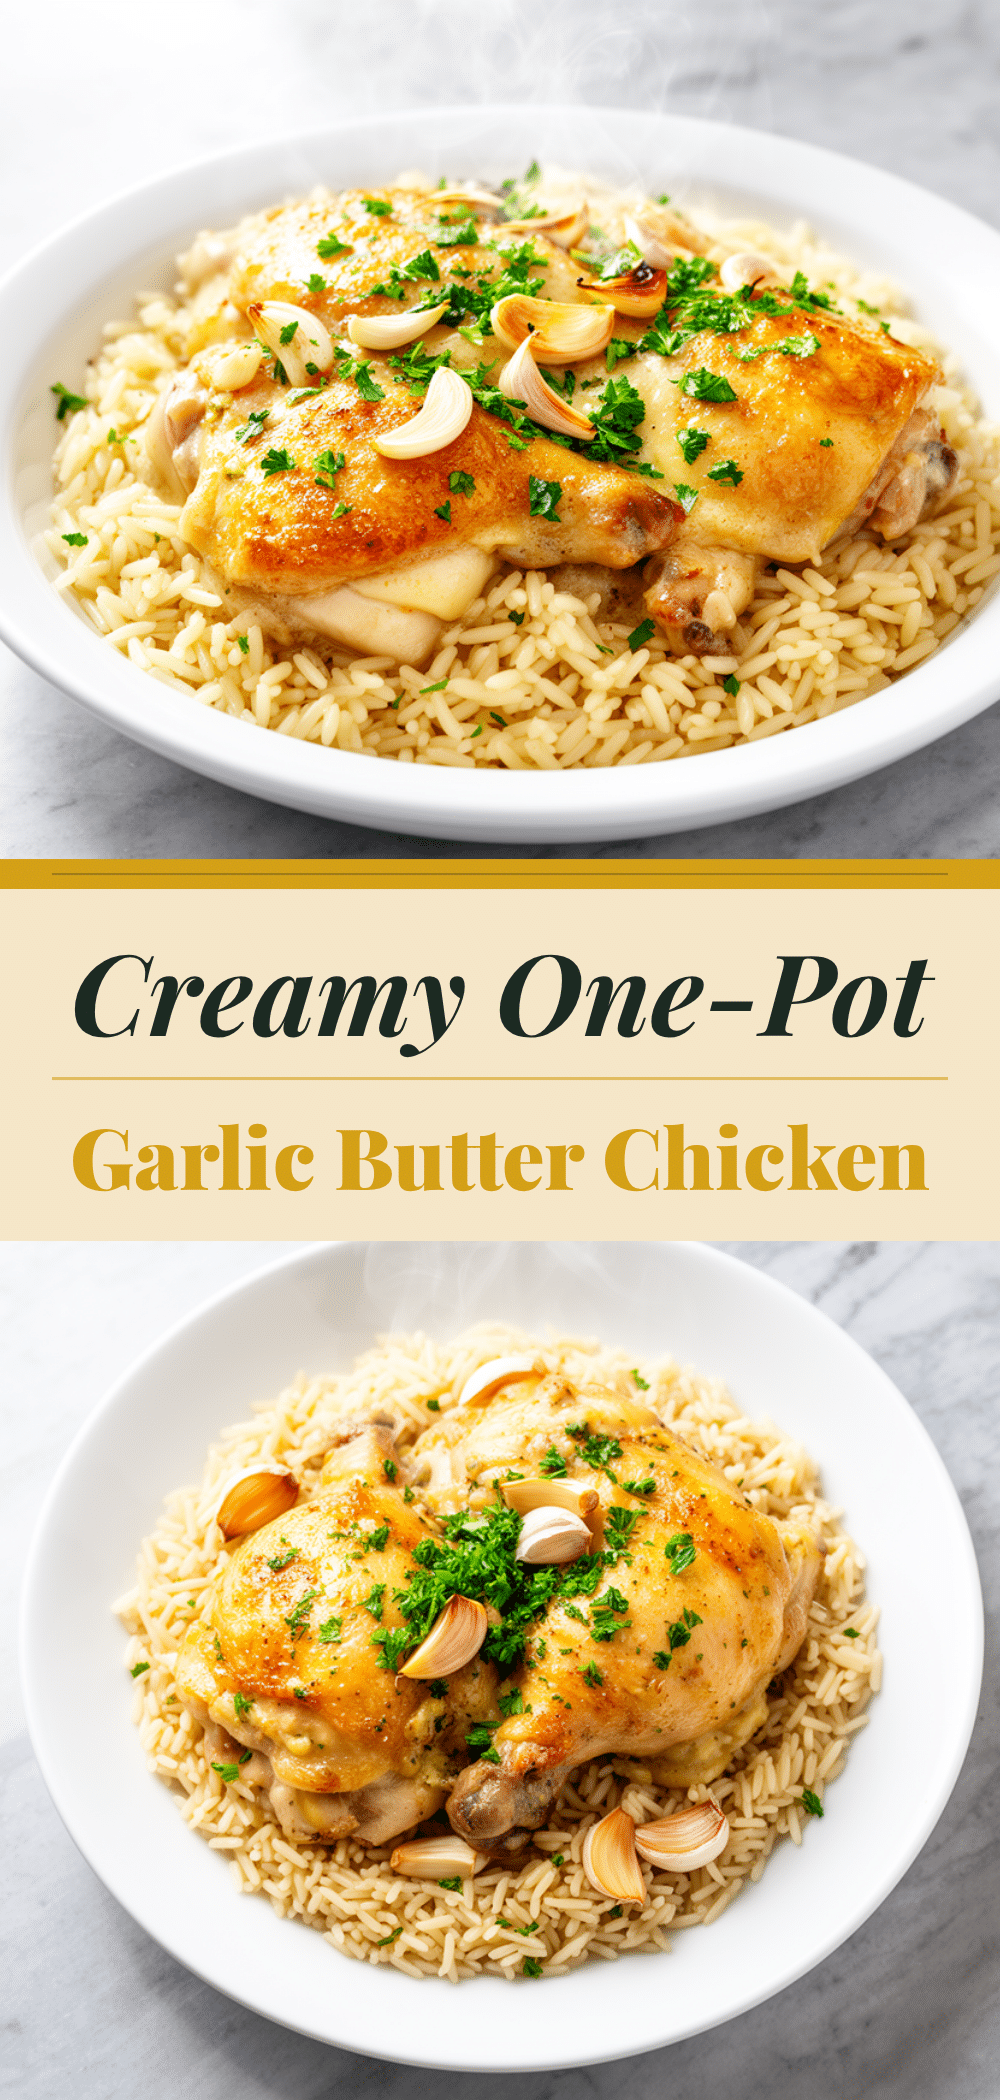

One-Pot Garlic Butter Chicken and Rice
- Total Time: 30 minutes
- Yield: 6 servings 1x
Description
A creamy, garlicky, and buttery weeknight dinner that cooks entirely in one pot. This easy recipe features tender chicken pieces and fluffy rice infused with garlic and broth, ready in just 30 minutes.
Ingredients
- 1.5 pounds boneless, skinless chicken breasts, cut into 1-inch chunks
- 1.5 cups uncooked long-grain white rice
- 2 cups low-sodium chicken broth
- 3 tablespoons unsalted butter
- 6 cloves garlic, minced
- 1 medium yellow onion, diced
- 1 teaspoon garlic powder
- 0.5 teaspoon onion powder
- 1 teaspoon dried parsley
- 1 teaspoon salt (or to taste)
- 0.5 teaspoon black pepper (or to taste)
- Optional: 1 cup frozen peas
- Optional: 0.5 cup shredded cheddar cheese
- Optional: 1 tablespoon lemon juice
Instructions
- Prep ingredients: Cut chicken into 1-inch chunks, dice onion, mince garlic, and measure spices.
- Sear chicken: Heat butter in a large skillet over medium-high heat. Add chicken in a single layer and sear for 3-4 minutes per side until golden brown. Remove chicken to a plate and set aside.
- Sauté aromatics: Reduce heat to medium. Add diced onion to the same skillet and cook for 2-3 minutes until softened. Add minced garlic, garlic powder, onion powder, dried parsley, salt, and pepper. Stir constantly for 1 minute.
- Add rice and broth: Pour in uncooked rice and stir for 1 minute to toast. Add chicken broth, stirring to scrape up brown bits from the bottom of the pan.
- Simmer: Bring mixture to a boil, then reduce heat to low. Cover with a tight-fitting lid and simmer for 15-18 minutes without lifting the lid.
- Combine and rest: Remove from heat. Stir in the cooked chicken and any juices. If using, add peas or cheese now. Cover and let rest for 5 minutes.
- Serve: Fluff rice with a fork and serve immediately.
Notes
Do not lift the lid during simmering to ensure rice cooks evenly. Toasting the rice before adding broth prevents clumping. For a richer finish, swirl in a tablespoon of cold butter at the end. If using high-altitude, add extra broth as water evaporates faster.
- Prep Time: 10 minutes
- Cook Time: 20 minutes
- Category: Main Course
- Cuisine: American
Nutrition
- Serving Size: 1 serving
- Calories: 380
- Sugar: 1
- Sodium: 450
- Fat: 14
- Saturated Fat: 7
- Carbohydrates: 35
- Fiber: 1
- Protein: 28
Keywords: one pot dinner, garlic butter chicken, easy weeknight meals, chicken and rice, quick dinner, family friendly


