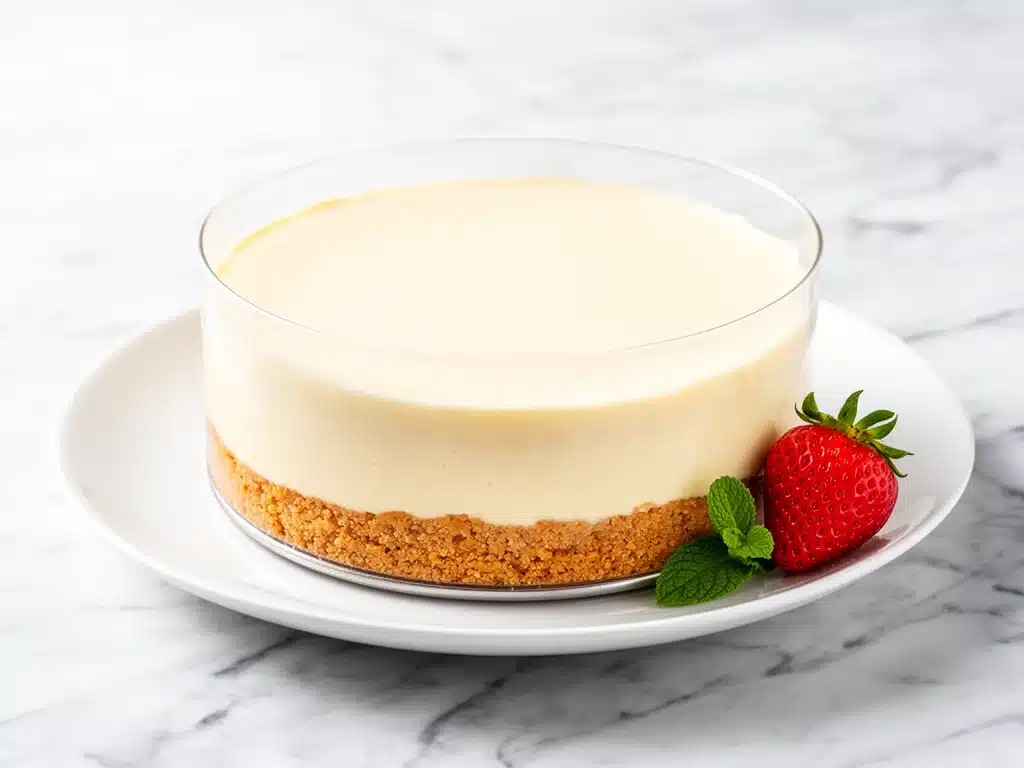
I still remember the first time I made a no-bake cheesecake. It was July, the kind of blistering heat where the air conditioning in my apartment was fighting a losing battle, and the last thing I wanted to do was stand over a hot oven for an hour. I was craving that dense, creamy, tangy cheesecake texture, but I didn’t have the energy—or the patience—for the water bath, the cracking tops, or the anxiety of knowing if it was done without opening the door.
So, I threw together what I thought would be a mediocre dessert. I mixed cream cheese, sugar, and whipped cream, dumped it into a crust, and stuck it in the freezer. I expected it to be weird. Maybe grainy. Definitely not restaurant-quality.
Instead, when I pulled it out two hours later, it was perfect. Silky. Rich. The kind of dessert that makes your guests ask if you went to culinary school (you didn’t; you just chilled it). That was five years ago. Since then, I’ve made this no-bake cheesecake with graham cracker crust so many times that I’ve basically memorized the sound of the mixer.
This isn’t just a quick fix for lazy days. It’s actually the best cheesecake for humid weather, for when you’re hosting a last-minute dinner party, or for when you just want a massive crowd-pleaser without the stress. It’s foolproof, it’s incredibly easy, and once you taste it, you’ll understand why I make it on repeat.
Why You’ll Love This Recipe
There are about ten reasons I keep coming back to this no-bake cheesecake, but let’s be honest—you’re here because you want dessert that actually works. Here’s why this version beats the baked ones in my book:
Zero Oven Stress — Seriously. If you can mix ingredients in a bowl, you can make this. No water baths, no checking with a toothpick, no worrying about cracks forming on top. You just chill it. I’ve made this while helping my kids with homework. It’s that low-maintenance.
Ready in Hours, Not Days — Traditional cheesecake needs 24 hours to set properly. This one? Two hours in the freezer, or four in the fridge, and it’s ready to slice. That’s it. It’s perfect for when you realize at 4 PM that you forgot dessert for a 6 PM dinner.
Texture That Actually Works — I’ve tried plenty of no-bake recipes that ended up sounding like ice cream or tasting like sweetened whipped cream. This one uses the right ratio of cream cheese to heavy cream to get that dense, creamy bite you’re looking for. It’s rich without being heavy.
Super Customizable — Got berries? Crushed cookies? Leftover jam? This crust and filling are a blank canvas. I’ve made strawberry swirl, mint chocolate chip, and even peanut butter versions. Speaking of peanut butter, if you want a snack version of this vibe, check out my no-bake peanut butter banana energy bites—same no-oven vibe, totally different occasion.
Makes Amazing Leftovers — And yes, there will be leftovers. This cheesecake keeps incredibly well in the fridge. I deliberately make extra because it tastes even better the next day once all the flavors have had time to meld. It’s my go-to when I need a dessert to just work.
Ingredients You’ll Need
Here’s the best part: you probably have most of this already. This no-bake cheesecake with graham cracker crust relies on simple, high-quality ingredients. The fewer steps, the better. Here’s what you need and why I’m particular about each one.
For the Crust
Graham Crackers (2 cups / 200g, crushed) — This is your base. I use standard honey graham crackers. If you can find whole wheat graham crackers, they add a nice nutty depth, but the honey ones are classic. You need them finely crushed—almost like sand. If they’re chunky, your crust will fall apart.
Unsalted Butter (½ cup / 115g, melted) — This binds the crumbs together. Don’t skip it. Melted butter makes the crust crisp and hold its shape. Use real butter, not margarine. The flavor difference is huge in a no-bake dessert where the crust is so prominent.
Granulated Sugar (2 tablespoons / 25g) — Just a little bit to sweeten the crust. Since graham crackers are already sweet, you don’t need much. If you’re using whole wheat crackers, bump this up to 3 tablespoons.
Salt (¼ teaspoon) — This is non-negotiable. Salt cuts through the sweetness and makes the buttery flavor pop. It’s the secret ingredient that makes homemade taste better than store-bought.
For the Filling
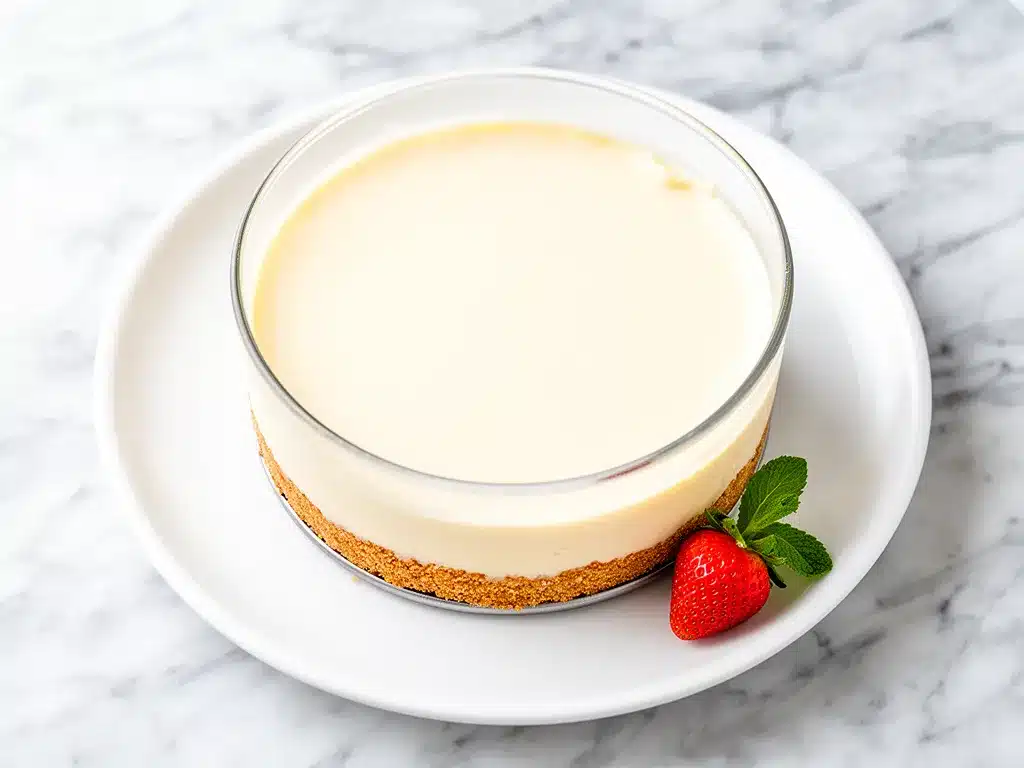
Cream Cheese (24 ounces / 680g, full-fat, softened) — This is the star. Do not use light cream cheese. It won’t set right and it will be watery. Block cream cheese is essential—never the tub kind. Let it sit on the counter for 30 minutes before you start. Cold cream cheese creates lumps, and nobody wants lumpy cheesecake.
Heavy Whipping Cream (2 cups / 480ml, cold) — This gives it volume and that airy-yet-dense texture. It needs to be very cold so it whips up properly. If your kitchen is hot, chill your mixing bowl first. I keep a dedicated metal bowl in the fridge for this.
Confectioners’ Sugar (1 cup / 120g) — Also known as powdered sugar. It dissolves instantly, unlike granulated sugar, which might leave little gritty spots. Sift it if it’s clumpy.
Vanilla Extract (2 teaspoons) — Use real vanilla extract, not imitation. The flavor is subtle in the filling but crucial for that classic cheesecake taste.
Lemon Juice (1 tablespoon) — This is my secret weapon. A little acid cuts the richness of the cream cheese and heavy cream. It brightens the whole dessert. Don’t skip it, but don’t add more or it’ll taste sour.
For the Topping (Optional but Recommended)
Fresh Berries (2 cups) — Strawberries, raspberries, or blueberries. I love the tartness of raspberries against the sweet cream.
Chocolate Sauce — Drizzle it on top right before serving. It looks fancy and adds a nice bitter contrast.
Graham Cracker Crumbs — A little extra sprinkled on top for garnish. It ties the plate together.
Equipment Needed
You don’t need fancy equipment for this. Here’s what I actually use.
Food Processor — This is the easiest way to crush graham crackers into fine sand. You can do it in a bag with a rolling pin, but it takes forever and your crumbs will be uneven. If you don’t have a food processor, this is worth buying if you bake often.
9-Inch Springform Pan — Essential for easy removal. If you don’t have one, you can use a 9-inch round cake pan, but you’ll need to line it with parchment paper and lift the cake out to slice it. It’s messier.
Electric Mixer — Handheld or stand mixer. You need to whip the cream to stiff peaks, and doing that by hand is a workout I don’t recommend. A mixer takes two minutes.
Large Mixing Bowls — You’ll need one for the cream cheese mixture and one for the whipped cream. Make sure they’re clean and dry.
Spatula — A silicone spatula is best for folding the whipped cream into the cream cheese without deflating it. Be gentle here.
Chilling Time — Your freezer or fridge. Obviously. But make sure your pan fits. I once tried to fit a large springform pan in a tiny freezer and it didn’t work. Plan ahead.
How to Make It: Step-by-Step
Alright, let’s make this! I’m walking you through exactly how I do it, including the little tricks I’ve picked up over the years.
Step 1: Prep Your Pan (2 minutes)
Grease your springform pan lightly with butter or cooking spray. If you’re worried about leaks, wrap the bottom of the pan in aluminum foil. This isn’t strictly necessary since there’s no water bath, but it gives me peace of mind. Set it aside.
Step 2: Make the Crust (5 minutes)
In your food processor, pulse the graham crackers until they are fine crumbs. Add the melted butter, sugar, and salt. Pulse again until the mixture looks like wet sand. It should hold together when you pinch it. If it’s too dry, add a little more butter. If it’s too wet, add more crumbs.
Pour the mixture into your springform pan. Press it down firmly and evenly. Use the bottom of a measuring cup to pack it tight. You want a solid base, not a loose layer. Put it in the freezer while you make the filling. This helps it set quickly.
Step 3: Whip the Cream (3 minutes)
In a large, cold bowl, pour the heavy whipping cream. Beat it on high speed until stiff peaks form. This means when you lift the beaters, the cream stands up straight. Do not over-whip it into butter, but don’t under-whip it either. Soft peaks will make the cheesecake runny. Stiff peaks are the goal.
Set the whipped cream aside. Don’t mix it yet.
Step 4: Make the Cheesecake Filling (5 minutes)
In another large bowl, beat the softened cream cheese on medium-high speed until it is completely smooth and creamy. This takes about 2-3 minutes. Scrape down the sides of the bowl. You want zero lumps.
Add the confectioners’ sugar, vanilla extract, and lemon juice. Beat until combined. The mixture should be thick and glossy.
Step 5: Fold It Together (3 minutes)
This is the most important step. Add one-third of the whipped cream to the cream cheese mixture and fold it in gently with a spatula. This lightens the dense cream cheese. Then, add the remaining whipped cream and fold until just combined. Be gentle! You want to keep the air in the cream. If you stir too hard, you’ll deflate it and lose that fluffy texture.
The mixture should look smooth, creamy, and voluminous.
Step 6: Assemble and Chill (4+ hours)
Take the crust out of the freezer. Pour the filling into the crust and smooth the top with your spatula. Tap the pan gently on the counter to release any air bubbles.
Cover the pan loosely with plastic wrap or foil. Place it in the freezer for at least 2 hours, or the fridge for 4-6 hours. For the best texture, I recommend freezing it for 2 hours to set it firm, then moving it to the fridge to soften slightly before serving. This makes it easier to slice.
Step 7: Serve
Run a warm knife around the edge of the pan to loosen the cake. Unlock the springform and remove the ring. Slice with a sharp knife, wiping the blade between cuts for clean slices. Top with fresh berries and a drizzle of chocolate sauce if you’re feeling fancy.
Expert Tips & Tricks
Here’s everything I’ve learned from making this dozens of times. These tips will save you from my mistakes.
Softened Cream Cheese is Key
I cannot stress this enough. If your cream cheese is cold, you will get lumps. And you can’t fix lumps in a no-bake cheesecake without straining it, which is a pain. Cut the blocks into small cubes and let them sit on the counter for 30-60 minutes. If you’re in a hurry, microwave them in 10-second bursts, checking frequently. They should be soft to the touch but not melted.
Don’t Overmix the Whipped Cream
Whip the cream to stiff peaks, but once you add it to the cream cheese, fold gently. Overmixing deflates the air, and your cheesecake will be dense and heavy instead of light and creamy. Think of it like folding in egg whites for a soufflé—be gentle.
Press the Crust Firmly
A loose crust is a sad crust. Press it down hard. If it’s crumbly, add more butter. The crust should feel like wet sand when you pinch it. If it falls apart, it needs more binding.
Chill Your Tools
If your kitchen is hot, chill your mixing bowls and beaters in the freezer for 15 minutes before whipping the cream. Cold cream whips faster and holds its shape better. This is a pro trick that makes a huge difference in humid weather.
Slice with a Hot Knife
For clean slices, dip your knife in hot water and wipe it dry between each cut. The heat melts through the cold cheesecake cleanly. Cold knives just squish the cake.
Variations & Substitutions
Once you’ve nailed the basic version, here’s how you can mix it up. I’ve tried all of these.
Strawberry Swirl
Mix 1 cup of mashed fresh strawberries with 1 tablespoon of sugar. Swirl it into the filling before pouring it into the crust. Or, make a strawberry sauce by cooking down berries with sugar and swirl that in. It’s pretty and delicious.
Mint Chocolate Chip
Add 1 teaspoon of peppermint extract to the filling. Fold in ½ cup of mini chocolate chips after you’ve combined the cream cheese and whipped cream. It tastes like an after-dinner mint.
Oreo Crust
Swap the graham crackers for Oreos. Remove the cream filling from half the cookies and crush the wafers. Use the cream-filled Oreos for the crust. It’s sweeter and richer. Great for kids.
Gluten-Free
Use gluten-free graham crackers or even gluten-free vanilla wafers. Make sure your cream cheese and other ingredients are certified gluten-free if you have celiac disease. Everything else is naturally gluten-free.
Dairy-Free
This is trickier. Use dairy-free cream cheese blocks (like Kite Hill) and full-fat coconut cream instead of heavy cream. Chill the coconut cream overnight and whip the solid part. It’s different but still tasty. My lactose-intolerant friend loves this version.
Lower-Sugar
Use a sugar substitute like erythritol or monk fruit in place of the confectioners’ sugar. Note that sugar substitutes don’t bulk the same way, so the texture might be slightly different. I’ve used Swerve and it works okay.
Serving & Storage
I usually serve this straight from the fridge at the dinner table—it looks rustic and stays cold. But here are other ways I’ve enjoyed it:
Side Dishes
This is a dessert, so you don’t need sides. But if you’re serving it after a heavy meal, pair it with something light. A simple green salad with lemon vinaigrette cuts the richness. Or serve it with coffee or tea.
Toppings Bar
When I have guests, I put out: fresh berries, chocolate sauce, caramel sauce, crushed nuts, and extra graham cracker crumbs. Everyone customizes their slice. It’s fun and interactive.
Wine Pairing
Not a wine expert, but my wine-snob friend says a sweet Riesling or Moscato works great with this. Or just a glass of red wine. It’s dessert, after all.
Storage Instructions
Refrigerator: Store in an airtight container or covered with plastic wrap for up to 5 days. The texture stays creamy. Do not leave it out at room temperature for more than 2 hours.
Freezer: Yes, you can freeze this! Wrap the whole pan or individual slices tightly in plastic wrap and then foil. It will keep for up to 2 months. Thaw in the fridge overnight before serving. The texture might be slightly icier, but it’s still good.
Reheating: Do not reheat this. It’s a chilled dessert. If it’s too hard to slice, let it sit at room temperature for 10 minutes.
Meal Prep: This is actually great for meal prep if you’re making individual portions. Make it in mini muffin tins orramekins. They store well and are perfect for lunchbox desserts or quick treats.
Nutrition Information
I’m not a nutritionist, but here’s the breakdown if you’re tracking. Keep in mind that this is a rich dessert, so portion control is key.
Per Serving (based on 12 slices):
- Calories: 380
- Protein: 5g
- Carbs: 35g
- Fiber: 1g
- Sugar: 28g
- Fat: 24g
- Saturated Fat: 14g
- Cholesterol: 65mg
- Sodium: 250mg
What’s Good:
- Decent calcium from the cream cheese
- No flour or baking involved
- Can be made with gluten-free or dairy-free options
What to Know:
- High in calories and fat from the cream cheese and heavy cream
- High in sugar
- Contains dairy
My Take:
Look, this is cheesecake. It’s not a salad. It’s rich, creamy, and indulgent. But it’s way better than store-bought because you control the ingredients. When I want to make it lighter, I use half-and-half instead of heavy cream and reduce the sugar. But usually? I just eat a reasonable slice and enjoy it. It’s a treat, not a staple.
Final Thoughts
So that’s my go-to no-bake cheesecake with graham cracker crust! I’ve probably talked your ear off at this point, but when you make a recipe this often, you have a lot to say about it.
This has saved dinner parties more times than I can count. It’s my answer to “what’s for dessert” when I’m tired, don’t want to bake, and still want something that tastes really good. My kids are happy, my husband’s happy, and I’m happy because I’m not stressed about cooking.
Make it yours! Try different add-ins, swap in your favorite berries, adjust the sweetness. The best recipes are the ones you adapt to your family’s tastes. If you want something even simpler for a snack, try those make-ahead breakfast muffin cups—they’re just as easy and no-bake too.
If you make this, drop a comment and let me know what you think! I love hearing how recipes turn out in your kitchen. And if something doesn’t work, tell me that too—I’m here to help troubleshoot. Happy cooking! And I hope your kitchen smells half as good as mine does right now (with fresh berries and vanilla).
Frequently Asked Questions
Can I use light cream cheese?
I really don’t recommend it. Light cream cheese has more water and less fat, which means it won’t set properly. Your cheesecake will be runny and grainy. Full-fat block cream cheese is the only way to go for this texture. If you must use light, add a packet of unflavored gelatin to help it set, but the taste won’t be as rich.
Why did my cheesecake turn out runny?
Usually, this happens because the cream cheese wasn’t softened enough (creating lumps that don’t bind), the whipped cream was under-whipped (not enough structure), or it didn’t chill long enough. Make sure you chill it for at least 4 hours in the fridge or 2 hours in the freezer. If it’s still runny after chilling, you can try adding a little more whipped cream and chilling it again, but it’s hard to fix.
Can I make this ahead for a dinner party?
Absolutely. This is actually better when made ahead. You can make it 2-3 days in advance. In fact, I recommend making it the night before so the flavors have time to meld. Just keep it covered in the fridge until you’re ready to serve.
Can I freeze this cheesecake?
Yes! It freezes beautifully. Wrap the whole pan tightly in plastic wrap and then foil. It will keep for up to 2 months. Thaw it in the fridge overnight. The texture might be slightly icier, but it’s still delicious. You can also freeze individual slices for quick desserts.
How do I get clean slices?
Use a sharp knife and dip it in hot water between each cut. Wipe it dry before the next slice. This melts through the cold cheesecake cleanly. A dull knife will just squish the cake and make a mess.
Can I use a different crust?
Of course! Try vanilla wafers, Oreos, gingersnaps, or even almond flour for a keto-friendly option. Just adjust the sugar in the crust depending on how sweet the cookies are. The butter-to-cookie ratio stays the same.
Why did my whipped cream deflate?
Probably because you overmixed it or you added it to warm cream cheese. Make sure your cream cheese is cool, not warm. And fold the whipped cream gently. If you stir too vigorously, you’ll knock the air out of it. Think of it like folding in egg whites for a soufflé—be gentle.
Pin This Recipe!
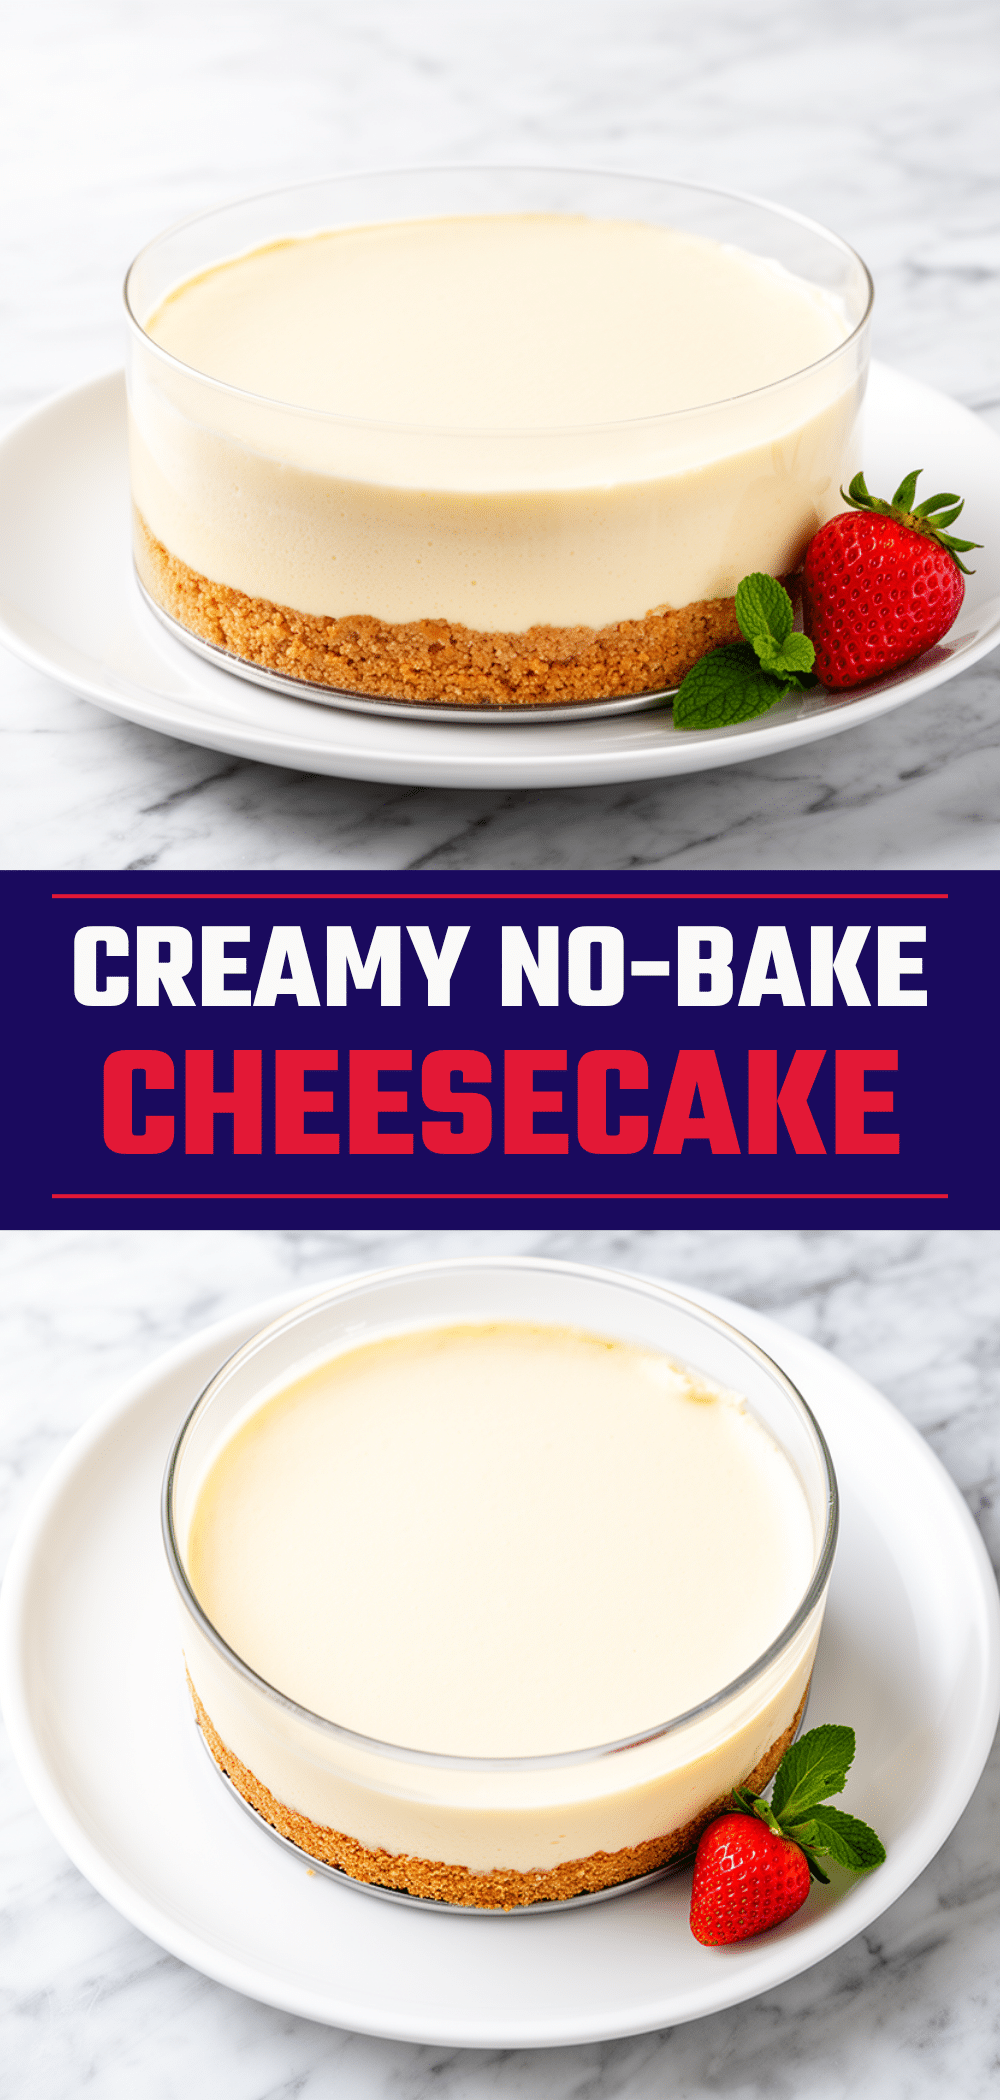
No-Bake Cheesecake: The Easiest Dessert Recipe
- Total Time: 2 hours 15 minutes
- Yield: 12 servings 1x
Description
A foolproof, no-bake cheesecake with a graham cracker crust that requires no oven. It is creamy, dense, and ready in just two hours in the freezer, making it perfect for humid weather or last-minute gatherings.
Ingredients
- 2 cups (200g) honey graham crackers, finely crushed
- 1/2 cup (115g) unsalted butter, melted
- 2 tablespoons (25g) granulated sugar
- 1/4 teaspoon salt
- 24 ounces (680g) full-fat block cream cheese, softened
- 2 cups (480ml) heavy whipping cream, cold
- 1 cup (120g) confectioners’ sugar
- 2 teaspoons vanilla extract
- 1 tablespoon lemon juice
- 2 cups fresh berries (optional, for topping)
- Chocolate sauce (optional, for topping)
Instructions
- Grease a 9-inch springform pan lightly with butter or cooking spray. Optionally wrap the bottom in aluminum foil to prevent leaks.
- In a food processor, pulse graham crackers until fine. Add melted butter, sugar, and salt; pulse until mixture resembles wet sand.
- Press the crust mixture firmly and evenly into the bottom of the springform pan. Place in the freezer while making the filling.
- In a large, cold bowl, beat heavy whipping cream on high speed until stiff peaks form. Set aside.
- In another large bowl, beat softened cream cheese on medium-high speed until smooth and creamy (2-3 minutes). Scrape down sides.
- Add confectioners’ sugar, vanilla extract, and lemon juice to the cream cheese; beat until combined and glossy.
- Gently fold one-third of the whipped cream into the cream cheese mixture to lighten it. Then, fold in the remaining whipped cream until just combined. Do not overmix.
- Pour the filling into the chilled crust and smooth the top. Tap the pan gently to release air bubbles.
- Cover loosely with plastic wrap or foil. Freeze for at least 2 hours, or refrigerate for 4-6 hours, until set.
- To serve, run a warm knife around the edge to loosen, remove the springform ring, and slice. Top with fresh berries or chocolate sauce if desired.
Notes
Ensure cream cheese is fully softened to avoid lumps. Chill mixing bowls and beaters if the kitchen is warm to help the cream whip better. For clean slices, dip a sharp knife in hot water and wipe dry between cuts. This dessert can be made gluten-free by using gluten-free crackers or dairy-free by using coconut cream and dairy-free cream cheese.
- Prep Time: 15 minutes
- Cook Time: 0 minutes
- Category: Dessert
- Cuisine: American
Nutrition
- Serving Size: 1 slice
- Calories: 380
- Sugar: 28
- Sodium: 250
- Fat: 24
- Saturated Fat: 14
- Carbohydrates: 35
- Fiber: 1
- Protein: 5
Keywords: no-bake cheesecake, graham cracker crust, easy dessert, summer dessert, creamy cheesecake, gluten-free option, dairy-free option


