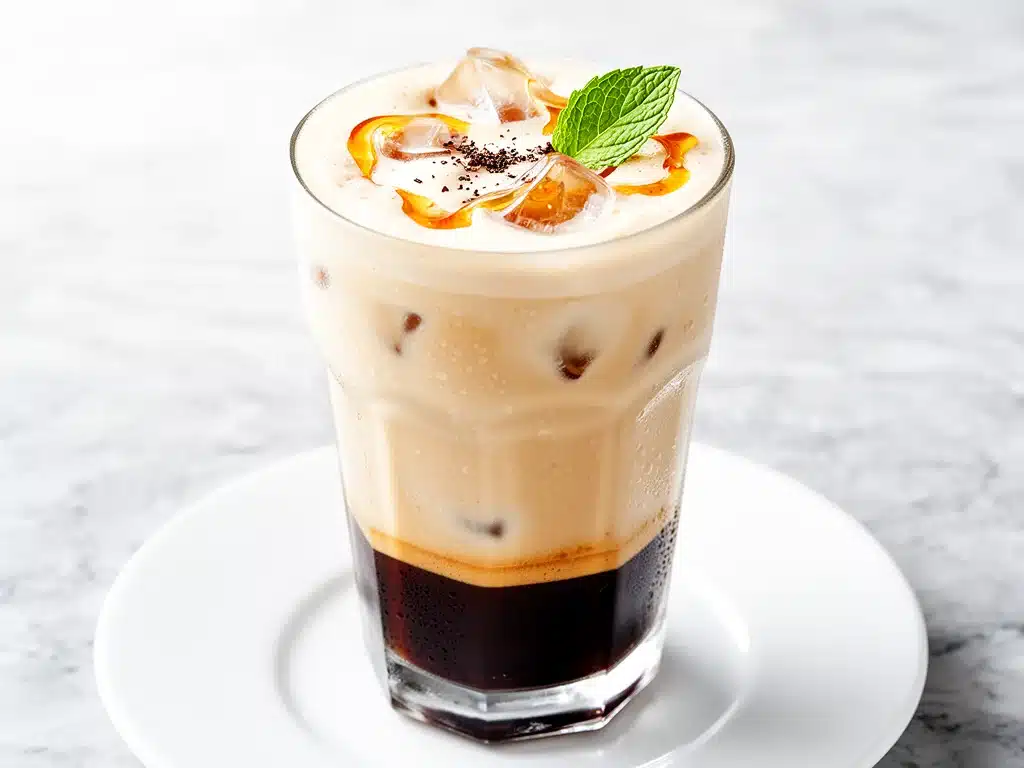
It started with a $7 mistake. Well, technically it was $7.45 with tax, but that’s the kind of detail that sticks with you when you’re standing in line at 7:15 AM, shivering in a winter coat, watching the person in front of you order a “grande, extra-hot, half-sweet, oat milk, two-pump vanilla” drink. I just wanted a latte. A simple iced vanilla latte. But by the time I got it, it cost more than my lunch, and it tasted like sugary water with a hint of burnt coffee.
I came home that morning and stared at my own coffee maker. It was doing the exact same thing—brewing strong, dark coffee that I then drowned in cold milk and syrup. The only difference was, I was paying $7 for the privilege of drinking it at a table I didn’t own, while my own kitchen was sitting right there with a pitcher of milk and a bottle of vanilla extract.
That was the day I decided to stop being a customer and start being a creator. I spent the next week testing different ratios, different milks, and different syrup methods. I tried using vanilla extract directly (spoiler: it’s too strong and tastes like perfume). I tried using simple syrup with vanilla beans (delicate, but tedious). I tried store-bought syrups (too chemical, too sweet).
Finally, I cracked the code. It wasn’t about fancy equipment or obscure ingredients. It was about making a homemade vanilla syrup that actually tastes like real vanilla, not artificial candy. Now, my creamy iced vanilla latte is my morning ritual. It’s faster than driving to the shop, it saves me hundreds of dollars a year, and honestly? It tastes better. The coffee hits different when you control the sweetness. It’s rich, it’s cold, and it’s creamy in that perfect way that makes you forget you’re drinking coffee at your kitchen counter.
If you’ve been burned by overpriced, underwhelming coffee shop drinks, you need to try this. It’s simple, it’s customizable, and it’s going to change your mornings. Let’s get into how to make it.
Why You’ll Love This Homemade Iced Vanilla Latte
There are about ten reasons I keep making this, but let’s be real: it’s mostly because it’s ridiculously easy and saves a fortune. Here’s the breakdown of why this creamy iced vanilla latte has taken over my kitchen routine.
- Stupid Simple — Seriously, if you can boil water and stir a spoon, you can make this. I’ve made this while half-asleep on Sunday mornings. The homemade syrup takes 10 minutes, and the latte takes 2. That’s it.
- Lightning Fast — From waking up to sipping, it’s about 15 minutes. No waiting in line. No fumbling for your wallet. Just brew, chill, mix, drink. It’s faster than putting on shoes.
- Bank-Friendly — This costs about $1.50 per cup. That’s a fraction of the $5-$7 shop price. If you drink one a day, you’re saving over $1,500 a year. I use those savings to buy better coffee beans. Win-win.
- Customizable Perfection — Want it sweeter? Add more syrup. Want it lighter? Use almond milk. Want it stronger? Use espresso beans. You control every variable. No more “too sweet” or “too watery” complaints.
- Actually Creamy — Store-bought syrups often feel thin. My homemade syrup has a slight body to it because of the sugar dissolution, and when you hit it with cold milk, it creates this velvety texture that’s just addictive.
This isn’t just coffee. It’s a small luxury that you can afford to have every day. It’s my answer to “I need a pick-me-up” without the guilt or the price tag.
Ingredients You’ll Need
Here’s the best part: you probably have most of this already. I’m particular about a few things here, mostly because bad ingredients make a bad drink, but overall, this is pantry-friendly.
For the Homemade Vanilla Syrup
Granulated sugar (1 cup / 200g) — This is the base. White sugar works best because it’s neutral. Brown sugar will change the flavor profile too much for a classic latte. Don’t skip this; sugar isn’t just for sweetness, it’s for the syrup texture.
Water (1 cup / 240ml) — Just tap water is fine. Filtered is better if your tap water tastes weird, but for this, it doesn’t matter much.
Vanilla extract (2 tablespoons / 30ml) — This is the big one. Do not use imitation vanilla. Use the real deal. I prefer a pure vanilla extract that’s amber-colored. If you have a real vanilla bean, you can scrape one into the syrup while it cooks, but extract is easier and still tastes amazing. This is where the flavor lives.
For the Latte
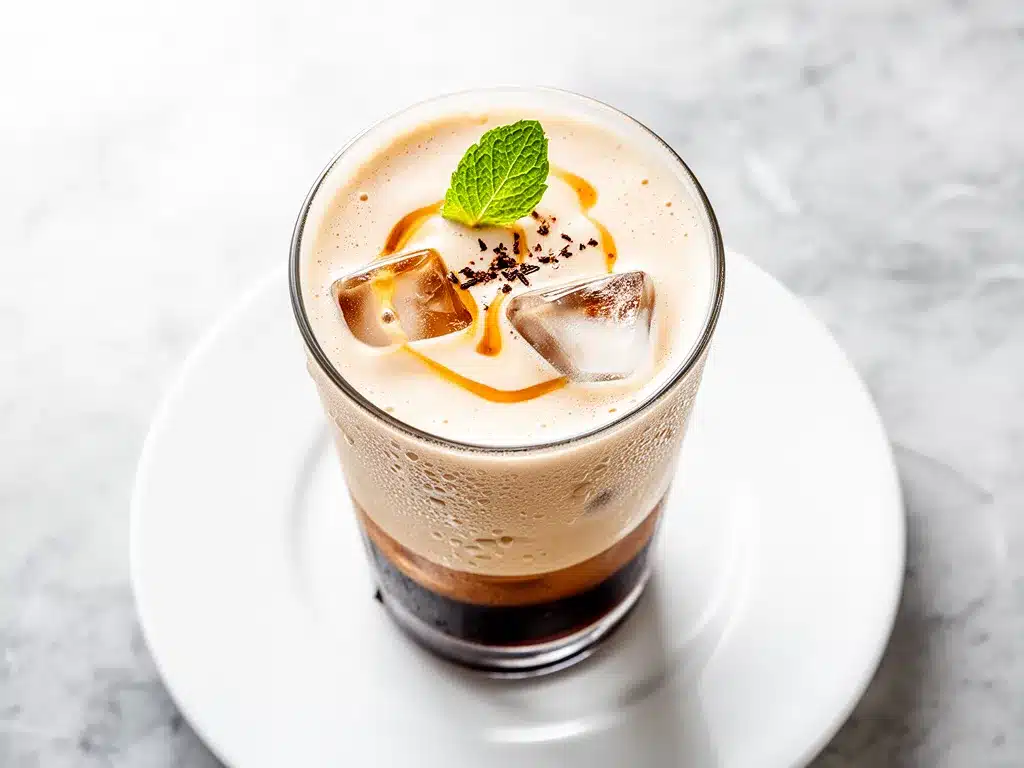
Strong coffee or espresso (1 cup / 240ml) — You need bold coffee. If your coffee is weak, the drink will taste watery. I use a French press with a medium-fine grind, or I pull two shots of espresso. Cold brew concentrate also works great if you want a smoother, less acidic taste.
Milk of choice (1 to 1.5 cups / 240-360ml) — This is where you get personal. Whole milk makes it the creamiest. Oat milk is my favorite non-dairy option because it froths and feels rich. Almond milk is lighter but works. Coconut milk adds a tropical twist. Just make sure it’s cold.
Ice cubes — Plenty of them. You want the drink to stay cold without diluting too fast. Large ice cubes are better because they melt slower. If you don’t have them, regular cubes work fine.
Optional: Whipped cream — Because why not? A little dollop on top makes it feel like a treat. I use homemade whipped cream when I’m feeling fancy, but store-bought is totally fine for lazy days.
Equipment Needed
You don’t need fancy equipment for this. Here’s what I actually use.
Small saucepan — I use a small 1-quart pot for the syrup. It doesn’t need to be big, just enough to hold the sugar and water without boiling over.
Whisk — For stirring the syrup while it heats. A small whisk works best. You can use a spoon, but a whisk mixes faster and prevents clumps.
Measuring cups and spoons — Standard stuff. Dollar store versions work fine. Precision helps with the syrup ratio, so don’t eyeball it too much.
Coffee maker or espresso machine — Whatever you normally use. French press, drip machine, pod machine, or espresso machine. Just make it strong.
Tall glass — I love a tall, clear glass for this. It looks pretty with the layers of coffee and milk, and it holds the ice well. A mason jar works great too.
Strainer (optional) — If you use vanilla beans, you’ll need a fine-mesh strainer to remove the seeds. For extract, you don’t need this.
How to Make It: Step-by-Step
Alright, let’s make this! I’m walking you through exactly how I do it, including the little tricks I’ve picked up.
Step 1: Make the Vanilla Syrup (10 minutes)
Start by combining the sugar and water in your small saucepan. Place it over medium heat. Stir constantly until the sugar dissolves completely. You’ll see the mixture turn clear and bubble gently. This usually takes about 3-4 minutes. Don’t let it boil too hard, or it might burn.
Once the sugar is dissolved and the mixture is bubbling, remove it from the heat. Let it cool for about 2 minutes (so it doesn’t evaporate the vanilla), then stir in the vanilla extract. The smell will fill your kitchen. Pour the syrup into a jar or bottle. It will thicken slightly as it cools. You can make this ahead and store it in the fridge for up to 2 weeks.
Step 2: Brew Your Coffee (5 minutes)
While the syrup cools, brew your coffee. Make it strong. If you’re using a drip machine, use twice the amount of coffee grounds you normally would. If you’re using espresso, pull two shots. Let the coffee cool to room temperature. You can speed this up by pouring it into a cold glass or putting it in the fridge for 10 minutes. Hot coffee will melt the ice too fast and water down your drink.
Step 3: Assemble the Latte (2 minutes)
Take your tall glass and fill it with ice cubes. Add your milk. How much? I usually start with 1 cup, but add more if you like it milky. Then, add the vanilla syrup. I start with 2 tablespoons for a medium sweetness. If you like it sweeter, add 3 tablespoons. Give it a quick stir to mix the syrup with the milk.
Slowly pour the cooled coffee over the milk. You’ll see it swirl beautifully. Stir gently to combine everything. If you’re using whipped cream, add a dollop on top now.
Step 4: Taste and Adjust
Take a sip. Is it too strong? Add a splash more milk. Too weak? Add more coffee. Not sweet enough? Add a little more syrup. This is your drink, so make it perfect for your palate.
That’s it. You’re done. Grab a straw and enjoy.
Expert Tips & Tricks
Here’s everything I’ve learned from making this dozens of times. These tips will save you from my mistakes.
Cool the Coffee First
This is the #1 tip. Hot coffee + ice = watery disaster. Always let your coffee cool down before adding it to the glass. I keep a pitcher of brewed coffee in the fridge so it’s ready to go. If you’re in a rush, pour hot coffee into a metal bowl and stir it with ice to cool it quickly (strain out the ice when it’s cool).
Don’t Skimp on the Vanilla
Vanilla extract is potent. If you use imitation vanilla, the drink will taste artificial and harsh. Spend the extra money on pure vanilla extract. It makes a huge difference in the flavor profile.
Make the Syrup Ahead
Homemade syrup keeps for weeks in the fridge. Make a batch on Sunday, and you have latte syrup ready all week. It saves so much morning stress. Just shake the bottle before using.
Use Large Ice Cubes
Small ice cubes melt fast and dilute your drink. Large cubes or ice spheres keep the coffee cold without watering it down. If you don’t have them, freeze coffee into ice cubes. Then you’re adding coffee flavor, not water.
Customize the Milk
The type of milk changes the texture. Whole milk is creamiest. Oat milk is the best non-dairy for texture. Almond milk is lightest. Experiment to find your favorite.
Variations & Substitutions
Once you’ve nailed the basic version, here’s how you can mix it up. I’ve tried all of these.
Dirty Vanilla Latte
Add a shot of espresso to the glass before adding milk. This makes it a “dirty” latte with an extra caffeine kick. Perfect for when I need to power through a big project.
Mocha Vanilla Latte
Add 1 tablespoon of chocolate syrup or cocoa powder to the glass. It’s like a mocha latte with a vanilla twist. My kids love this version.
Coconut Vanilla Latte
Use coconut milk instead of dairy milk. Add a pinch of cinnamon. It’s tropical and refreshing. Great for summer.
Decaf Version
Use decaf coffee. All the flavor, none of the jitters. I drink this in the evenings sometimes.
Spiced Vanilla Latte
Add a pinch of cinnamon or nutmeg to the syrup while it cooks. It adds warmth and complexity. Very cozy.
Serving & Storage
How to Serve:
I usually serve this straight from the pitcher at brunches. It looks pretty in tall glasses with a cinnamon stick garnish. But here are other ways I’ve enjoyed it:
- Breakfast pairing: Goes great with make-ahead breakfast muffin cups for a full weekend brunch.
- Snack time: Sometimes I have this with a side of no-bake peanut butter banana energy bites for a sweet afternoon pick-me-up.
Storage Instructions:
Store the homemade vanilla syrup in an airtight jar in the fridge for up to 2 weeks. The brewed coffee can be stored in the fridge for 3-4 days. Assemble the latte fresh with ice for the best texture.
Reheating:
This is an iced drink, so reheating isn’t really the goal. But if you want a hot vanilla latte, just heat the coffee and milk together and add the syrup. It’s delicious warm too.
Nutrition Information
I’m not a nutritionist, but here’s the breakdown if you’re tracking.
Per Serving (based on 1 latte with 2 tbsp syrup and 1 cup whole milk):
- Calories: 180
- Protein: 8g
- Carbs: 24g
- Fiber: 0g
- Sugar: 22g
- Fat: 7g
- Saturated Fat: 4g
- Cholesterol: 20mg
- Sodium: 60mg
What’s Good:
– Decent protein from milk
– No artificial additives
– You control the sugar amount
What to Know:
– Higher in sugar from the syrup
– Contains dairy (unless using plant milk)
– Moderate calories
My Take:
Look, this is a treat. It has sugar and milk. It’s not a health drink. But it’s way better than the shop version because you know exactly what’s in it. When I want to make it lighter, I use almond milk and reduce the syrup to 1 tablespoon. But usually? I just enjoy a reasonable portion and appreciate the homemade goodness.
Final Thoughts
So that’s my go-to creamy iced vanilla latte! I’ve probably talked your ear off at this point, but when you make a recipe this often, you have a lot to say about it.
This has saved my mornings more times than I can count. It’s my answer to “I need coffee” when I’m tired, don’t want to leave the house, and still want something that tastes really good. My family is happy, my wallet is happy, and I’m happy because I’m not stressed about making it.
Make it yours! Try different milks, different syrups, different coffees. The best recipes are the ones you adapt to your tastes.
If you make this, drop a comment and let me know what you think! I love hearing how recipes turn out in your kitchen. And if something doesn’t work, tell me that too—I’m here to help troubleshoot.
Happy brewing! And I hope your kitchen smells half as good as mine does right now.
Frequently Asked Questions
Can I use instant coffee for this?
You can, but it won’t taste as good. Instant coffee often has a flat, bitter flavor. If you must use it, dissolve 2 teaspoons of instant coffee in 2 tablespoons of hot water to make a concentrate, then cool it before adding to the latte. It’s a backup plan, not a first choice.
How long does the homemade vanilla syrup last?
It lasts up to 2 weeks in the fridge in an airtight jar. If you notice any mold or weird smell, toss it. But it usually lasts that long because we use it so fast!
Can I make this with cold brew?
Absolutely! Cold brew is actually perfect for this. It’s naturally smoother and less acidic. Just use cold brew concentrate and dilute it with milk and syrup. It’s my favorite way to make this in summer.
Why did my syrup crystallize?
This happens if you don’t stir enough while heating, or if sugar crystals get on the side of the pot. To prevent it, brush the sides of the pot with a wet pastry brush while heating, or just stir constantly. If it does crystallize, add a splash of water and heat it again to dissolve.
Can I use maple syrup instead of sugar syrup?
You can, but it will taste like maple, not vanilla. If you want a maple vanilla latte, use maple syrup instead of the sugar syrup. It’s delicious, but it’s a different drink. For a classic vanilla latte, stick with the sugar syrup.
Is this recipe kid-friendly?
Yes! Kids love it. I make a decaf version for them with less syrup. They think it’s a fancy treat. Just be careful with the caffeine if you use regular coffee. Decaf is safer for younger kids.
Can I double the syrup recipe?
Yes, just use a bigger pot. Double the sugar and water, cook as directed. It makes a lot, so you’ll have syrup for weeks. I usually make a triple batch and freeze half in ice cube trays for quick use.
Pin This Recipe!
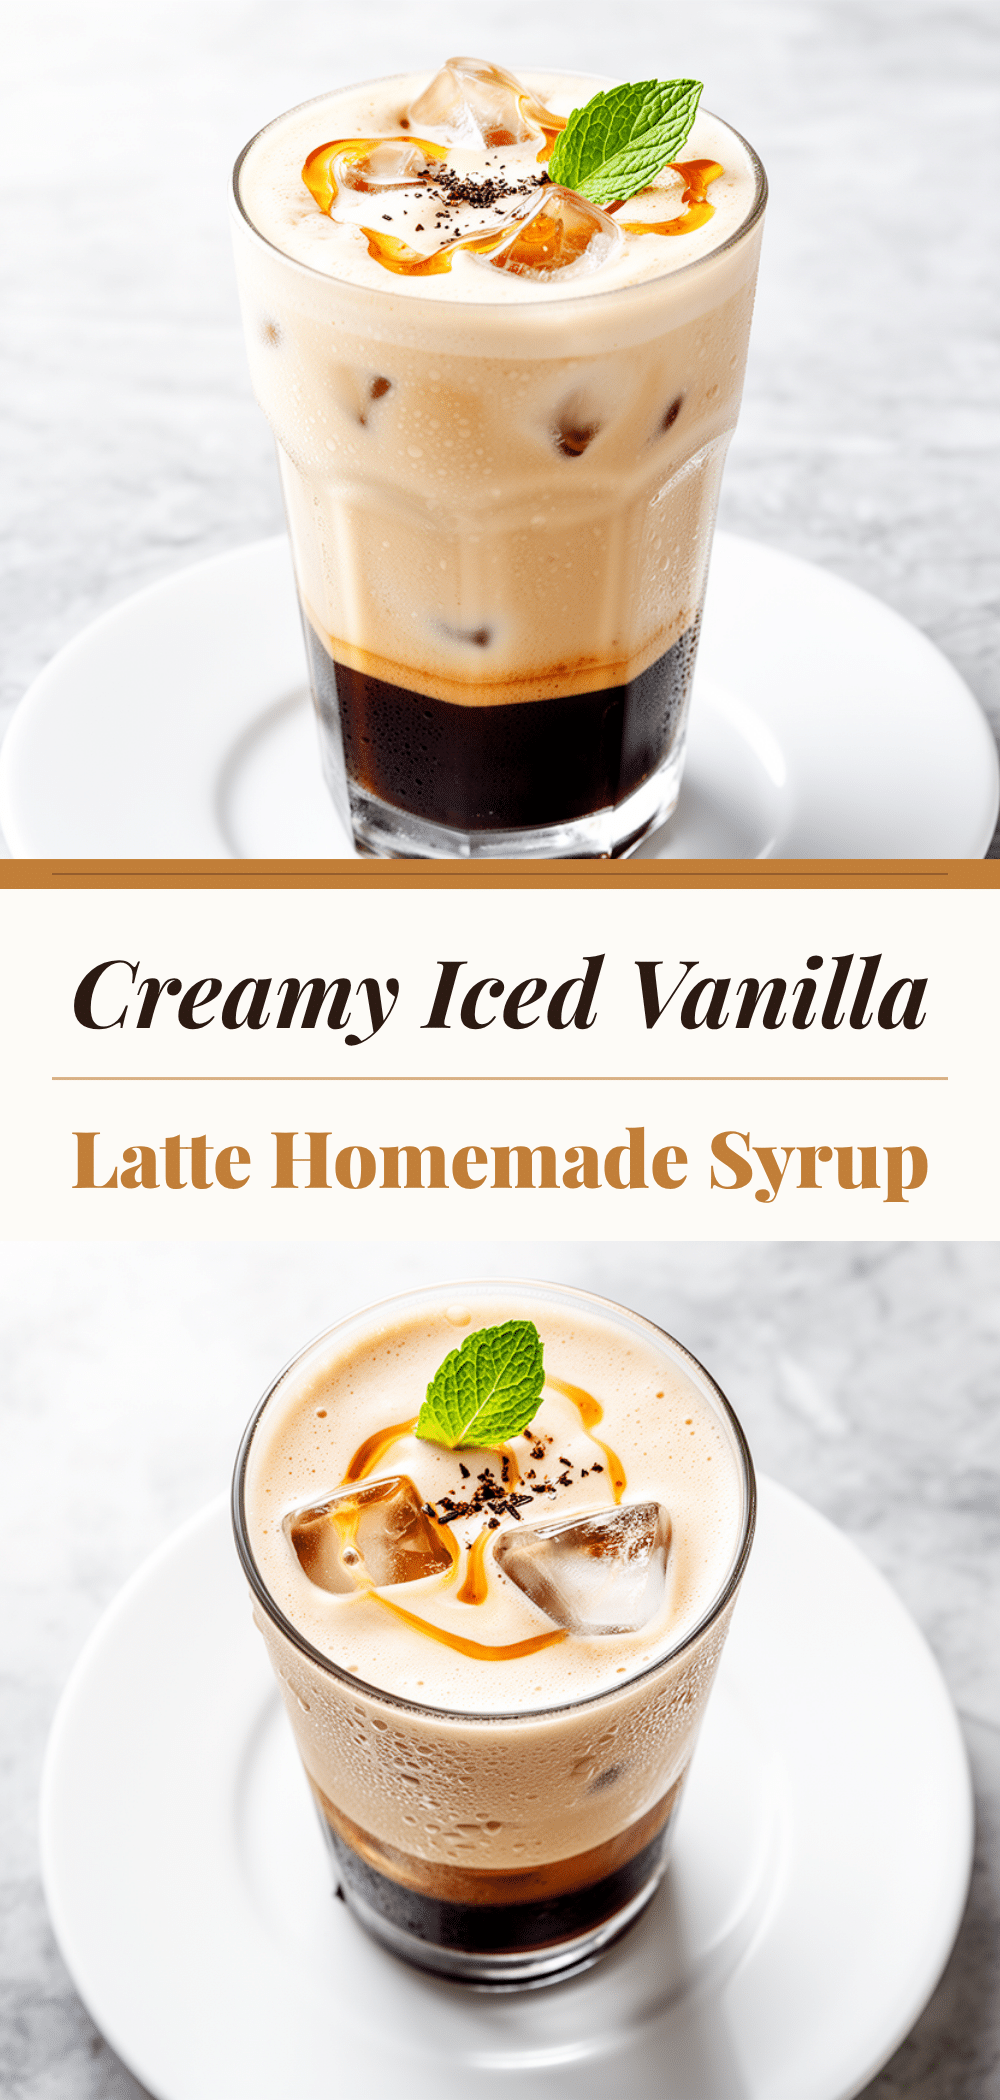

Creamy Iced Vanilla Latte: 5-Ingredient Homemade Recipe
- Total Time: 15 minutes
- Yield: 1 serving 1x
Description
A simple, customizable homemade iced vanilla latte that saves money and tastes better than coffee shop versions. Made with a quick homemade vanilla syrup, strong coffee, and your choice of milk.
Ingredients
- 1 cup granulated sugar
- 1 cup water
- 2 tablespoons pure vanilla extract
- 1 cup strong coffee or espresso, cooled
- 1 to 1.5 cups cold milk of choice (whole, oat, almond, or coconut)
- Ice cubes
- Optional: Whipped cream
Instructions
- Combine sugar and water in a small saucepan over medium heat. Stir constantly until sugar dissolves completely (about 3-4 minutes).
- Remove from heat and let cool for 2 minutes. Stir in vanilla extract.
- Pour syrup into a jar and let it thicken slightly as it cools. Store in fridge for up to 2 weeks.
- Brew strong coffee or espresso. Let it cool to room temperature or chill in the fridge.
- Fill a tall glass with ice cubes.
- Add milk to the glass.
- Add 2 tablespoons of homemade vanilla syrup to the milk and stir.
- Slowly pour the cooled coffee over the milk and stir gently to combine.
- Top with whipped cream if desired and serve immediately.
Notes
Cool the coffee completely before adding to ice to prevent dilution. Use large ice cubes to minimize melting. The homemade syrup can be made ahead and stored in the fridge for up to 2 weeks. Customize sweetness by adjusting the amount of syrup used.
- Prep Time: 10 minutes
- Cook Time: 5 minutes
- Category: Beverage
- Cuisine: American
Nutrition
- Serving Size: 1 tall glass
- Calories: 180
- Sugar: 22
- Sodium: 60
- Fat: 7
- Saturated Fat: 4
- Carbohydrates: 24
- Protein: 8
Keywords: iced vanilla latte, homemade vanilla syrup, coffee recipe, iced coffee, dairy-free options, budget coffee, morning routine


