Last Tuesday, I found myself standing in the kitchen at 3:45 PM, staring into the refrigerator with that specific kind of desperation that only happens after a long workday. My seven-year-old had just come in from soccer practice, and my four-year-old was already eyeing the cookie jar like it was a treasure map. I needed something fast. I needed something healthy-ish. And most importantly, I needed something that would buy me ten minutes of silence while they ate.
I was about to cave and hand them each a granola bar when I spotted a tub of plain Greek yogurt and a bag of frozen mixed berries I’d been meaning to use up for weeks. It hit me: why not make something frozen, colorful, and fun? Something that looked like a treat but was actually packed with protein and calcium?
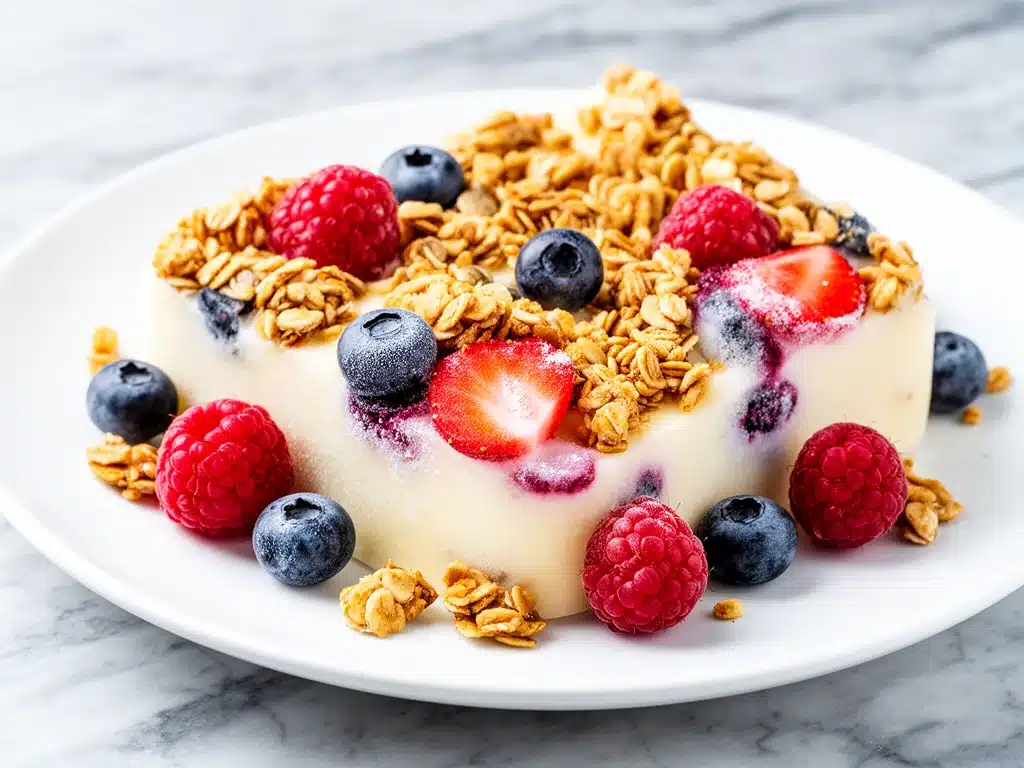
That afternoon, I scraped together a batch of After-School Frozen Yogurt Bark with Berries and Granola. I spread the yogurt on a baking sheet, sprinkled on the berries, threw in some granola for crunch, and shoved it in the freezer. Ten minutes later, I pulled out a giant, colorful sheet of frozen goodness and handed it to the kids. They thought they were getting dessert. They were getting a snack that actually helped them recover from practice. And honestly? It was the best $2 I spent all week.
This isn’t just a recipe; it’s a strategy. Since that Tuesday, I’ve made this frozen yogurt bark at least six times. It’s become my secret weapon for after-school hunger, rainy day boredom, and even unexpected playdate guests. It’s customizable, it’s beautiful, and it tastes like summer even in the middle of winter. If you’re tired of the same old crackers and cheese routine, you need to try this.
Why You’ll Love This Frozen Yogurt Bark
I know what you’re thinking: “Another frozen treat? Really?” But hear me out. This isn’t ice cream. It isn’t a popsicle. It’s a crunchy, creamy, fruity masterpiece that hits every single note kids crave without the sugar crash.
Here’s why this After-School Frozen Yogurt Bark with Berries and Granola has completely replaced store-bought snacks in our house:
- Zero Cooking Required — Seriously. If you can spread something on a pan and put it in the freezer, you can make this. I’ve made it while helping my son with math homework. No stove, no oven, no mess.
- Protein-Packed — We use Greek yogurt, which means you’re getting a solid protein boost. This keeps them full longer than sugary snacks do. I’ve noticed they don’t raid the pantry an hour later.
- Customizable for Picky Eaters — My daughter loves strawberries. My son ignores them but goes crazy for blueberries. With bark, you can layer or swirl flavors so everyone gets what they want. No fighting over the last piece.
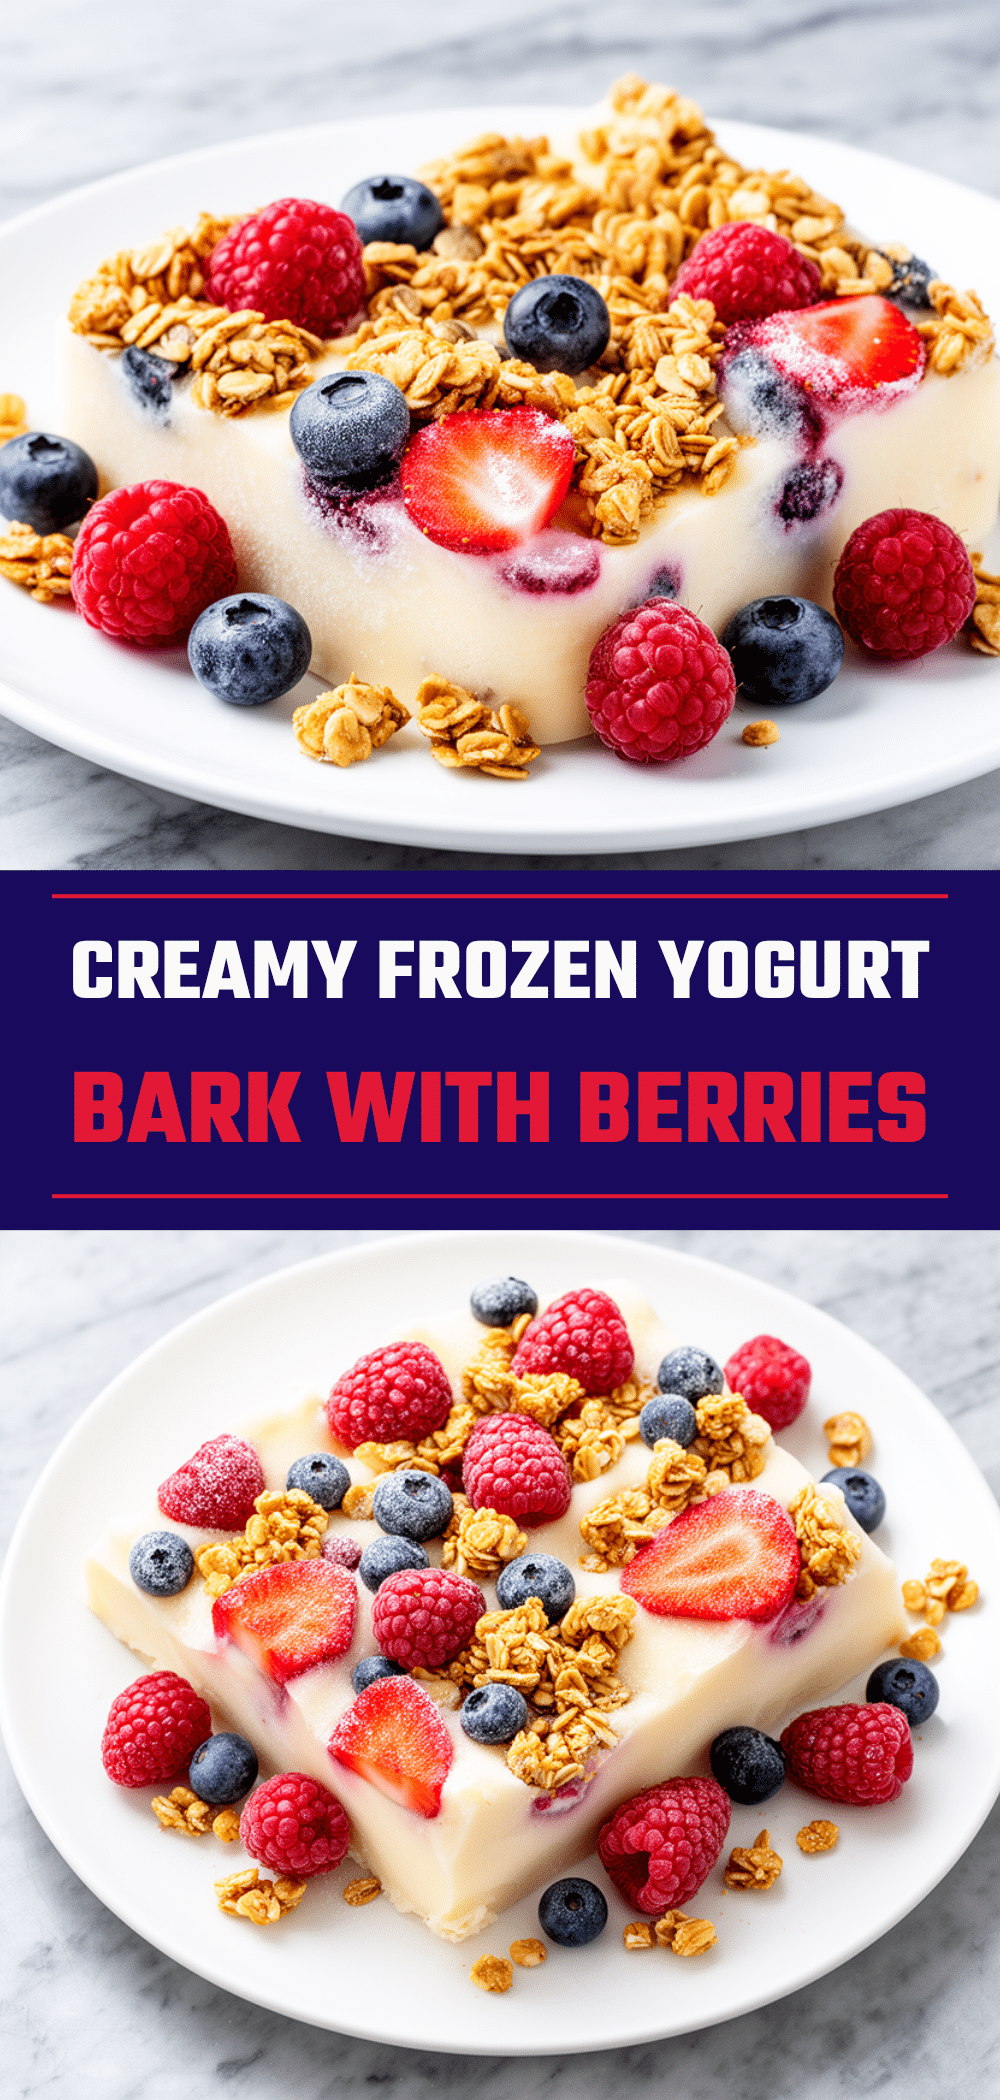
- Beautiful Enough for Pinterest — Let’s be real. It looks amazing. The white yogurt, the bright red berries, the golden granola—it’s vibrant and inviting. My kids love breaking off their own pieces because it feels like a game.
- Meal-Prep Friendly — I make a big batch on Sunday, break it into pieces, and store it in containers. When the 3:30 PM hunger strikes, I just grab a handful. It’s faster than making a sandwich.
- Costs Pennies per Serving — Yogurt and frozen fruit are cheap, especially when you buy frozen. This snack costs maybe $0.50 per serving. Compare that to a $2.50 pouch of fruit snacks or a box of crackers, and the math is obvious.
This is my go-to when I need dinner to just work. No complicated techniques, no weird ingredients, just reliable, delicious food that makes everyone happy. It’s the bridge between lunch and dinner that actually feels like a treat.
Ingredients You’ll Need
Here’s the best part: you probably have most of this already. I’m particular about three ingredients here, and I’ll tell you exactly why. This isn’t a rigid recipe; it’s a framework. But getting the base right makes all the difference.
For the Base:
Greek Yogurt (2 cups / 450g) — This is non-negotiable. I use plain, full-fat Greek yogurt. It’s thick, creamy, and tangy. Low-fat yogurt can be too watery and result in icy bark. Full-fat gives you that rich, creamy texture that melts on the tongue. I love Fage or Chobani, but any brand works.
Honey or Maple Syrup (2-3 tablespoons / 30-45ml) — Plain Greek yogurt is tart. You need a little sweetness to balance it. I use honey because it blends beautifully. Maple syrup is a great vegan option. Don’t skip this, or it’ll taste like frozen sour cream.
Vanilla Extract (1 teaspoon / 5ml) — Just a splash. It rounds out the flavor and makes it taste like dessert. Pure vanilla, if you can find it.
For the Crunch and Color:
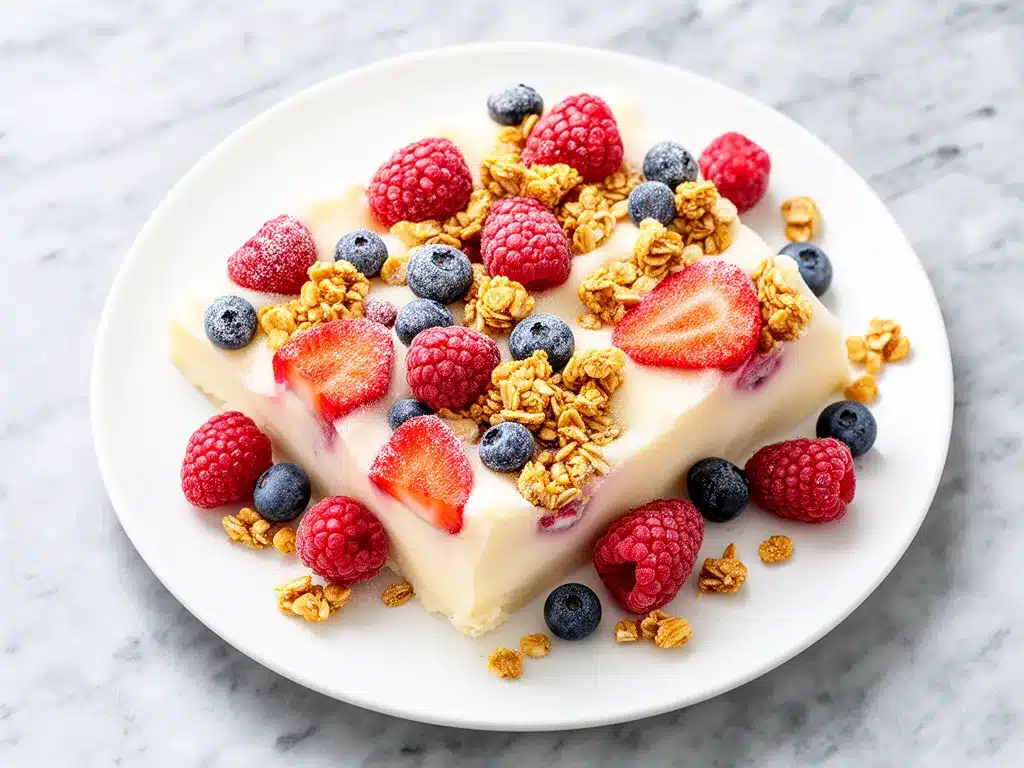
Granola (1 cup / 80g) — This is where you get the texture. I use a honey-oat granola with nuts. Avoid ones that are too sugary or coated in chocolate, as they can get soggy. Clusters are good, but small bits are easier to distribute evenly. If you’re worried about sugar, look for brands with under 8g sugar per serving.
Frozen Mixed Berries (1 cup / 150g) — Strawberries, blueberries, raspberries, or a mix. Frozen berries are actually better than fresh here because they don’t release as much water as they thaw. They stay firm and add little bursts of flavor. I buy the big bags of “mixed berries” because it’s cheaper.
Optional Add-Ins:
- Dark Chocolate Chips (2 tablespoons) — For the chocolate lovers. Sprinkle them on before freezing.
- Chia Seeds (1 tablespoon) — Adds omega-3s and a subtle crunch. I sprinkle these for extra nutrition.
- Sliced Almonds (2 tablespoons) — For a nuttier crunch. Great if your kids aren’t allergic.
- Shredded Coconut (2 tablespoons) — Adds a tropical vibe. Works well with mango if you swap the berries.
Pro Tip: I always keep a bag of frozen berries and a tub of Greek yogurt in the freezer/fridge specifically for this. It’s my emergency snack plan.
Equipment Needed
You don’t need fancy equipment for this. Here’s what I actually use.
Baking Sheet — I use a standard 13×18 inch sheet pan. It gives you enough surface area to spread the yogurt thin. If you don’t have a big one, two smaller pans work fine.
Parchment Paper — Essential. Do not skip this. The yogurt will stick to the pan like glue if you don’t line it. Parchment paper makes cleanup effortless. You just peel the bark off and toss the paper.
Offset Spatula — This is my secret weapon. It makes spreading the yogurt evenly so much easier. A regular spoon works, but it takes more effort. I use my offset spatula for everything now.
Freezer-Safe Containers — For storing the finished bark. Airtight containers or Ziploc bags work great. I use a large Tupperware container to keep it flat.
Rolling Pin or Heavy Pan — To break the bark into pieces. You could use your hands, but a rolling pin gives you more control over the size of the pieces.
Knife — A sharp chef’s knife works too if you want to chop it into squares. But breaking it by hand feels more satisfying.
How to Make It: Step-by-Step
Alright, let’s make this! I’m walking you through exactly how I do it, including the little tricks I’ve picked up. This takes about 10 minutes of active time, plus freezing.
Step 1: Prep Your Pan (2 minutes)
Line your baking sheet with parchment paper. Make sure the paper covers the entire surface. If the parchment is smaller than your pan, overlap two sheets. Smooth out any wrinkles as best you can—you want a flat surface for an even bark. This is the most important step for easy cleanup.
Step 2: Mix the Yogurt Base (3 minutes)
In a medium bowl, combine the Greek yogurt, honey (or maple syrup), and vanilla extract. Stir until completely smooth. You want no streaks of honey left. Taste it—it should be sweet enough for you. If you like it sweeter, add a little more honey. Remember, the yogurt will taste slightly less sweet when frozen, so err on the side of sweet.
Step 3: Spread the Yogurt (3 minutes)
Pour the yogurt mixture onto the prepared baking sheet. Use your offset spatula to spread it out into an even layer. Aim for about ¼ inch thick. If it’s too thick, it’ll take forever to freeze and be harder to break. If it’s too thin, it’ll be too icy. You want that creamy-yet-crunchy balance. Don’t worry if it’s not perfect—kids won’t care.
Step 4: Add the Toppings (2 minutes)
This is the fun part. Sprinkle the granola, berries, and any other add-ins over the yogurt. I like to distribute them evenly, but you can also create little clusters. If you’re using chocolate chips, sprinkle them now. Press them down gently so they stick to the yogurt. If you’re using fresh herbs like mint, add those now too.
Step 5: Freeze (4-6 hours)
Place the baking sheet in the freezer. Let it freeze for at least 4 hours, but overnight is best. The yogurt needs to be rock hard. If you try to break it while it’s still soft, it’ll just smear. Patience pays off here.
Step 6: Break and Store (5 minutes)
Once the bark is completely frozen, take it out of the freezer. Peel the parchment paper off the bottom. Now, break it into pieces. I use my hands for irregular, rustic shapes. It feels like breaking a giant cookie. If you want uniform squares, use a knife to score the bark first, then snap it. Store the pieces in an airtight container in the freezer. They’ll keep for up to 3 months.
Total Time: 10 minutes active, 4-6 hours freezing.
Built-in Troubleshooting:
- Yogurt is too runny? Make sure you’re using Greek yogurt, not regular yogurt. Greek yogurt is strained and much thicker.
- Bark won’t break? It needs more time. Check it after 4 hours. If it’s still flexible, give it another hour.
- Toppings are sinking? Press them in gently. If they’re still sinking, add a second thin layer of yogurt on top.
Expert Tips & Tricks
Here’s everything I’ve learned from making this dozens of times. These tips will save you from my mistakes.
Don’t Use Fresh Fruit Unless It’s Dry
Fresh strawberries release a lot of water. If you use them, pat them dry with a paper towel first. Otherwise, you’ll get icy patches in your bark. Frozen berries are safer because they’re already frozen and won’t release extra moisture.
Toast Your Granola
If your granola isn’t super crunchy, toast it in the oven for 5 minutes before adding it. This adds extra crunch and prevents it from getting soggy when it touches the yogurt. It’s a small step that makes a big difference.
Layer for Visual Impact
If you want pretty stripes or swirls, divide the yogurt into three bowls and color them with different fruit purees (like strawberry or blueberry). Spread layers on the pan. It looks professional and impresses the kids. But honestly? Random sprinkles work just as well.
Portion Control
Break the bark into small pieces. It’s easy to overeat because it tastes so good. I break it into bite-sized chunks and store them in small bags. This way, each kid gets exactly one serving.
Keep it Cold
If you’re serving it at a party, keep the bark in the freezer until the last minute. It melts fast. Serve it on a cold plate if possible.
Variations & Substitutions
Once you’ve nailed the basic version, here’s how you can mix it up. I’ve tried all of these.
Tropical Paradise
Skip the berries and granola. Use shredded coconut, diced mango, and pineapple chunks. Add a splash of lime juice to the yogurt. It tastes like vacation.
Chocolate Peanut Butter
Swirl in a tablespoon of peanut butter into the yogurt before spreading. Top with mini chocolate chips and crushed peanuts. It’s like a Reese’s cup in bark form.
Apple Pie
Use cinnamon-spiced yogurt. Top with diced apples (toss them in lemon juice first to prevent browning), cinnamon granola, and a drizzle of caramel sauce after freezing.
Matcha Green Tea
Whisk matcha powder into the yogurt until it’s bright green. Top with white chocolate chips and sesame seeds. It’s earthy and sweet.
Dietary Modifications:
- Vegan: Use coconut yogurt instead of Greek yogurt. Use maple syrup instead of honey. Use vegan granola and chocolate chips.
- Dairy-Free: Same as vegan. Coconut yogurt works well, though it’s slightly thinner. Add a teaspoon of cornstarch to thicken it.
- Gluten-Free: Use certified gluten-free granola. Most granolas contain wheat, so check labels.
- Sugar-Free: Use stevia or monk fruit sweetener instead of honey. Use unsweetened granola and fresh berries.
I’ve also made this with no-bake peanut butter banana energy bites as a companion snack for days when we want something chewy instead of crunchy. Both are great for after-school energy.
Serving & Storage
How to Serve:
I usually serve this straight from the freezer container. It’s casual and fun. But here are other ways I’ve enjoyed it:
- As a Dessert: Serve with a dollop of whipped cream for a fancy touch.
- With Fruit: Pair it with fresh fruit skewers for a balanced snack.
- At Parties: Put it on a platter with toothpicks. It’s a hit at birthdays.
Storage Instructions:
Refrigerator: Do not store this in the fridge. It will melt. Store it in the freezer.
Freezer: Store in an airtight container for up to 3 months. Use parchment paper between layers to prevent sticking. It stays fresh and crunchy.
Reheating: No reheating needed. Just eat it frozen. If it gets too hard, let it sit on the counter for 2 minutes.
Pro Tip: If you’re meal-prepping, break the bark into individual portions and freeze them in small bags. This way, you can grab one for your kid’s lunchbox or after-school snack.
Nutrition Information
I’m not a nutritionist, but here’s the breakdown if you’re tracking. This is per serving (about 1/8 of the batch).
- Calories: 120
- Protein: 6g
- Carbs: 18g
- Fiber: 2g
- Sugar: 12g (mostly from fruit and honey)
- Fat: 4g
- Sodium: 35mg
What’s Good:
- High in protein from Greek yogurt
- Contains probiotics for gut health
- Antioxidants from berries
- Lower in sugar than most desserts
What to Know:
- Contains dairy
- Contains nuts (if using granola with nuts)
- Sugar content can vary based on granola choice
My Take:
Look, this is a treat with yogurt and honey. It’s not a diet recipe. But it’s way better than candy, costs less, and I know exactly what’s in it. When I want to make it lighter, I use less honey and more berries. But usually? I just eat a reasonable portion and enjoy it.
Final Thoughts
So that’s my After-School Frozen Yogurt Bark with Berries and Granola! I’ve probably talked your ear off at this point, but when you make a recipe this often, you have a lot to say about it.
This has saved after-school snacks more times than I can count. It’s my answer to “what’s for a snack?” when I’m tired, don’t want to cook, and still want something that tastes really good. My kids are happy, I’m happy because I’m not stressing about finding snacks, and we’re all getting a little more calcium and protein.
Make it yours! Try different add-ins, swap in your favorite fruits, adjust the sweetness. The best recipes are the ones you adapt to your family’s tastes. And if you’re looking for more easy, healthy snacks, check out my make-ahead breakfast muffin cups for a savory option.
If you make this, drop a comment and let me know what you think! I love hearing how recipes turn out in your kitchen. And if something doesn’t work, tell me that too—I’m here to help troubleshoot.
Happy snacking! And I hope your kitchen smells half as good as mine does right now (it doesn’t, but it’s a dream).
Frequently Asked Questions
Can I use regular yogurt instead of Greek yogurt?
You can, but the texture will be very different. Regular yogurt is thinner and has more water, so your bark will be icier and harder to break. Greek yogurt is thick and creamy, which gives you that perfect texture. If you must use regular yogurt, strain it through a cheesecloth for a few hours first to remove excess liquid.
Why did my bark turn out soft or chewy instead of crunchy?
This usually means it didn’t freeze long enough or the layer was too thick. Make sure it’s rock hard before breaking it. If you live in a humid climate, it might take longer. Also, avoid using fresh fruit that releases water. Frozen fruit is your best friend here.
Can I make this ahead for a party?
Absolutely! This is actually better when made ahead because the flavors meld together. Make it 2-3 days before the party. Keep it in the freezer until serving. Break it into pieces right before you need it so it doesn’t stick together in a giant clump.
How do I store this so it doesn’t stick together?
Use parchment paper between layers if you’re stacking pieces in a container. Or, break it into individual portions and freeze them in separate Ziploc bags. This way, you can grab one piece at a time without thawing the whole batch.
Can I use fresh berries?
You can, but they need to be completely dry. Pat them with a paper towel to remove all moisture. Fresh berries have high water content, which can make the bark icy. Frozen berries are easier and give better results, but fresh works if you’re careful.
What if my kids don’t like granola?
No problem! Swap it for crushed pretzels, cereal pieces (like Cheerios or Corn Flakes), or even crushed nuts. The key is adding something crunchy. If they don’t like any crunch, just skip it, but the texture will be softer.
Can I freeze this for more than 3 months?
It’s best eaten within 3 months for optimal texture and flavor. After that, it might develop freezer burn or lose its crunch. But it’s still safe to eat. Just make sure it’s stored in an airtight container to prevent freezer burn.
Pin This Recipe!
After-School Frozen Yogurt Bark with Berries and Granola
- Total Time: 4 hours 10 minutes
- Yield: 8 servings 1x
Description
A quick, no-cook frozen snack made with Greek yogurt, berries, and granola. It’s protein-packed, customizable, and perfect for after-school hunger or busy weeknights.
Ingredients
- 2 cups plain full-fat Greek yogurt
- 2–3 tablespoons honey or maple syrup
- 1 teaspoon vanilla extract
- 1 cup granola (honey-oat with nuts preferred)
- 1 cup frozen mixed berries
- 2 tablespoons dark chocolate chips (optional)
- 1 tablespoon chia seeds (optional)
- 2 tablespoons sliced almonds (optional)
- 2 tablespoons shredded coconut (optional)
Instructions
- Line a 13×18 inch baking sheet with parchment paper, ensuring the entire surface is covered and smooth.
- In a medium bowl, combine the Greek yogurt, honey (or maple syrup), and vanilla extract. Stir until completely smooth.
- Pour the yogurt mixture onto the prepared baking sheet. Use an offset spatula to spread it into an even layer, approximately ¼ inch thick.
- Sprinkle the granola, frozen berries, and any optional add-ins (like chocolate chips or nuts) evenly over the yogurt. Press toppings gently to adhere.
- Place the baking sheet in the freezer and freeze for at least 4 hours, or overnight until the bark is rock hard.
- Remove the bark from the freezer. Peel off the parchment paper and break the bark into pieces using your hands or a knife.
- Store the pieces in an airtight container in the freezer for up to 3 months.
Notes
Use full-fat Greek yogurt for the best creamy texture; low-fat can be watery. Frozen berries are preferred over fresh to prevent icy patches. If using fresh fruit, pat it dry thoroughly. Toast granola for extra crunch if desired. The bark should be rock hard before breaking to avoid smearing.
- Prep Time: 10 minutes
- Cook Time: 0 minutes
- Category: Snack
- Cuisine: American
Nutrition
- Serving Size: 1/8 of the batch
- Calories: 120
- Sugar: 12
- Sodium: 35
- Fat: 4
- Saturated Fat: 2
- Carbohydrates: 18
- Fiber: 2
- Protein: 6
Keywords: frozen yogurt bark, healthy after school snack, no bake dessert, greek yogurt recipe, kid friendly snacks, meal prep snack


