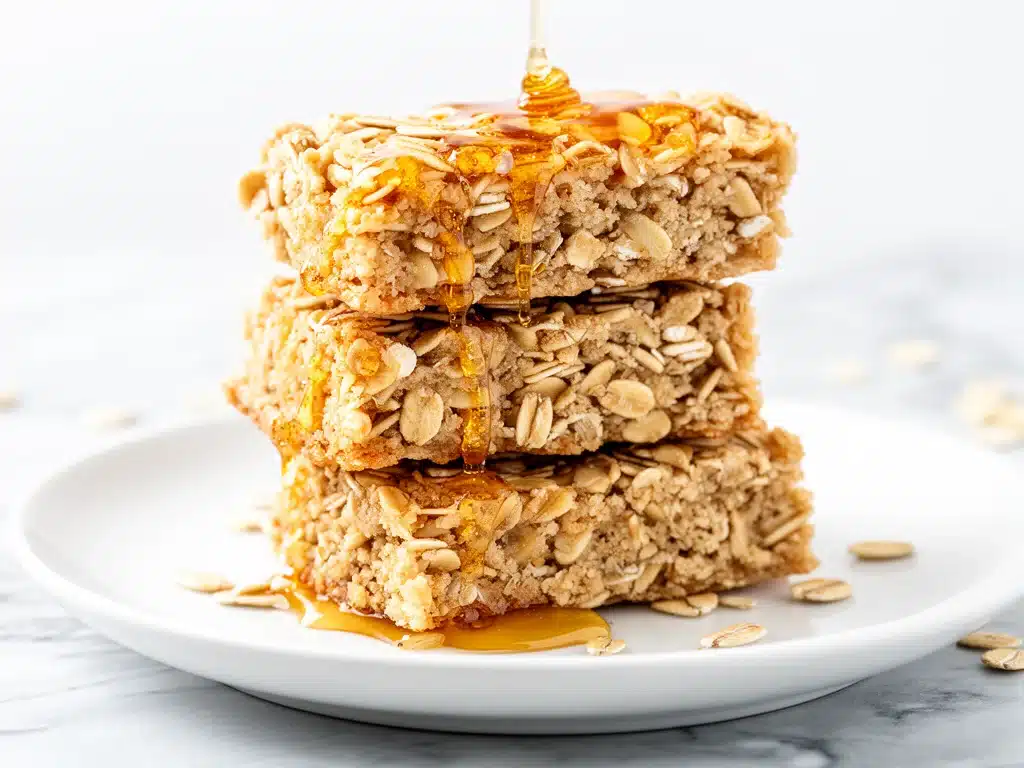
Last Tuesday, I was standing in the school drop-off line, watching my six-year-old dig through his backpack for a mid-morning snack. He pulled out a granola bar that looked like it had survived a war zone—crushed, stale, and wrapped in plastic that was already peeling at the corners. He took one bite, grimaced, and shoved it back. “It tastes like cardboard and sugar,” he said. And he wasn’t wrong.
I’ve been there. So many of us have. We buy those colorful boxes at the grocery store thinking we’re being smart, healthy, and prepared. But half the time, they’re just sugar cookies in disguise, packed with preservatives that keep them soft for months but do absolutely nothing for our kids’ energy levels. Plus, the price? It’s insane. You’re paying a premium for compressed oats and syrup.
That’s when I decided enough was enough. I wanted a snack that was actually good for him. Something that would hold together in his lunchbox without turning into a powder cloud, something that tasted like real food, and something I could make in bulk on a Sunday afternoon. Enter these homemade soft granola bars with honey.
I’ve tested this recipe at least a dozen times over the last three school years. I’ve tried adding too much honey (sticky nightmare), too little (falls apart), and way too many nuts (kids hate it). What you’re looking at now is the sweet spot. Literally and figuratively. These bars are chewy, naturally sweetened, packed with protein, and they stay soft for days. They’ve become the MVP of our family’s lunchbox rotation, right up there with my make-ahead breakfast muffin cups for getting us out the door on time.
If you’re tired of the processed stuff and want something that actually tastes like a treat but fuels like a meal, you need to try these. They’re easier than you think, and once you taste them, you’ll probably never buy boxed bars again.
Why You’ll Love This Granola Bar Recipe
There are about ten reasons I keep making these for my kids’ lunches, but here are the big ones that sold me (and will probably sell you too).
Actually Chewy, Not Crumbly — This is the biggest pain point with homemade granola bars. Most recipes turn into hard rocks or dusty crumbs. I’ve cracked the code on the honey-to-oil ratio that keeps these soft and chewy for up to five days in the fridge. They’re the kind of bar you can take a bite of without making a mess all over your kid’s math worksheet.
Pantry-Friendly Ingredients — You probably have 90% of this already. Rolled oats, honey, peanut butter, maybe some dried fruit or chocolate chips. No weird chemical names you can’t pronounce. If you can mix a bowl, you can make these. I’ve even let my kids help with the mixing, which is a huge bonus for getting them excited about eating their lunch.
Customizable for Picky Eaters — My son loves chocolate chips. My daughter prefers dried cranberries and white chocolate. I make a big batch with a base of oats and honey, then divide it in half before pressing it into the pan. One side gets chocolate, the other gets fruit. Everyone is happy. It’s like having two recipes in one.
Stays Soft for Days — Unlike store-bought bars that dry out by Wednesday, these stay tender. I’ve kept them in the fridge for a week, and they’re still good. If you’re meal prepping, this is a game-changer. You make them once, you’re set for the whole week.
Healthy-ish Indulgence — Look, they’re sweetened with honey. They’re not going to be a kale salad. But they’re packed with fiber from the oats and protein from the nut butter. They’re a far cry from the high-fructose corn syrup bombs you find in the school cafeteria. Plus, they’re naturally gluten-free if you use certified GF oats (more on that later).
This is my go-to when I need a snack that just works. No complicated techniques, no weird ingredients, just reliable, delicious food that makes everyone happy. And honestly? The smell of honey and toasted oats filling the kitchen while they bake is pretty nice, too.
Ingredients You’ll Need
Here’s the best part: you probably have most of this already in your pantry. I’m particular about three ingredients here, and I’ll tell you exactly why.
For the Base:
Old-Fashioned Rolled Oats (3 cups / 270g) — Do not use quick oats. Quick oats are too thin and will turn your bars into mush. You need the heartiness of rolled oats to give them structure. If you need gluten-free, make sure you buy certified gluten-free oats, as regular oats are often processed in facilities with wheat.
Honey (½ cup / 170g) — This is your binder and your sweetener. Honey gives a deeper, richer flavor than maple syrup or agave. It also helps keep the bars soft. If you’re dairy-free or vegan, you can use agave nectar, but the texture will be slightly chewier/stickier. I stick with honey because it tastes best.
Peanut Butter (½ cup / 128g) — Use natural, creamy peanut butter. The kind with the oil on top is perfect because you don’t need to add extra oil. If your kids hate peanut, almond butter or sunflower seed butter works great too. Just make sure it’s a creamy variety, not crunchy, unless you want extra texture.
Neutral Oil (2 tablespoons / 30ml) — I use canola or grapeseed oil. It adds moisture without changing the flavor. Coconut oil works too, but it might add a slight coconut taste. I keep it simple.
For the Flavor:
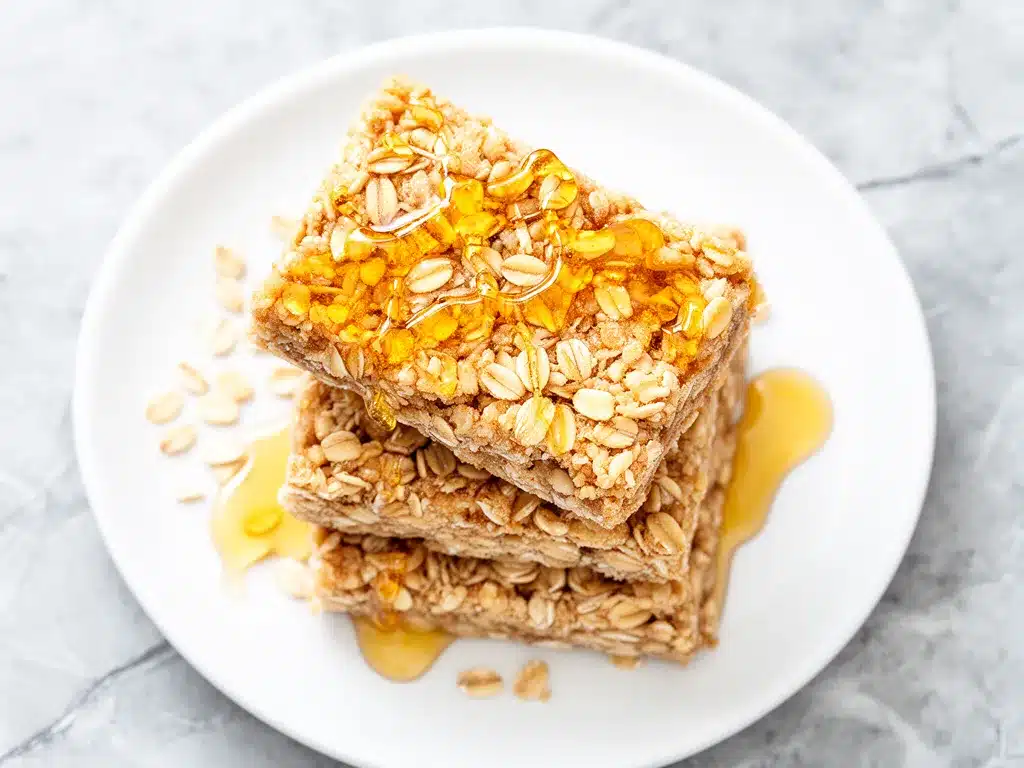
Vanilla Extract (1 teaspoon) — Don’t skip this. It rounds out the sweetness and makes it taste like a bakery bar, not just oatmeal. Use real vanilla, not the imitation stuff.
Salt (½ teaspoon) — Just a pinch. It enhances the honey and peanut butter flavors. You won’t taste the saltiness, but the bars will taste more “complete.”
Cinnamon (½ teaspoon) — Optional, but I love the warm spice note. It pairs perfectly with the honey. If you’re not a cinnamon fan, skip it.
Add-Ins (The Fun Part):
Dried Fruit (½ cup / 60g) — Cranberries, raisins, chopped dates, or apricots. I usually buy a mix. Chop them if they’re large (like dried mango) so they distribute evenly.
Chocolate Chips (½ cup / 85g) — Semi-sweet or milk chocolate. If you’re doing a “no sugar added” version, use sugar-free chips. I use regular chips because life is short and kids need joy.
Seeds (¼ cup / 30g) — Chia seeds, flax seeds, or pumpkin seeds. I throw these in for a little extra nutrition boost. My kids don’t even notice them, but it’s a sneaky way to get healthy fats in.
Nuts (Optional) — Chopped walnuts or pecans. I skip these for my son because he’s picky, but if your kids like nuts, go for it. Toast them first for extra flavor.
Pro Tip: I like to keep a bag of “bar mix” in the freezer—a pre-measured mix of oats, seeds, and dried fruit. When I want to make bars, I just pull out the bag and add the wet ingredients. It saves so much time on busy mornings.
Equipment Needed
You don’t need fancy equipment for this. Here’s what I actually use.
Large Mixing Bowl — I use a 4-quart bowl. It needs to be big enough to toss all those oats around without spilling. A glass or metal bowl works best so you can see everything.
9×9 Inch Baking Pan — This is the standard size for granola bars. Line it with parchment paper! I cannot stress this enough. Without parchment, you will struggle to get the bars out, and you’ll be scraping the pan for days. Leave some overhang on the sides to use as handles.
Small Saucepan — To melt the honey and oil together. Or you can just microwave it in a microwave-safe bowl. I use the saucepan because I can stir it constantly and prevent burning. Takes about 2 minutes.
Spatula — A sturdy silicone spatula for folding in the oats and pressing the mixture into the pan. You’ll use this a lot.
Cheese Grater or Food Processor — If you’re using dried fruit like dates or apricots, you’ll need to chop them finely. A food processor makes this instant. Otherwise, a sharp knife works fine.
Measuring Cups and Spoons — Standard stuff. Level off your honey and oil for accuracy. Wet ingredients can be sticky, so I spray my measuring cup with cooking spray first so it slides out easily.
Optional but nice:
– Rolling Pin — Helps press the bars down evenly.
– Kitchen Scale — If you like precision, weigh your oats. It’s more accurate than cups, especially since oats can be packed differently.
How to Make It: Step-by-Step
Alright, let’s make these! I’m walking you through exactly how I do it, including the little tricks I’ve picked up.
Step 1: Prep Your Pan and Oven (5 minutes)
Preheat your oven to 350°F (175°C). Line your 9×9 inch baking pan with parchment paper. I like to create a sling—place two strips of parchment perpendicular to each other so they cross in the middle and hang over the edges. This makes lifting the entire block of bars out later super easy. Spray the parchment with a little cooking spray so the bars don’t stick.
Step 2: Mix the Dry Ingredients (5 minutes)
In your large mixing bowl, combine the rolled oats, dried fruit, seeds, and nuts (if using). Toss them together so they’re evenly distributed. If you’re using large pieces of dried fruit, chop them now. I usually chop dates or apricots into small, bite-sized pieces so they’re easier to eat in a lunchbox.
Step 3: Melt the Wet Ingredients (2 minutes)
In a small saucepan over low heat, combine the honey, peanut butter, oil, vanilla, and salt. Stir constantly until everything is melted and smooth. This should only take about 2 minutes. If you’re using natural peanut butter with separated oil, make sure to stir it well before measuring. Don’t let the honey boil—just warm it up until it’s liquid. If you’re in a hurry, you can microwave this mixture in 30-second intervals, stirring in between.
Step 4: Combine Everything (3 minutes)
Pour the warm honey-peanut butter mixture over the dry ingredients. Use your spatula to fold everything together. You want every oat to be coated. It will look thick and sticky—that’s good. If it seems too dry, add a teaspoon more honey. If it’s too wet, add a sprinkle more oats.
Step 5: Press into the Pan (5 minutes)
This is the most important step for getting nice bars. Dump the mixture into your prepared pan. Use the bottom of a measuring cup or a spatula to press it down firmly. I mean *firmly*. Pack it down tight. If you don’t press it hard enough, the bars will crumble. I usually press for about 2 minutes, making sure the edges are as tight as the center. You want a solid, even layer.
Step 6: Bake (20-25 minutes)
Place the pan in the preheated oven. Bake for 20-25 minutes, or until the edges are golden brown. The center might still look a little soft—that’s okay. They will firm up as they cool. Keep an eye on them after 20 minutes; ovens vary, and you don’t want them to burn.
Step 7: Cool Completely (30-60 minutes)
Remove the pan from the oven and let it cool completely on a wire rack. This is the hardest part, I know. But if you cut them while they’re warm, they will fall apart. They need to set. I usually let them cool for at least an hour, but overnight is best for the cleanest cuts.
Step 8: Cut and Store
Once cool, lift the block out of the pan using the parchment sling. Place it on a cutting board. Use a sharp knife to cut into bars. I usually cut them into 12 large bars or 16 smaller ones, depending on my kid’s appetite. Wrap them individually in wax paper or plastic wrap, or store them in an airtight container.
Troubleshooting:
– Bars are too soft: You didn’t press them down hard enough, or you didn’t bake them long enough. Next time, press firmer and bake an extra 5 minutes.
– Bars are too hard: You overbaked them or used too little honey/oil. Next time, check them at 20 minutes.
– Bars are crumbling: Same as above—press harder and ensure the binder is fully melted and distributed.
Expert Tips & Tricks
Here’s everything I’ve learned from making this dozens of times. These tips will save you from my mistakes.
Press Like Your Life Depends On It
I’ve said it twice, but it’s worth saying again. The texture of your bar depends entirely on how hard you press it. I use the bottom of a heavy glass to pack it down. It takes effort, but it’s the secret to bars that don’t turn into dust in the lunchbox.
Warm the Honey First
Cold honey is thick and stubborn. It won’t mix evenly with the oats. Warming it with the peanut butter ensures a smooth, glossy mixture that coats everything perfectly. If your honey is crystallized, just microwave it for 15 seconds to loosen it up.
Don’t Skip the Salt
Honey and peanut butter are sweet. Salt balances the sweetness and makes the flavors pop. It’s not just a filler; it’s a flavor enhancer. Don’t be shy with it, but don’t overdo it either. Half a teaspoon is the sweet spot.
Cool Completely Before Cutting
I know, I know, you want to eat them now. But patience pays off. Warm bars are fragile. Let them cool to room temperature, and they’ll hold their shape perfectly. If you’re in a rush, you can put them in the fridge for 30 minutes to speed up the process, but don’t cut them until they’re firm.
Customize Your Mix-Ins
This recipe is a blank canvas. I’ve made versions with M&Ms, dried pineapple, shredded coconut, and even sprinkles (for my daughter’s birthday lunches). Just keep the total add-in amount to about 1 cup so you don’t throw off the ratio of oats to binder.
Make-Ahead Strategy
I usually make a double batch on Sunday. One batch goes in the fridge for the week, and the other goes in the freezer. They freeze beautifully for up to 3 months. Just thaw them at room temperature for 15 minutes before packing.
Variations & Substitutions
Once you’ve nailed the basic version, here’s how you can mix it up. I’ve tried all of these.
Peanut-Free Version
For school-safe lunches, swap peanut butter for sunflower seed butter (SunButter) or almond butter. Sunflower seed butter is a great neutral option that doesn’t taste too nutty. Almond butter adds a nice richness.
Honey-Free Version
If you’re avoiding honey, use maple syrup or agave nectar. Note that these are thinner than honey, so you might need to add an extra tablespoon of oats to absorb the moisture. The flavor will be slightly different, but still delicious.
Chocolate Lover’s
Double the chocolate chips to 1 cup. Or add a layer of chocolate chips in the middle before pressing down. It’s like a candy bar, but with oats.
Trail Mix Bars
Add chopped walnuts, pecans, and dried cranberries. It’s like a trail mix in bar form. Great for hiking or outdoor lunches.
Protein-Packed
Add a scoop of vanilla protein powder to the dry ingredients. You might need to add an extra tablespoon of honey or oil to compensate for the dryness. Great for active kids.
Dairy-Free
This recipe is naturally dairy-free if you use honey and seed/nut butter. Just ensure your chocolate chips are dairy-free if you’re using them.
Vegan
Swap honey for agave or maple syrup, and ensure your chocolate chips are vegan. Everything else is already plant-based.
Serving & Storage
I usually serve these straight from the fridge or room temperature. They’re perfect for lunchboxes, snacks, or even a quick breakfast on the go.
How to Store:
Store in an airtight container at room temperature for up to 5 days. If it’s hot and humid, keep them in the fridge to prevent melting. Line the container with parchment paper between layers to prevent sticking.
Freezing:
These freeze beautifully. Wrap each bar individually in plastic wrap or wax paper, then place them in a freezer bag. They’ll last for up to 3 months. Thaw at room temperature for 15 minutes before eating.
Reheating:
You don’t need to reheat these. They’re best at room temperature. If you want them warm, microwave one for 10-15 seconds. They’ll be soft and gooey.
Lunchbox Tips:
Wrap each bar in wax paper or a reusable silicone bag. This keeps them from sticking together and makes cleanup easier. My kids love pulling their wrapped bars out of their lunchboxes—it feels special.
Nutrition Information
I’m not a nutritionist, but here’s the breakdown if you’re tracking. This is based on 12 bars, with no add-ins.
Per Serving (1 bar):
– Calories: 180
– Protein: 5g
– Carbs: 28g
– Fiber: 3g
– Sugar: 14g
– Fat: 7g
– Saturated Fat: 1g
– Cholesterol: 0mg
– Sodium: 85mg
What’s Good:
– Good source of fiber from oats
– Protein from peanut butter
– No refined sugars (just honey)
– Naturally gluten-free (if using GF oats)
What to Know:
– Higher in sugar due to honey and add-ins
– Contains nuts (unless using seed butter)
– Moderate calories for a snack
My Take:
Look, these are sweet. They’re not going to be a vegetable. But they’re made with whole foods and real ingredients. They’re a far cry from the processed bars at the store. When I want to make them lighter, I reduce the honey slightly and add more seeds. But usually? I just enjoy them as a treat. Balance is key.
Final Thoughts
So that’s my go-to homemade soft granola bars with honey! I’ve probably talked your ear off at this point, but when you make a recipe this often, you have a lot to say about it.
These bars have saved our mornings. They’ve saved our lunchboxes. And honestly, they’ve saved my sanity. No more hunting for clean snacks at the last minute. No more dealing with crumbly, dry, sugary store-bought bars. Just real, tasty, chewy goodness that my kids actually want to eat.
Make it yours! Try different add-ins, swap in your favorite nut butter, adjust the honey to your taste. The best recipes are the ones you adapt to your family’s tastes. And if you’re looking for other quick lunchbox ideas, check out my no-bake peanut butter banana energy bites—they’re perfect for when you need something even faster.
If you make this, drop a comment and let me know what you think! I love hearing how recipes turn out in your kitchen. And if something doesn’t work, tell me that too—I’m here to help troubleshoot.
Happy cooking! And I hope your kitchen smells half as good as mine does right now.
Frequently Asked Questions
Can I use quick oats instead of rolled oats?
No, I don’t recommend it. Quick oats are too thin and will make the bars mushy and dense. You need the structure of rolled oats to keep them chewy and intact. If you only have quick oats, you can try them, but the texture will be very different.
Why are my granola bars too soft?
Usually, this means you didn’t press them down hard enough before baking, or you didn’t bake them long enough. Make sure to pack the mixture firmly into the pan. Also, let them cool completely before cutting—they continue to firm up as they cool.
Can I freeze these granola bars?
Yes! They freeze beautifully. Wrap each bar individually in plastic wrap or wax paper, then place them in a freezer-safe bag. They’ll last for up to 3 months. Thaw at room temperature for 15 minutes before eating.
Can I substitute honey with maple syrup?
Yes, but the texture will be slightly different. Maple syrup is thinner than honey, so you might need to add an extra tablespoon of oats to absorb the moisture. The flavor will be slightly different, but still delicious.
How long do these granola bars last?
Stored in an airtight container at room temperature, they’ll last for up to 5 days. In the fridge, they’ll last up to 2 weeks. If you want them to last longer, freeze them.
Can I make these gluten-free?
Yes! Just use certified gluten-free rolled oats. Everything else in the recipe is naturally gluten-free, so as long as your oats are GF, the bars will be too.
Can I use almond butter instead of peanut butter?
Absolutely. Almond butter, sunflower seed butter, or cashew butter all work great. Just make sure they’re creamy varieties for the best texture.
Pin This Recipe!
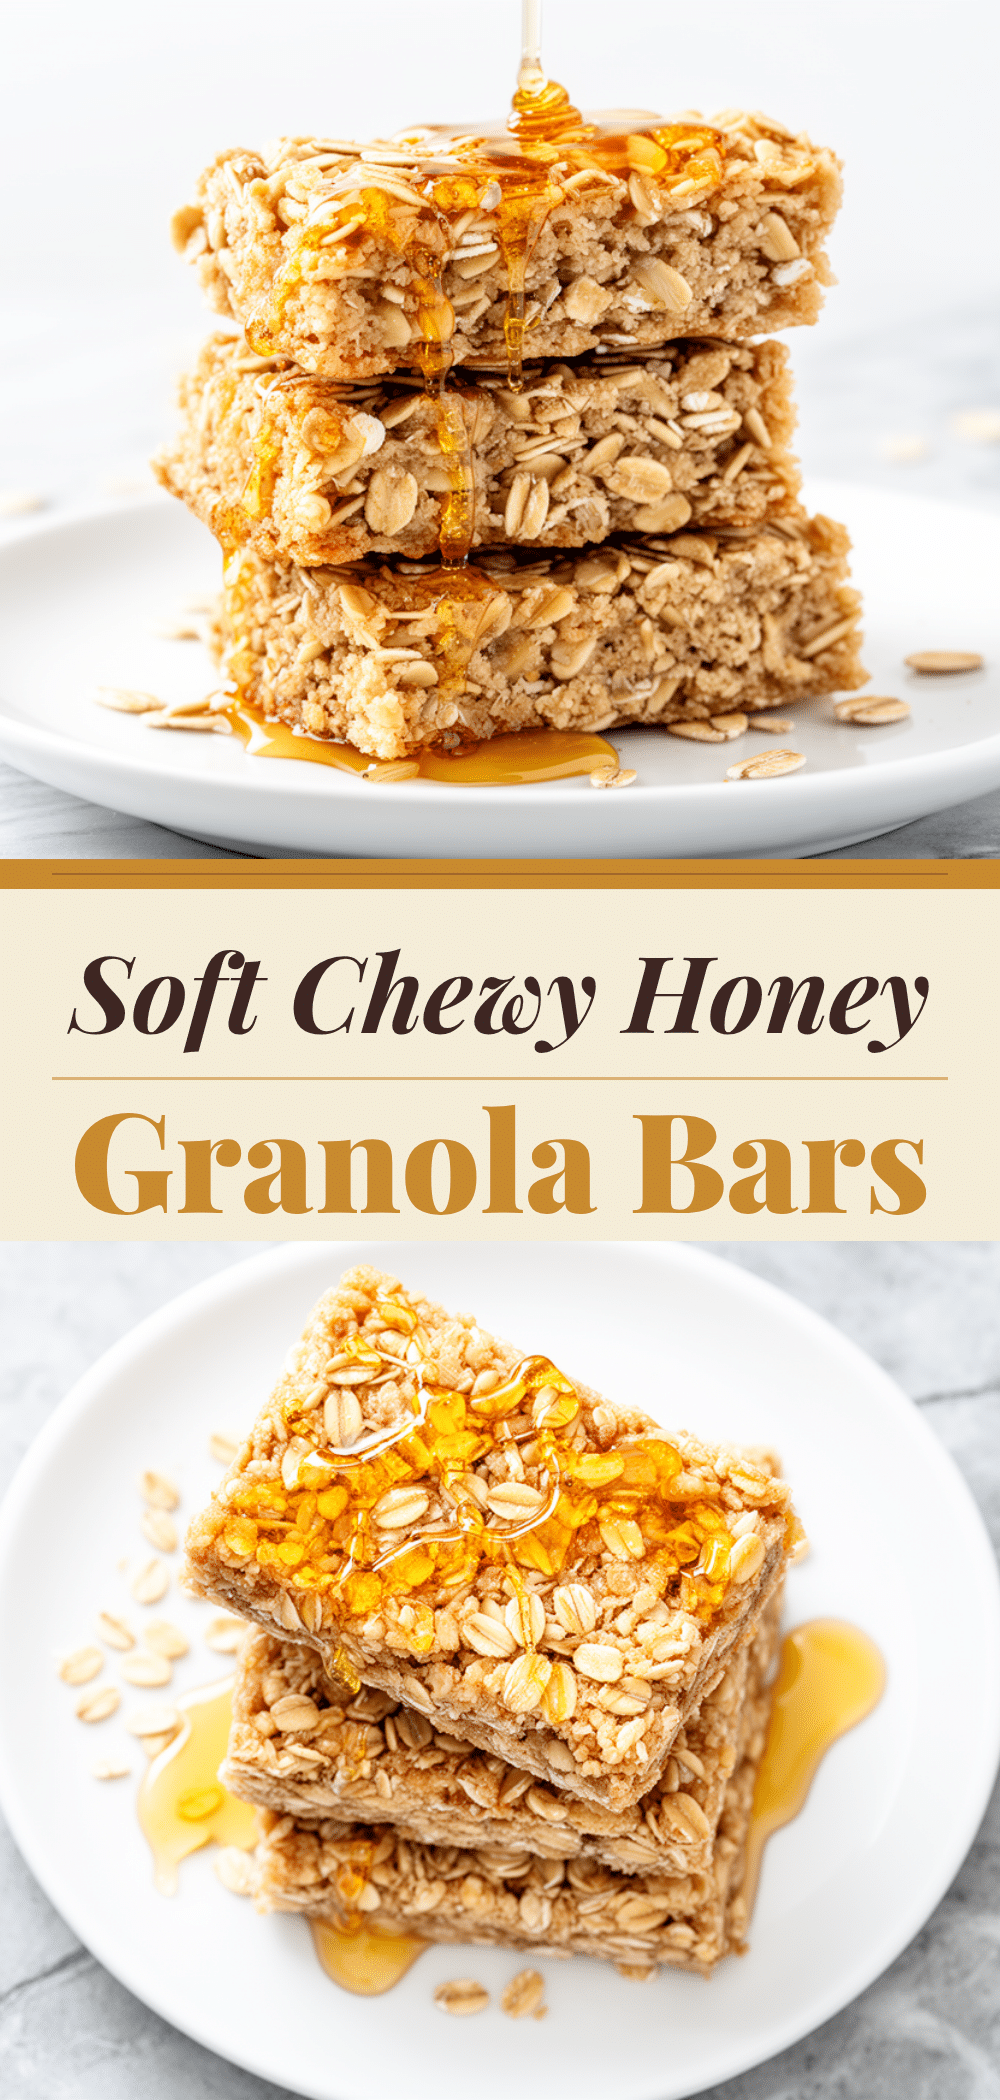
Homemade Soft Granola Bars
- Total Time: 40 minutes
- Yield: 12 servings 1x
Description
Chewy, naturally sweetened homemade granola bars that stay soft for days. Perfect for back-to-school lunches, these bars are easy to make, customizable, and packed with protein and fiber.
Ingredients
- 3 cups (270g) Old-Fashioned Rolled Oats
- 1/2 cup (170g) Honey
- 1/2 cup (128g) Creamy Peanut Butter
- 2 tablespoons (30ml) Neutral Oil (e.g., canola or grapeseed)
- 1 teaspoon Vanilla Extract
- 1/2 teaspoon Salt
- 1/2 teaspoon Cinnamon (optional)
- 1/2 cup (60g) Dried Fruit (e.g., cranberries, raisins, chopped dates)
- 1/2 cup (85g) Chocolate Chips (optional)
- 1/4 cup (30g) Seeds (e.g., chia, flax, or pumpkin)
- 1/2 cup (60g) Nuts, chopped (optional, e.g., walnuts or pecans)
Instructions
- Preheat oven to 350°F (175°C). Line a 9×9 inch baking pan with parchment paper, creating a sling for easy removal, and spray with cooking spray.
- In a large mixing bowl, combine the rolled oats, dried fruit, seeds, and nuts (if using). Toss to distribute evenly.
- In a small saucepan over low heat, combine honey, peanut butter, oil, vanilla, and salt. Stir constantly until melted and smooth (about 2 minutes). Alternatively, microwave in 30-second intervals.
- Pour the warm wet mixture over the dry ingredients. Fold with a spatula until every oat is coated. The mixture should be thick and sticky.
- Transfer the mixture to the prepared pan. Press down firmly and tightly using the bottom of a measuring cup or spatula to ensure bars hold together.
- Bake for 20-25 minutes, or until edges are golden brown. The center may look soft but will firm up as it cools.
- Remove from oven and let cool completely on a wire rack (at least 1 hour, or overnight for best results).
- Lift the block out of the pan using the parchment sling. Cut into 12 large or 16 smaller bars.
- Store in an airtight container at room temperature for up to 5 days, in the fridge for up to 2 weeks, or freeze for up to 3 months.
Notes
Do not use quick oats as they will make the bars mushy. Press the mixture firmly into the pan to prevent crumbling. Cool completely before cutting to ensure bars hold their shape. For school-safe lunches, substitute peanut butter with sunflower seed butter.
- Prep Time: 15 minutes
- Cook Time: 25 minutes
- Category: Snack
- Cuisine: American
Nutrition
- Serving Size: 1 bar
- Calories: 180
- Sugar: 14
- Sodium: 85
- Fat: 7
- Saturated Fat: 1
- Carbohydrates: 28
- Fiber: 3
- Protein: 5
Keywords: granola bars, homemade granola bars, soft granola bars, school lunch ideas, healthy snacks, gluten-free snacks, honey granola bars, meal prep snacks


